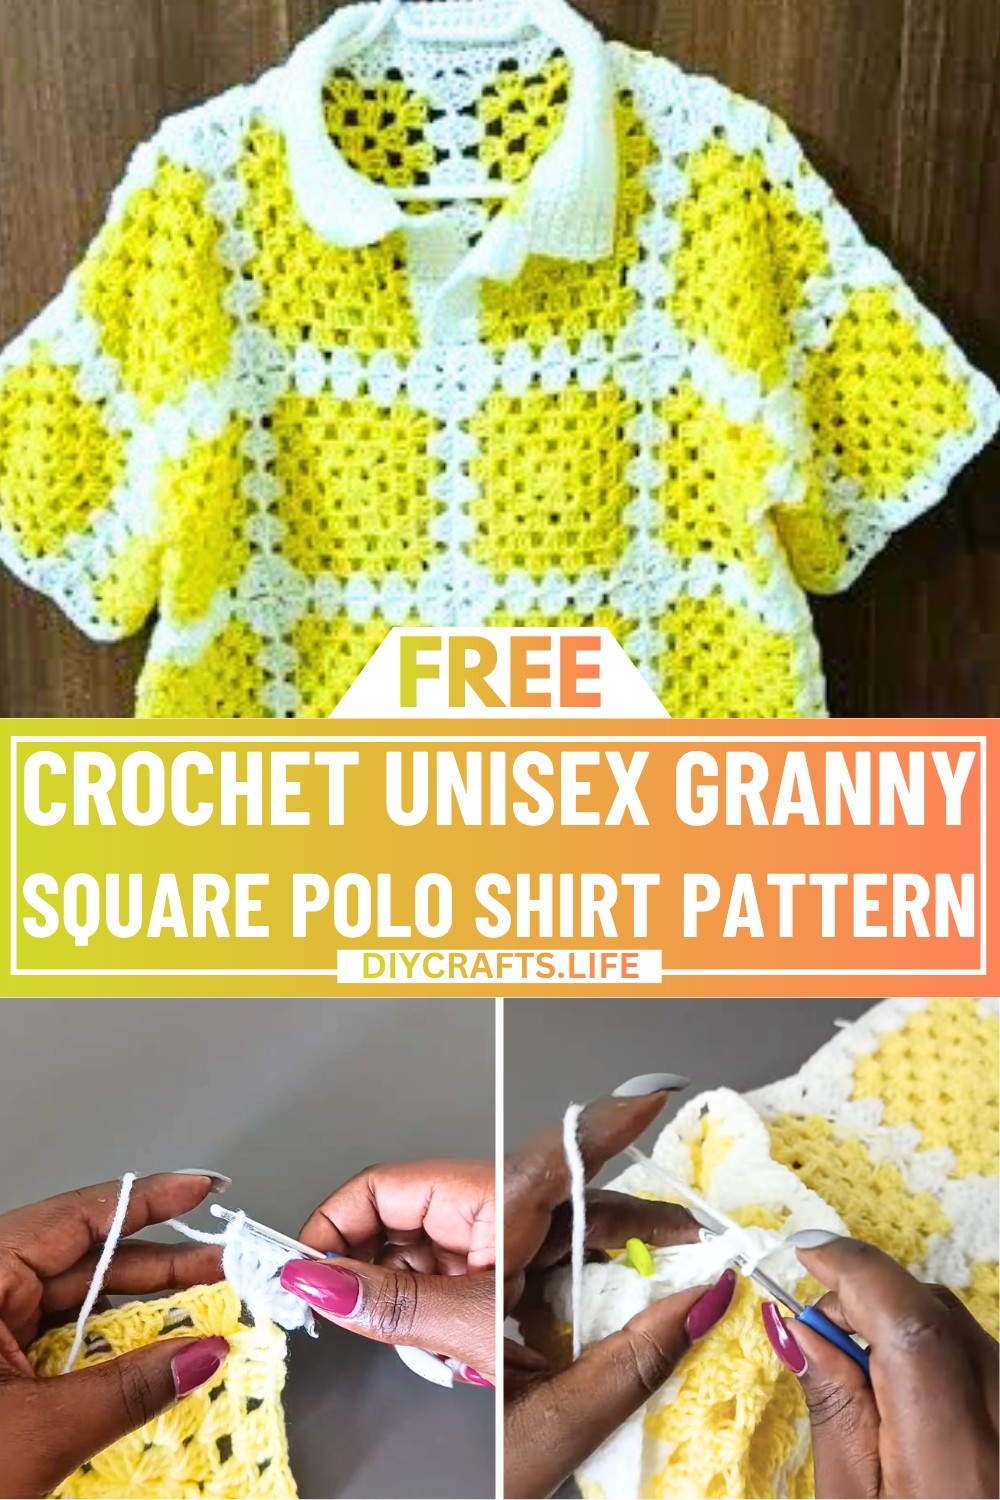
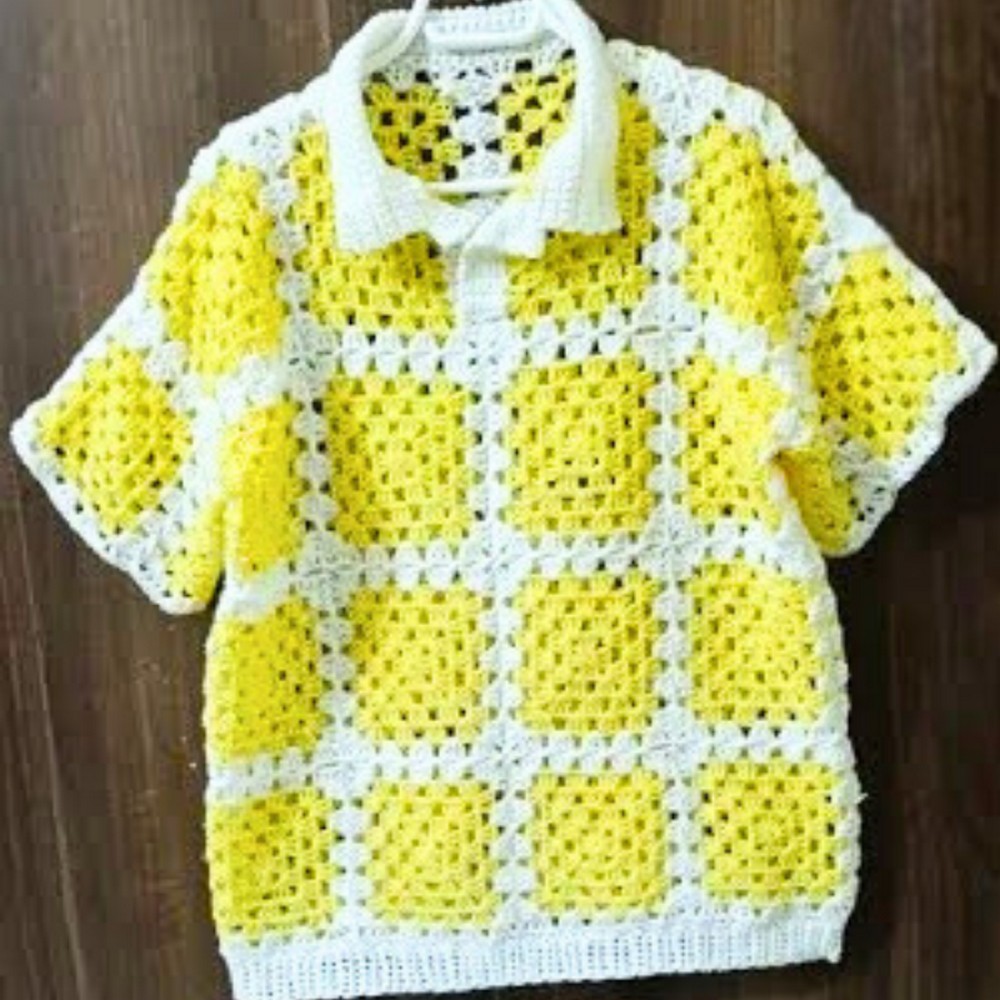
This stylish Crochet granny square polo shirt is perfect for everyone! Made with love using crochet squares, it is soft, unique, and cozy. Whether you want to wear it casually, pair it with jeans, or gift it to someone special, this shirt adds charm to any wardrobe with its creative, timeless design. It's great for all seasons and works wonderfully as a statement piece.
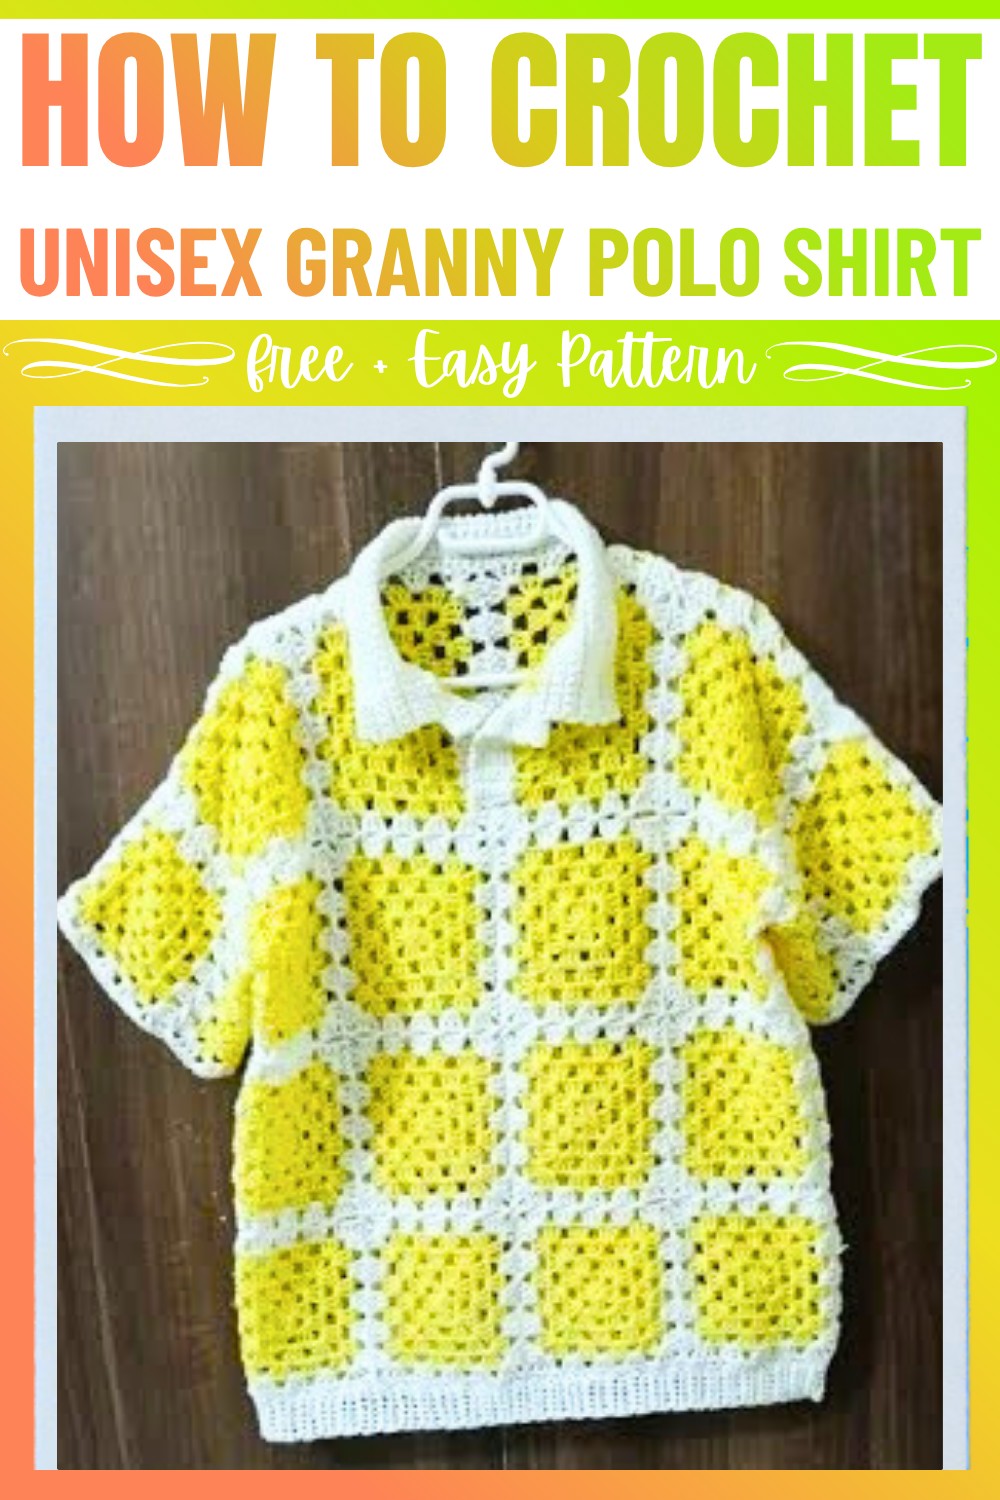
This Crochet shirt is assembled by joining granny squares, which you can customize in your favorite colors. With a neat collar and sleeve finish, the pattern offers a professional-looking result that feels comfortable to wear while showcasing your crochet skills. Even if you're new to crochet, this design is approachable and clear.
Credit LaDenser Crochets
Materials & Tools Needed
- Yarn: Medium weight yarn in two colors (cream and white as per tutorial).
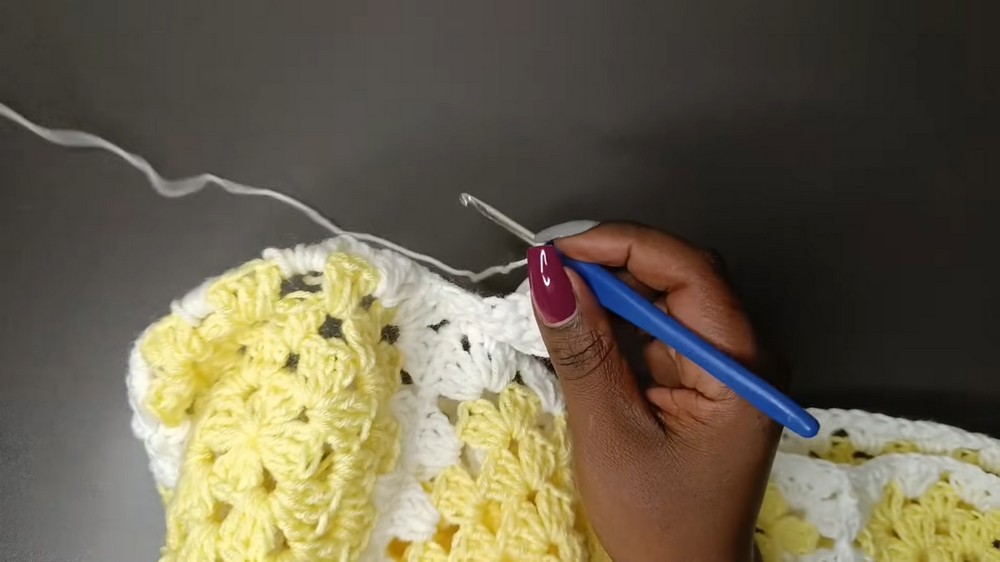
- Crochet hook: 4 mm.
- Measuring tape: To ensure desired dimensions.
- Scissors: For cutting yarn.
- Stitch markers: To mark important points while joining squares.
- Darning (tapestry) needle: For sewing and weaving ends.
Finished Size & Customization Ideas
Standard Finished Size from Tutorial
- Width: 46 inches (23 inches x 2 without stretching).
- Length: 23 inches (using four granny squares vertically).
- Fits chest measurements between 40-46 inches.
Customization Ideas
- Adjusting Granny Square Size:
- For smaller sizes: Use 3 rounds for each granny square.
- For larger sizes: Use 5 rounds for each granny square.
- Square Dimensions:
- Width should consist of 4 squares (don’t adjust this number, even for larger sizes).
- Length can be increased by adding more squares vertically.
- Color combinations:
- Experiment with different yarn colors for unique designs.
- Front Panel Options:
- You can keep the front panel as one large piece or split it into two for an open/tab front shirt.
Pattern Abbreviations & Terminology
All abbreviations in US terminology:
- Ch: Chain
- Dc: Double Crochet
- Sc: Single Crochet
- Sl St: Slip Stitch
- St: Stitch
- Magic Ring: Loop used to start a crochet piece.
Step-by-Step Crochet Instructions
Part 1: Granny Square Instructions
Follow for four rounds (adjust as per size).
- Round 1:
- Start with a magic ring.
- Ch 3 (counts as first dc), then work 2 dc into the ring to make the first cluster of 3 dc.
- Ch 2 (corner). Repeat: 3 dc, ch 2 three more times into the ring. You now have 4 clusters of 3 dc separated by chain 2 spaces.
- Join with Sl St to the top of the first ch-3. Pull tight on the ring to close.
- Round 2:
- Sl St into the next two dc and into the next ch-2 space.
- Ch 3 (counts as first dc), work 2 dc, ch 2, 3 dc into the same corner space.
- Ch 1, 3 dc into the next ch-2 space, ch 2, 3 dc into the same space (repeat for each corner).
- Work across each side placing 3 dc into ch-1 spaces.
- Finish with Sl St to the top of the ch-3.
- Round 3:
- Repeat the same pattern as Round 2, ensuring that each corner gets 3 dc, ch 2, 3 dc and each side gets 3 dc clusters, separated by ch 1.
- Round 4:
- Continue the same method to build your square.
- At the end, fasten off and weave in ends.
For customizing sizes:
- Smaller sizes: Stop at Round 3.
- Larger sizes: Extend to Round 5.
Part 2: Make Panels
Back Panel:
- Create 16 squares (4x4 grid).
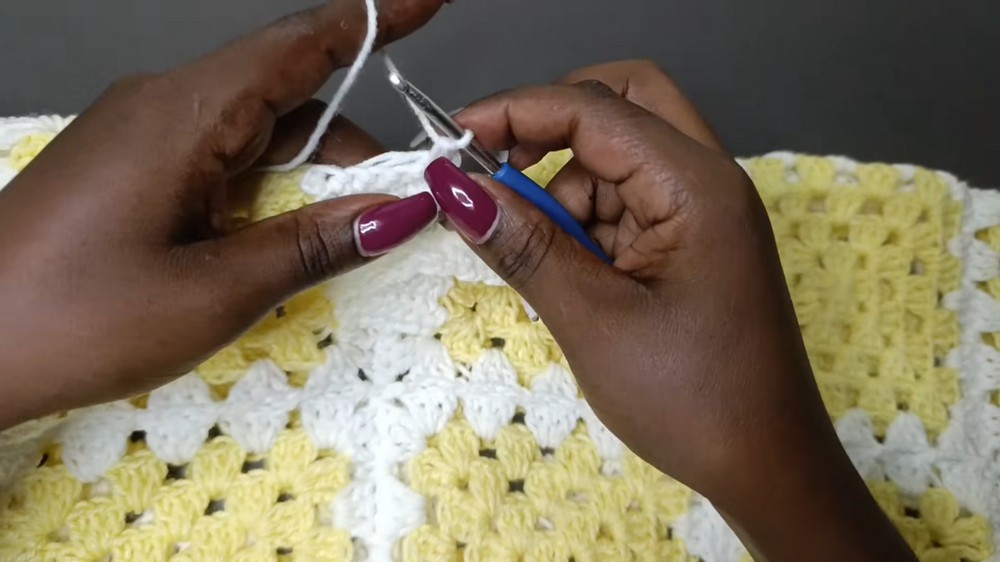
- Join squares similarly to Round 5 of a granny square:
- Use your contrast color (white).
- Place Sl St and Ch for seamless join, removing the hook to pick up corresponding stitches from adjacent squares.
- Continue this joining method row after row for the entire back panel.
Front Panels:
- Each panel consists of 8 squares (2x4 grid).
- Leave the top corner of the 4th square undone (for shirt neckline).
Part 3: Attach Sleeves
Each sleeve consists of 3 squares connected side-by-side.
- Attach the sleeve to the armhole by aligning the sleeve squares.
- Use single crochet to join corresponding stitches between the shirt and the sleeve.
Part 4: Assembly
- Join the three panels (Back and two Front Panels) using single crochet or your preferred joining method.
- Create Armholes:
- Mark the midpoint of the second square on the sides.
- Ensure sleeves align properly to the opening and attach them via single crochet.
Part 5: Collar
- Start at the neckline (chain 1 space) and work single crochets evenly all the way around.
- Build up the collar by repeating rows of sc until 16 rows have been created.
- Fasten off and weave in ends.
Part 6: Edging (Bottom Ribbon)
- Begin at the bottom edge of the shirt.
- Work a rounded ribbon design by chaining 7 for the foundation.
- Repeat rows using single crochets, slip stitches to the body of the shirt, and turning your work after every row.
- Continue the pattern across the entire bottom edge, then sew the final row into the beginning stitches to close the ribbon.

Finishing Touches
- Block the shirt for evenness.
- Weave in any loose ends.
- Enjoy your unisex granny square polo shirt!