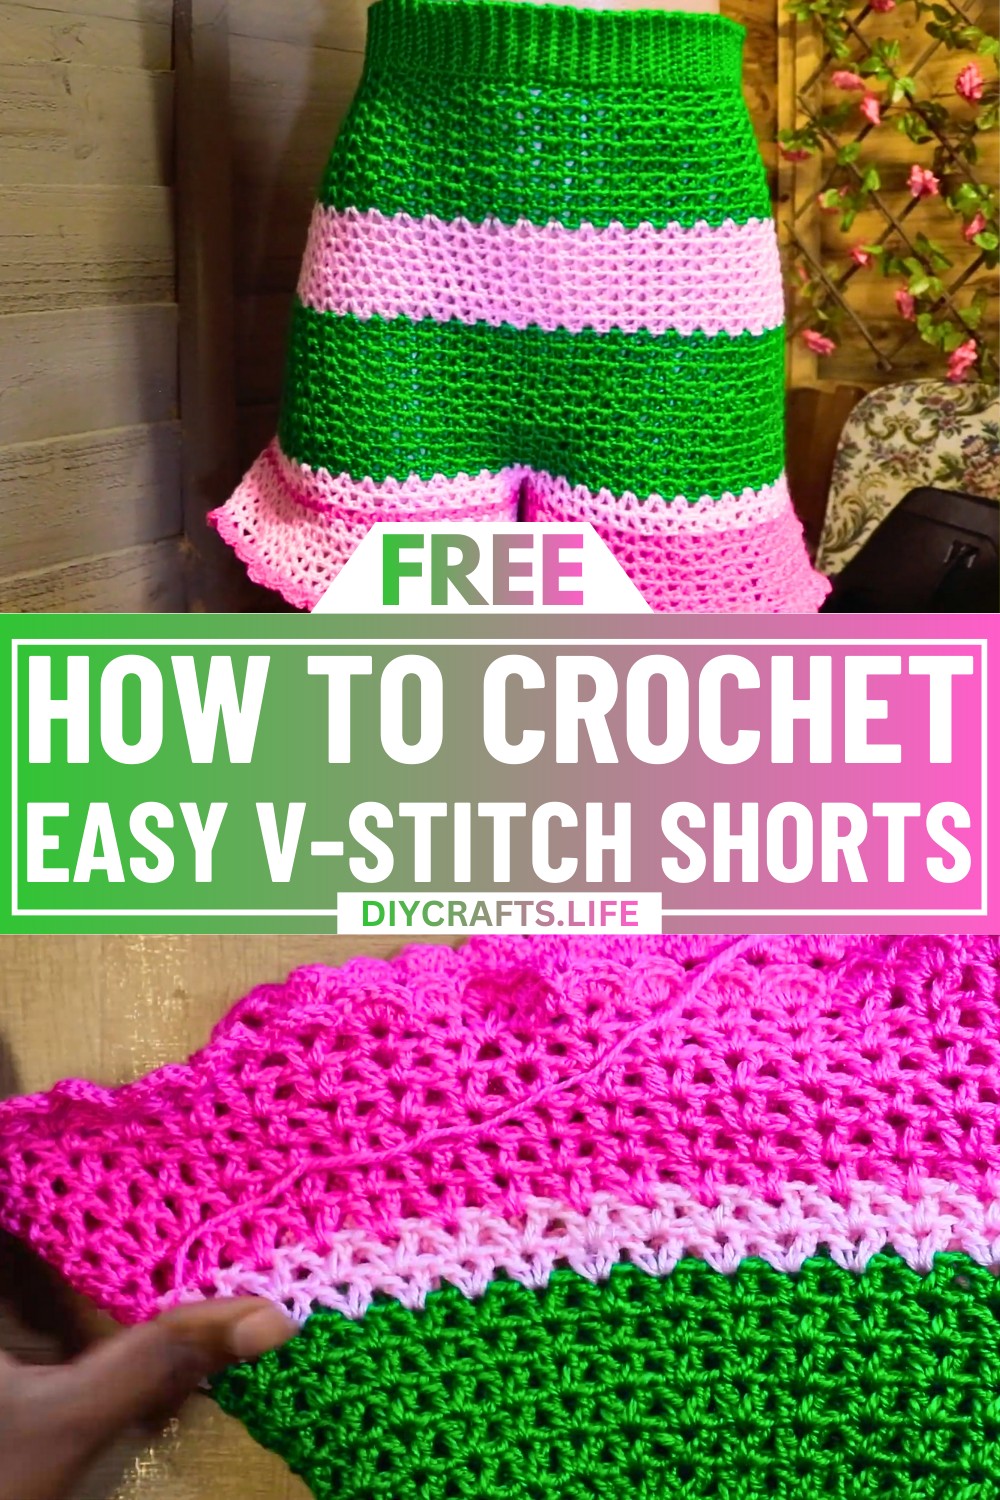
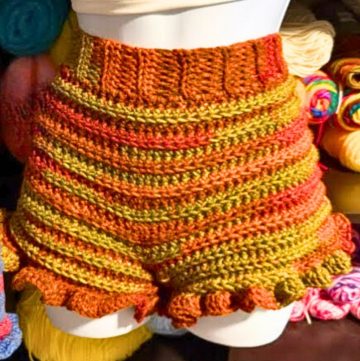
Add a playful and stylish touch to your wardrobe with handmade crochet shorts using the versatile V-stitch! Perfect for warm days, these shorts are ideal for anyone looking to combine comfort and creativity in their outfit. Whether relaxing at home or heading to a casual outing, these crochet shorts turn heads while offering a unique fashion statement.
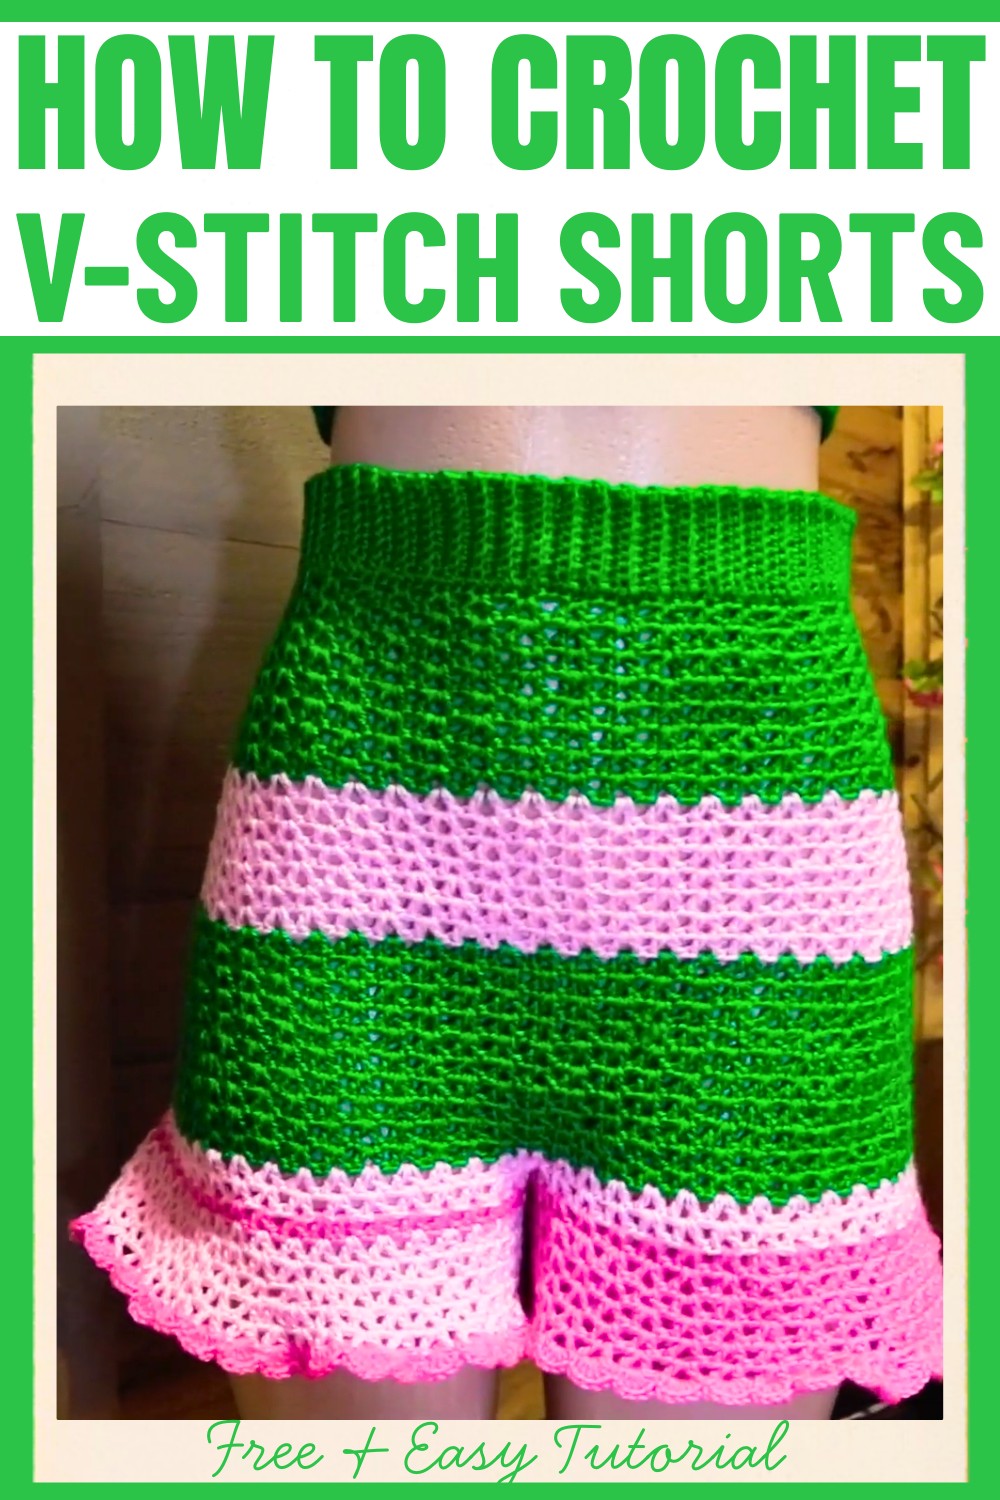
Crochet V-Stitch Shorts Pattern
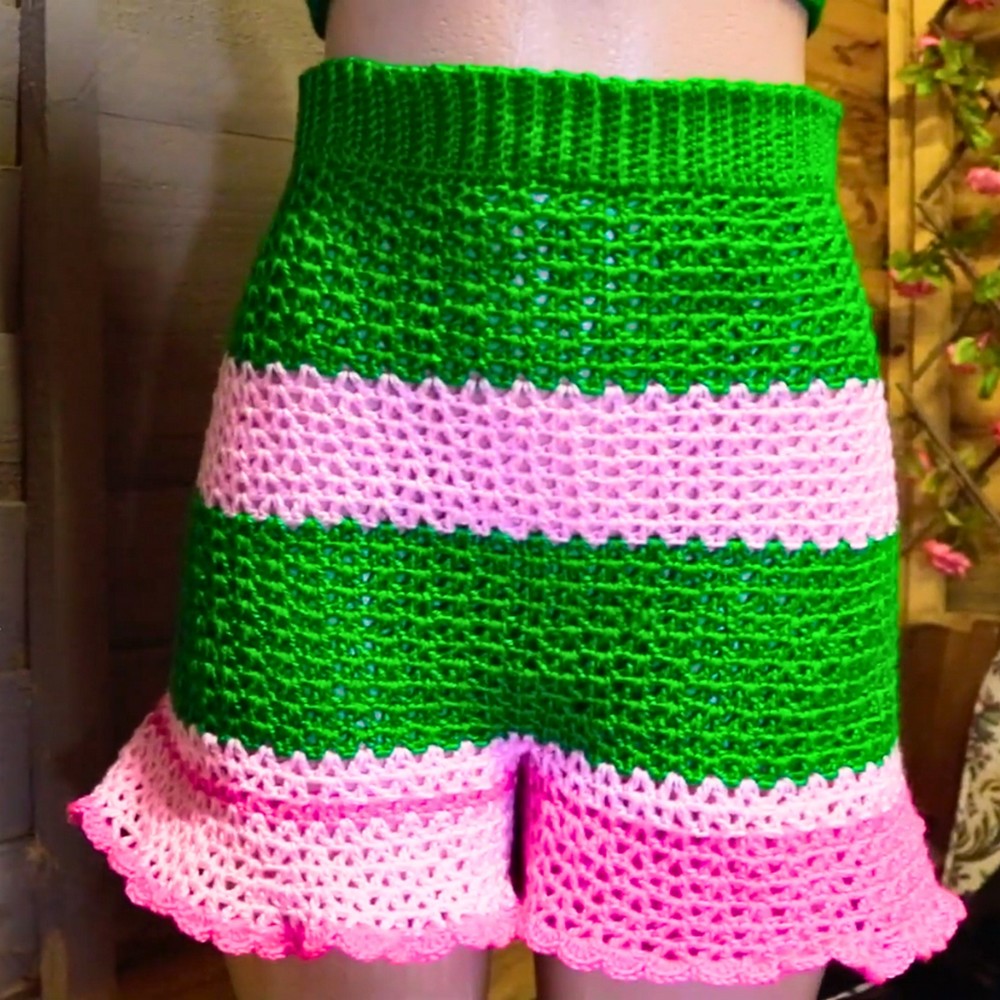
The use of the V-stitch adds texture and elegance, making this design stand out from traditional patterns. The balanced blend of form and function ensures versatility, while the airy stitch creates a light and breathable feel. These shorts can easily be personalized with colors, waist adjustments, or lengths to reflect your unique style, making them a practical yet artistic addition to your crochet projects.
Credit Stitched_goddess
Materials & Tools:
- 3.5 mm crochet hook
- Yarn (Kopu Flora or mid-weight yarn; 100% acrylic is mentioned in the video)
- Scissors
- Stitch marker (recommended for tracking progress)
Pattern Instructions:
Step 1: Starting with the Waistband
- Slip Knot & Starting Chains:
- Start with a slip knot on your crochet hook.
- Chain 9 chains (can be adjusted if you want a thicker waistband).
- Row 1: Single Crochet Base
- Chain 1 (turning chain).
- Work single crochets back across the chain into each stitch (total of 9 single crochets).
- Row 2 & Following Rows: Back Loop Single Crochet Rows
- At the end of each row, chain 1 and turn.
- Work single crochets in the back loops only to create a ribbed texture.
- Repeat this until you have a total of 116 rows (or until the waistband measures about 28 inches long when slightly stretched; adjust for your size).
- Connecting the Waistband:
- Fold the waistband, matching both short ends together.
- Use single crochets to join the two ends of the waistband. This will form a circular waistband.
Step 2: Creating the Base of the Skirt/Shorts
- Turning Work Inside Out:
- Turn the waistband inside out so that the seam faces inward.
- Adding a Foundation Row of Half Double Crochet:
- Chain 2.
- Work half double crochet (HDC) stitches evenly around the waistband. For each row end in the waistband ribbing, place an HDC stitch.
- Slip stitch to join the round once you’ve gone all the way around.
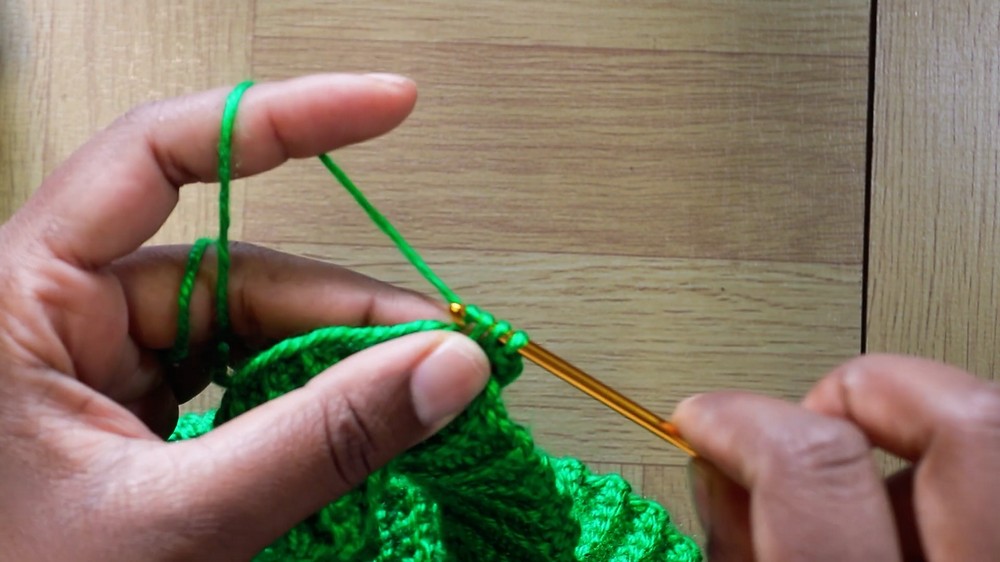
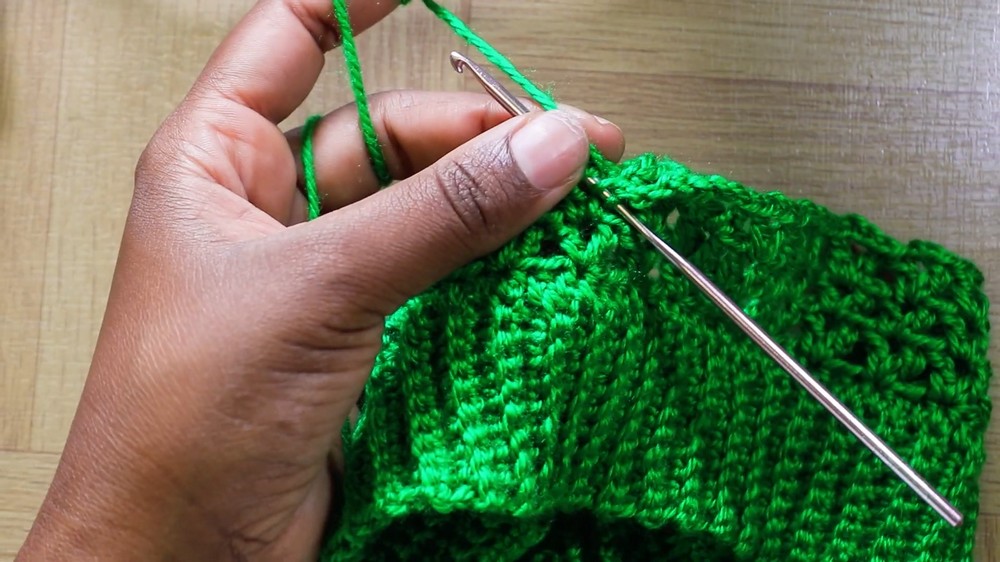
- Building the Body with the "V Stitch":
- Start with a slip stitch to join and then chain 3.
- For the V Stitch:
- Skip 2 stitches, then work:
1 double crochet (DC), chain 2, 1 double crochetinto the same stitch.
- Skip 2 stitches, then work:
- Repeat the skip 2 stitches, V stitch pattern around.
- Slip stitch to join at the end of the round.
Step 3: Increasing as You Crochet Around
- Increase every other row to give the shorts (or skirt) more flare or looseness.
- To increase, place a V stitch in between two existing V stitches.
- You can use stitch markers to mark the sides of your work for evenly distributed increases.
- For non-increase rows: simply continue the V stitches as normal in each "V opening" from the previous round.
Step 4: Continue the Body
- Alternate between rows with increases and rows without increases until you achieve your desired measurement.
- For the tutorial example, 26 rows are worked in total before moving to the next stage.
Step 5: Creating the Shorts' Legs
- Divide Work into Two Halves:
- Find the exact middle of the piece by counting the number of V stitches. Divide the total by 2 and mark the point with a stitch marker.
- Chain 20 stitches to bridge the gap between the two sides and begin forming the leg holes.
- Start the First Leg:
- Attach yarn to one half and begin working the V stitch (same pattern) around one leg hole.
- On the chain you made earlier (between the legs), work into the chains evenly with the same V stitches.
- Handle Increases at the Sides of the Shorts:
- To shape the shorts' legs, continue increasing on the outer edges of each leg every other row.
- Repeat for the Second Leg:
- Follow the same steps on the next leg hole to create the second leg.
- Ensure both legs have the same number of rows and the same increase intervals.

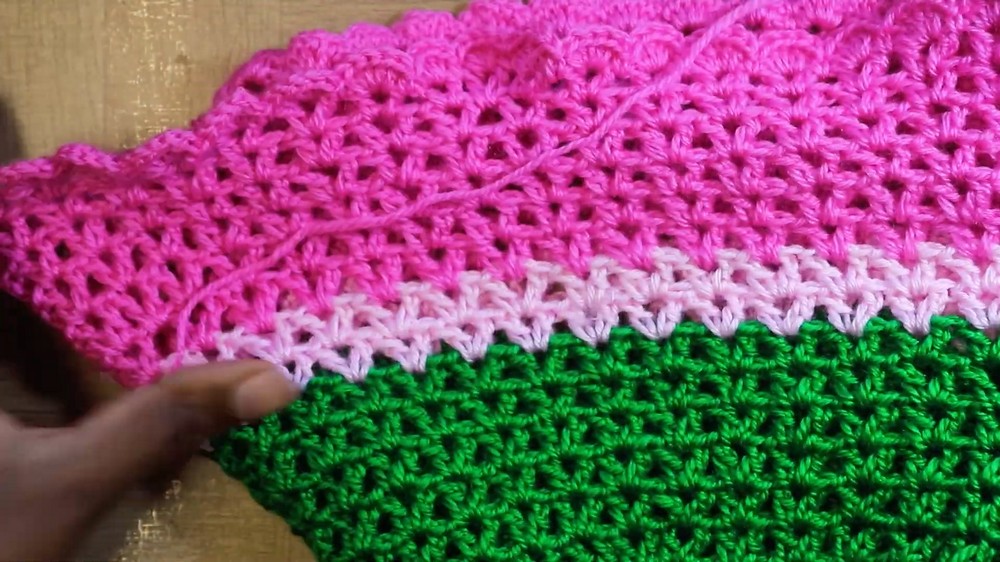
Step 6: Adding the Scalloped Edge
- Once the legs are complete, create the decorative scalloped edge as follows:
- In each V stitch, work 5 double crochets.
- Secure the edges by placing a single crochet in between each V stitch to anchor the scalloped edges.
- Continue all the way around each leg for a finished look.
Step 7: Finishing Touches
- Changing Colors (Optional):
- To make color transitions, attach a new yarn color at the beginning of a round and continue with the pattern. Tie off securely and weave in the ends.
- Secure all Yarn Ends:
- Cut off any excess yarn and weave in all ends with a tapestry needle to finish your piece.
Sizing Notes:
- This pattern was created for an XS-Small size.
- For a larger size, increase the waistband length slightly and ensure the rows of the legs have more increases and additional rows for your desired fit.
Tips:
- Use a stitch marker to note increases or key points in your rows to stay organized.
- Adjust the fit as necessary by increasing or decreasing rows/rounds for both waistband and body.