Learn to create a charming Valentine teddy bear paired with a crocheted heart. This adorable project is beginner-friendly, perfect for gifts, and doubles as a keychain. Its thoughtful design and vibrant details make it both heartfelt and practical for crafting enthusiasts.
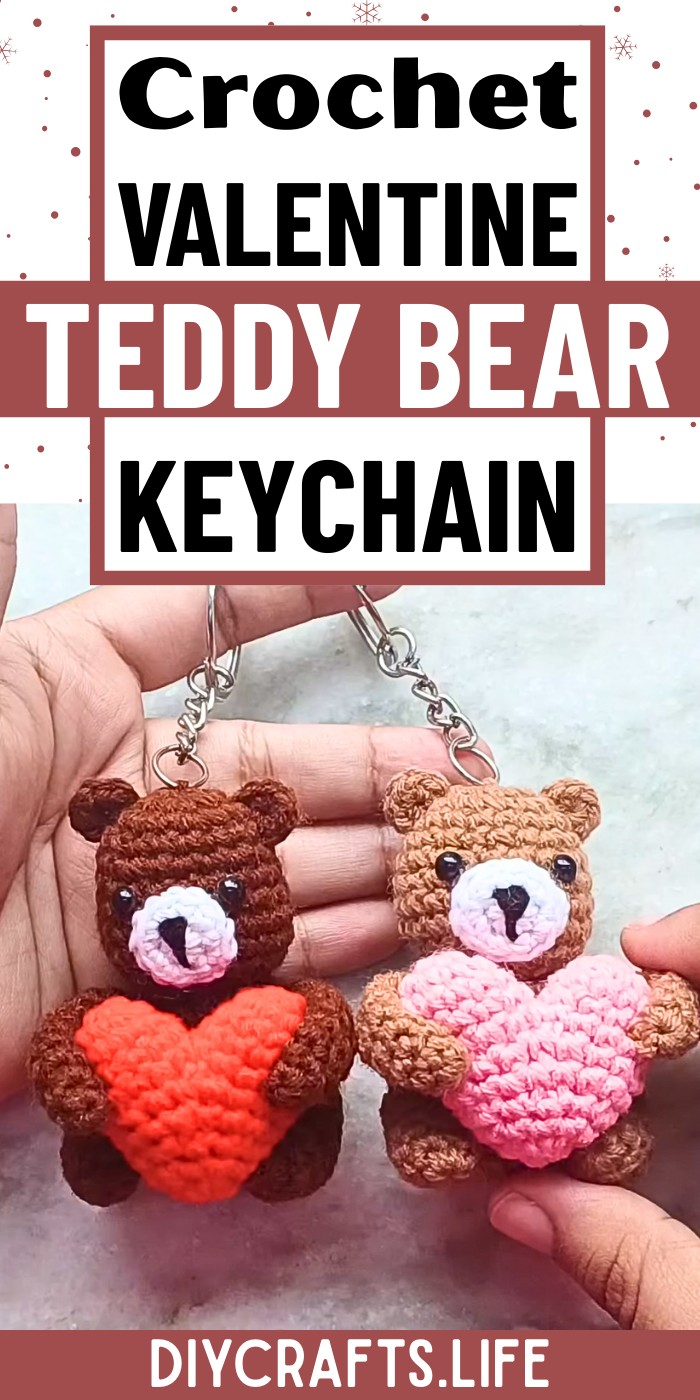
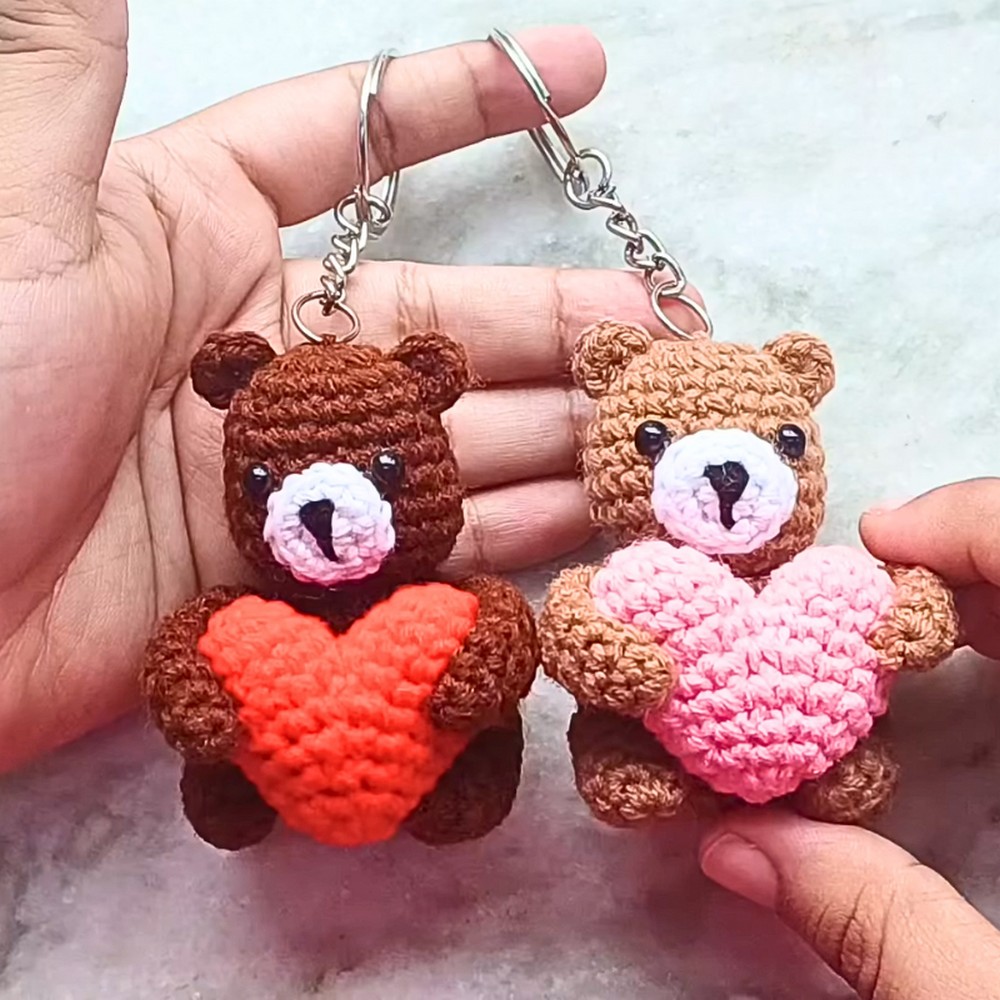
The crochet teddy bear with a heart serves as an endearing handmade gift, ideal for Valentine's Day. Built with durable stitches and detailed pattern techniques, it can stand alone, hold poses, or function as a keychain. Its compact and versatile design makes it appealing for any occasion.
Crochet Valentine Teddy Bear Pattern
Crafting a teddy bear involves simple techniques such as magic circles, invisible decreases, and stitching appliques. Beginners will enjoy assembling individual parts—from the muzzle to legs—and creating a cohesive, snug design. The tutorial ensures a seamless learning experience with clear instructions.
Credit elisi sevdası
Materials and Preparation
To create this adorable Valentine teddy bear with a heart, you will need:
- Yarn:
- Brown yarn (body of the bear) – recommended yarn weight: 4-ply.
- Pink or red yarn (heart).
- White yarn (muzzle).
- Black yarn (embroidery for nose/mouth details).
- Tools:
- Crochet hook: 3 mm (this is smaller than the recommended hook size for 4-ply yarn for tight stitches).
- Scissors.
- Yarn needle (for sewing pieces together and embroidering details).
- Stitch markers (or items like paper clips to mark stitches).
- Stuffing: Polyester fiberfill for stuffing the teddy bear.
- Safety eyes: Two 4 mm plastic safety eyes.
- Optional: Keychain ring (to turn the bear into a keychain).
Abbreviations and Notes
Here are the abbreviations used in the pattern:
- SC: Single Crochet.
- Inc: Increase (two single crochets in the same stitch).
- Dec: Decrease (two single crochets worked together).
- Invisible Dec: Invisible decrease (working into front loops only of two stitches).
- Ch: Chain.
- MC: Magic Circle.
Notes:
- Always work in continuous rounds unless mentioned otherwise. This means no slip stitches at the end of each round.
- Use stitch markers to identify the last stitch of each round.
- Tight stitches are necessary to avoid stuffing showing through. Using a smaller hook size with the yarn helps achieve this.
- If the piece begins to curve outward or in the incorrect direction, flip it to the correct side using fingers or the crochet hook.
Gauge, Approximate Size, and Pattern Notes
Gauge:
Gauge isn't critical for this project as long as you use tight stitches to prevent stuffing from showing through.
Approximate Finished Size:
The teddy bear will be about 3-5 inches tall, depending on your tension and yarn thickness.
Special Techniques:
- Magic Circle: Used to begin circular shapes (e.g., head, body, arms, etc.).
- Invisible Decrease: Helps ensure seamless shaping without the decrease stitches being overly visible.
No swatch is required for this project.
Step-by-Step Pattern
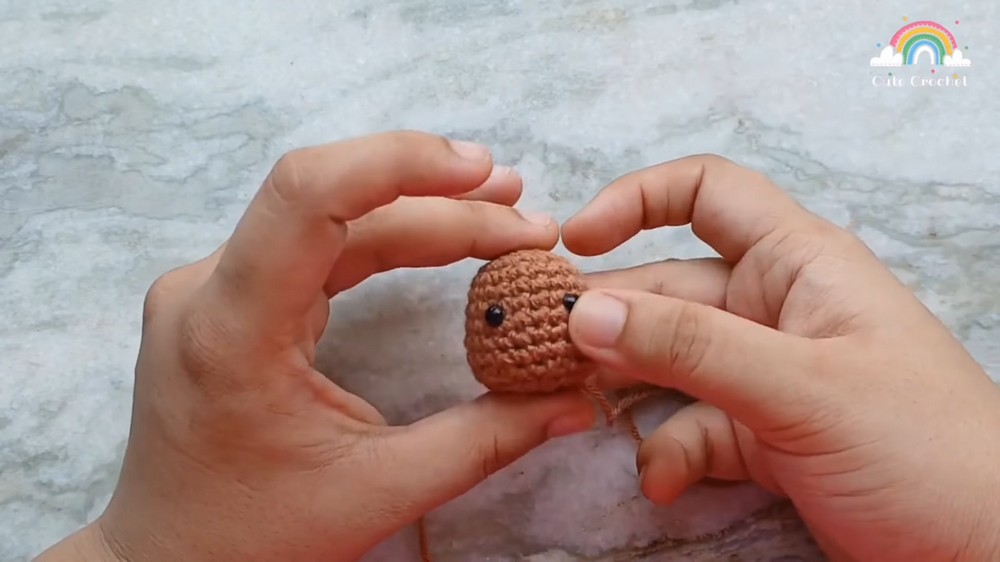
1. Head
Round 1: Start with a magic circle, chain 1 (does not count as a stitch), and make 6 SC into the circle. Pull the tail to cinch the circle closed. (6 SC)
Round 2: Inc in every stitch (2 SC per stitch). (12 SC)
Round 3: SC, Inc around (alternate 1 SC and 1 Inc). (18 SC)
Round 4: SC in every stitch. (18 SC)
Round 5: SC in next 5 stitches, Inc. Repeat 3x. (21 SC)
Round 6: SC in every stitch. (21 SC)
Round 7: SC in next 6 stitches, Inc. Repeat 3x. (24 SC)
- Rounds 8-9: SC in all stitches (24 SC).
Inserting Safety Eyes:
Count down to rounds 6-7. Insert one eye, spacing them 3 stitches apart. Secure with the backs.
Decreases:
Round 10: SC in next 2 stitches, Invisible Dec. Repeat 6x. (18 SC).
Round 11: SC, Invisible Dec. Repeat 6x. (12 SC).
Round 12: Invisible Dec into every stitch. (6 SC).
To close the head, weave the yarn tail through the front loops of the last 6 stitches using a yarn needle and pull tight. Save the yarn tail for sewing later.
2. Ears
Round 1: Magic circle, chain 1, and make 5 SC into the circle. Pull tail to close. (5 SC).
Fasten off, leaving a long tail for sewing. Make two ears.

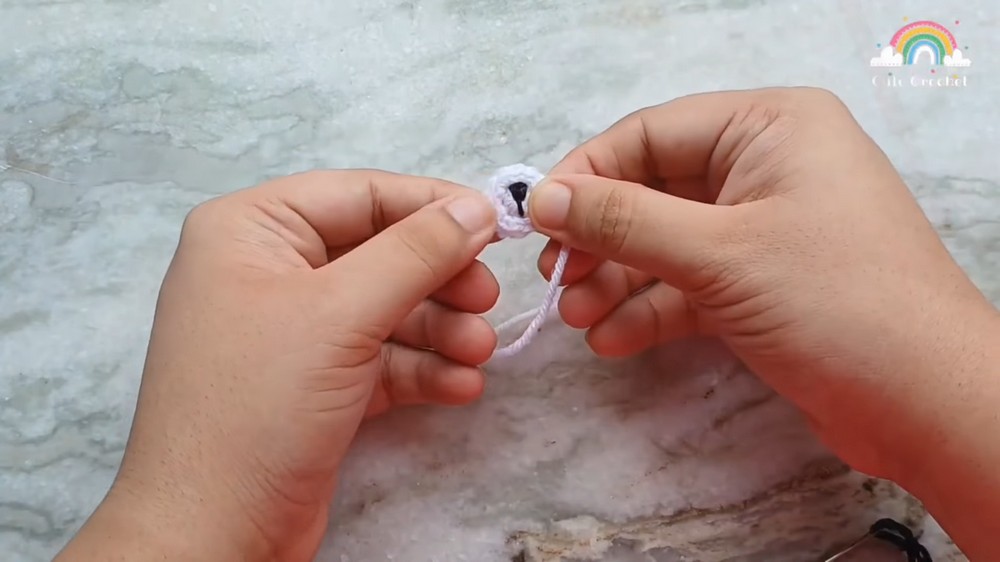
3. Muzzle
Round 1: Magic circle, chain 1, and make 6 SC into the circle.
Round 2: Inc in each stitch. (12 SC). Finish by slip stitching into the starting stitch.
Embroidering the Details:
Using black yarn, create a nose (triangle shape) and straight mouth below it with simple stitches. Knot the yarn securely at the back.
4. Body
Round 1: Magic circle, chain 1, and make 6 SC. (6 SC).
Round 2: Inc in each stitch. (12 SC).
Round 3: SC, Inc. Repeat around. (18 SC).
Round 4: SC in next 2 stitches, Inc. Repeat around. (24 SC).
Round 5: SC in next 3 stitches, Inc. Repeat around. (30 SC).
Round 6: SC in all stitches. (30 SC).
Round 7: SC in next 3 stitches, Invisible Dec. Repeat around. (24 SC).
Round 8: SC in all stitches. (24 SC).
Round 9: SC in next 2 stitches, Invisible Dec. Repeat around. (18 SC).
Round 10: SC in all stitches. (18 SC).
Round 11: SC, Invisible Dec. Repeat around. (12 SC).
Stuff the body generously, leave the opening, and fasten off.
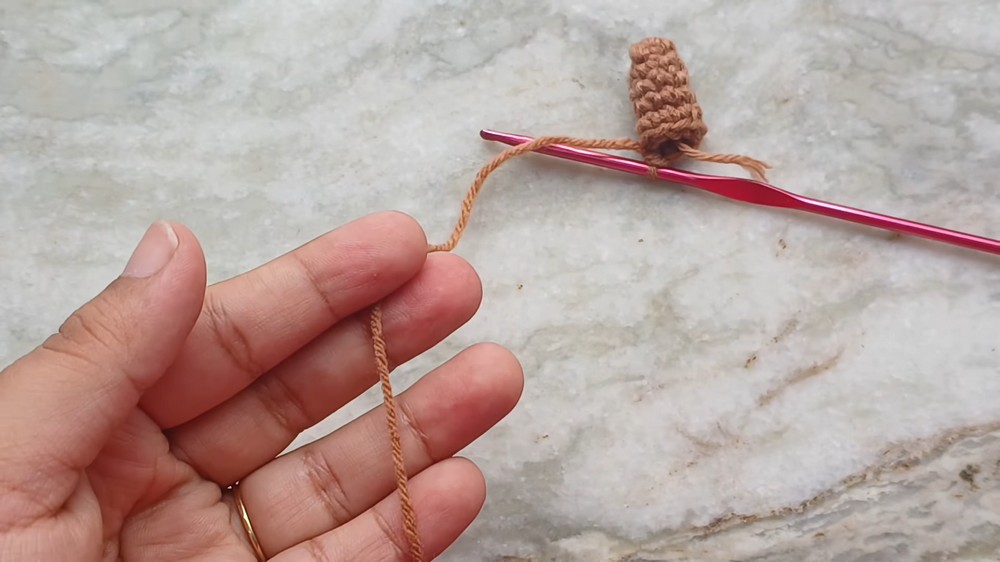
5. Arms (Make Two)
Round 1: Magic circle, chain 1, and make 6 SC. (6 SC).
Rounds 2-9: SC in all stitches (6 SC).
Do not stuff the arms. Fasten off, leaving tails for sewing.
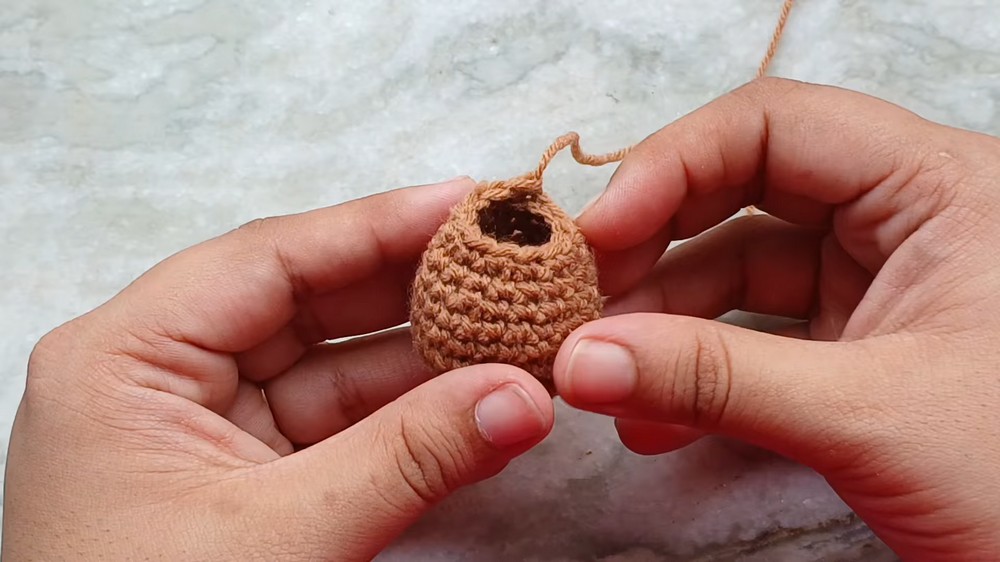
6. Legs (Make Two)
Round 1: Magic circle, chain 1, and make 6 SC. (6 SC).
Round 2: SC in next 2 stitches, Inc. Repeat twice. (8 SC).
Rounds 3-6: SC in all stitches (8 SC).
Lightly stuff the toes, leaving the remainder unstuffed. Fasten off, leaving tails for sewing.
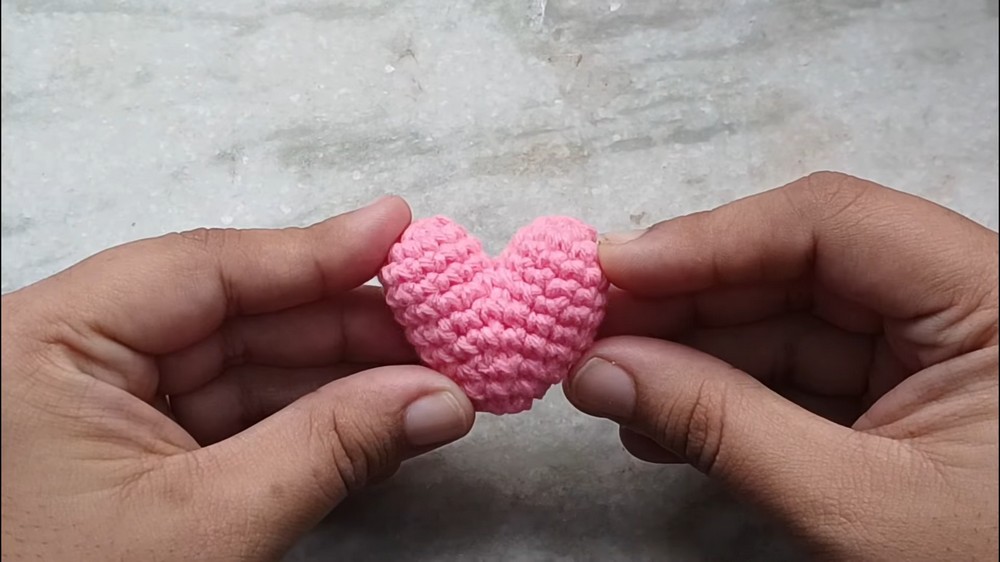
7. Heart
Follow this tutorial for the heart. Leave a long tail for sewing.
Assembly
Step 1: Sew on the muzzle between the two eyes. Use pins to position pieces as needed. Secure all stitches.
Step 2: Attach ears onto rounds 3-4 of the head. Tie knots with tails and hide them inside the head.
Step 3: Sew the head to the body. Match the second round of the head to the opening of the body for seamless stitching.
Step 4: Sew the heart to the front of the body.
Step 5: Attach the arms so they appear to hold the heart. Make neat stitches and secure them tightly.
Step 6: Sew legs along the base of the body so the bear can sit upright.
Step 7 (Optional): Attach the keychain ring through the top of the head using the leftover yarn tail. Secure with an extra stitch.

Pattern Question
Question: How do I keep my stuffing from showing through the bear’s stitches?
Answer: Use a crochet hook size smaller than recommended for your yarn to create tighter stitches, preventing stuffing from peeking through and maintaining a professional look.
Conclusion
This tutorial beautifully combines crochet techniques with creativity, guiding you to make a lovable teddy bear holding a heart. Whether as a gift or accessory, this project is rewarding and showcases thoughtful handmade craftsmanship.