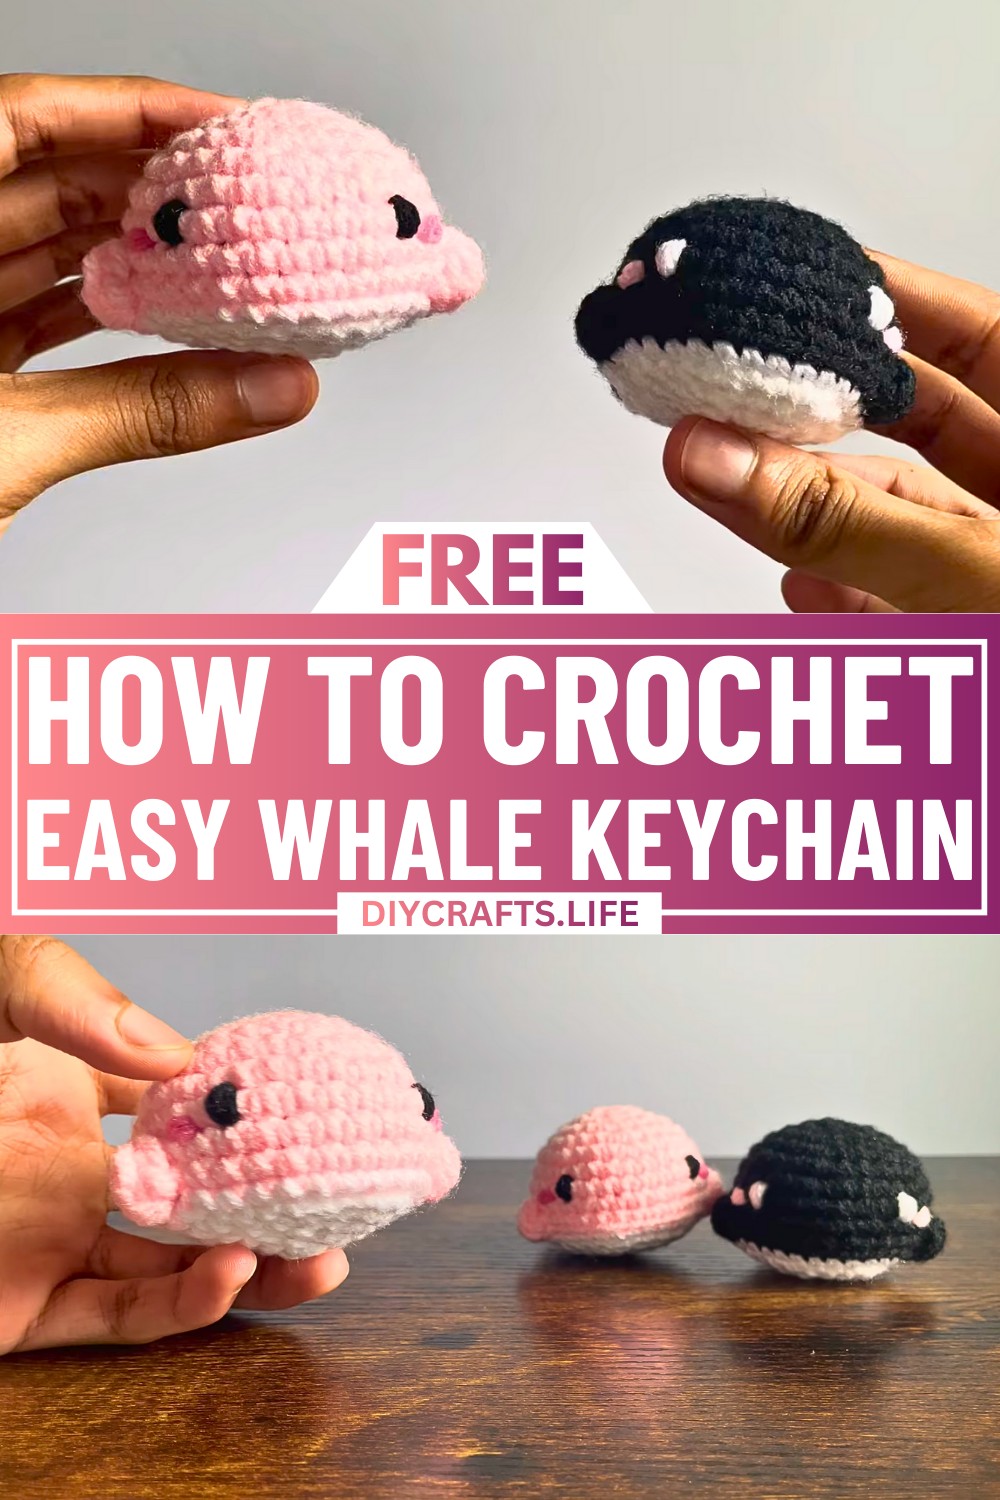
Transform your love for crochet into an adorable keepsake with this charming whale keychain creation. Perfect for beginners and seasoned crafters alike, this fun and approachable design brings a splash of creativity to your accessories. With every careful stitch, you'll add a touch of personality and whimsy to your daily essentials, turning heads with an ocean-inspired twist.
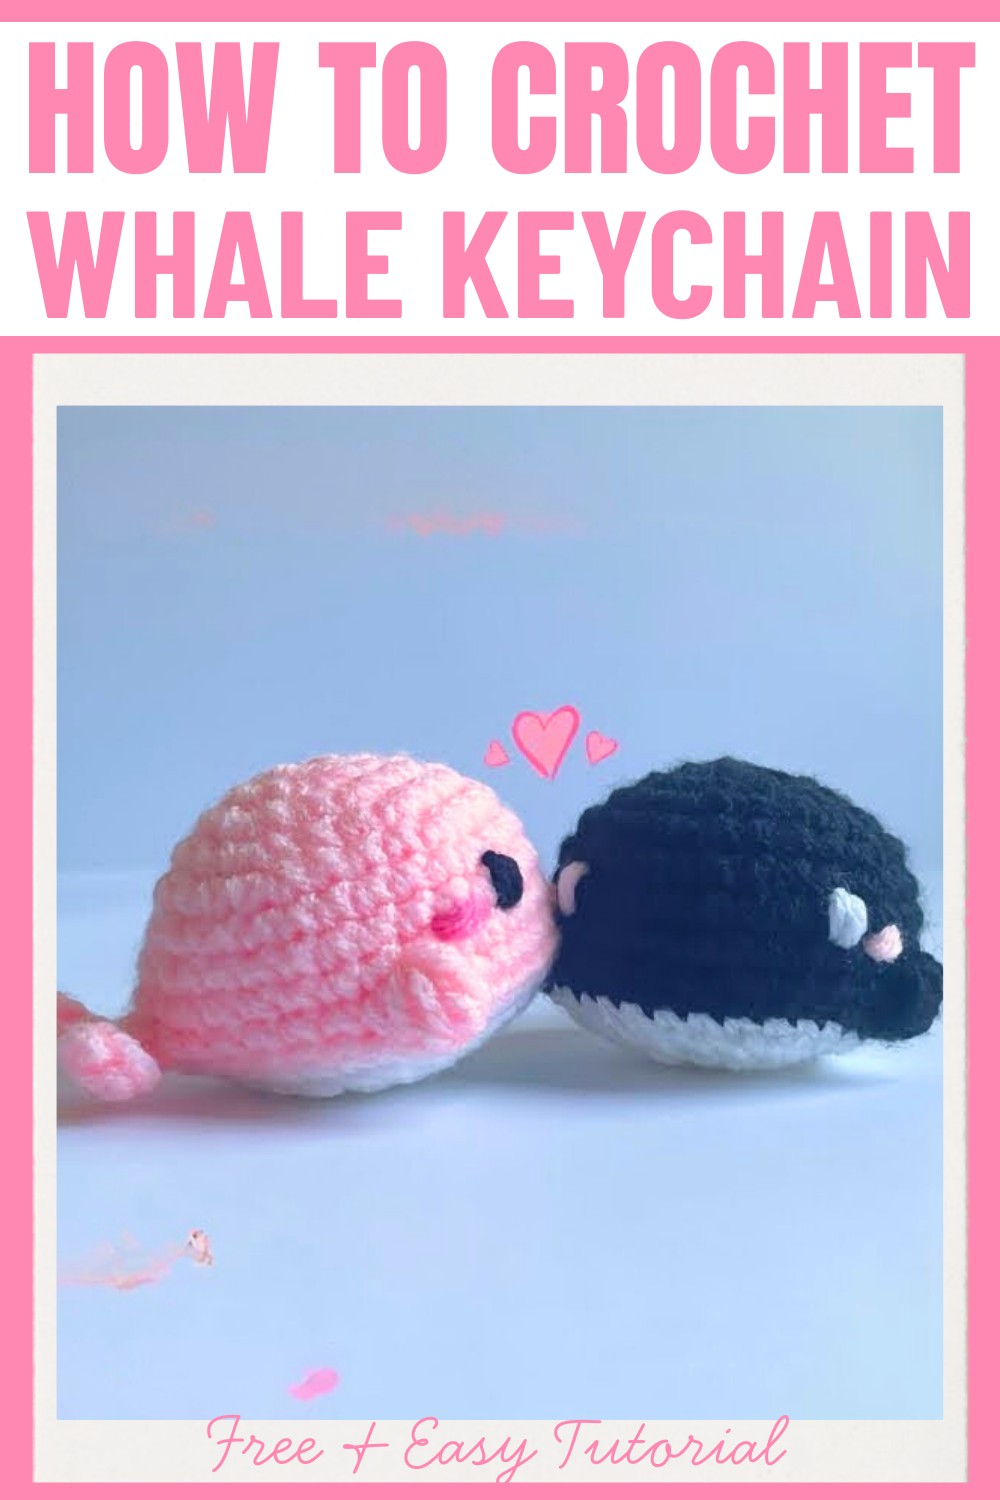
This cute whale stands out not only for its intricate details but for its practicality as a keychain. Featuring easy-to-follow steps, from crafting its adorable tail to detailing its sweet facial expressions, you'll create a delightful handmade piece. The combination of thoughtfully selected colors, a clever no-sew tail, and a customizable touch ensures this whale keychain resonates with your individual style.
Credit Divine Crochets
Required Materials
- Yarn:
- Primary color for the whale’s body (e.g. pink).
- White yarn for the bottom portion.
- Small amounts of pink yarn for the blush.
- Black yarn for the facial features.
- Hook: 3.5 mm crochet hook.
- Notions:
- Scissors.
- Stitch marker.
- Yarn needle.
- Stuffing: Fiberfill or yarn scraps.
Important Notes
- The whale is worked in rounds. Always begin each round by marking the first stitch with a stitch marker to keep track.
- Key techniques:
- Magic ring: An optional beginner-friendly method using chain stitches and slip stitches to form the foundation ring.
- Invisible decrease: Used for a polished finish when shaping the whale.
- Bobble stitch: Creates texture for fins or other decorative features.
- Slip stitches and chain stitches at the end of each round don't count as stitches.
- Always finish color changes by pulling the new yarn through the last step of the stitch for seamless transitions.
Step-by-Step Crochet Instructions
Below is a detailed breakdown of how to crochet your whale:
Creating the Body
- Foundation (Magic Ring Alternative):
- Start with a slip knot and chain 4.
- Slip stitch into the first chain to create a ring.
- Work stitches into the center of the ring.
- Round 1:
- Place 6 single crochet (SC) inside the ring.
- Slip stitch into the first SC.
- Chain 1 and pull the tail to close the ring.
- Round 2:
- Increase every stitch around: Place 2 SC in each stitch.
- Total: 12 SC.
- Slip stitch into the first SC and chain 1.
- Round 3:
- Pattern: SC, Increase (2 SC in next stitch), repeat.
- Total: 18 SC.
- Slip stitch into the first SC and chain 1.
- Round 4:
- Pattern: SC, SC, Increase (2 SC in next stitch), repeat.
- Total: 24 SC.
- Slip stitch into the first SC and chain 1.
- Round 5:
- Pattern: SC, SC, SC, Increase (2 SC in next stitch), repeat.
- Total: 30 SC.
- Slip stitch into the first SC and chain 1.
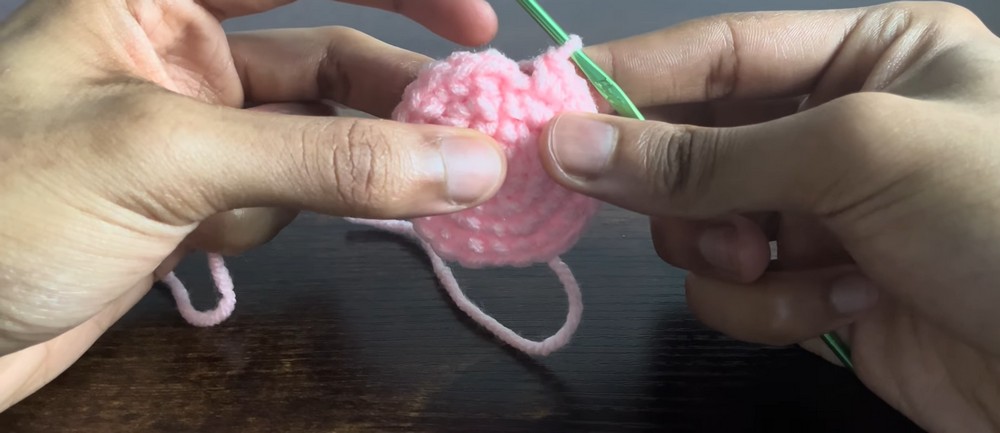
Rounds 6–8 (Shape the Body)
- Place 1 SC in each stitch for the next 3 rounds.
- Slip stitch at the end of each round and chain 1.
Tail
- Begin the tail after finishing Round 8:
- Chain 5 (skip first chain from the hook).
- Second chain: SC.
- Next 2 chains: Half Double Crochet (HDC).
- Last chain: Slip stitch.
- Slip stitch into the same base stitch and repeat Step 1 to create the second half of the tail.
- Slip stitch into the base stitch again to secure the tail.
- Chain 1 and continue with Round 9.

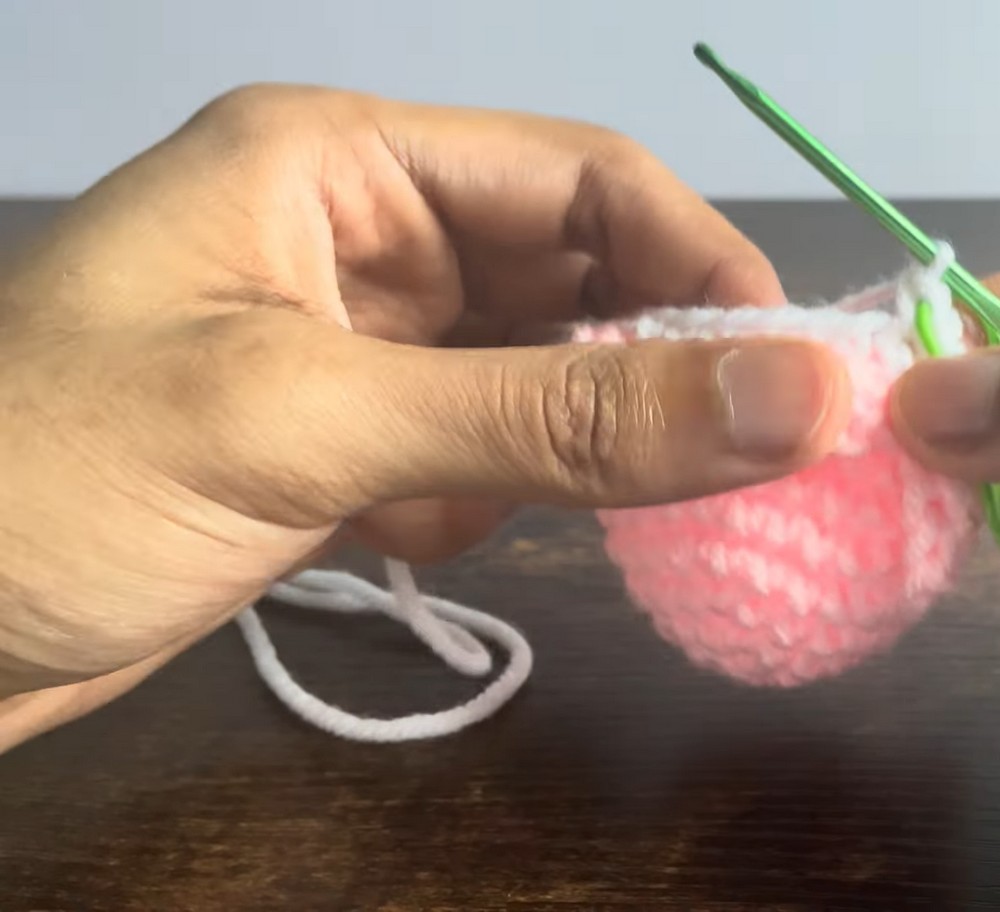
Round 9 (Start Adding Features)
- Work 7 SC, then add a bobble stitch:
- Yarn over.
- Insert hook in the next stitch.
- Yarn over and pull through (3 loops on hook).
- Yarn over and pull through 2 loops.
- Repeat this process 3 more times in the same stitch (total of 5 loops on hook).
- Yarn over and pull through all loops to complete the bobble.
- Work 13 SC, then create another bobble stitch.
- Finish with 8 SC.
- Color change:
- Begin the last SC but pull white yarn through the final step to switch colors.
- Slip stitch into the first SC and chain 1.
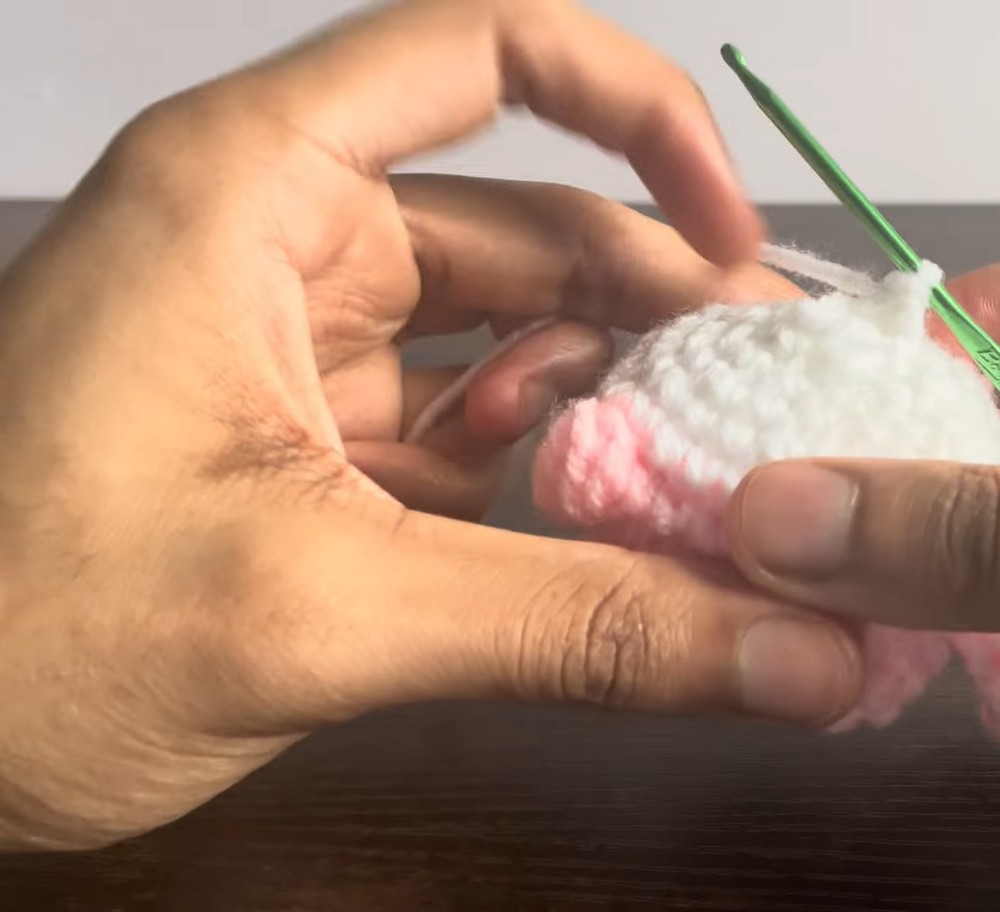
Round 10 (White Portion)
- Place 1 SC in each stitch around.
- Total: 30 SC.
- Slip stitch into the first SC and chain 1.
Rounds 11–13 (Shaping the Whale)
- Round 11: SC, SC, SC, Decrease, repeat.
- Total: 24 stitches.
- Round 12: SC, SC, Decrease, repeat.
- Total: 18 stitches.
- Round 13: SC, Decrease, repeat.
- Total: 12 stitches.
Round 14 (Closing the Body)
- Decrease all the way around (6 stitches remaining).
- Slip stitch into the first stitch and chain 1.
Finishing
- Stuffing:
- Fill the whale with stuffing, focusing on creating a rounded shape. Pinch the tail section for a curved finish.
- Close the Center Hole:
- Using a yarn needle, weave through the front loops of the last 6 stitches.
- Pull tight to cinch the hole closed.
- Knot and hide the tail within the whale.
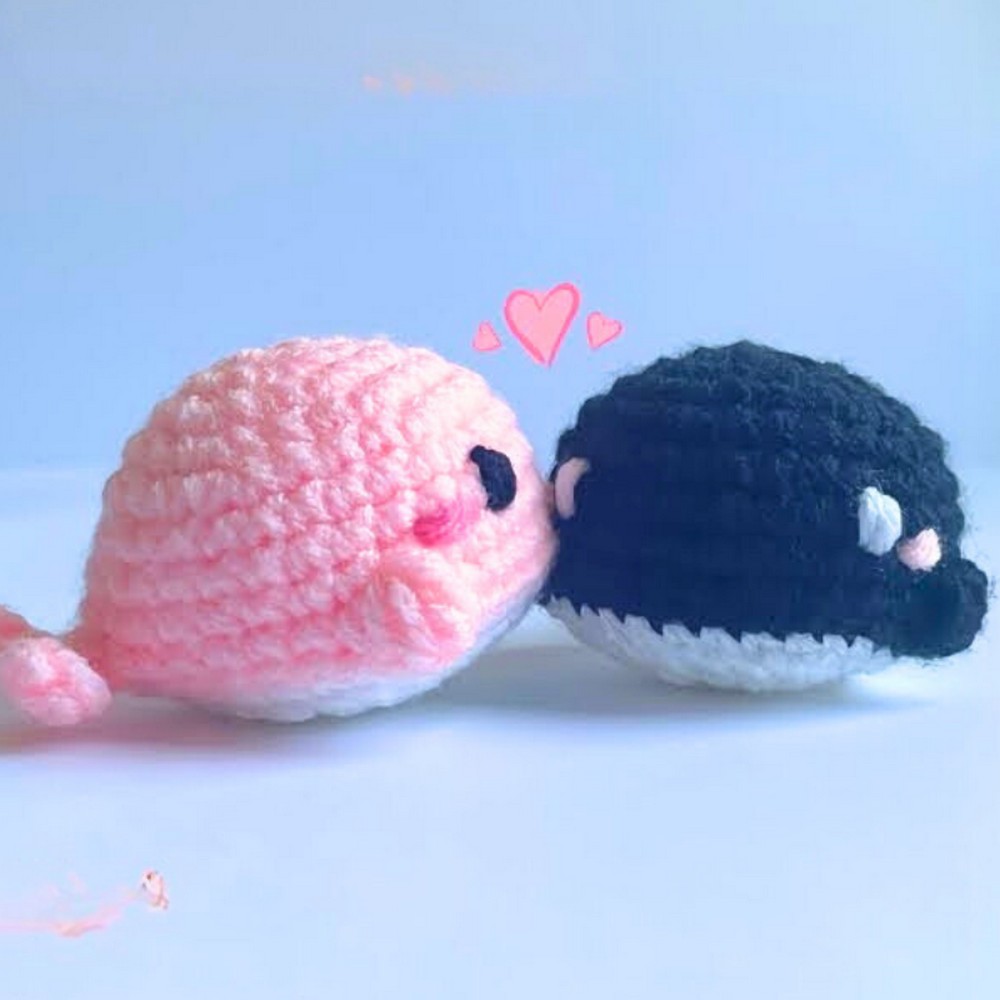
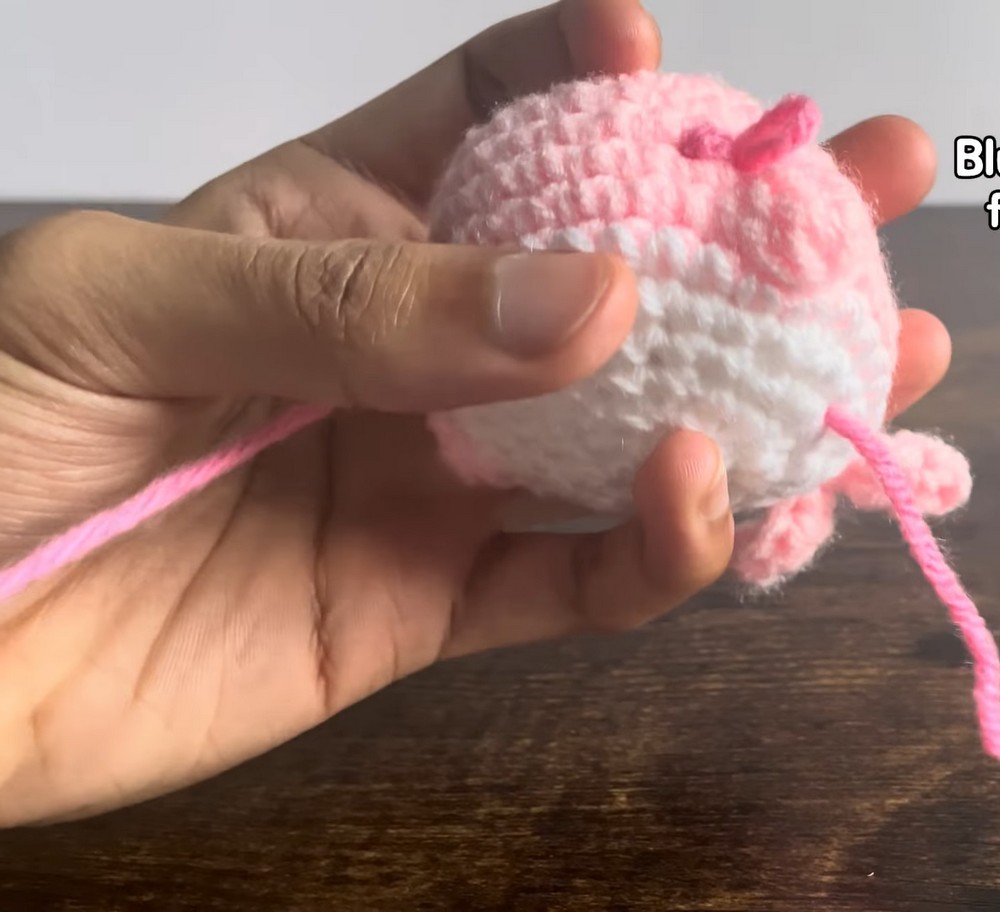
Adding Facial Details
- Blush:
- Using pink yarn, embroider short horizontal lines (between rounds 7–8) on either side of the whale’s cheeks.
- Knot and tuck yarn tails inside the whale.
- Eyes:
- Embroider black eyes one stitch away from the blush on each side.
- Create small oval shapes by stitching multiple times in the same area.
- Knot and tuck the yarn tails.
Optional: Turning Into a Keychain
- Attach a jump ring to the top of the whale via a few stitches using leftover tail yarn or metal hardware.
Enjoy your cute whale keychain!