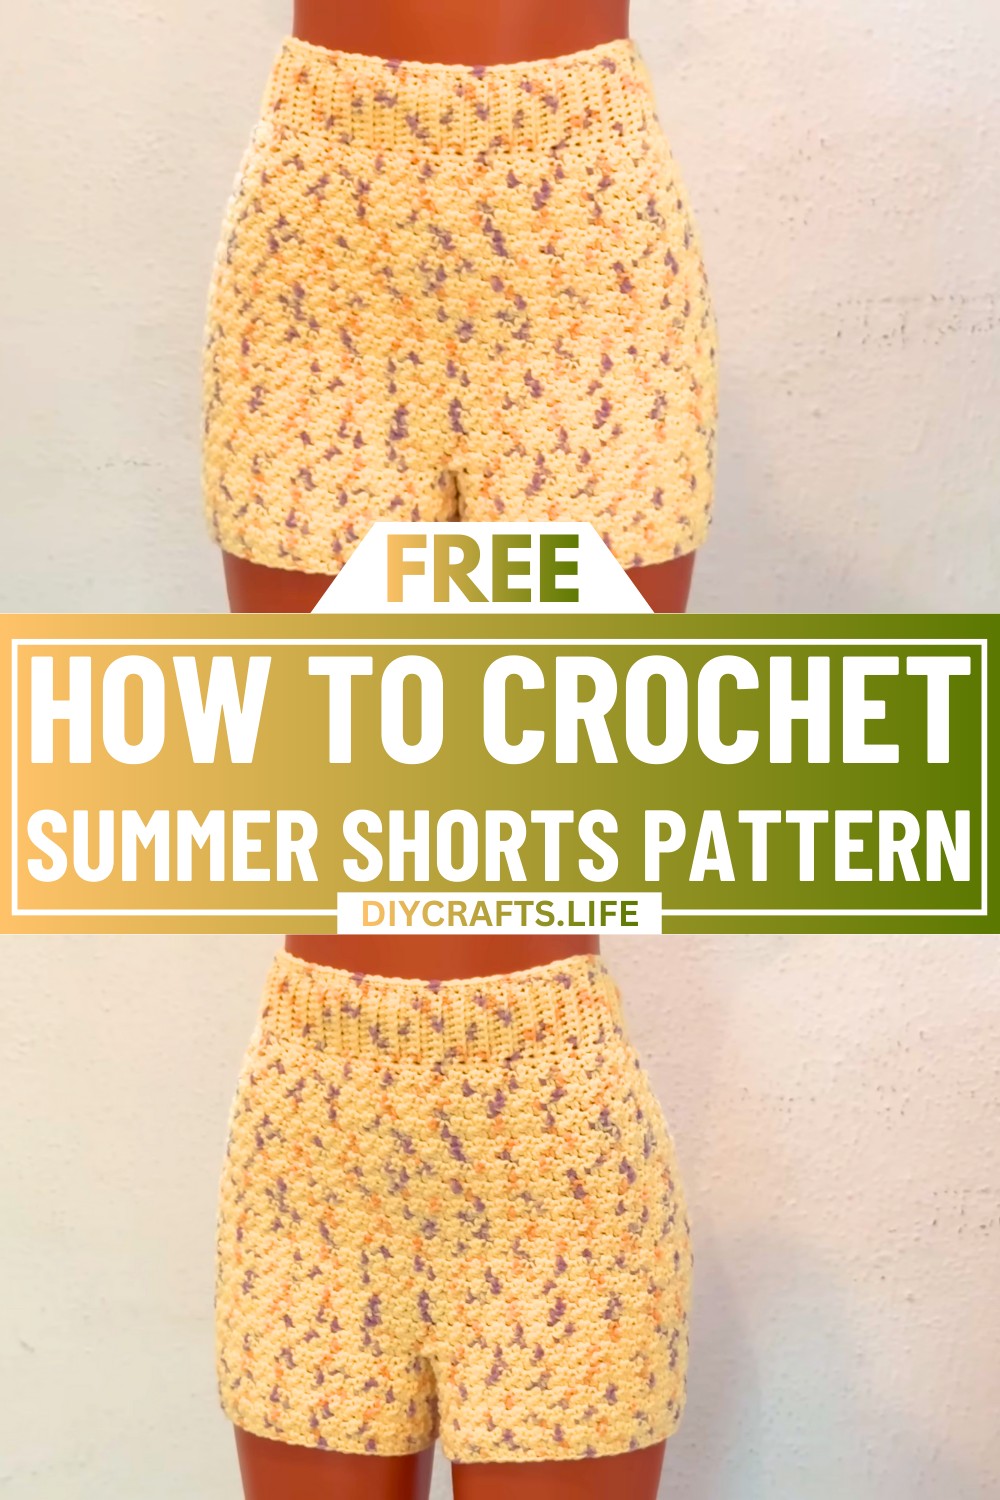
Get ready to crochet the ultimate summer essential—a pair of chic and vibrant cotton shorts that practically shout summertime vibes! Whether lounging by the beach or enjoying a casual day out, these handmade shorts are as comfortable as they are stylish. With their light texture and playful pops of color, they bring a fresh, breezy focus to your warm-weather wardrobe.
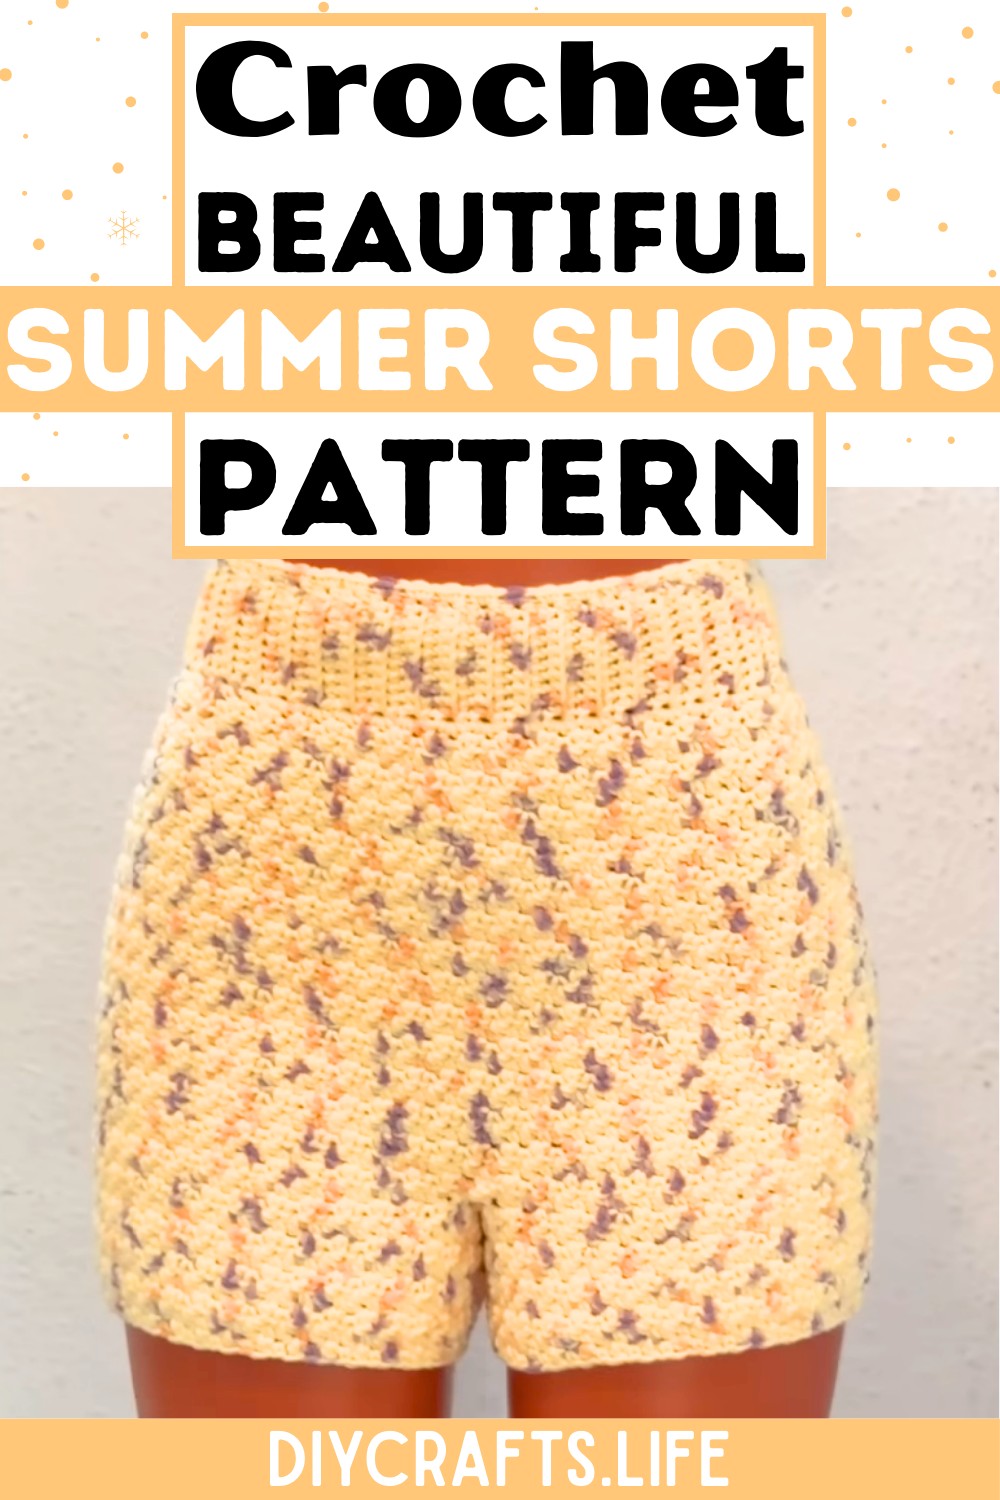
Crochet Summer Shorts
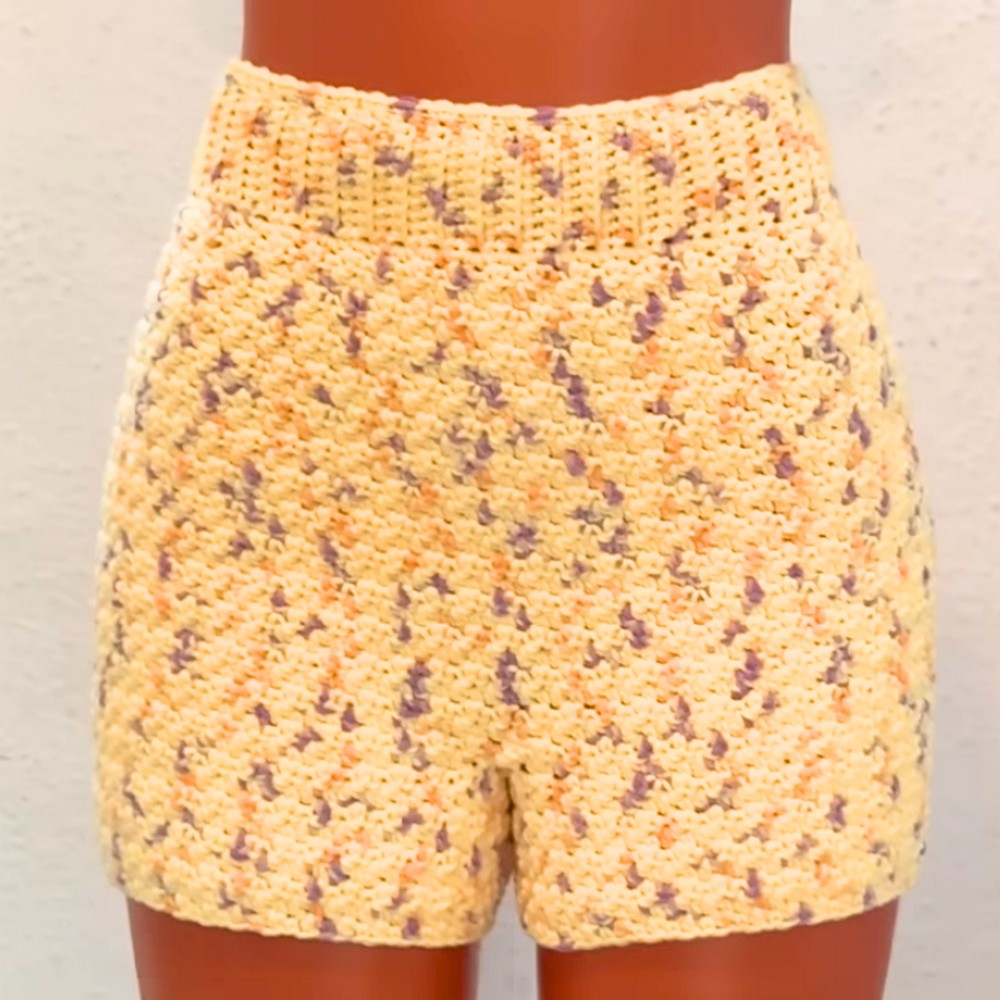
This crochet Summer Shorts pattern stands out because it blends simplicity with character. Featuring the lemon peel stitch, it offers a satisfying texture while remaining beginner-friendly. The design allows for full customization of length and fit, ensuring it's tailored to your style. Whether you opt for snug or relaxed, you’ll enjoy the creative process of crafting something that’s completely yours. Add finishing details like a drawstring or elastic band for that perfect fit, and you’ve got a piece as personal as it is practical.
Credit FTK Crochet
Materials Needed:
- 5-ply multicolored cotton yarn (50g per ball, quantity depends on size—refer to the video's description for exact usage).
- 5 mm crochet hook.
- Tapestry needle.
- Stitch markers.
- Measuring tape.
- Scissors.
Measurements:
- Measure your hips for the band’s width. Ensure the measurements allow the shorts to fit past the hips when worn.
- Measure the desired length of the shorts (can be short or longer based on personal preference).
Pattern Instructions:
1. Starting the Band
- Foundation:
- Make 10 chains (or adjust to desired width for the band).
- For Row 1, chain 1, skip the first stitch, and work single crochets (SC) across the chain. Ensure you have 10 SC at the end.
- Row 2 Onward:
- Chain 1, turn your work.
- Work the first stitch as regular SC.
- For the remaining stitches (except the last one), work single crochets into the front loops only.
- The last stitch will be a regular SC.
- Repeat Row 2 for the entire band length to match your hips measurement. Stretch frequently to check fit.
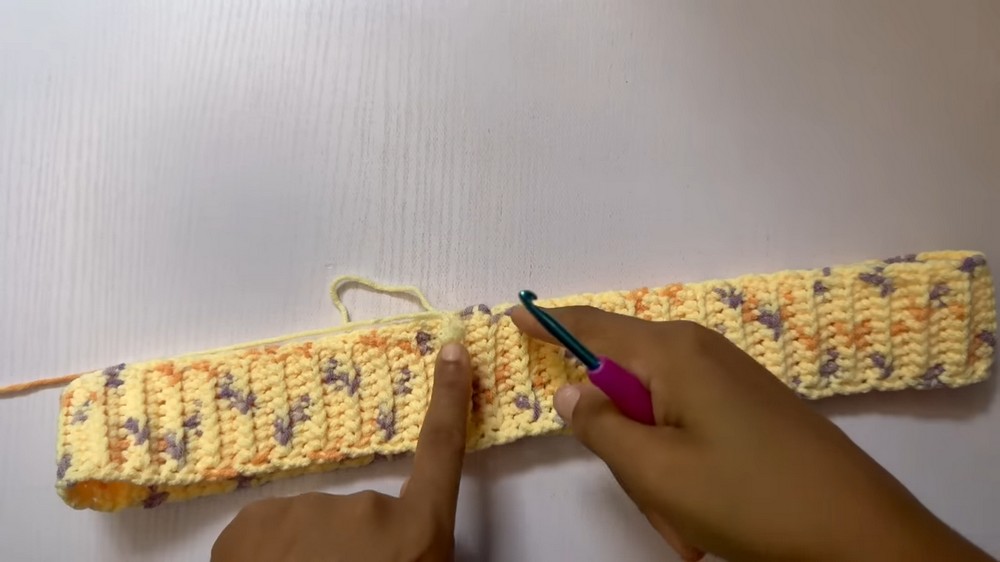
- Joining the Band:
- Fold the band lengthwise.
- Use slip stitches to join the band, working through the front loops on one side and regular stitches from the other side.
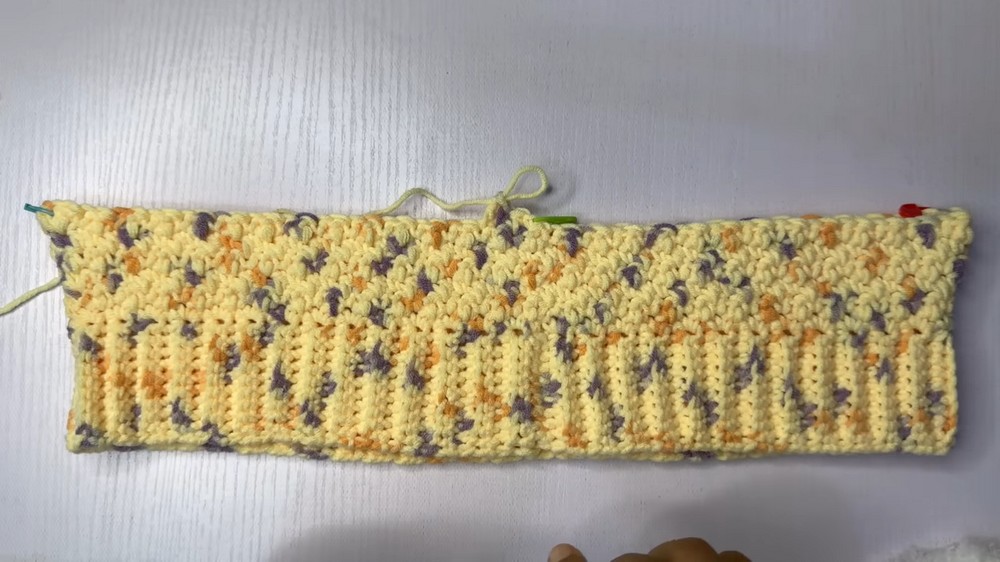
2. Create the Base (Body Border):
- Foundation Border:
- Work one round of single crochets along the edge of the joined band and make sure the stitch count matches the rows of the band.
- Slip stitch to the first stitch to join the round.
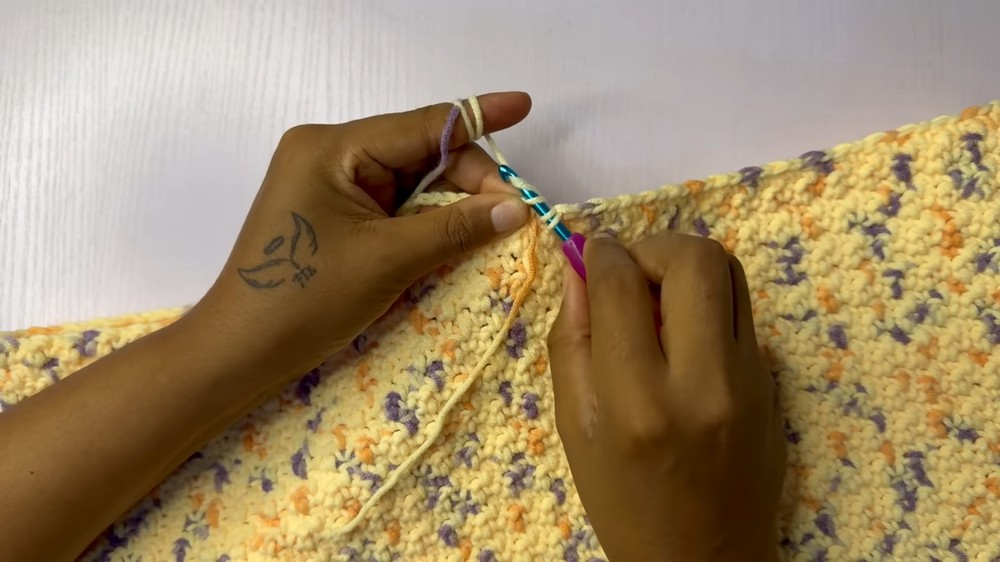
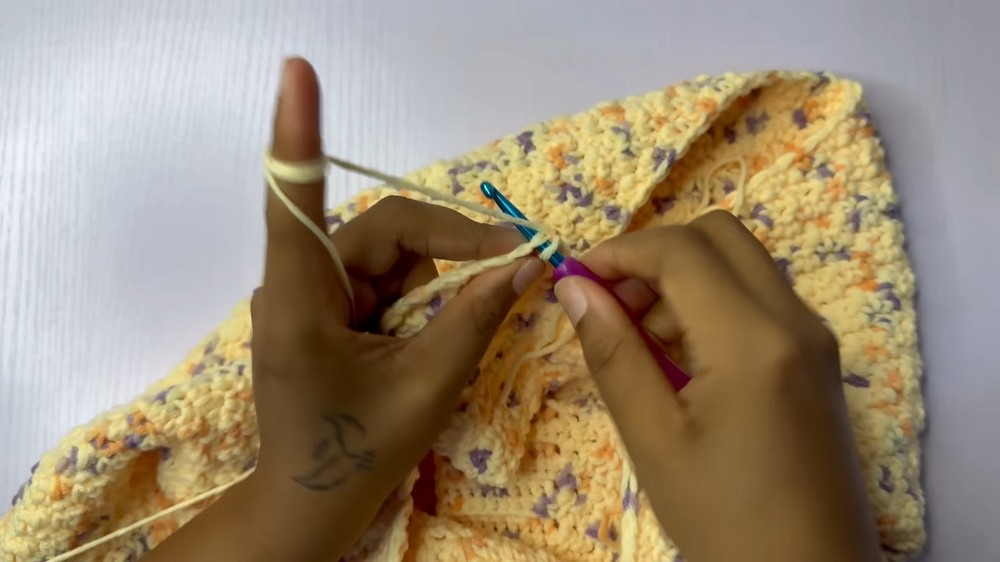
3. Lemon Peel Stitch for the Body:
- Pattern: The Lemon Peel Stitch alternates single crochet (SC) and double crochet (DC).
- Row 1: Chain 1, turn work, start with SC in the first stitch, then alternate SC and DC across the round.
- Slip stitch to join and turn.
4. Increase Rows (Hip Shaping):
- Increase Zones: Divide the stitches by marking the two "corner" points (half of the total stitch count on each side). Perform increases at these corners.
- Increase Row:
- At marked “corners,” place 1 SC, 1 DC, and 1 SC in the same stitch. Use stitch markers to mark the middle stitch of the increase to maintain symmetry.
- The rest of the stitches alternate between SC and DC.
- Non-Increase Rows:
- Work 2 rows with no increases by continuing SC/DC alternation across.
- Alternate increase rows and non-increase rows until the body of the shorts is wide enough for your hips.
5. Bottom Section (Leg Shaping / Crotch):
- Crotch Division:
- Count and divide stitches equally on both sides to create openings for the legs.
- Create a chain bridge for the crotch (e.g., 22 chains for large thighs). This connects the middle of the front and back sections.
- First Leg:
- Attach yarn at the middle crotch chain area.
- Begin working the Lemon Peel Stitch (SC/DC alternation) around the leg stitches and crotch chain.
- For decreases at the crotch connection points, pull loops from two adjacent stitches and finish as one SC.
- Work rows until you reach your desired leg length.
- Second Leg:
- Repeat the same process with the other leg.
6. Finishing Touches:
- Elastic Waist (Optional):
- Add an elastic band to the waist for better fit. Alternatively, create a drawstring using chains and weave it through the waistband.
- Refer to the creator’s linked video for detailed steps on elastic installation.
- Weave in all ends and trim.
Pro Tips:
- Use stitch markers to ensure precision during shaping.
- Adjust chain counts and leg row counts based on personal size and length preferences.
- Test the fit on your body (or the person you're making it for) throughout the process.