Looking for a beautiful and versatile crochet project? The mitered granny square is perfect for blankets, throws, or pillows! With its stunning geometric design and customizable colors, it’s a beginner-friendly pattern that’s both functional and fun to make.

The mitered granny square stands out for its durability and classic appeal. Perfect for everything from cozy home decor to wearable accessories, it pairs endless color combinations with a timeless design, making it uniquely stylish and adaptable for any project.
Crocheting a Mitered Granny Square
Crafting a mitered granny square is both exciting and rewarding! It’s suitable for all skill levels and provides room for creative expression through color. Whether you’re making one square or a full blanket, this pattern is endlessly customizable and perfect for beginners and experts alike.
Materials and Preparation
Required Materials:
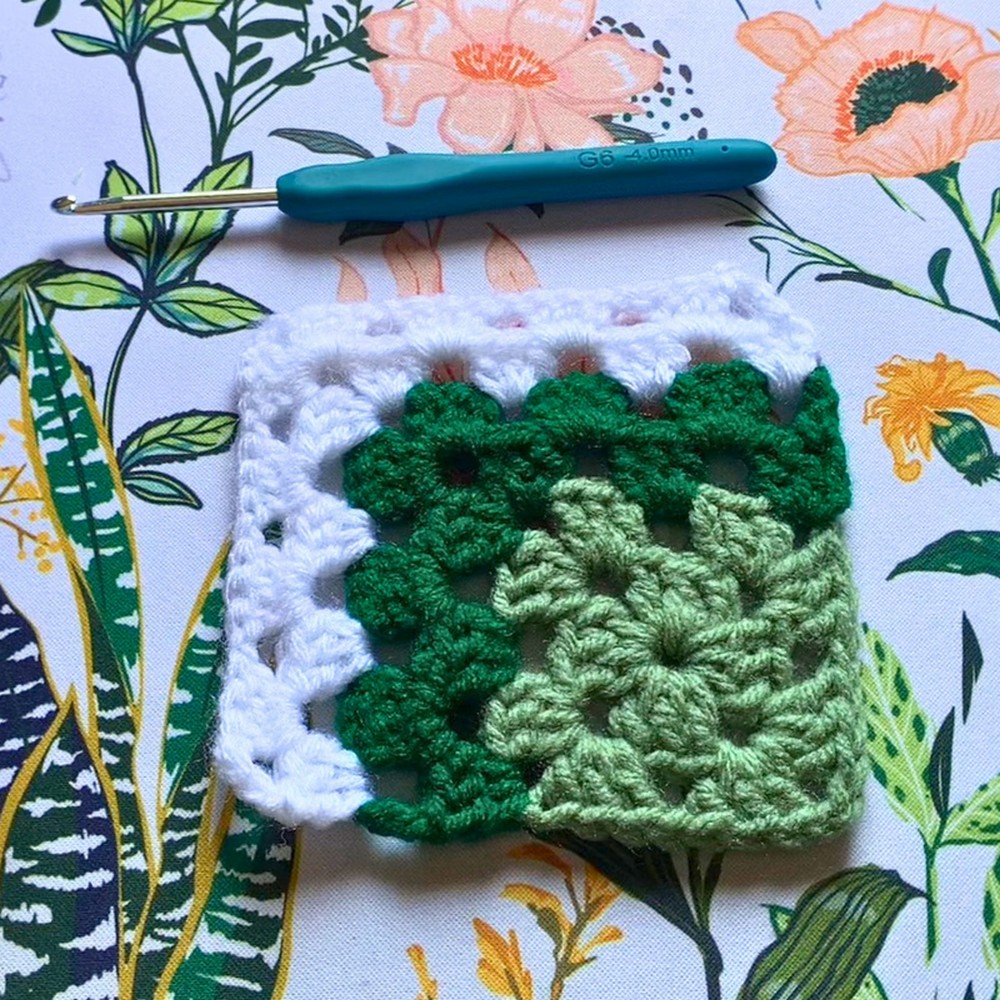
- Yarn: Loops and Threads in Orange; Big Twist in Varsity Yellow (or any two contrasting colors of your choice)
- Hook Size: 5 mm crochet hook
- Additional Tools:
- Scissors
- Yarn needle (for weaving ends)
Yarn Weight Requirements:
Any yarn weight can be used, as long as you match it with an appropriate hook size. The 5 mm hook works well with medium (4) weight yarn.
Abbreviations and Notes
Abbreviation Key:
- CH: Chain
- SC: Single Crochet
- HDC: Half Double Crochet
- DC: Double Crochet
- TR: Treble (Triple) Crochet
- YO: Yarn Over
Pattern Notes:
- The long wave stitch creates a ripple effect with alternating heights of stitches.
- The pattern repeats in multiples of 14 chains, plus 2 chains for turning.
- Working over yarn ends while attaching colors is optional but prevents weaving ends later.
Gauge, Approximate Size, and Pattern Notes
Gauge:
Gauge is not critical since the pattern is adaptable depending on your foundation chain length.
Finished Dimensions:
This will depend on your desired project length and the number of rows worked. You can make anything from scarves and blankets to pillow covers using this stitch.
Pattern Notes:
- Beginners can skip the color changes initially and practice only with one yarn color.
- Special focus should be given when transitioning between stitch types for consistency.
Step-By-Step Pattern
Step 1: Foundation Row
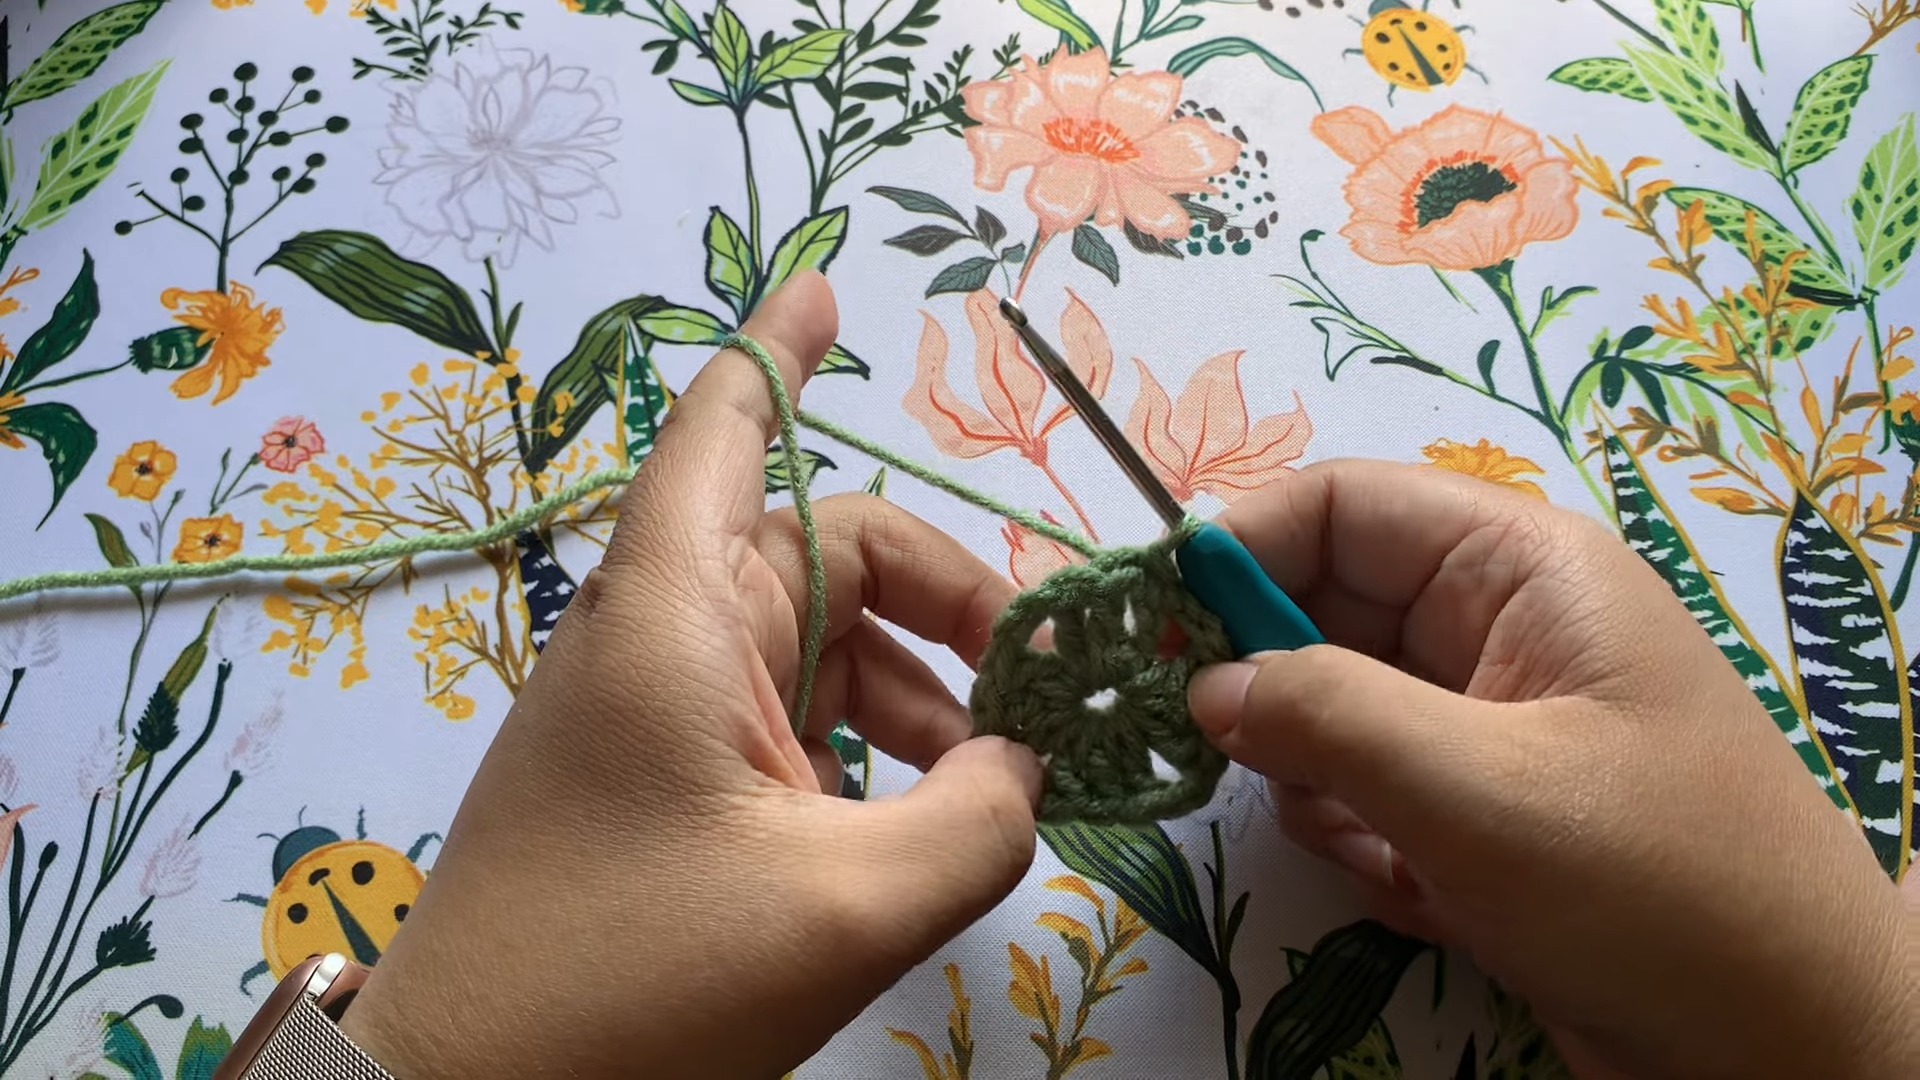
- Begin with a Slip Knot: Create a slip knot and place it on your hook.
- Chain in Multiples of 14: Chain your desired length, ensuring the count is a multiple of 14. Add 2 extra chains for turning.
- Example: Chain 28 + 2 = 30 for practice.
Step 2: Row 1 – Start the Wave Pattern
- Start with SCs:
- Skip the first chain from the hook.
- Place 1 SC in the next 2 chains.
- Create Smaller Waves:
- Next, make 2 HDCs: YO, insert, pull up a loop, YO, pull through all 3 loops.
- Follow with 2 DCs: YO, insert, pull up a loop, YO, pull through two loops twice.
- Form the Top of the Wave:
- Work 3 TRs (one TR in each chain): YO two times, insert, pull up a loop, then pull through two loops three times.
- Descending the Wave:
- 2 DCs: Work one DC in each of the next 2 chains.
- 2 HDCs: Work one HDC in each of the next 2 chains.
- 1 SC in each of the next 3 chains: Insert, pull up a loop, YO, pull through two loops; repeat for 3 chains.
- Repeat: Continue alternating wave sections until the end of the row. End with 2 SCs.
- Turn Work: Chain 1 and turn your work to prepare for the next row.
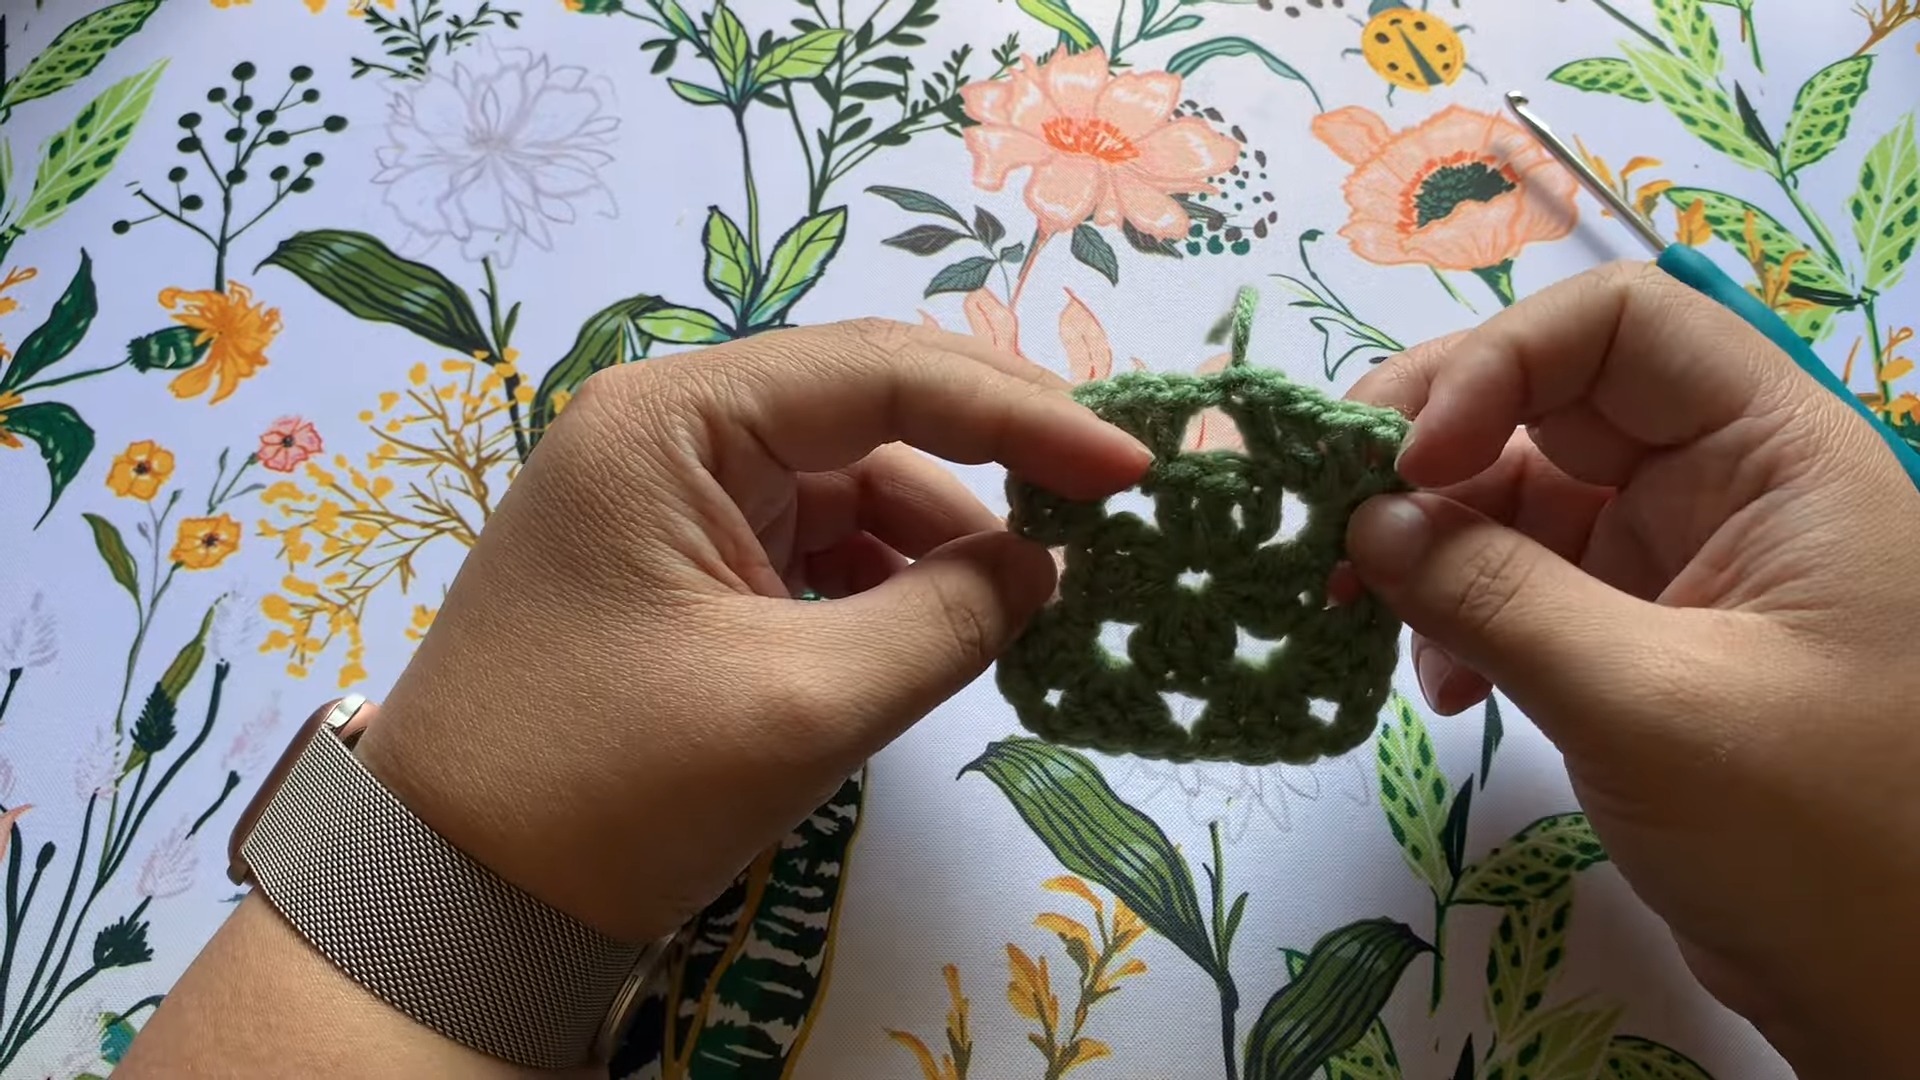
Step 3: Row 2 – Stabilizing Row (All SCs)
- Work All SCs:
- Insert, pull up a loop, YO, pull through two loops.
- Place 1 SC in each stitch across the row.
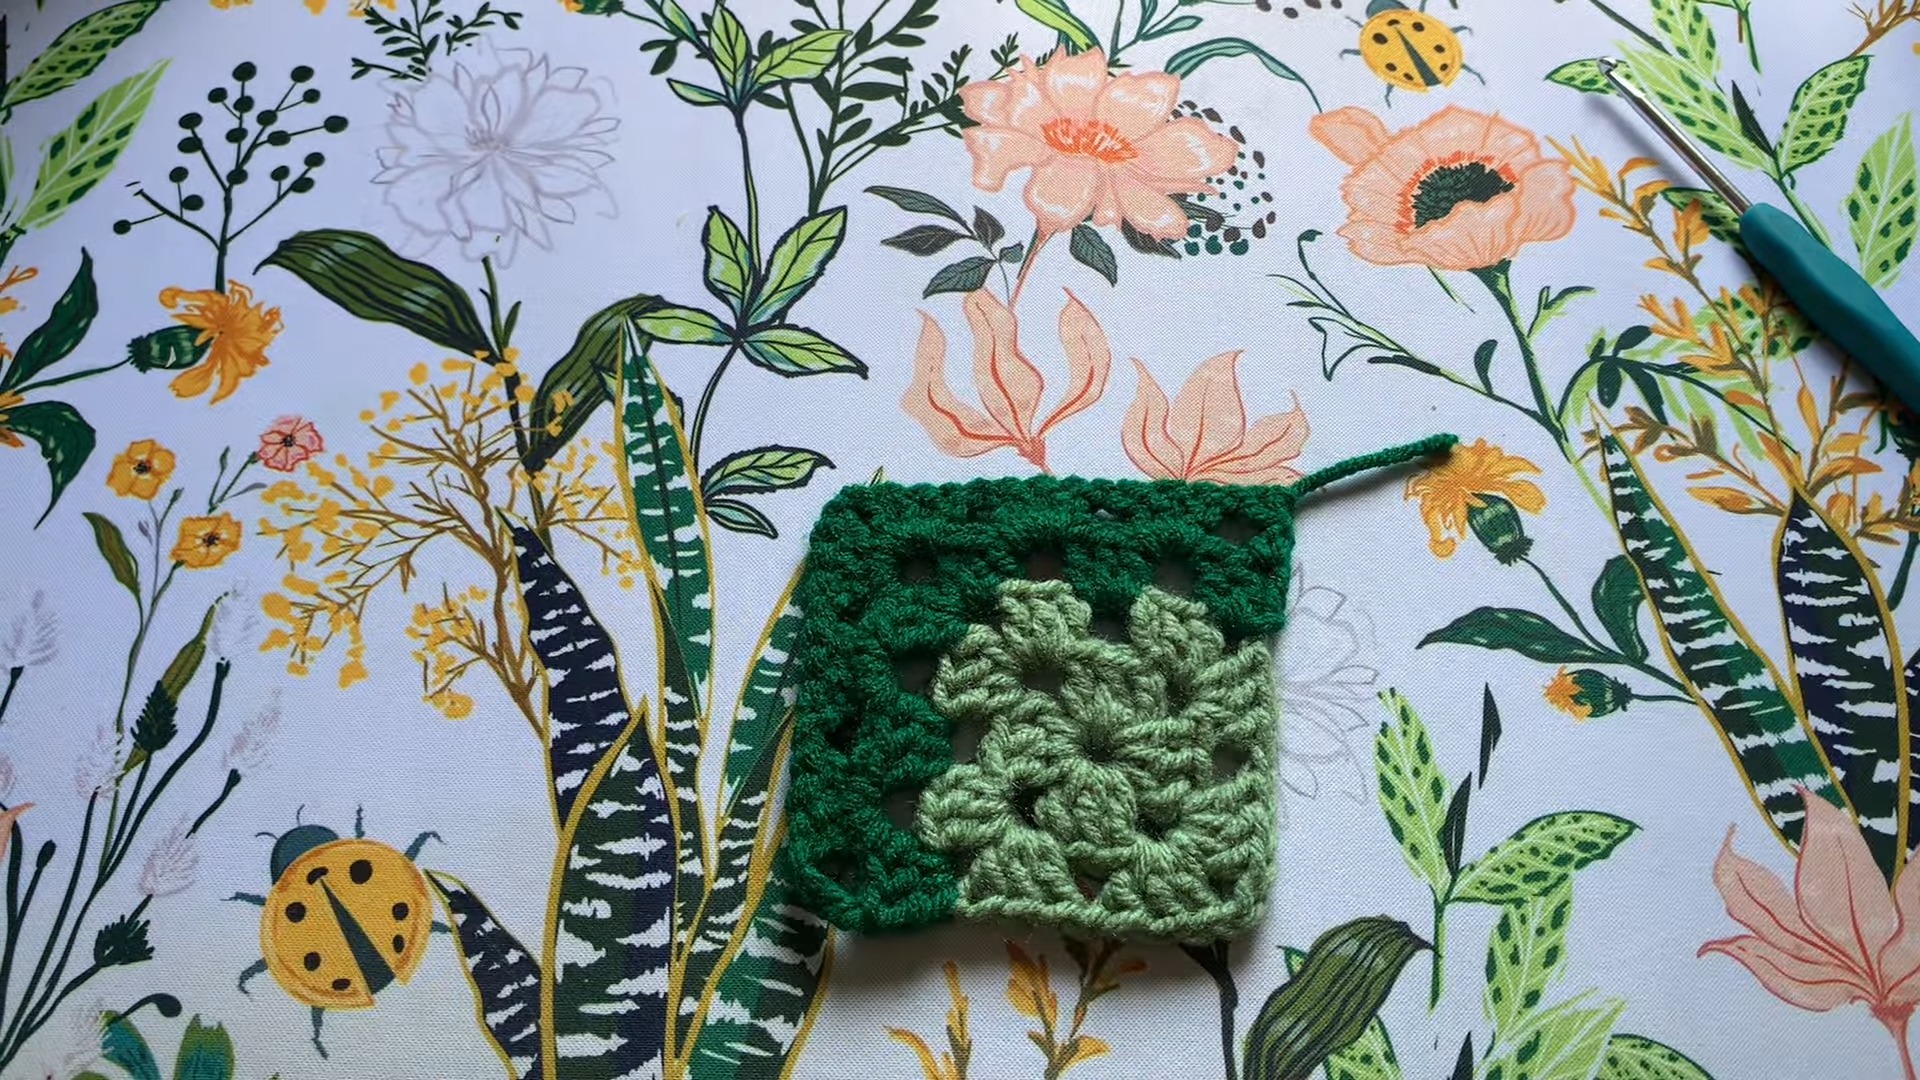
- Change Color: If changing colors, cut the yarn and tie off (optional). Switch yarn by making a slip knot with the new color.
Step 4: Row 3 – Reverse Waves
- Start with TR Stitches: Begin at the top of the wave this time.
- Chain 3 (counts as first TR), then work 2 TRs into the next stitches.
- Create Downward Waves:
- 2 DCs in the next 2 stitches.
- 2 HDCs in the next 2 stitches.
- 1 SC in each of the next 3 stitches.
- Form Upward Waves:
- 2 HDCs, followed by 2 DCs.
- Work 3 TRs (one TR in each stitch).
- Repeat: Continue the wave pattern till the end.

Step 5: Row 4 – Finishing Stabilization Row (All SCs)
- Work All SCs: Insert into each stitch across the row, pull up a loop, YO, pull through two loops.
Step 6: Repeat Rows 1–4
Repeat the combination of rows 1 through 4 until you reach your desired project length. Alternate between two colors every 2 rows for a striped pattern.
Step 7: Finishing
- End on an SC Row: To ensure the edges are clean and even, finish your project with a solid row of SCs.
- Cut Yarn and Weave Ends: Use scissors to cut the yarn and weave in any ends with a yarn needle.
Final Tips
- Ensure consistent tension while transitioning between stitch heights to maintain clean wave patterns.
- If working on larger projects, block the crocheted piece to flatten waves for a polished look.

Pattern Question
Question: Can I use different yarn and hook sizes for this pattern?
Answer: Yes! While the tutorial uses medium-weight yarn and a 4 mm hook, you can adapt to any size or type. Just ensure all your yarns are the same weight for consistency in your project.
Conclusion
The mitered granny square crochet project is the perfect blend of style and creativity. Whether you’re making it as a gift or for yourself, this pattern is enjoyable, easy to follow, and endlessly customizable. Dive into the world of crochet and create something truly special!


