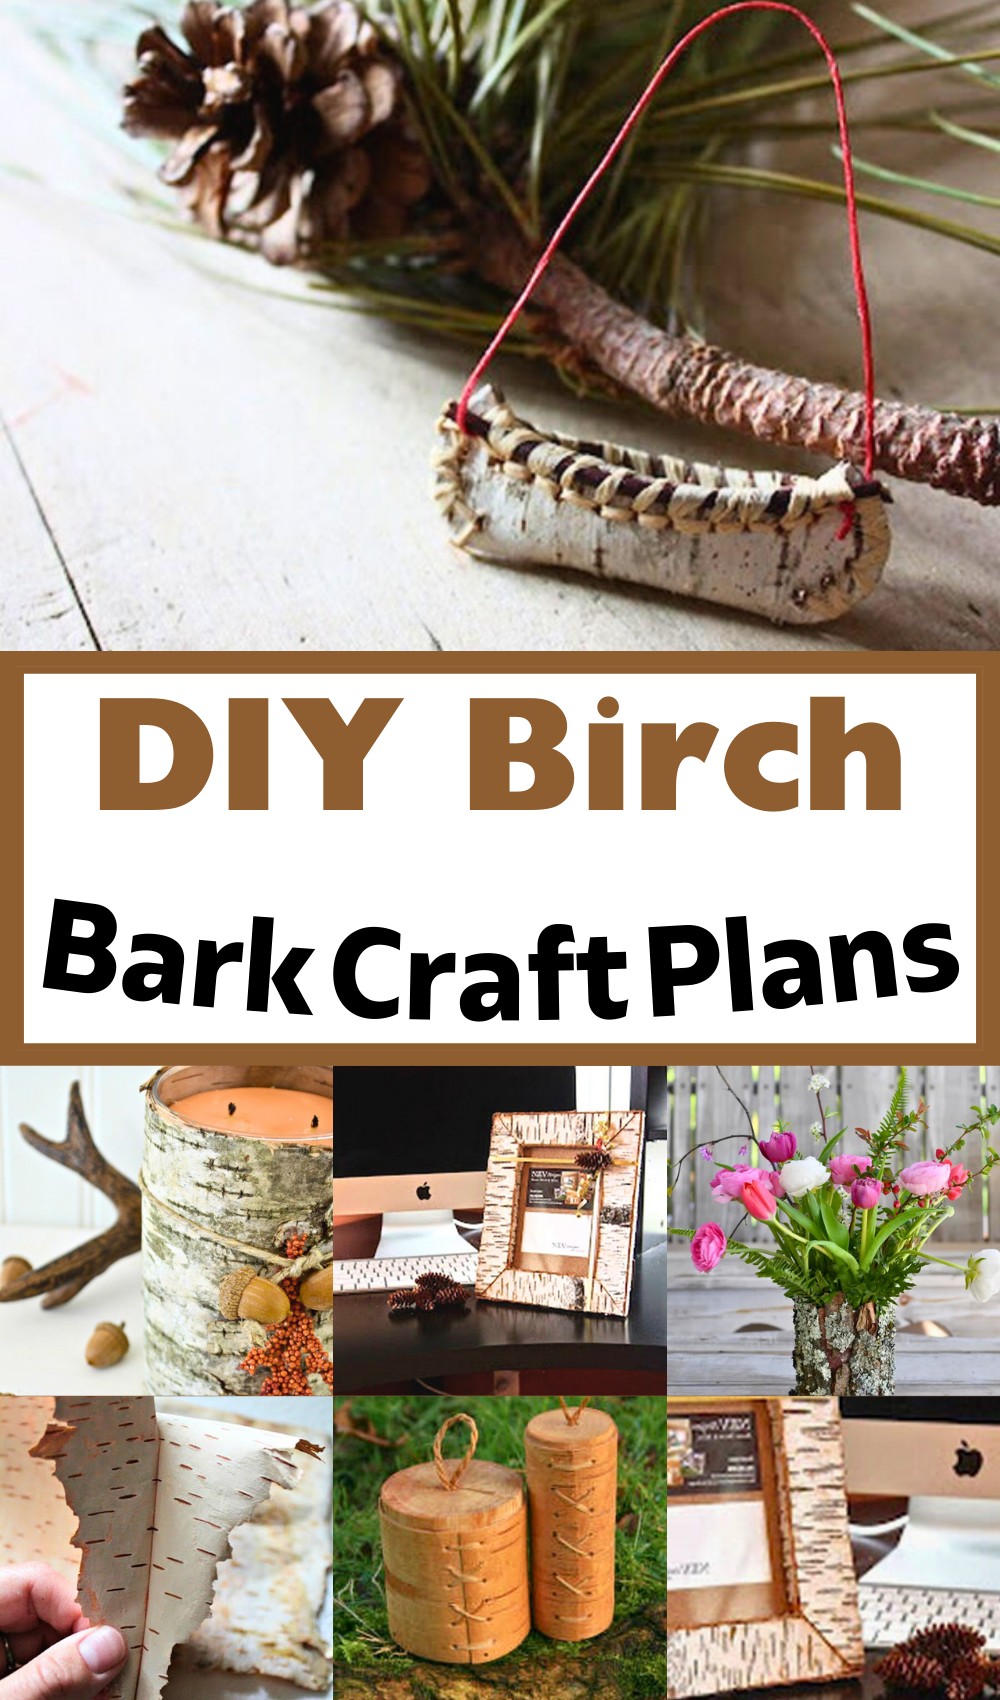
Are you looking for some DIY Birch Bark Craft Plans? So many options are available, making the process a little bit overwhelming. However, the results you can get from your craft project will always be worth it, no matter what type of end product you create. This guide will break down all of the different birch bark crafts you can make and then give you step-by-step instructions on how to complete each one. Our DIY Birch Bark Craft Plans will show you how to make different craft items from birch bark, including a picture frame, lampshade, and decorative candle holder.
Birch bark is a unique material that can create a range of beautiful crafts. Birch trees, naturally shedding their bark, are an abundant and free supply of this lovely material. With a few easy-to-find materials, you can make beautiful DIY Birch Bark Craft Plans for your home and garden in no time! If you've ever wanted to make your birch bark crafts, these DIY Birch Bark Craft Plans will show you how. These plans come with complete instructions for seven unique projects that are easy to assemble. All the materials you need are in one convenient package, and tips on using various woods, so your finished product looks its best.
DIY Birch Bark Wreath Plan:
This wreath is made from birch tree bark, unique to the traditional Christmas wreath. It's fun and easy to make, and if you're lucky enough to live near a birch tree or have one in your yard, there's no need to buy expensive craft supplies! I used moss, pine cones, and twine bunches to fill in the gaps between the bark strips. For this DIY birch bark wreath, I have put on first a base of ribbon and then a layer of moss, followed by some small twigs. Finally, I wrapped the whole thing in birch bark. The result is quite pretty, rustic, and natural-looking.
DIY Birch Bark Picture Frame Plan:
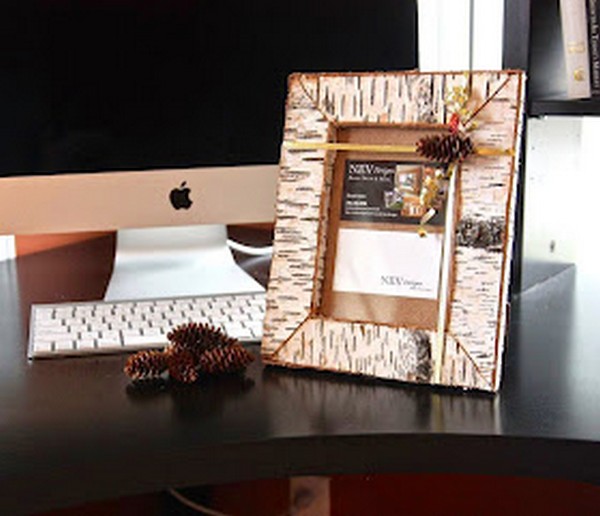
Making picture frames out of birch bark is perhaps the easiest one on this list. Children can even help you with this project. It only takes a few minutes, and supplies are easy to find. You can use these great-looking frames as home décor items and show them off at your next dinner party or family gathering.
Although you can use typical birch bark in this process (which is somewhat narrow), you should use snow or white birch bark, which is more comprehensive and shaped like a stretched-out doughnut. It makes the job much easier. And since you'll be doing a lot of bending to stretch out the bark slowly, you'll need to soak it overnight first. This will make it soft, pliable, and easy to turn and manipulate into shape.
Materials: Birch bark, utility knife, C-clamps, wood glue, ruler, picture frame
Difficulty: Easy
DIY Birch Bark Candle Holder Plan:
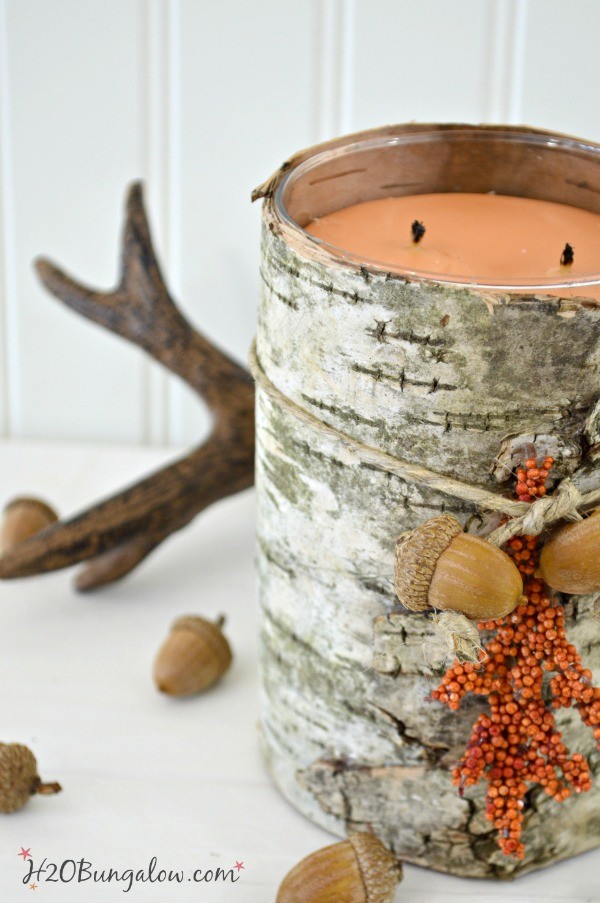
Create a natural accent for your chosen candle in this simple DIY project. The birch bark will give an earthy feel while creating an unexpected presentation. You can even gather the materials to present as a gift to friends or family members who enjoy the outdoors.
To make your candle holder, find a piece of birch bark about the same diameter as the bottom of your jar. If you can't find birch bark specifically and have to choose between different types of bark or wood, think about the candle size you want to use. You'll need enough bark to wrap around the base in one layer and then another layer to secure it around the bottom. It should be pliable but not too soft—you should be able to shape it so that it keeps its shape once placed on top of the candle.
Materials: Candle in a glass jar, birch bark, jute twine, wood beads, scissors, glue, drinking pitcher
Difficulty: Easy
DIY Tree Bark Flower Vases:
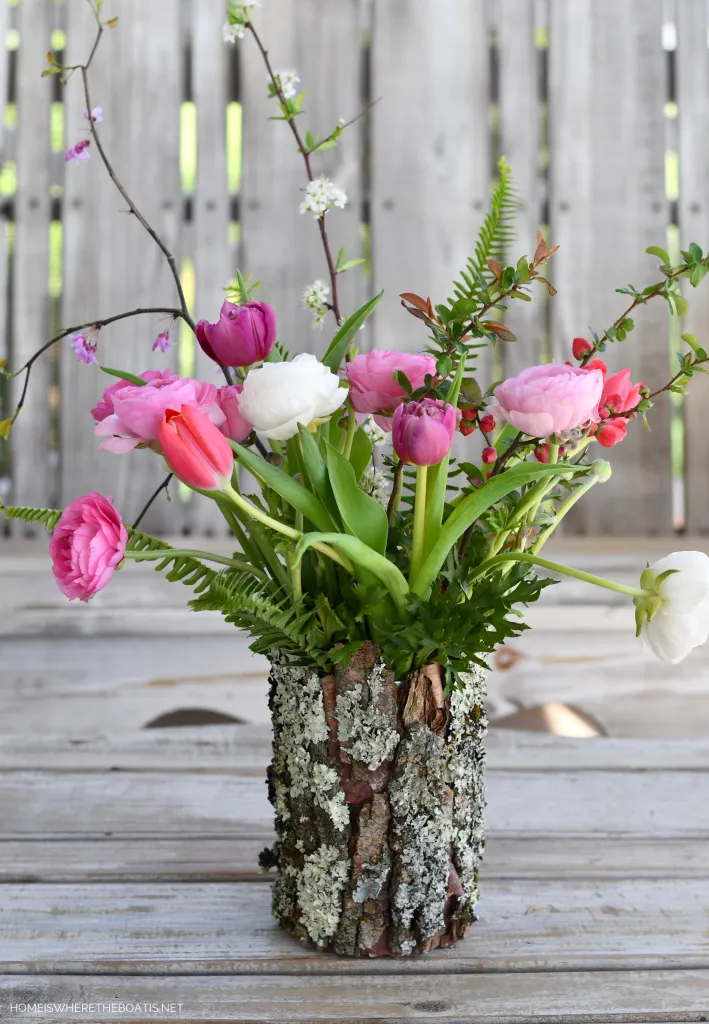
If you want to add some natural beauty to your home, follow these steps to make these Tree Bark Flower Vases. You can use these as gifts for your friends or keep them in your own house by filling them with air plants, flowers, or other small seasonal decor pieces. Follow the instructions carefully to ensure that you end up with a beautiful vase that you can enjoy! This fun and the easy DIY project will be one you will cherish for years to come. You can make unique vases for the home by using tree bark or giving them as gifts. The possibilities are endless with this craft, so get started today!
Materials: Empty metal cases, birch bark, glue sticks
Difficulty: Easy
Tiny DIY Birch Bark Canoe Tutorial:
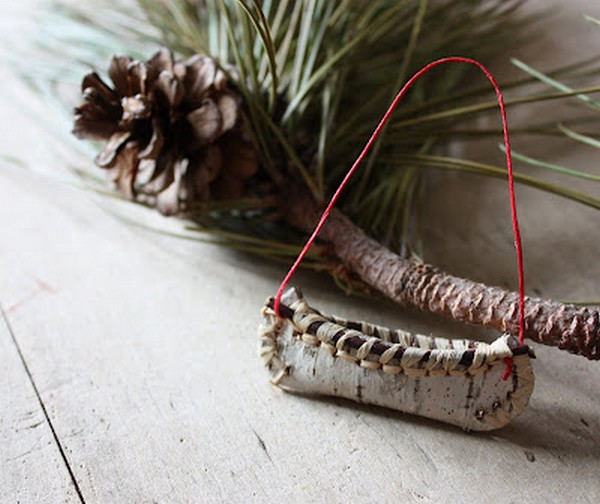
Making a birch bark canoe can be a great way to spend a day in the woods. This craft requires some patience but is ultimately worth the effort. First, you'll need to soak the birch bark in water, just as you would when making other crafts with birch bark. After that, measure and cut out your shape before sewing it together with thread that's been boiled or soaked in hot water. The time it will take will depend on the size of your boat, but once completed, you should have a seaworthy vessel built from natural materials!
Materials: Birch bark, waxed thread, sturdy needly, twigs, scissors, clothespins
Difficulty: Medium
Turn Birch Bark Into Paper:
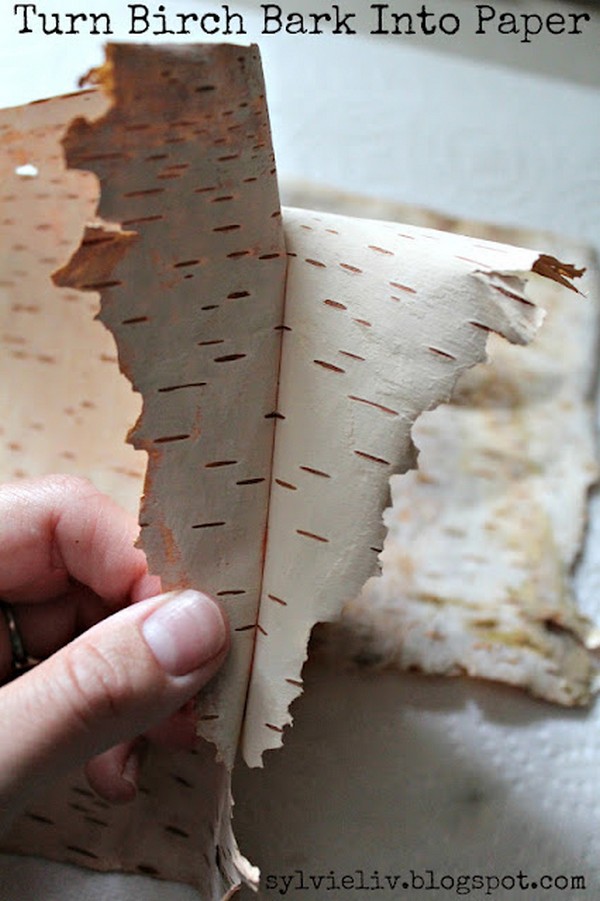
This excellent birch bark paper activity turns an everyday material into a useful craft in no time. Soak the birch bark in water for about 24 hours, then use the resulting pulp to produce stunningly beautiful paper. With this craft, you can easily make your unique journal or other writing material perfect for any occasion.
The process for this craft takes a bit of work, but it will be worth it when you have a beautiful piece of paper made from birch bark that is truly worth showing off. Carefully glue the sheets of birch bark together, and sand them, so they are smooth and even. Once satisfied, use the sponges to add color and give your paper a more natural look.
Difficulty: Medium
Making a DIY Birch Bark Container:
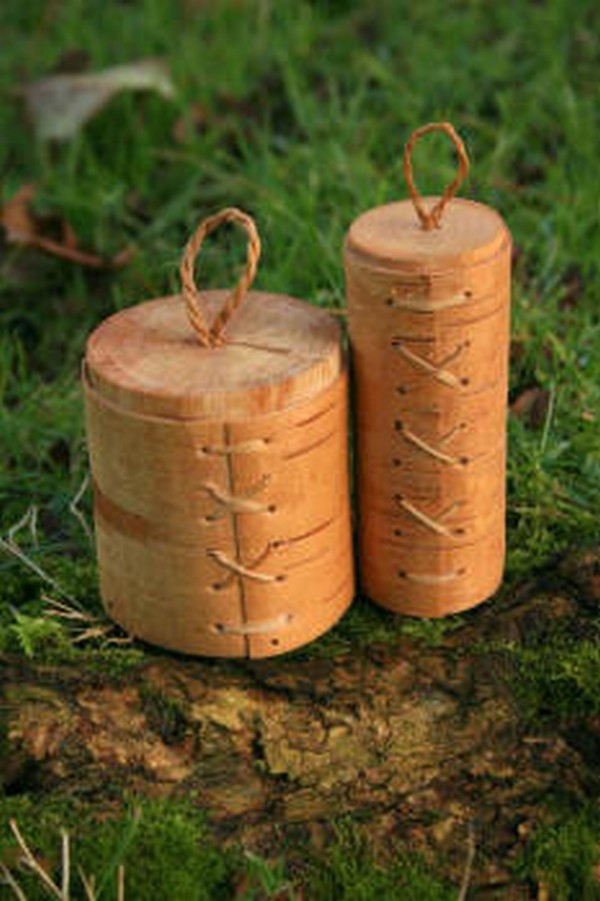
While most things you can do with birch bark are reasonably simple, this project requires some more advanced techniques. This one is for the more artistically inclined, but you'll find those skills will come in handy if you ever want to make something similar again. Crafting your birch bark container is not hard. The first step is to gather the necessary materials, which should include fresh, young bark from an aspen tree; a pair of sharp pruning shears; some waxed twine or fish line; a bowl or container for storing whatever it is you want to keep dry; and finally some waterproof glue.
Difficulty: Medium