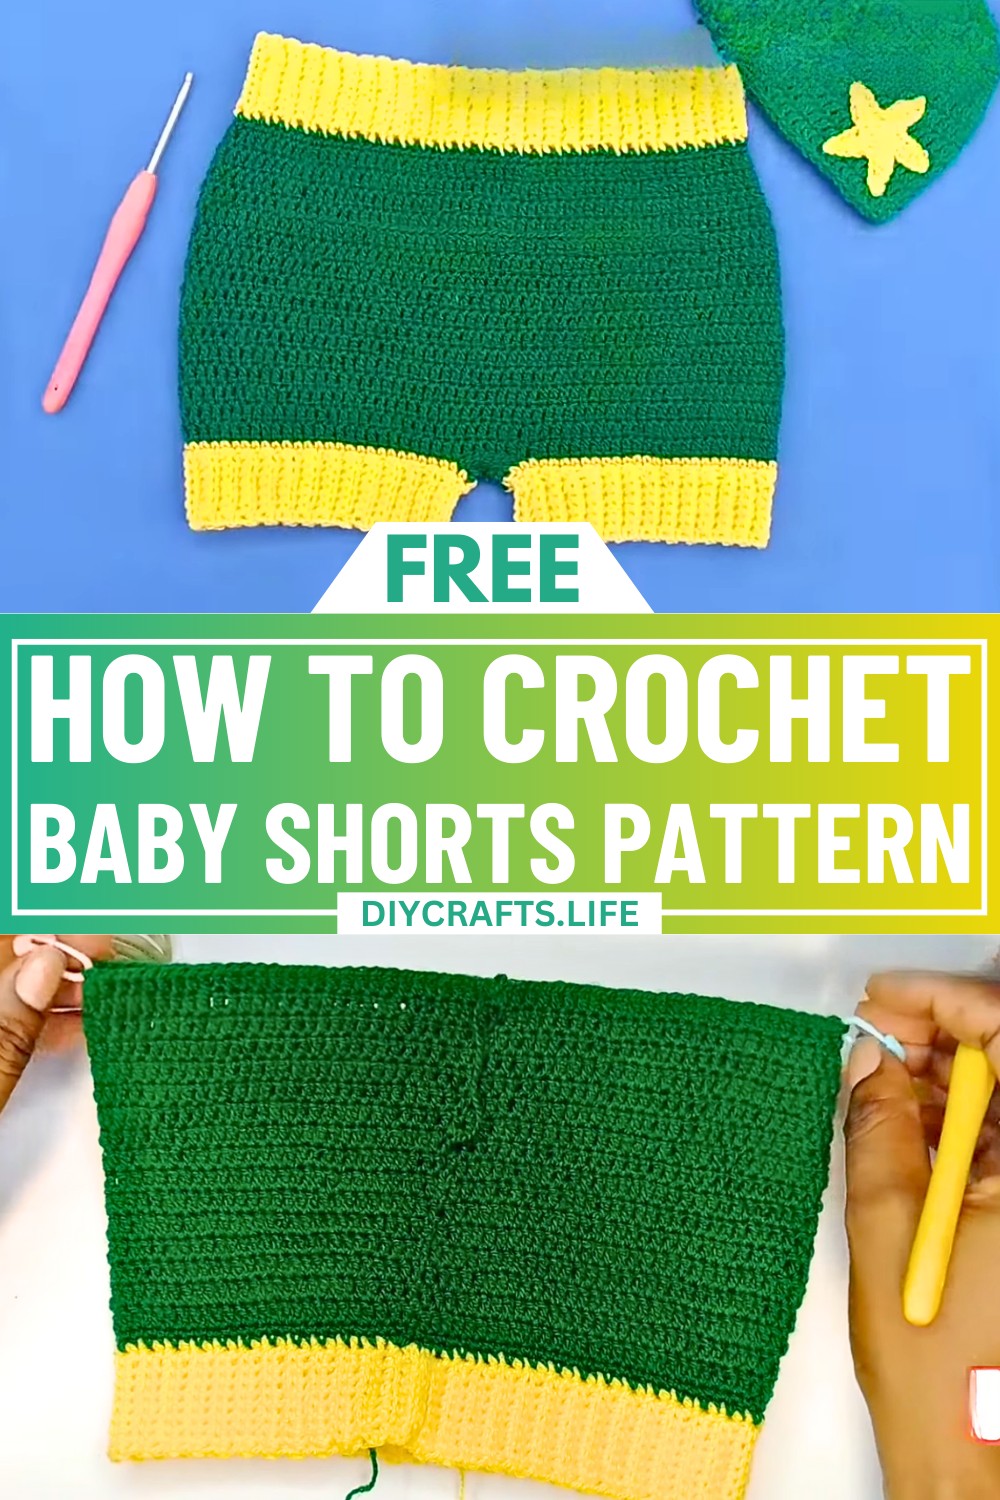
Create the sweetest addition to your little one's wardrobe with these adorable crochet baby shorts! Perfectly sized for 0-3 months, this charming design brings together simplicity and versatility, making it a delightful project for beginners. With its timeless look and soft finish, it’s ideal for keeping your baby cozy while showcasing your handmade touch.
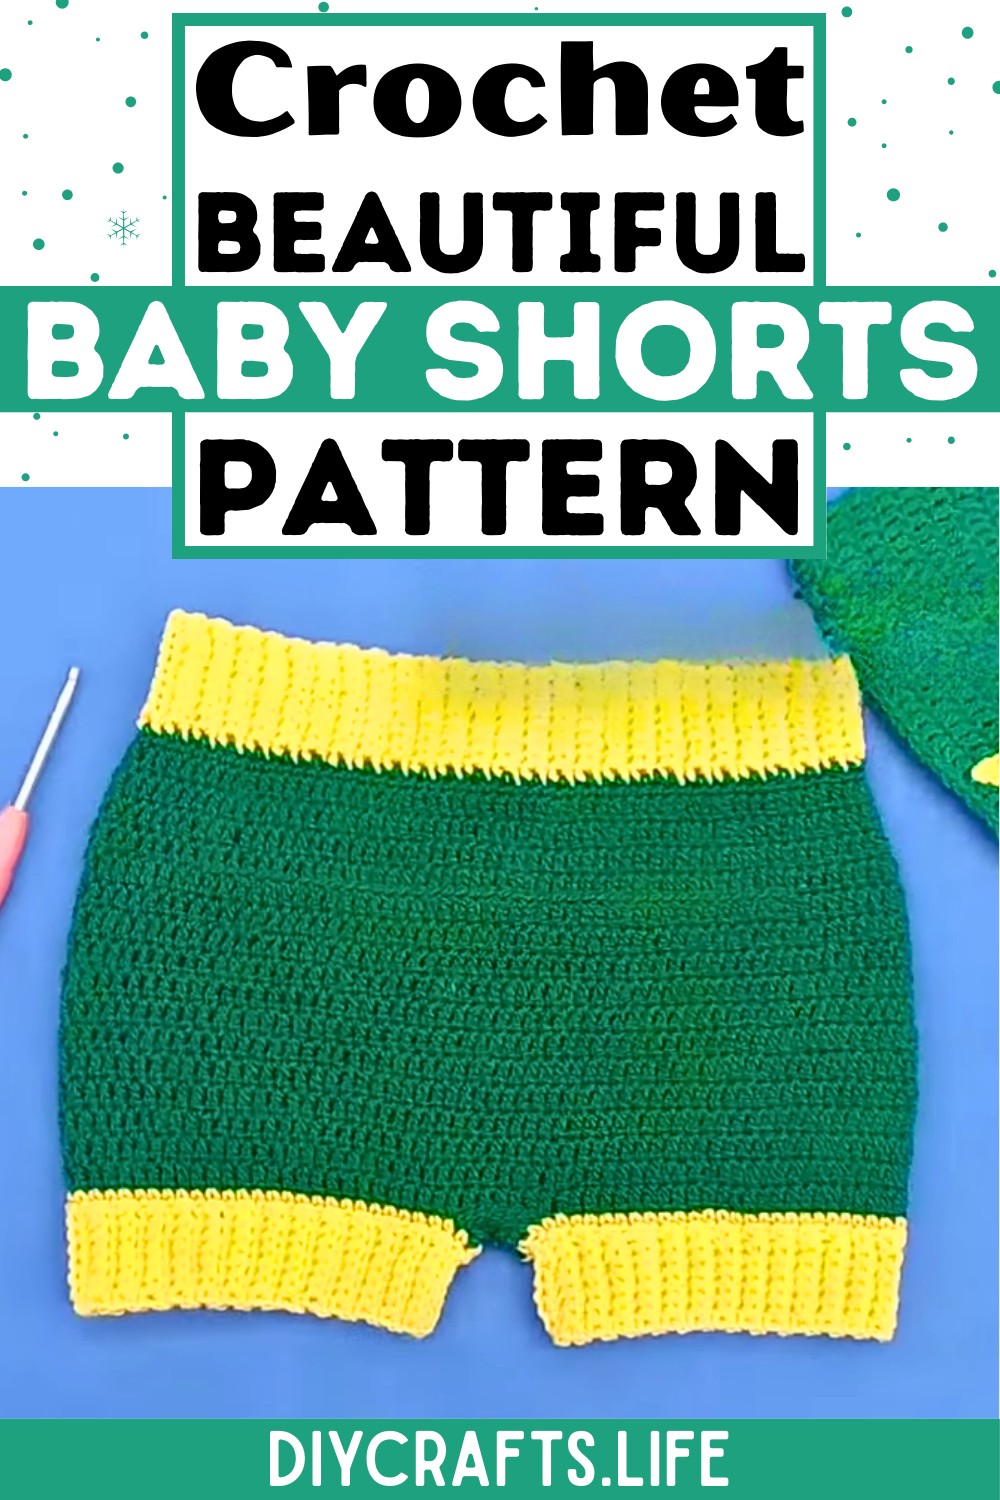
Crochet Baby Shorts Pattern
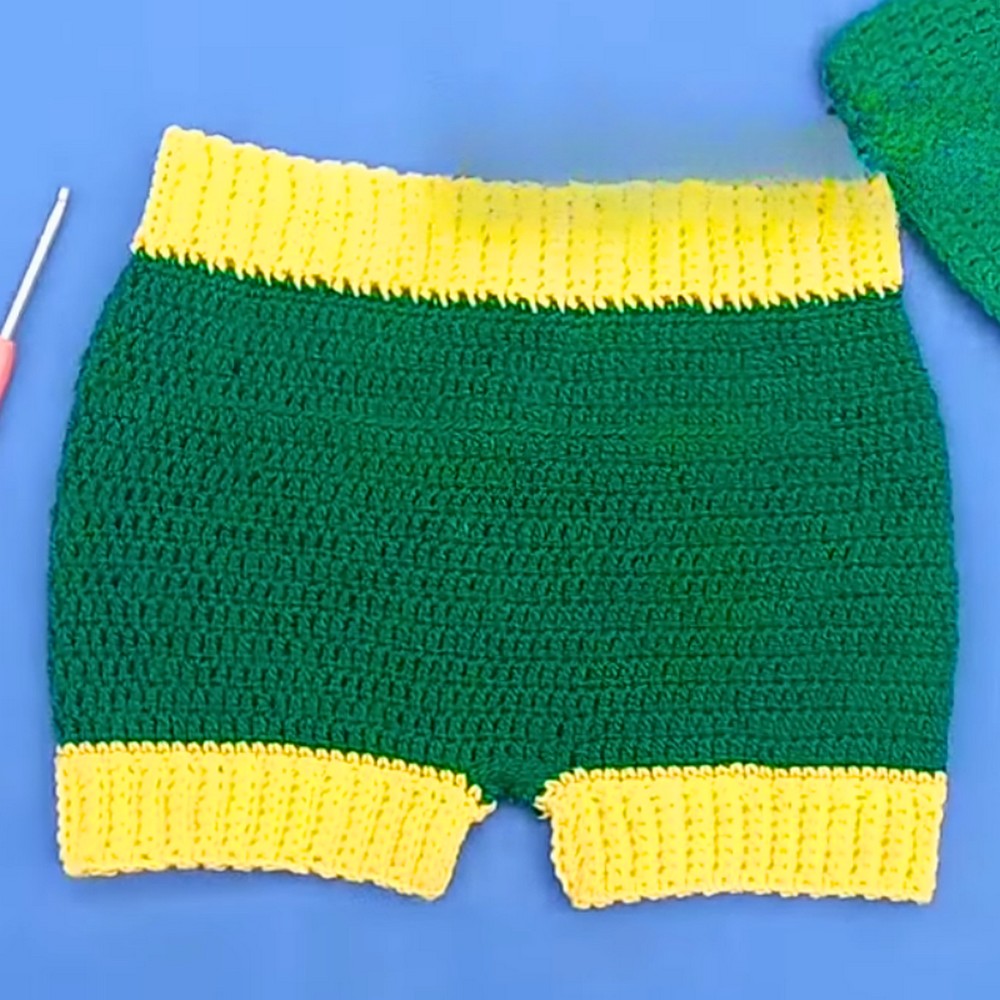
These baby shorts combine comfort and style, featuring a defined waistline, a subtle ribbed texture, and a seamless finish for everyday wear. The step-by-step process ensures smooth progress while allowing room for personalization, whether it’s choosing colors or adjusting sizes. This thoughtful design blends practicality and creativity, making it more than just clothing—it's a heartfelt keepsake crafted with care.
Credit ZoeCrochetR
Materials Needed
- Yarn: Lightweight or medium-weight yarn (ensure it is not too thick).
- Hook: 2.5 mm crochet hook (or your preferred aluminum hook).
- Stitch markers.
- Needles for sewing.
- Measuring tape (to check dimensions).
Instructions
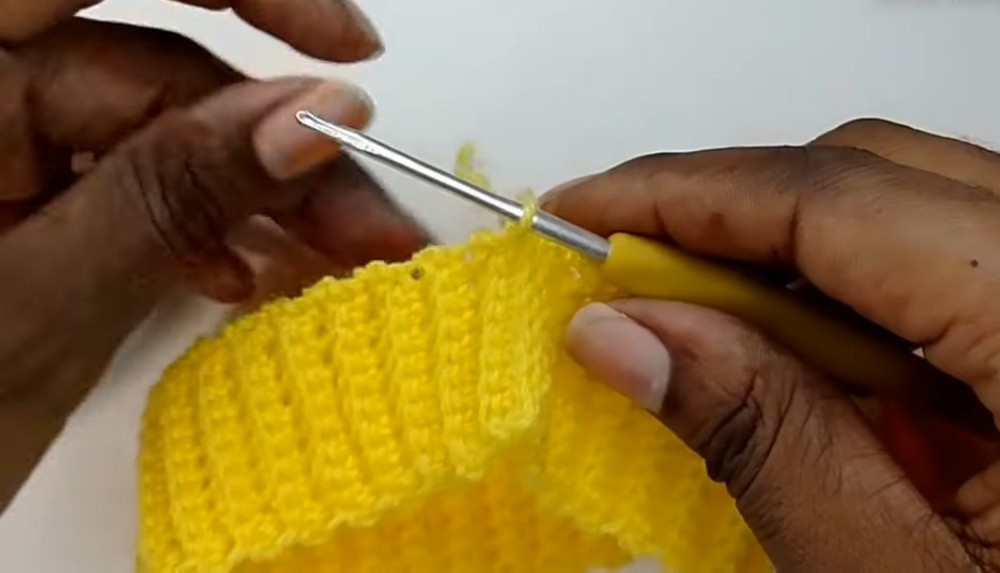
Step 1: Create the Waistband (Ribbing Section)
- Make a slip knot to start.
- Chain 10 to create the initial chain.
- In the second chain from the hook, work a single crochet.
- Make a single crochet in each chain across the row (a total of 9 single crochets).
- Chain 1, then turn your work.
- For the first and last stitches in each row:
- Insert your hook under both loops of the stitch.
- For the rest of the row (middle stitches), work into the back loops only.
- Repeat this pattern, ensuring you always:
- Chain 1 and turn at the end of each row.
- Work the first and last stitches in both loops and the others in the back loop.
- Continue crocheting rows until the ribbing reaches the desired waist circumference. For 0-3 months, the measurement is 44 cm (approximately 106 rows of ribbing).
- Ensure the number of rows is even.
- Join the ends of the ribbing to form a circle:
- Use slip stitches to sew both ends together.
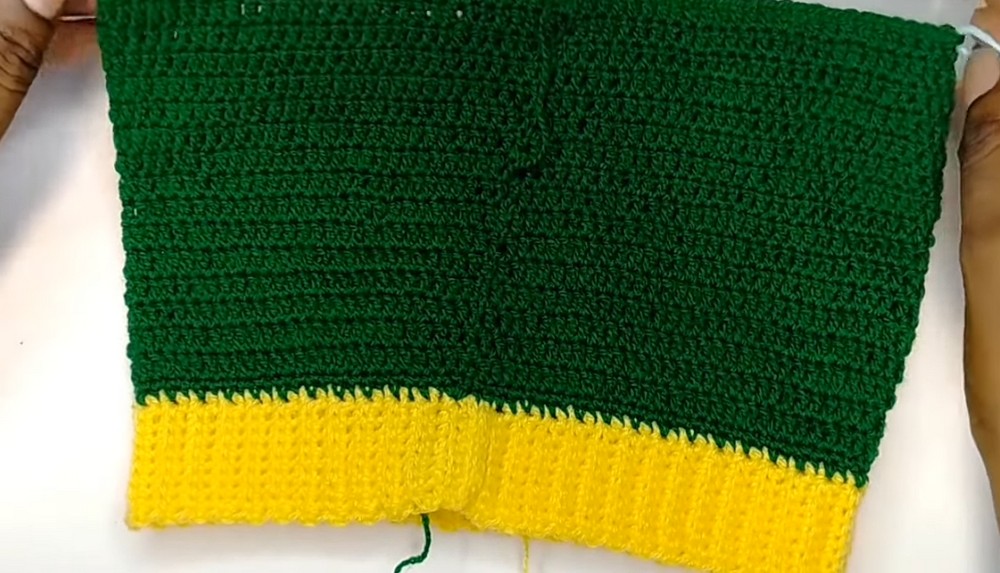
Step 2: Work on the Upper Body (Diaper Section)
- Reattach your yarn if necessary.
- Begin working around the edge of the ribbing:
- Work 2 single crochets into each space (total stitches = number of ribbing stitches, e.g., 106 stitches).
- Place a stitch marker at the beginning of the round.
- For the next round:
- Work single crochet into each stitch (no increases).
- Create the base of the shorts:
- Start a row of double crochets.
- You need to increase evenly in the round to ensure a good fit. For example:
- Work 10 double crochets, followed by an increase (2 double crochets in the same stitch).
- Repeat this across the row.
- Ensure that the total stitch count is even.
- End the row with a slip stitch into the first stitch.
- Continue working in rounds:
- Alternate rows of double crochet without increases.
- Continue until the full length of the diaper section reaches 16 cm.
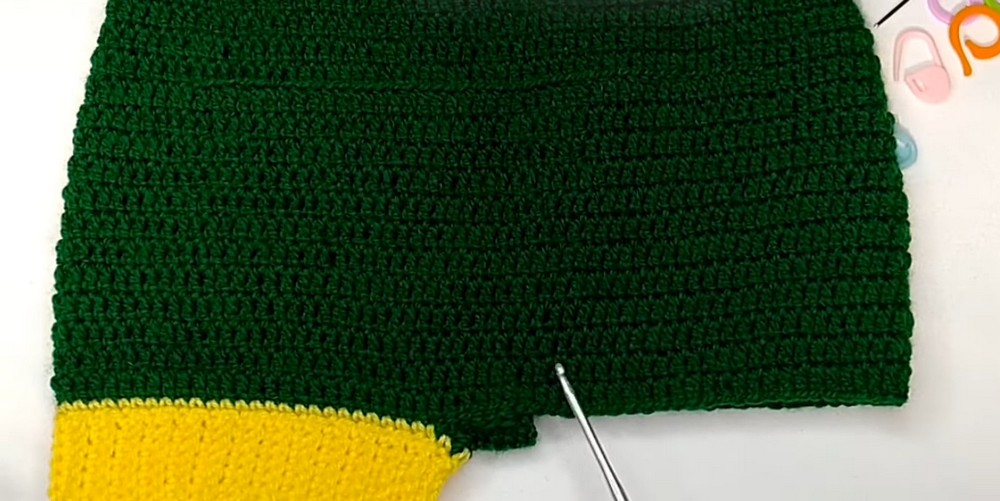
Step 3: Divide the Legs
- Identify the middle front and back sections.
- Divide the total number of stitches equally for each leg.
- Use stitch markers to mark the boundaries.
- Begin crocheting one leg:
- Reattach yarn at the marked points.
- Work in rounds using single crochet or double crochet (depending on your desired style).
- For the ribbed cuff at the bottom of the leg:
- Chain 8, and follow the same ribbing technique as above (work into back loops only).
- Repeat the same process for the second leg.
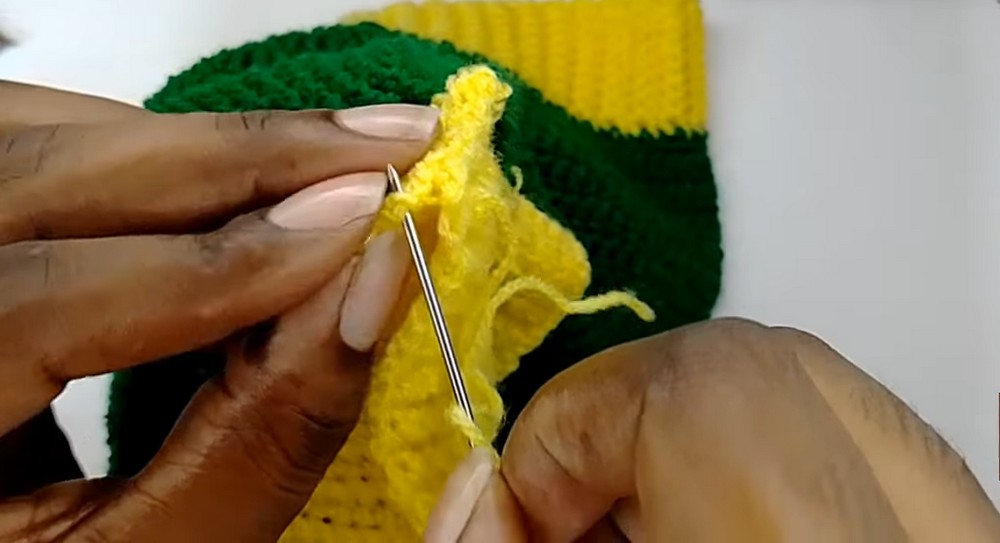
Step 4: Final Touches
- Sew any openings or gaps (e.g., at the crotch area) with a needle.
- Make sure all stitches and rows are even, and everything is securely fastened.
Measurements
- Waist circumference: 44 cm
- Diaper section length: 16 cm
- Leg cuffs: Follow the ribbing method for neat and stretchy cuffs.
Customization
- To make a larger size, increase the number of rows in the waistband and adjust the diaper section and pant legs accordingly.
- Refer to the on-screen measurements in the original video for different sizes.
Additional Tips
- Keep counting your stitches to ensure consistency.
- Remember to relax your grip on the yarn to maintain even tension.
- Use stitch markers to keep track of rounds and sections.
That's it—your baby shorts are complete! Don't forget to check out the matching pattern for baby hats in the linked tutorial if you'd like.