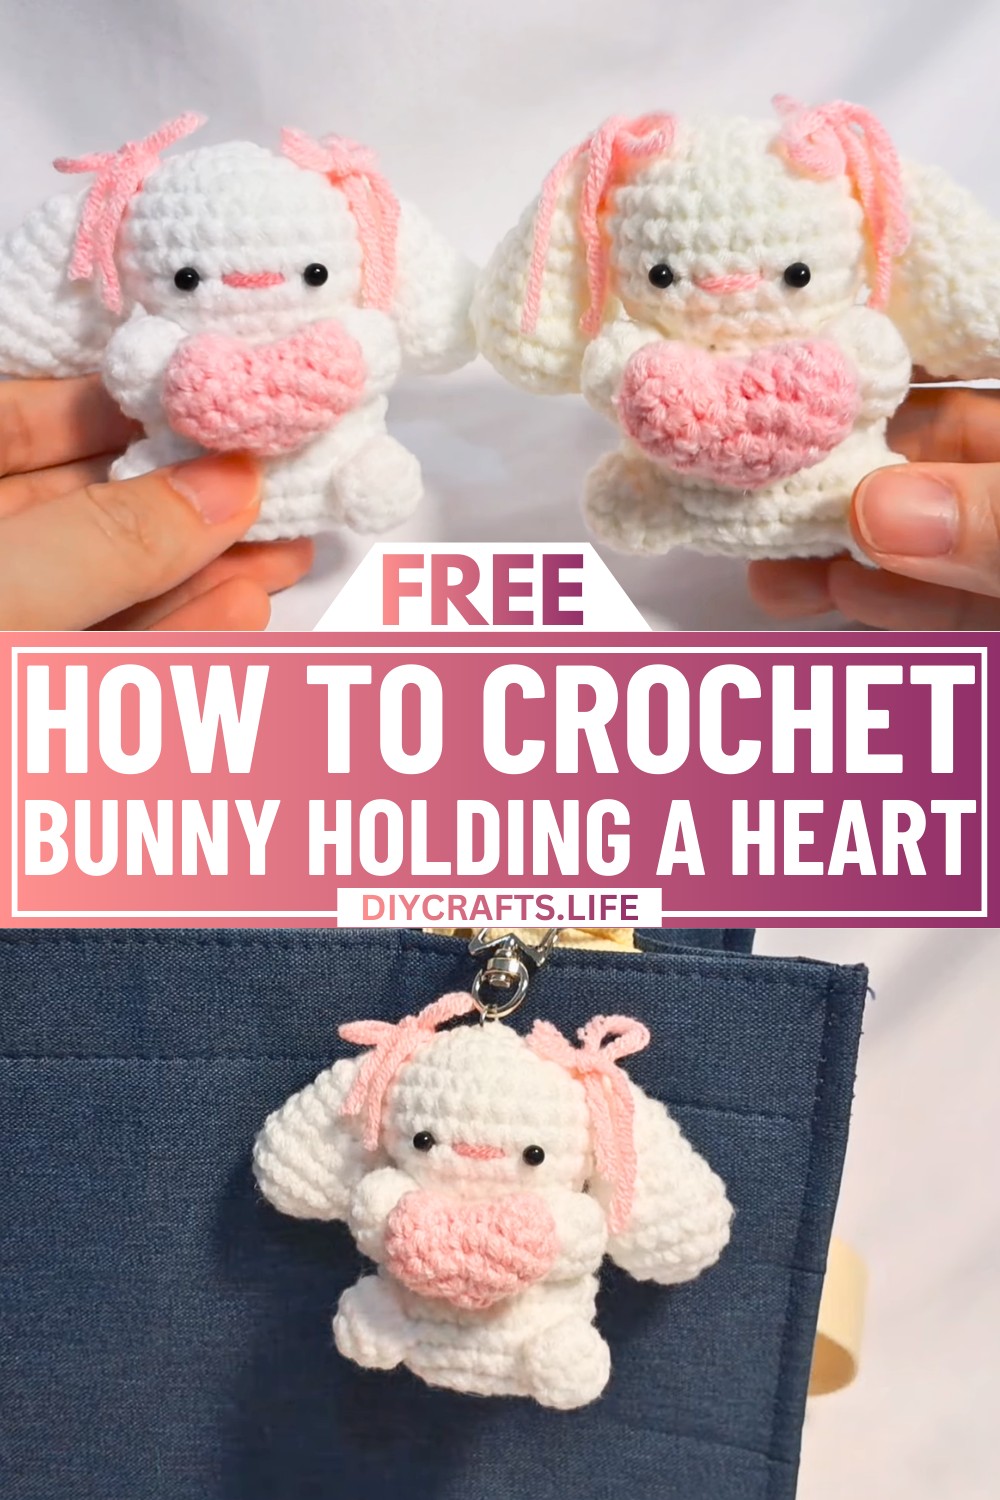
Meet the adorable crochet bunny holding a heart! This sweet little bunny is special because it brings cheer to anyone who sees it. You can use it as a toy, a cute decoration for your room, or a lovely crochet gift for someone you care about.
Crochet Bunny Holding a Heart
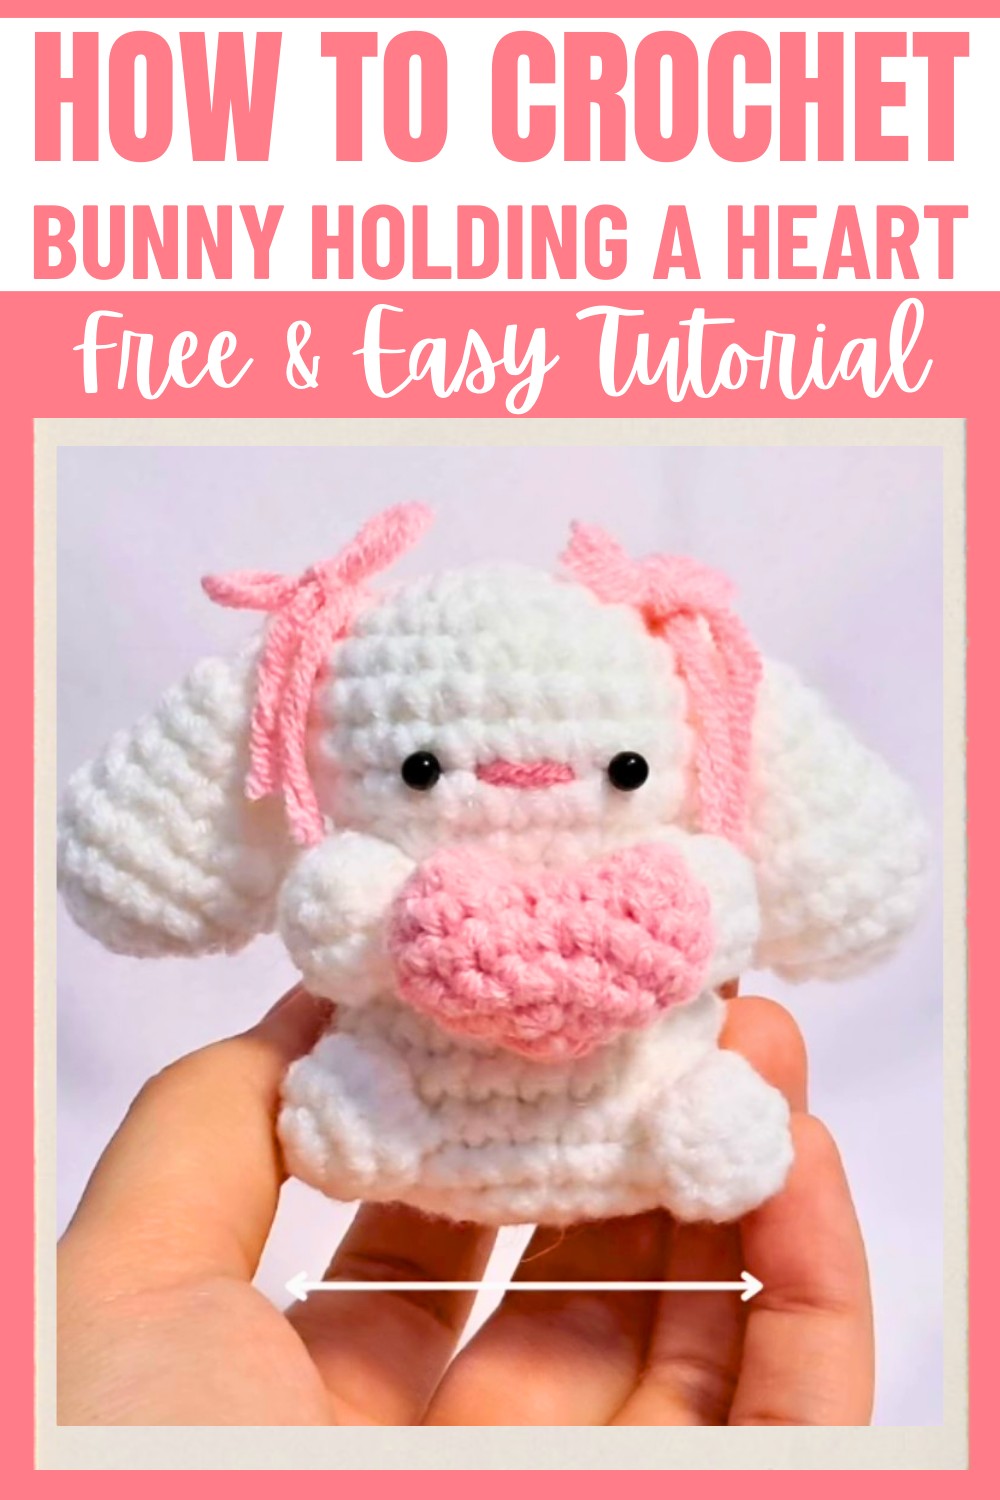
It's a wonderful way to start crocheting because the finished bunny is so rewarding. Kids and grown-ups alike can enjoy making and enjoying this cute companion. First, you'll crochet a tiny heart with a magic ring, using basic stitches. Then, you’ll craft the bunny's body, head, arms, legs, and ears, combining easy steps to make each part. Finally, you connect all the pieces, and just like that, you have your very own bunny holding a little heart!
Credit from littlespot
Materials & Tools Needed
- 3.0mm hook
- 5ply milk cotton yarn (2mm thickness)
- 4mm safety eyes
- needle
- stitch marker
- scissors
Step-by-Step Crochet Instructions
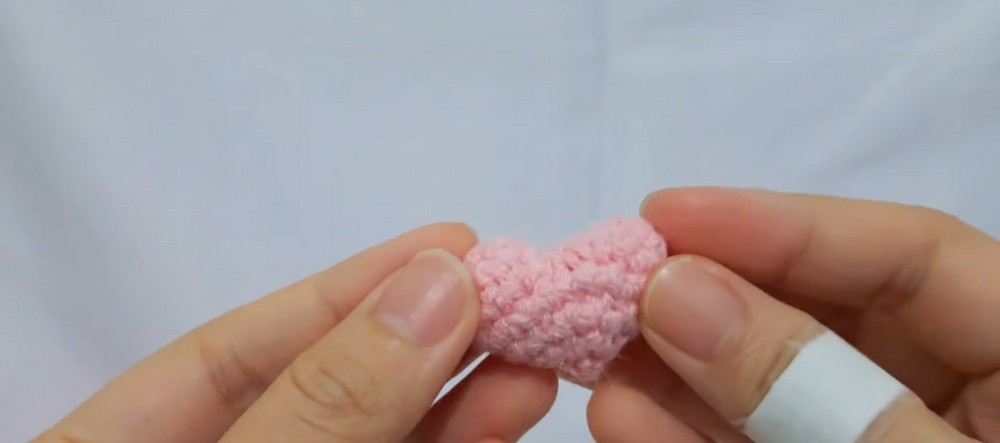
1. Heart
The heart is crocheted first. We make two identical pieces and then join them together.
- First Piece:
- Round 1: Start with a magic ring (MR). Make 6 sc in the ring. (6 st)
- Round 2: (1 sc, 1 inc) Repeat six times. (9 st)
- FO this piece, leaving a long tail for sewing.
- Second Piece:
- Follow Round 1 & Round 2, the same as the first piece.
- Do not fasten off after completing the second piece.
- Joining the Heart:
- Combine the two pieces by continuing with the second piece:
- Crochet 9 sc around the edge of the first piece and then 9 sc around the edge of the second piece. (18 st)
- Round 4: 1 sc in each stitch around. (18 st)
- Round 5: (1 sc, 1 dec) Repeat until the end of the round. (12 st)
- Stuff the heart firmly.
- Round 6 (Last Round): Decrease in every stitch. (6 st)
- Close the small hole at the bottom by weaving the tail through the front loops of the last stitches. FO.
- Combine the two pieces by continuing with the second piece:
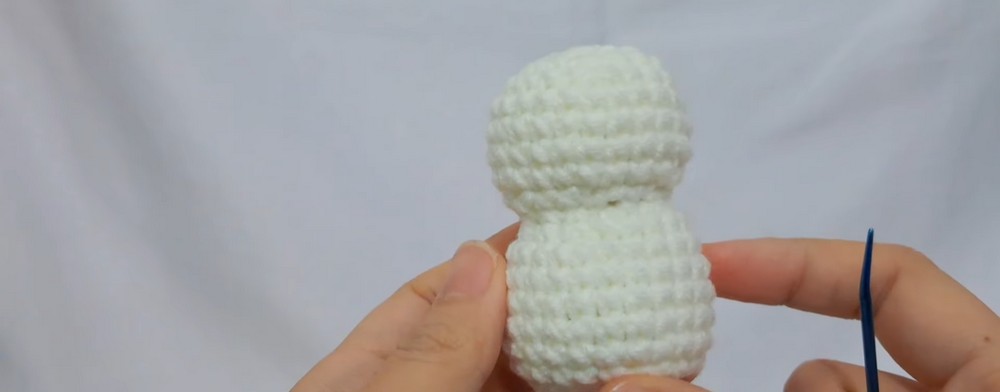
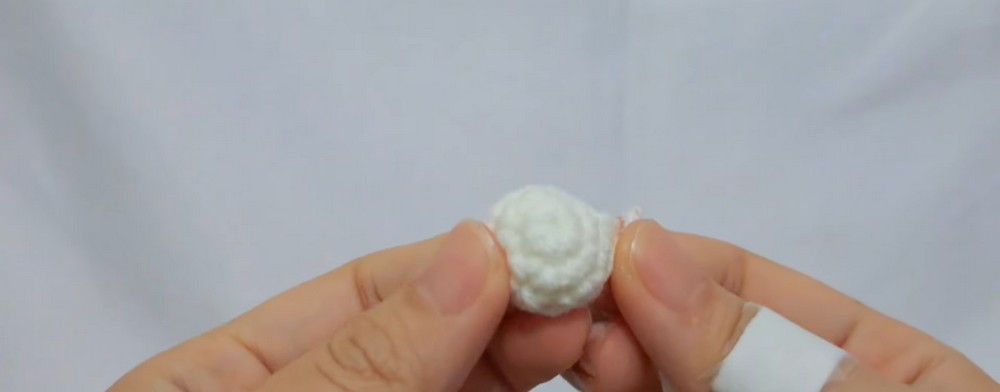
2. Head
- Round 1: Start with MR and create 6 sc. (6 st)
- Round 2: Inc in each stitch. (12 st)
- Round 3: (1 sc, 1 inc) Repeat around. (18 st)
- Round 4: (2 sc, 1 inc) Repeat around. (24 st)
- Rounds 5-8: 1 sc in each stitch (24 st).
- Round 9: (2 sc, 1 dec) Repeat around. (18 st)
- Round 10: (1 sc, 1 dec) Repeat around. (12 st).
- Stuff the head firmly.
- Round 11 (Last Round): Dec in every stitch. (6 st)
- Close off and weave in the tail.
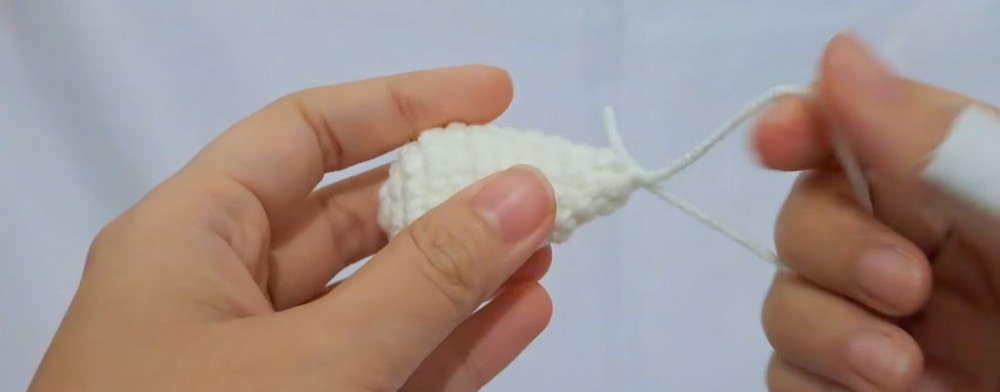
3. Body
- Start at the neck with the head attached:
- Round 1: Work 24 sc in the front loops of the base of the head.
- Rounds 2-7: Sc around (24 st).
- Round 8: (2 sc, 1 dec) Repeat around. (18 st)
- Round 9: (1 sc, 1 dec) Repeat around. (12 st)
- Insert stuffing.
- Round 10: Dec in every stitch. (6 st).
- Close off the body.
4. Arms and Legs
- Same pattern is followed for all four limbs (arms & legs):
- Round 1: Make a magic ring (MR) with 6 sc. (6 st)
- Round 2: (1 sc, 1 inc) Repeat until the end. (9 st)
- Round 3: 1 sc in each stitch around. (9 st)
- Round 4 (Last Round): 1 sc in each stitch.
- FO, leaving a long tail for sewing. Make 4 pieces in total.
5. Ears
- Round 1: MR with 6 sc. (6 st)
- Round 2: Inc in each stitch. (12 st)
- Round 3: (1 sc, 1 inc) Repeat around. (18 st)
- Rounds 4-5: 1 sc in each stitch.
- Round 6: (1 sc, 1 dec) Repeat around. (12 st)
- Rounds 7-9: 1 sc in each stitch.
- FO, leaving a tail for sewing. Make 2 pieces in total.
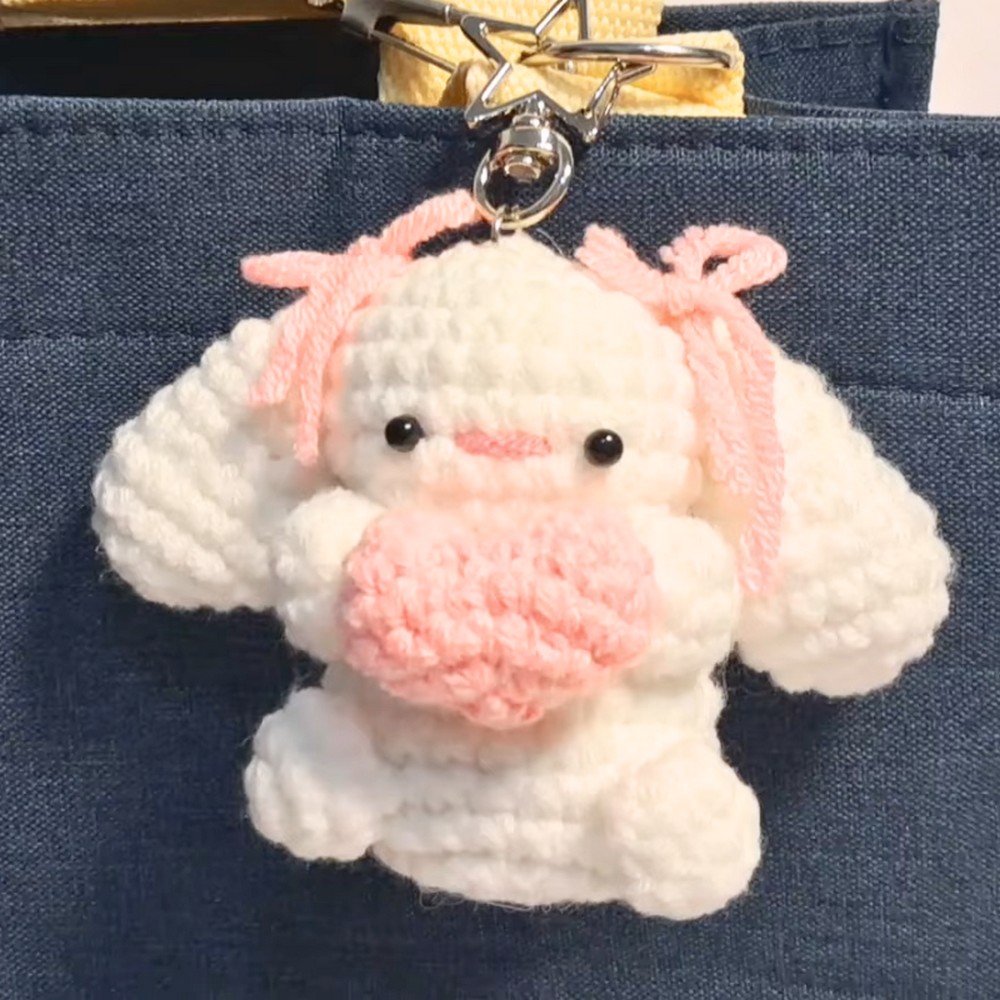
6. Assembly
- Attach Ears: Sew the ears onto the top of the head between Rounds 4 and 5.
- Attach Arms and Legs: Position the arms and legs symmetrically. When sewing the second arm, secure the heart snugly between the arms.
- Add Face Details:
- Insert safety eyes between Rounds 7-8 of the head.
- Embroider the nose using pink yarn, positioning it between the eyes.
- Finishing Touches: Add a bow or ribbon for decoration.