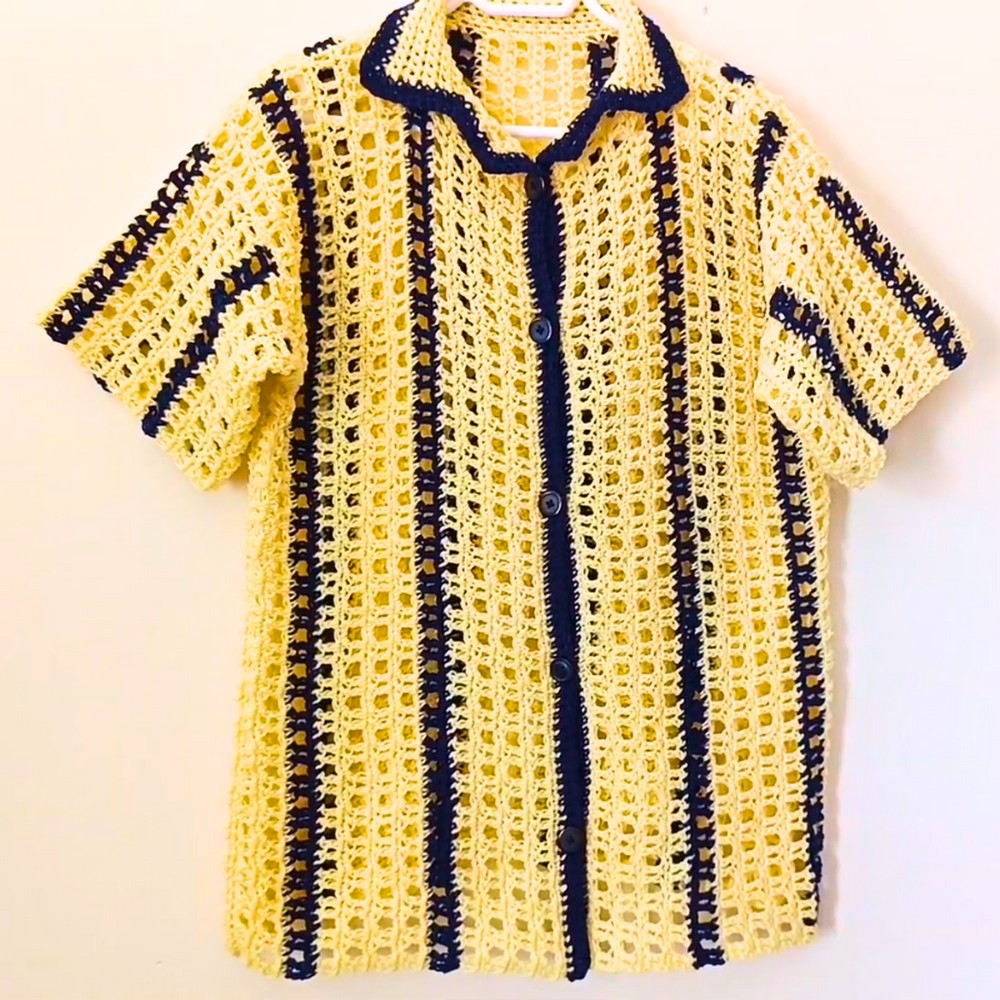
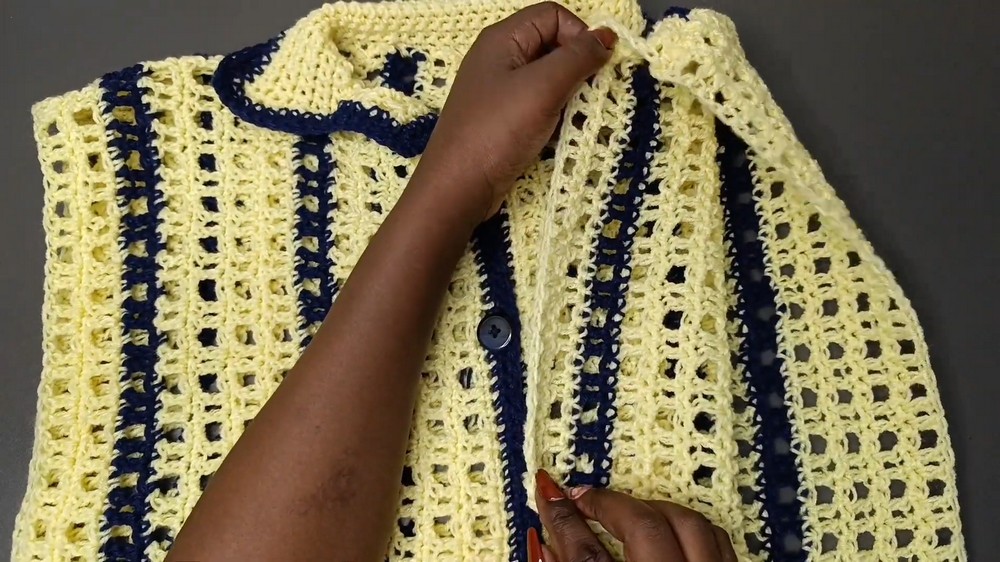
This crochet unisex mesh shirt is a stylish and versatile piece that fits perfectly into anyone's wardrobe. Designed to suit both men and women, it’s lightweight, comfortable, and a perfect choice for casual outings, sunny days, or a relaxed indoor look. The beauty of this shirt lies not just in its airy mesh design but also in its inclusive style that makes it suitable for everyone.
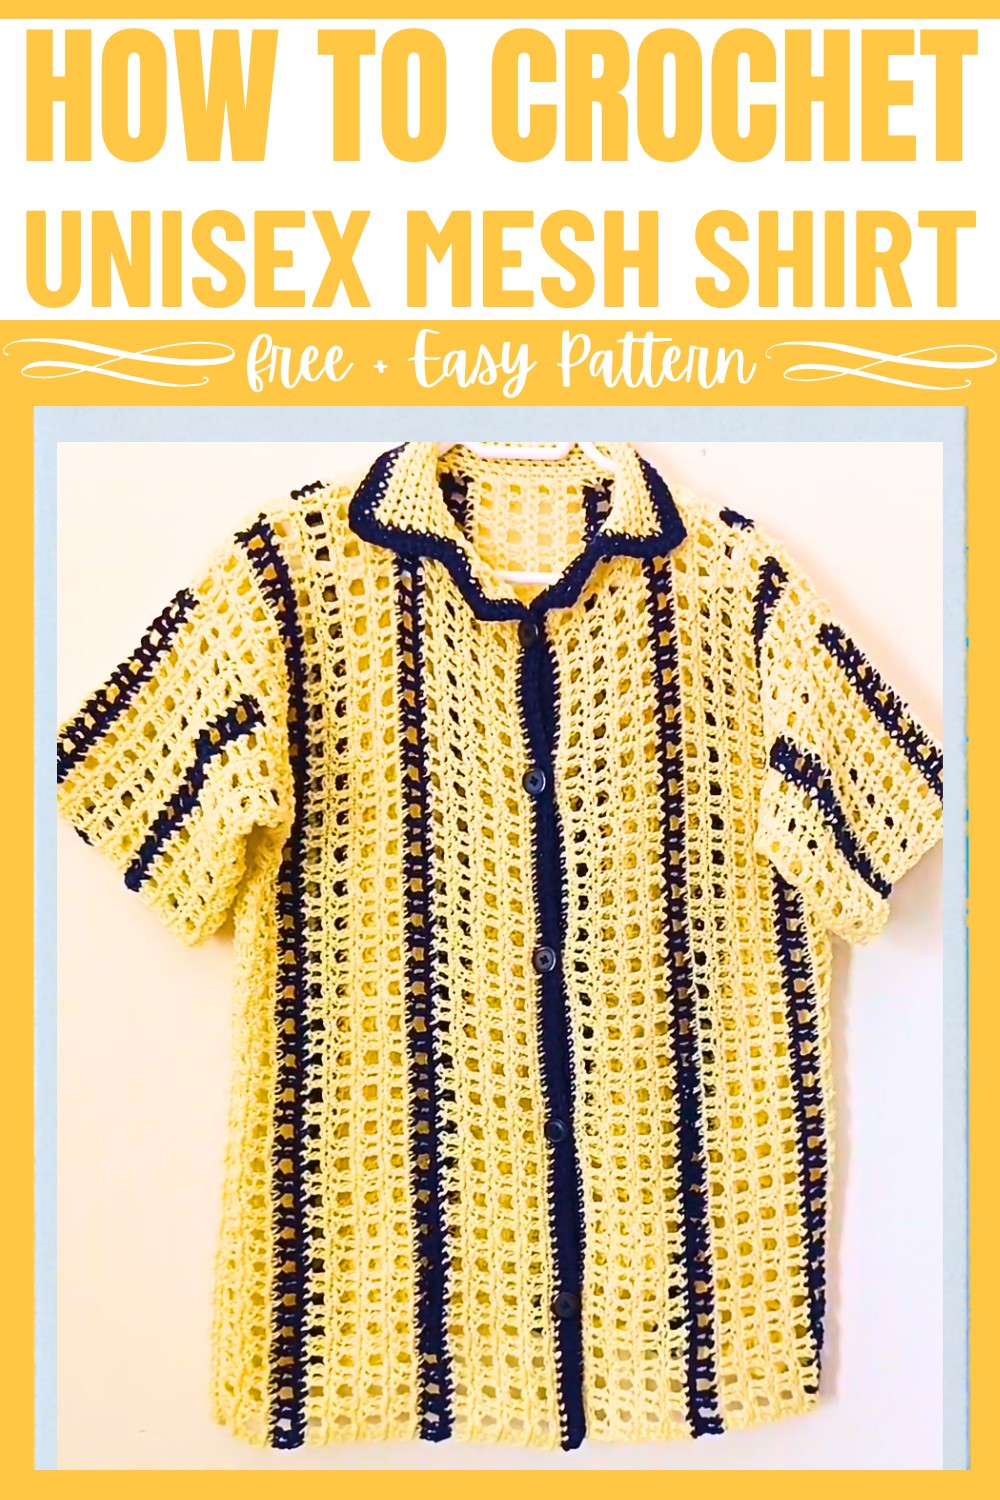
Making this shirt is simple and enjoyable even if you’re new to crochet. It involves crocheting three panels (back and front pieces) and sleeves, then seamlessly joining them. You’ll also add a neat collar and buttons for a sharp finishing touch. The pattern lets you experiment with colors, adding contrast rows for a playful or unique look. Whether you want a snug fit or a relaxed, oversized vibe, the pattern can easily be adjusted to suit your preference.
Pair this mesh shirt with jeans, shorts, or skirts to complete an effortlessly chic outfit. It’s also lightweight enough to be worn as a layering top. Whether it’s for yourself or a loved one, this crochet shirt is a thoughtful and useful addition to any collection.
Credit FTK Crochet
Materials & Tools Needed
- Yarn:
- Main Color (MC): Medium-weight yarn (size 4)
- Contrast Color (CC): Medium-weight yarn (size 4)
(You can use one or multiple colors depending on preference.)
- Hook: 5.0 mm crochet hook
- Additional Tools:
- Stitch markers
- Scissors
- Yarn needle
- Measuring tape
- Buttons (size optional, 4–6 buttons recommended)
- Sewing needle and thread (for attaching buttons)
Finished Size & Customization
- Example sizes depend on bust measurement (BU):
- Measure your BU.
- Divide by 2 to determine width for the back panel.
- Add extra length as desired for an oversized or fitted look.
(In the example, a bust of 36 inches was divided by 2 = 18 inches with an additional 2 inches for an oversized fit. Final width = 20 inches.)
- Length: Customize by starting with a chain long enough for your desired shirt length (in the tutorial, length totaled 28 inches).
- This pattern is unisex and can be adjusted for smaller or larger sizes by modifying stitch counts.
Pattern Abbreviations & Terminology
- ch: Chain
- sc: Single Crochet
- dc: Double Crochet
- st: Stitch
- rep: Repeat
- sk: Skip
- MC: Main Color
- CC: Contrast Color
(Pattern uses US terminology.)
Step-by-Step Crochet Instructions
This shirt is made in three main pieces:
- Back Panel
- Two Front Panels
- Sleeves
BACK PANEL
- Determine Width & Length:
- Width = (Bust/2) + extra for looseness. (Example: 36/2 = 18 inches + 2 inches → 20 inches wide.)
- Length = desired total shirt length (Example: ~28 inches).
- Foundation Chain:
- Start with a foundation chain that matches the full length of your shirt.
- The chain should be a multiple of 3 + 2.
- Example: Chain 83 (81 as a multiple of 3 + 2).
- Row 1 (SC Row):
- Work 1 sc into the 2nd chain from the hook.
- Continue placing 1 sc in each chain across.
Stitch count: Matches your starting chain (e.g., 83 sc). - Turn your work.
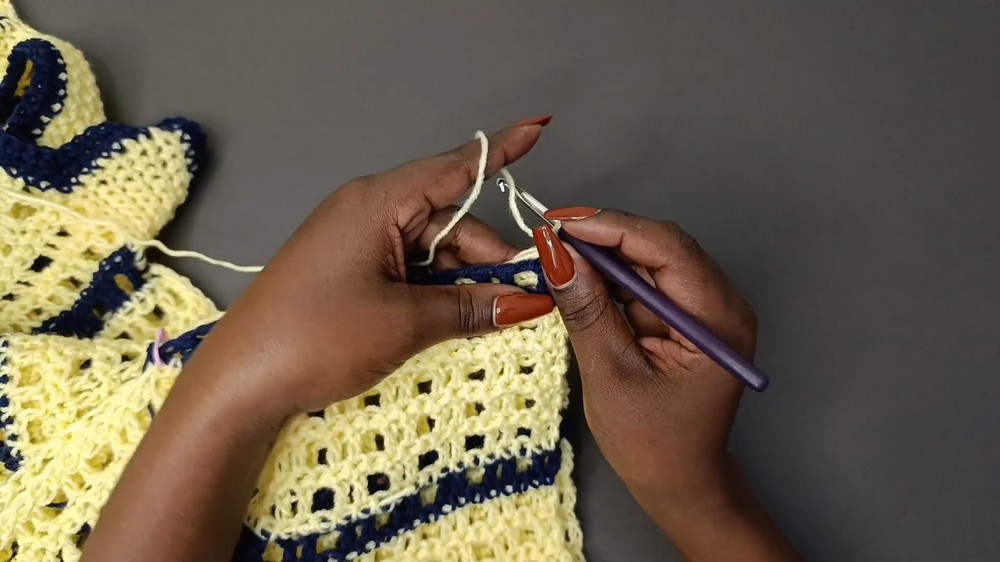
- Row 2 (Mesh Pattern):
- Chain 2 (counts as the first dc).
- Skip the 1st st, place 1 dc in the next st.
- Chain 1, sk 1 st, dc in next. Repeat to end.
- Place 1 dc in the last st.
Turn your work.
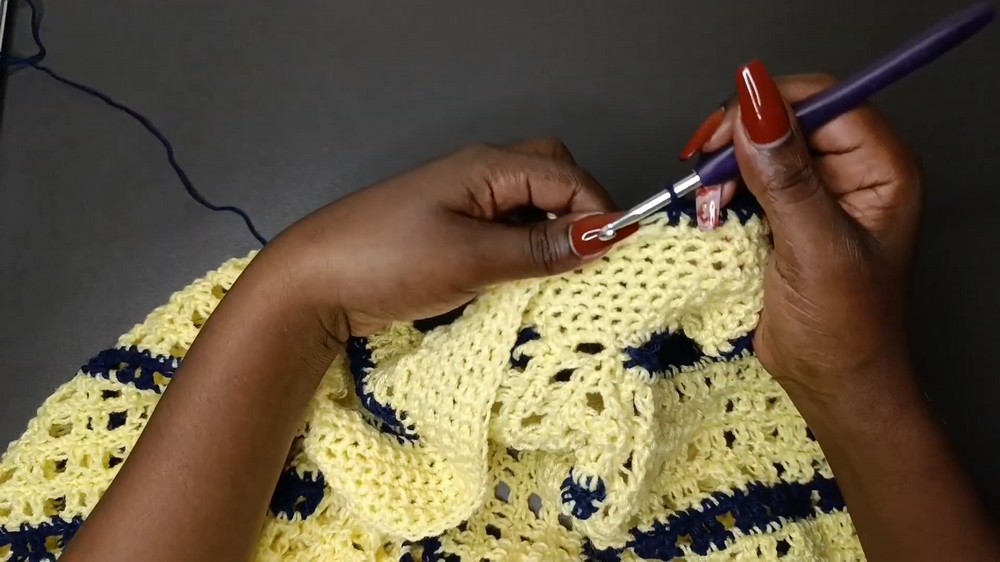
- Row 3 (SC Row):
- Chain 1.
- Place 1 sc into every dc, including chain gaps from the previous row.
Stitch count = same as foundation chain.
- Repeat Rows 2–3:
- Alternate these rows (mesh row and sc row) for a total of 48 rows (or desired length for your back panel).
- Color Change:
- Optional: Change to CC after 8 rows of MC.
- Work 2 rows in CC, then switch back to MC.
FRONT PANELS
- Length:
- Each front panel is half the width of the back panel.
- Example: For a back panel with 48 rows, each front panel = 24 rows.
- Foundation Chain:
- Chain to match the full length of the shirt (same as back).
- Follow the same multiple of 3 + 2 rule. Example: Chain 83.
- Follow Mesh Pattern:
- Use the same pattern formula as the back panel for 24 rows.
- Make Two Front Panels:
- Complete two identical pieces.
ASSEMBLY: JOINING PANELS
- Align the Panels:
- Lay the back panel flat with the right side facing up.
- Place both front panels on top with their right sides facing down (align shoulders).
- Join at Shoulders:
- From the top, measure 7 inches inward on each side. This will leave a neck opening.
- Join shoulders with a single crochet seam:
- Work 2 sc into each dc row and 1 sc into each sc row.
- Repeat on both sides. Fasten off.
- Side Seams:
- Fold the shirt inside out (wrong sides facing).
- From each sleeve opening downward, join with a sc seam:
- Work 2 sc in dc rows and 1 sc in sc rows.
- Leave a gap for sleeves (about 7 inches from the top).
COLLAR
- Start from Either Front Panel:
- Attach yarn to the edge of one front panel.
- Row 1:
- Work 1 sc into each st along the front edges, neck openings, and back collar.
- At corners, place: sc, ch 1, sc.
- Complete Desired Rows:
- Continue in sc back and forth for 10 rows (or desired collar size).
BUTTON BAND & HOLES
- Position Buttonholes:
- Mark their placement evenly along one front panel.
- Example: Place holes 8 stitches apart or adjust to preference.
- Create Buttonholes:
- Work sc across; when reaching a marked stitch:
- Chain 2, sk 2 sts, sc in next st.
- Work sc across; when reaching a marked stitch:
- Final Edging:
- Work a final sc edging row along both front panels.
- Attach Buttons:
- Sew buttons on the opposite panel corresponding to your buttonholes.
SLEEVES
- Foundation Chain:
- Chain 21 (adjust for length, ensuring multiples of 3).
- Work Rows in Mesh Pattern:
- Follow the same pattern as the panels.
- Alternate mesh (dc rows) and sc rows for 40 rows total.
- Assembly:
- Fold the sleeve and seam along its length with sc.
- Attach sleeves to shirt by aligning the sleeve seams with armholes.
FINISHING
- Weave in all loose ends securely.
- Steam block/shape the shirt for a polished look.