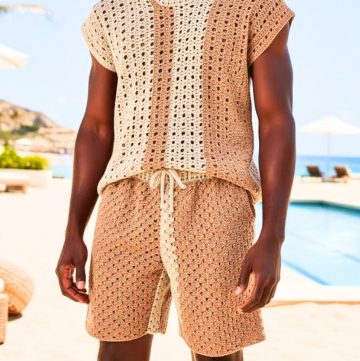
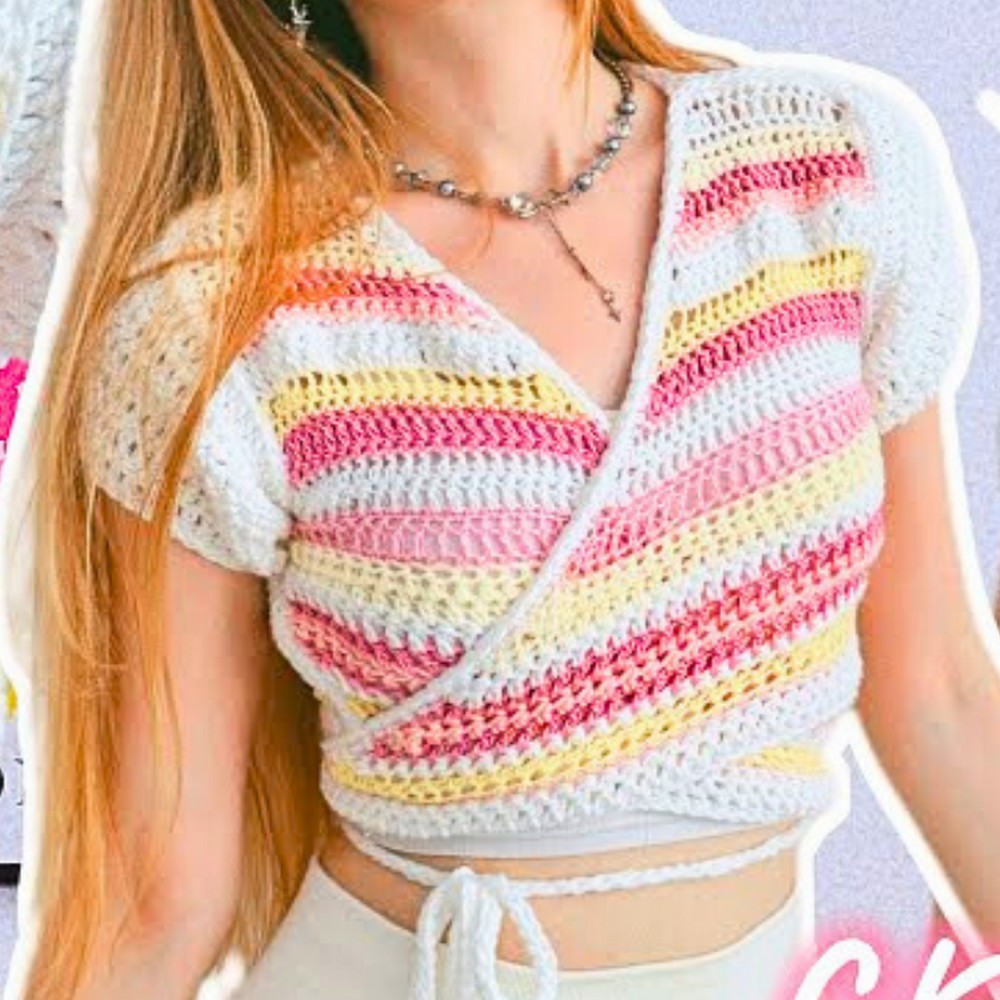
A crochet wrap top is a wearable piece that’s both stylish and practical. This unique design combines bright, cheerful colors and a cropped fit, making it perfect for warm weather, but it can easily be adjusted for cooler seasons with longer sleeves. What makes this top special is that it uses leftover yarns, encouraging creativity while helping you transform unused materials into something beautiful and wearable.

Using simple stitching techniques, this wrap top incorporates bright colors, neat edging, and a cropped design. This top pattern encourages both creativity and simplicity, letting you alternate colors and stitch styles for unique textures. Even beginners can follow along, as the steps use basic stitches like single crochet and double crochet. It’s a fun way to make something beautiful out of yarn you already have, no need for perfect matching thickness or style.
Materials & Tools Needed
- Leftover yarns in matching or complementary colors (suggested: white, pink, yellow).
- Feel free to use yarn of different thickness or fiber types (e.g., cotton, acrylic, and mohair) as shown in the tutorial.
- Crochet hook: 5 mm.
- Scissors.
- Yarn needle (for sewing and finishing).
Optional: Stitch markers (to mark sleeve or seam sections).
Pattern Abbreviations & Terminology
All terminology used here is in US Crochet Terms:
- Ch: Chain
- DC: Double Crochet
- SC: Single Crochet
- HDC: Half Double Crochet
- Sl St: Slip Stitch
- Dec: Decrease
- FO: Fasten Off
Gauge and Finished Size
- Gauge: The sample piece used 39 stitches (approx. 33 cm width) for the base.
- Finished Size: Approximately 28 cm in height (front panel), 33 cm across the base, and about 9 cm width at the shoulder.
You can modify the size by increasing/decreasing the number of rows or stitches worked.
Step-by-Step Crochet Instructions
1. Front Panels
You will create two identical triangular pieces for the front.
- Start with a Foundation Row:
- Use white yarn.
- Work a foundation row of 39 DC stitches.
- Alternative: Chain 39 and work one DC into each chain across.
- Tutorial Note: A foundation row is stretchier than a regular chained base.
- Alternate Stitches for Each Row:
Each row will decrease on one side. Alternate the stitch types to create texture. The row order:- Row 1: DC (39 stitches).
- Row 2: SC, working the first 2 stitches as a SC decrease.
- Row 3: HDC.
- Row 4: DC.
Repeat this alternating sequence until the shoulder width measures about 9 cm. Decrease on one side only for each row.
- How to Decrease:
For SC: Insert into the first stitch, pull up a loop; insert into the next stitch, pull up another loop; yarn over and pull through all 3 loops.
For DC/HDC: Combine the first two stitches as described in the tutorial.
- Color Changes:
- To change the yarn color, pull through the new color before completing the last stitch of the row (leave 2 loops of the old color on the hook, then switch).
- Knot the old and new ends together tightly, trim, and continue.
- Edging (Optional):
- Once the panel is the desired size, SC around the edges to even them out. Use 1 SC for SC rows and 2 SC stitches for DC or HDC rows.
Repeat this process to create two front panels.

2. Back Panel
The back panel is a basic rectangle without decreases.
- Start the Foundation Row:
- Chain or foundation DC 39 stitches (same width as the front panels).
- Crochet Rows:
- Work straight rows (no decreases) alternating stitch types every row:
- Row 1: DC
- Row 2: SC
- Row 3: HDC
- Row 4: DC
- Continue this pattern until the back panel height matches the front panel rows (approx. 27 rows).
- Work straight rows (no decreases) alternating stitch types every row:
- Edging (Optional): SC around the edges to ensure a neat finish.

3. Assembly
- Shoulder Seams:
- Lay the front panels on top of the back panel with right sides facing down (wrong sides outward).
- Align the shoulder corners on both sides.
- Join the shoulders using SC through the front loops of the front piece and back loops of the back piece.
- At the end of each seam, chain 1, cut the yarn, and FO.
- Side Seams:
- With the panels still right sides together, align the sides, leaving 22 stitches (armhole) unworked for the sleeve opening.
- Join the remaining edges with SC stitches, just like the shoulder seams.
4. Ties
- Attach Yarn at the Front Corner:
- Attach yarn to the bottom corner of one front panel.
- Work a chain of 110 (or more, depending on the preferred length).
- Slip Stitch Back:
- Starting in the second chain from the hook, work one slip stitch into each chain back to the front panel.
- Attach the tie with a SC and FO.
Repeat for the opposite panel to create two ties.

5. Sleeves
The sleeves are optional. The tutorial creates short sleeves due to limited yarn, but you can extend them.
- Start at the Armhole:
- Attach yarn to the bottom of the armhole with a slip stitch.
- Chain 3 (counts as the first DC).
- Work the First Round:
- Work 1 DC into each stitch around the armhole.
- Include additional stitches in the shoulder seams to avoid gaps.
- Join with a slip stitch to the top of the chain 3.
- Shaping the Sleeves:
- Round 2: Start decreases.
- Chain 2, turn, and work a DC decrease in the first two stitches.
- Work DC stitches evenly to the middle of the sleeve (shoulder seam).
- Make 2 DC decreases at the shoulder seam, then continue DC stitches around.
- At the end of the round, make one last DC decrease.
- Repeat this pattern for 5 more rounds, shaping the sleeve.
- Round 2: Start decreases.
- Finishing the Sleeves:
- Work a final round of slip stitches for a neat edge.
- Cut the yarn and FO.
- If working full-length sleeves, keep crocheting without further decreases.
Final Steps and Finishing
- Try It On:
- Ensure all seams and ties are secure.
- Check the fit. Make adjustments to the ties or sleeves if needed.
- Weave in Ends:
- Use a yarn needle to weave in all loose ends neatly.
- Block the Top:
- Lightly block the piece to even out the rows and help with shaping.

Notes
- Customization: Adjust the dimensions and row numbers for a longer or shorter cardigan. Use as many leftover yarn colors as desired.
- Style Variations:
- Leave the sleeves off for a summer vest.
- Add longer ties for different wrap styles.