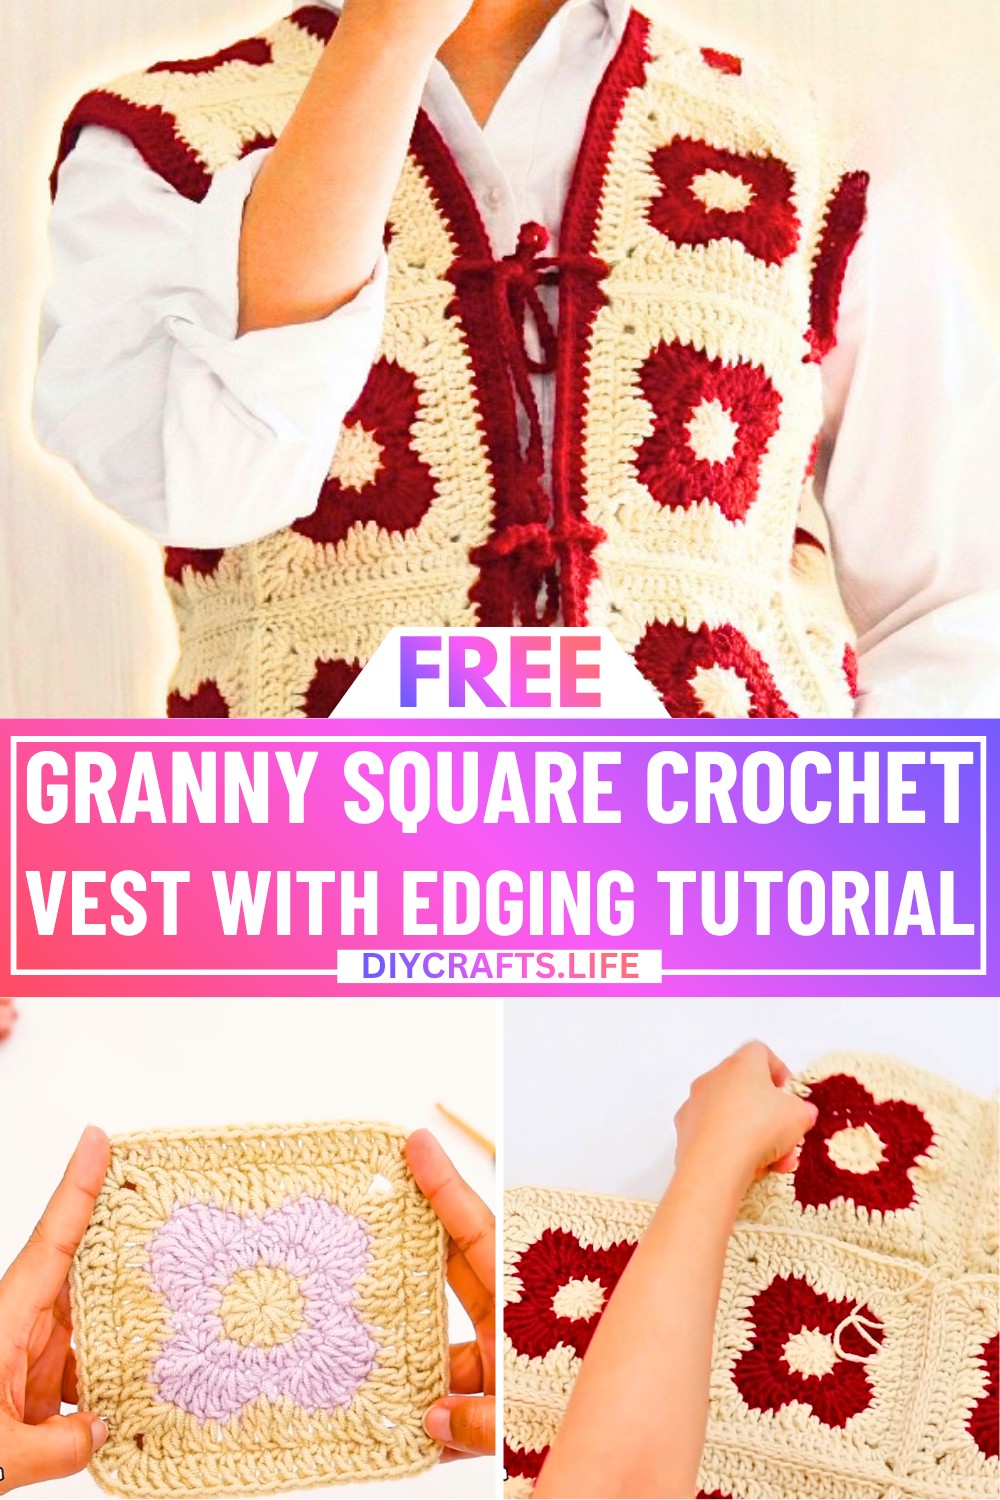
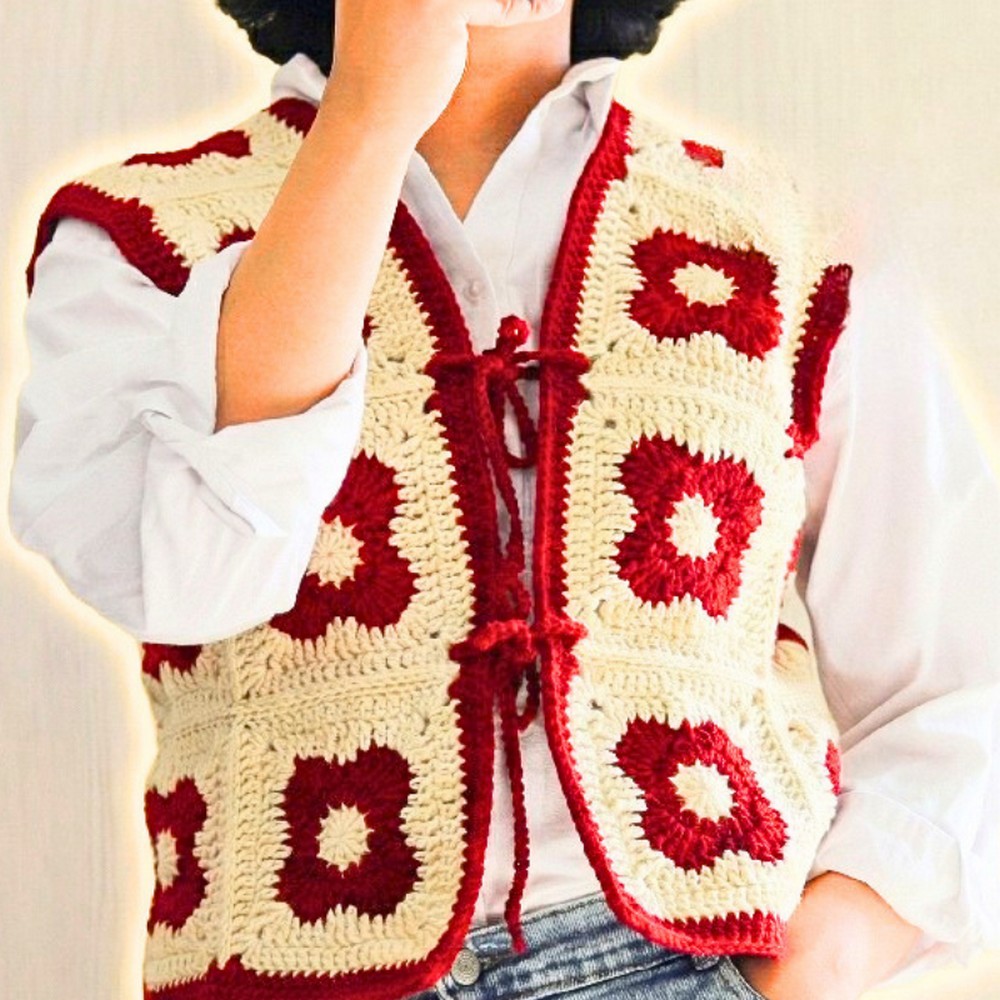
This crochet granny square vest is the perfect mix of cozy and creative. It’s a wearable piece that’s versatile for all seasons, whether layered over a tee in the summer or a light sweater in the cooler months. The open-front design keeps it comfortable and stylish, and you can even add a tie to keep it closed if you want. It's not just a vest—it's a statement piece made with love.
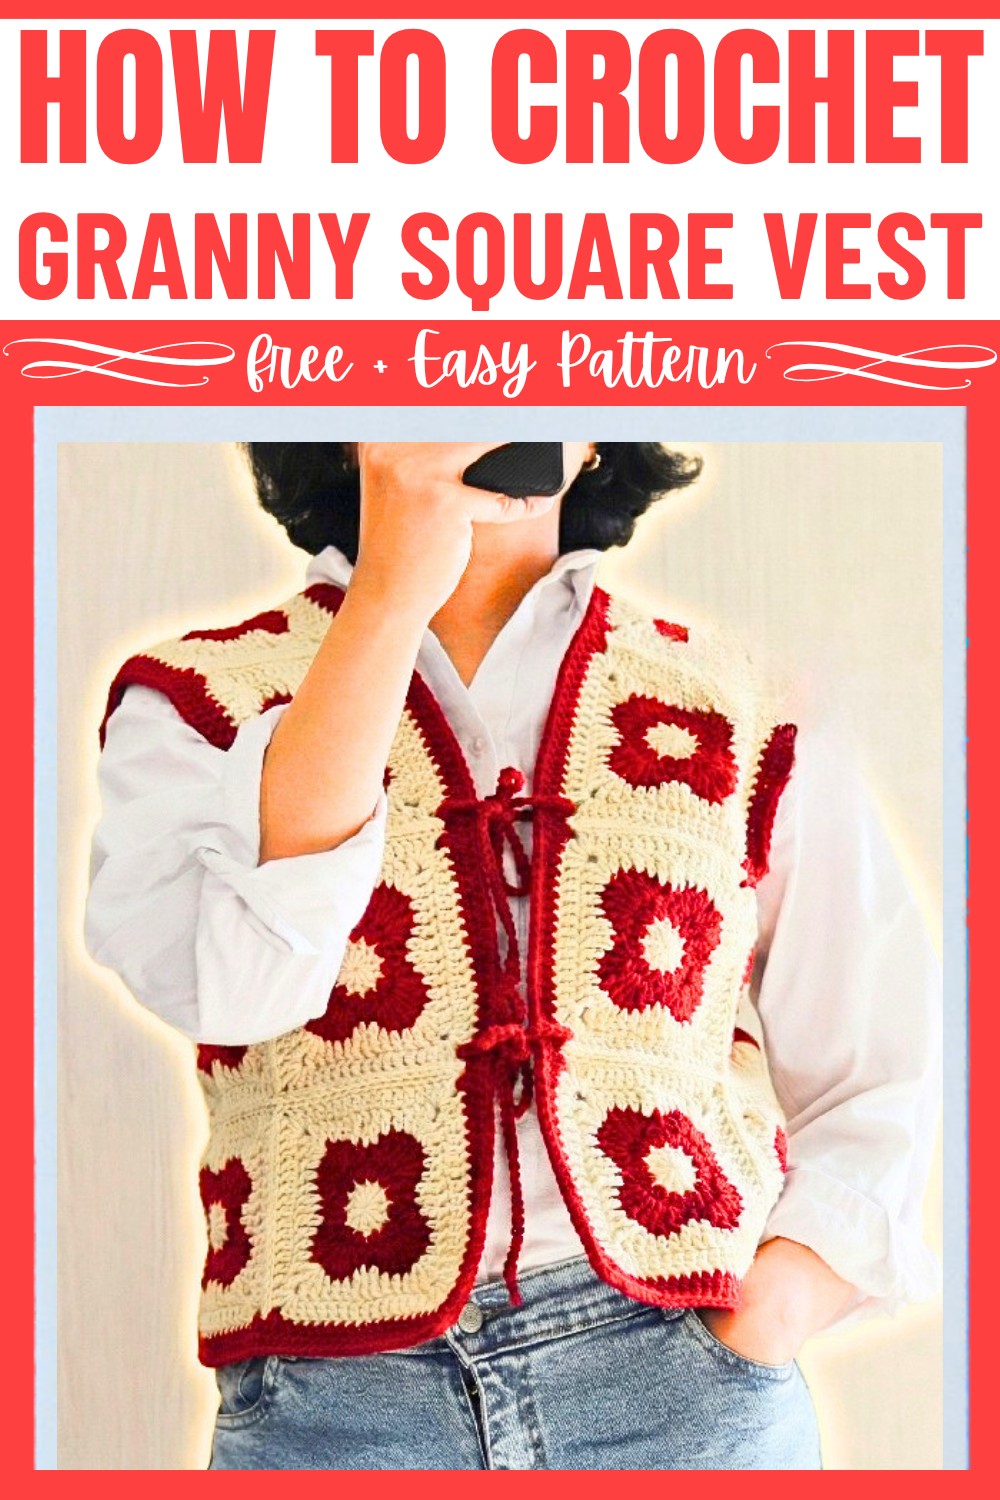
What’s great about this crochet vest is how customizable it is. You’ll need just 21 granny squares, arranged in a specific layout to create this beautiful design. You can play with different colors, sizes, or patterns for the squares to match your style. Using simple tools like a 4 mm crochet hook, worsted-weight yarn, and scissors, you can bring this design to life.
To finish, you’ll join the squares with your chosen method and add lovely edging to the armholes and outer edges for a polished look. Make it in any size by adjusting the squares or yarn thickness. It’s a wonderful way to express your creativity and create something useful that you’ll love to wear.
Credit crochet with parisa
Materials & Tools Needed
- Yarn: Worsted-weight yarn (use your color of choice)
- Hook: 4 mm crochet hook
- Other Tools:
- Yarn needle (for weaving ends)
- Scissors
Finished Size & Customization Ideas
- Each granny square: 13 cm x 13 cm
- Finished vest dimensions:
- Length: 50 cm
- Circumference: 95 cm
- Front: Open by default but can be closed by adding a chain tie.
- Square Layout: Total of 21 squares.
- Front: 6 squares (3 per side)
- Shoulders: 2 squares (1 per shoulder)
- Sides: 4 squares (2 per side)
- Back: 9 squares
- Customization Options:
- Adjust the size of the squares:
- Use thicker yarn or a larger hook.
- Add additional rounds to your granny square until the desired dimension is achieved.
- Adjust the size of the squares:
Pattern Abbreviations & Terminology
- Ch: Chain
- Sc: Single crochet
- Hdc: Half double crochet
- Dc: Double crochet
- Tr: Treble crochet
- Sl st: Slip stitch
- Sp: Space
- YO: Yarn over
Terminology: US Standard Crochet Terms
Step-by-Step Detailed Crochet Instructions
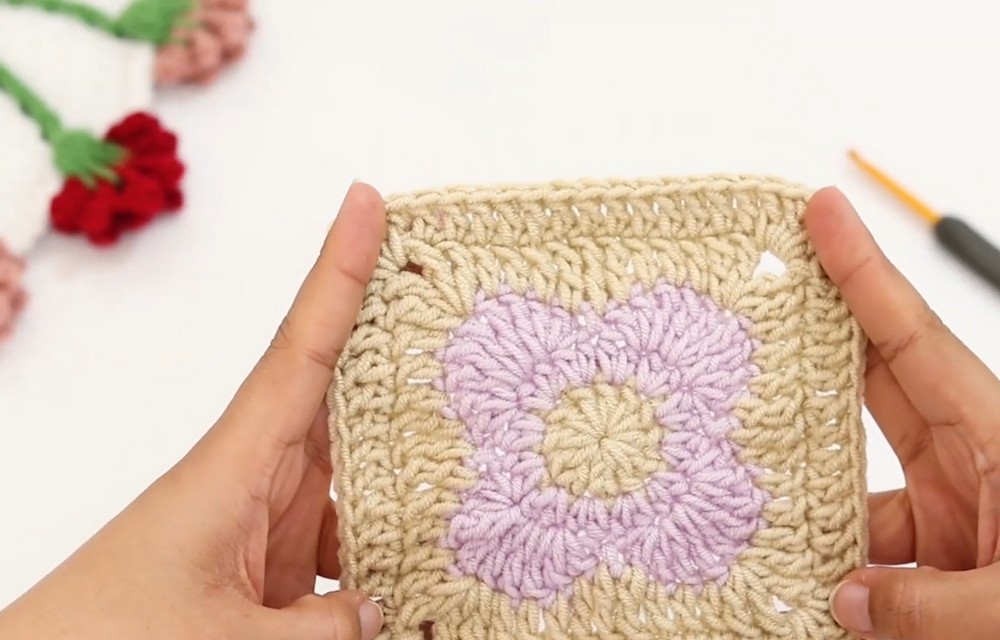
Step 1: Make a Granny Square
Each granny square follows these steps:
- Round 1
- Create a Magic Ring.
- Ch 3 (counts as the first dc), then work 11 dc into the magic ring.
- Close the round with an Invisible Join:
- Insert needle into both loops of the first stitch (not the starting ch), and pull the yarn through the last loop.
- You should now have 12 stitches.
- Round 2
- Attach new yarn with a slip knot in any stitch.
- Work Sc, Ch 1 (counts as 1st hdc), and hdc in the same stitch.
- Work 2 hdc in each stitch around.
- Sl st into the top of the 1st hdc to join.
- Total stitches for this round: 24 hdc.
- Round 3
- Start with Ch 4 (counts as tr).
- Work a shell pattern to create the petal-shaped edges:
- (2 tr in the same stitch, 1 tr, 2 dc in the next stitch), skip 1 stitch, sl st, skip 1 stitch, repeat.
- Repeat this shell pattern for a total of 8 shells.
- Close with an Invisible Join.
- Round 4
- Attach yarn in the center treble crochet (tr) of a previous row’s petal.
- Work Sc, Ch 4 (counts as tr, ch 1), then do:
- (2 tr), dc in the next 3 stitches, tr in the next 3 stitches, dc in the next 3 stitches, (2 tr, ch 1, 2 tr) in the corner space, repeat.
- Close with an Invisible Join.
- Round 5 (Final)
- Attach yarn to a corner space.
- Ch 3 (counts as dc), then work (dc, ch 2, 2 dc) in the same space (creates a corner).
- Work dc into the next 13 stitches.
- Continue in the same sequence for all sides of the square:
- (2 dc, ch 2, 2 dc) at corners, dc in 13 stitches, repeat.
- Close with an Invisible Join.
Step 2: Make 21 Granny Squares
- Repeat the steps for the granny square until you have created 21 total squares.
- Follow the layout below:
- 9 squares for the back.
- 6 squares for the front (3 per side).
- 2 squares for the shoulders (1 each).
- 4 squares for the sides (2 per side).
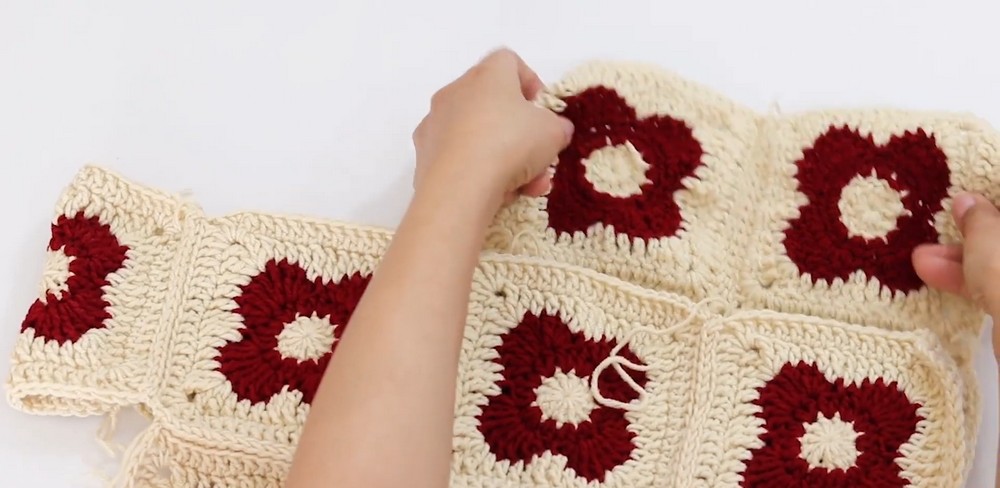
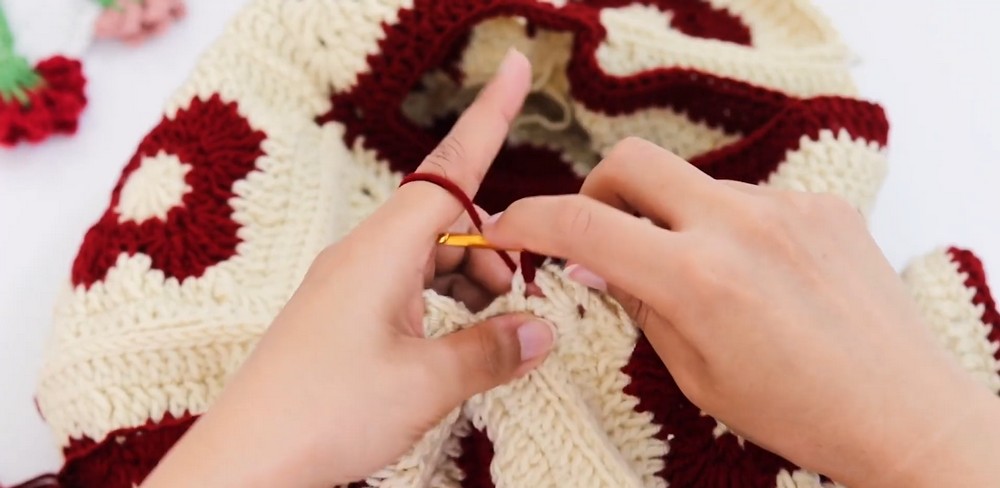
Step 3: Join the Granny Squares
- Use the Slip Stitch Joining Method outlined in the video:
- Begin with a slip knot.
- Align 2 squares together and join in their corner spaces using a sl st across each matching stitch.
- For each corner, make a chain to give flexibility, then continue joining the edges.
- When 4 squares meet at a single point, make 1 chain to bridge across the corner spaces.
- Repeat the process for all squares following the layout.
Note: Use the same background color for consistency, or alternate for variety.
Step 4: Assemble the Vest
- Once all the squares are joined:
- Fold your layout in half to create the vest shape.
- Join the two remaining seams on the sides using the same slip stitch joining method.
Step 5: Edging Around the Armholes
- Attach your yarn in any armhole space and work this sequence:
- Sc, ch 1 (counts as the first hdc).
- Work hdc into each stitch along the edge.
- At the corners, create a rounded edge by working hdc3tog across 3 spaces.
- Continue working 2 hdc in each space for the rest of the round.
- Close with a Sl st on top of the first hdc.
- Total stitches will vary depending on the armhole size.
- Invisible Join to finish off the edge.
- Repeat the above steps for the second armhole.
Step 6: Outer Edging for the Vest
- Work in the same way as the armhole edging:
- Attach the yarn at any outer edge.
- Start with Sc, ch 1, then hdc along the edges.
- At corners, create a corner by working (2 hdc, ch 2, 2 hdc).
- Sl st and Invisible Join to finish.
Step 7: Adding a Tie (Optional)
- For a tie, simply crochet a chain of your desired length and attach it to the front panels of the vest.