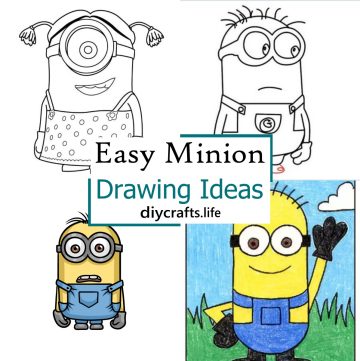
Start sparking creativity in your children with these fun and engaging eye drawing ideas! Ideal for kids, these drawings will develop fine motor skills, observation, and a love for art.
Cute Eye Drawings
You will elevate your artistry with this charming collection of cool eye drawings. Whether you are a beginner or an expert artist, these drawings are perfect for you. The collection features simple ideas for beginners and detailed and realistic eye drawings for experienced artists to enhance their skills.
These drawings let you quickly capture and express your happy and sad emotions, making your art more creative and beautiful. Take a look at the list below for some inspiration.
Supplies For Simple Eye Drawing
Here are some basic supplies you may need to start drawing a perfect set of eyes:
- Graphite Pencils: Different pencils for making various marks and shades.
- Drawing Paper or Sketchbook: Normal thickness paper to draw on.
- Erasers: Rubbers for fixing mistakes and brightening.
- Blending Tools: Tools like tortillas for smoothing shades.
- Charcoal or Conté Crayons/Pencils: For making dark shades.
- Pen and Ink: For clear outlines and tiny details.
- Color Pencils or Pastels: To add color.
- Sharpener: To keep your pencils sharp.
Basic Tips For Drawing An Eye
Here are some basic tips for drawing an eye:
- Start with Simple Shapes: Begin with a light sketch of a circle or oval for the eyeball.
- Add the Eyelids: Sketch lines near the top and bottom of the upper and lower eyelids of the circle.
- Draw the Iris: Draw another smaller circle within the eyeball for the iris.
- Pupil and Highlight: Sketch a smaller circle within the iris for the pupil and leave a tiny white circle for the highlight of the eye.
- Eyelashes: Draw simple lines coming from the eyelids for the eyelashes. Thicker and longer for the upper lid and thinner and shorter for the lower lid.
- Eyebrow: Above the eye, draw a line that follows the eyelid curve for the eyebrow.
- Refine: Clean up your sketch by erasing unnecessary lines and refining the drawn parts.
- Shading: Shade the different parts of the eye like the iris, pupil, white part of the eye and the skin around it to add depth.
- Practice: Draw several times to improve your technique.
Remember, practice well, experiment, and observe references for better understanding.
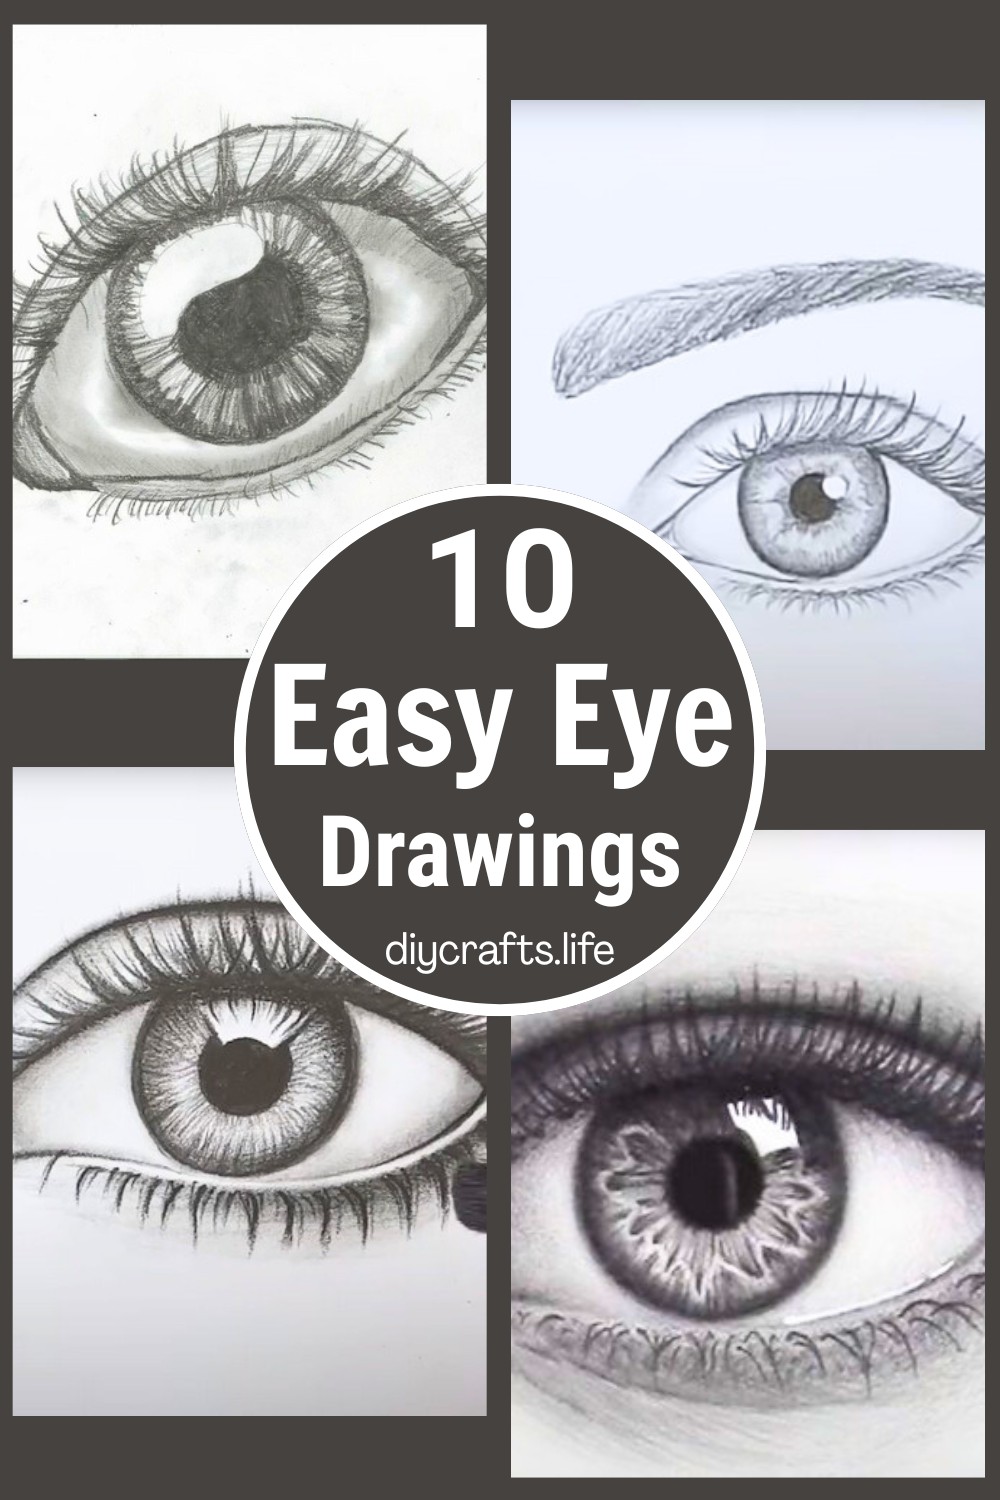
10 Eye Drawing Ideas
Browse through a series of eye sketches below for inspiration in your upcoming artwork.
How to Draw an Eye
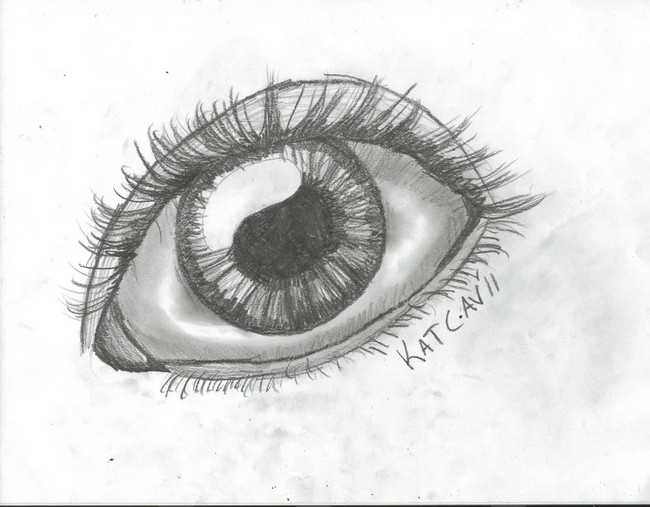
Uses: This technique can serve as a foundation for building your artistic prowess by experimenting with different styles, shading techniques, and proportions.
Making: First, draw an almond-shaped outline for the eye, ensuring the corner next to the nose sits slightly lower than the outer corner. Inside the outline, draw the eye's inner circle, then sketch the highlight and pupil beneath it. Fill in the pupil with darkness for depth. After that, sketch your upper and lower eyelids, followed by some basic eyelash marking, where you'll later make more detailed lash clusters. Continue to darken and detail parts of the eye, bringing in-depth and lifelike features. Finally, add the details to the eyelashes and proceed with shading and smudging for a realistic look.
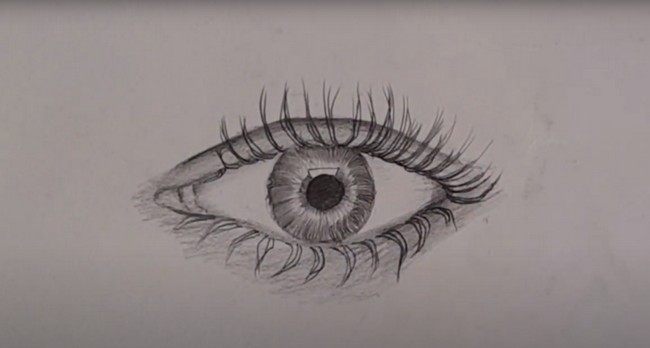
Easy Eye Drawing
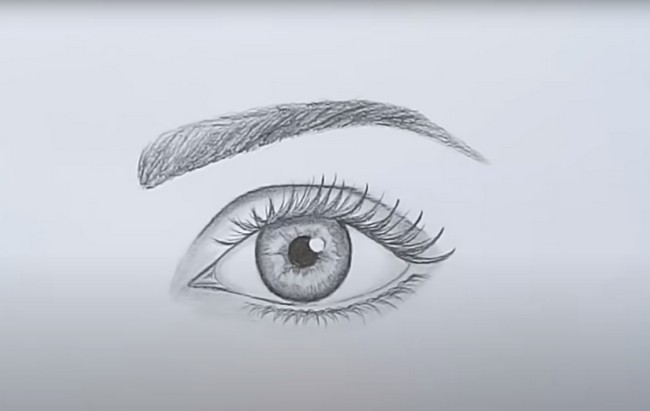
Uses: Mastering the "Easy Way To Draw A Realistic Eye" step-by-step guide can be a beneficial practice for anyone interested in enhancing their artistic skills. Its easy and straightforward approach allows you to create a real-to-life eye artwork that's both captivating and awe-inspiring.
Making: Start sketching a basic circle and drawing the upper and lower eyelid lines. Then, add a smaller circle within that represents the iris. To ensure a realistic look, create a light source and sketch a small circle on the opposite side for the pupil. Shade the iris gradually, keeping in mind the source of light. Create the eyelid contour and add thickness to the eyelashes, which should not be straight but rather should have a curve. Continue working on the details and the shading until you're satisfied with the result.
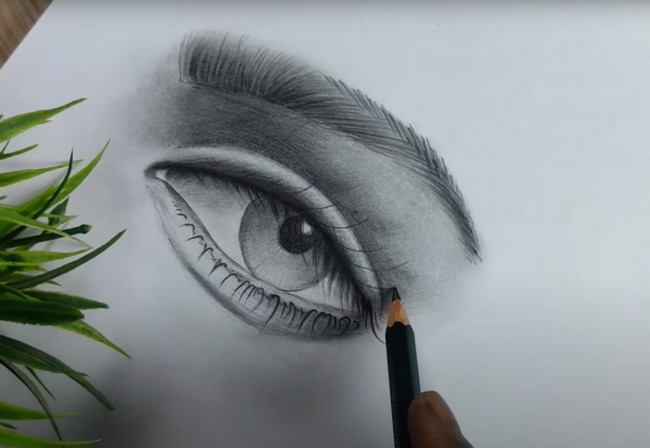
Draw Hyper Realistic Eyes
Uses: A hyper-realistic eye drawing harnesses the beauty of detail. It impresses viewers with its true-to-life representation and enhances your understanding of shapes, lighting, and details.
Making: Begin by sketching a light circle and defining the angle of the eye. Proceed to shape the eye, starting with the inner corner and moving to the top and bottom eyelids. Create depth by adding an eyelid crease and include the various components of the eye, such as the iris, highlights, pupil, and any reflections. Elevate the sense of realism by incorporating wavy lines and spokes in the iris, and delicately layer your shading to achieve a 3D effect. Blend these elements together smoothly, paying close attention to the shading of the overall eye and the skin surrounding your artwork. Lastly, complete the eye by drawing detailed eyelashes.
Draw A Simple Eye Drawing
Uses: Realistic drawings can serve as thoughtful homemade gifts, unique decorations, or even a valuable addition to an art portfolio.
Making: Creating a realistic drawing requires careful observation and a methodical approach. Start with a simple outline sketch, keeping your lines light and choosing simple shapes to work with in the beginning. Next, move to shading; this step brings depth and dimension to the drawing, making it look more life-like. Observing where the light falls and where the shadows lie is vital to create realism. Gradually build up dark and light areas to convey the object's texture. Finishing touches like refining edges and adding minute details can significantly enhance the overall effect.
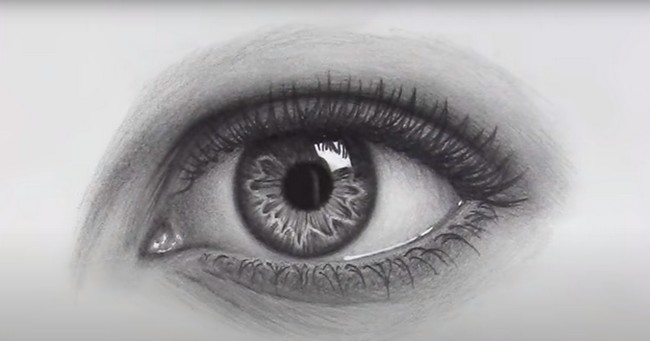
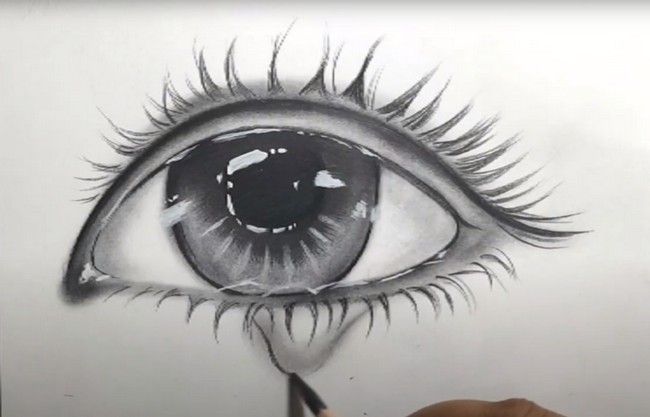
Crying Eye Drawing

Uses: Drawing an eye with a teardrop adds emotion to your artwork and develops subtlety in your creations. It's a perfect way to illustrate compassion, sadness, or joy, bringing broader life and depths to your characters and sketches.
Making: Start by sketching the basic shape of an eye, paying significant attention to the curves and angles. For the teardrop, create a curved line along the lower eyelid and shape its tip to mimic a falling droplet. Shading is crucial here; the teardrop should have a lighter and darker side to give the illusion of three-dimensionality. Don't forget to carefully shade and blend the iris, pupil, and eyelids to create a realistic look.
Easy Way To Draw A Realistic Eye
Uses: Whether you wish to excel in portrait sketches, desire to impress a loved one with a handmade gift, or want to learn something new and exciting - mastering the art of drawing a realistic eye can serve many purposes.
Making: The process of drawing a realistic eye starts with sketching a basic oval shape. Inside this oval, a circle is drawn for the iris and another dark spot for the pupil. Then comes the magic of shading - this adds depth and makes the eye shine. Paying attention to how light reflects in the eye and casts shadows will bring your drawing to life. Top it off by drawing the eyelashes and flicking the pencil just so to make them look real.
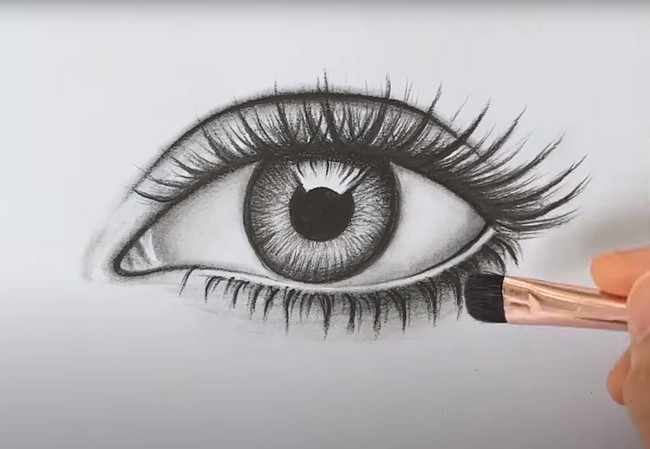
Shade A Realistic Eye
Uses: If you've already learned the basics of drawing an eye, it's time to add a touch of reality to your masterpiece. Shading a realistic eye breathes life into your portrait, giving it depth and dimension.
Making: It begins with an understanding of light and shadow and how they interact with the various elements of the eye. For instance, the white part of the eye (sclera) is not purely white and must be shaded slightly to reflect this. The iris, usually the focal point, requires meticulous shading with different light and dark values. The trick lies in carefully observing an eye and replicating the play of light and shadow. The eyelid casts a shadow on the eye, and the brightness of the pupil can be acutely enhanced by adding a ‘catchlight.’ The artist can achieve an amazingly realistic result by gradually building these elements.
Eye Drawing Color Tutorial
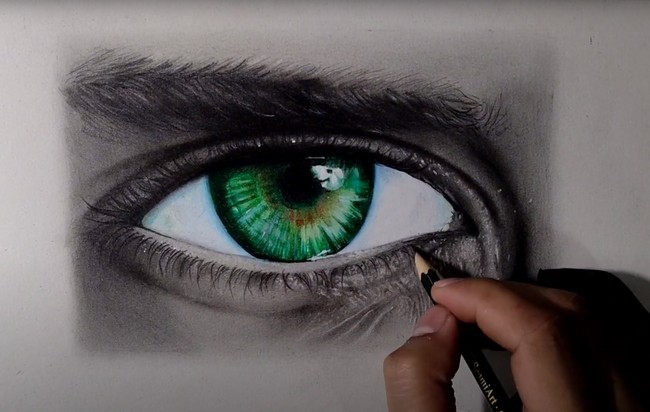
Uses: "Drawn Green Eye Realism" can be used on the walls of optometry offices, enhancing the environment with artwork that reflects their profession's core vision.
Making: The artist first sketches out the eye shape, carefully placing lines where the shades of green and black will later be. Once the sketch is ready, the artist fills in shades of color, layer by layer.
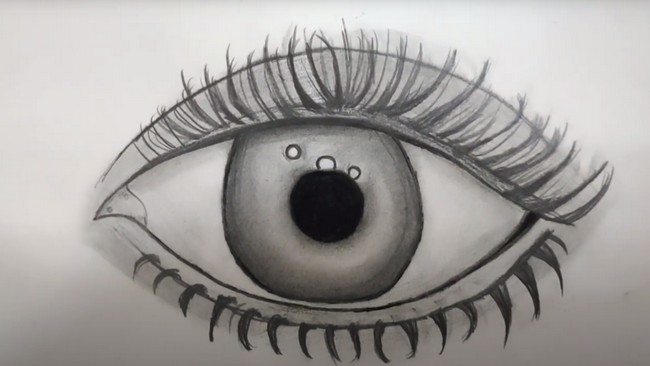
Realistic Eye Drawing
Uses: With its striking details, it serves dual roles—a piece of decor that adds aesthetic value to any space and a guide for those who wish to journey into the world of art.
Making: The process of creating a Realistic Eye Drawing is straightforward yet fulfilling. It begins by sketching the outline of the eye. Gradually, light and darker shades are added to provide depth, bringing the drawing to life. The smooth blending of these shades, particularly around the edges, is crucial to mimicking the real-life detail of an eye.
Realistic Eye To Draw
Uses: Drawing a realistic eye opens your mind to the intricacies of human anatomy and sharpens your artistic skills. Serving as a riveting piece of laurel, or become the perfect gift for a loved one!
Making: It starts by carefully sketching the structure of an eye, from the iris to the eyelashes. An essential part is the addition of varied shades. Lightweight sketching pencils work best for lighter areas, while darker ones best define the edges, giving depth and realism to your work. The last step is smoothly blending these shades, giving life to the sketch.