Transform your summer wardrobe with these stylish filet crochet shorts that seamlessly merge design and comfort. These shorts exude charm and individuality, making them the perfect addition for casual outings or relaxed days at the beach. Their intricate handcrafted texture invites a blend of elegance and versatility that speaks to any creative wardrobe.
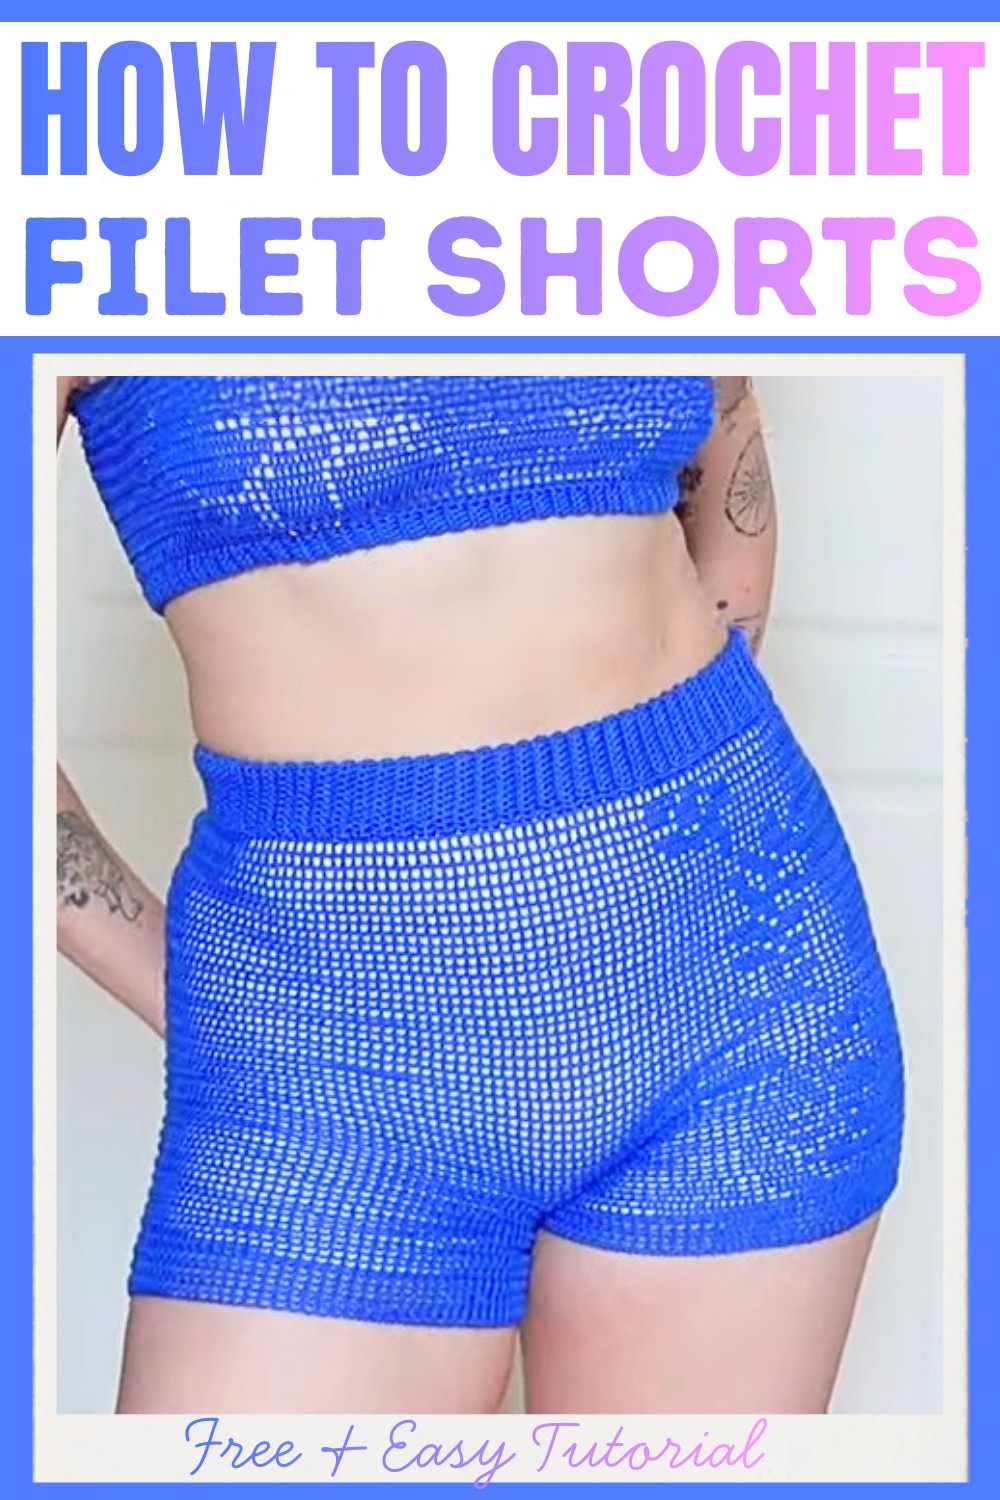
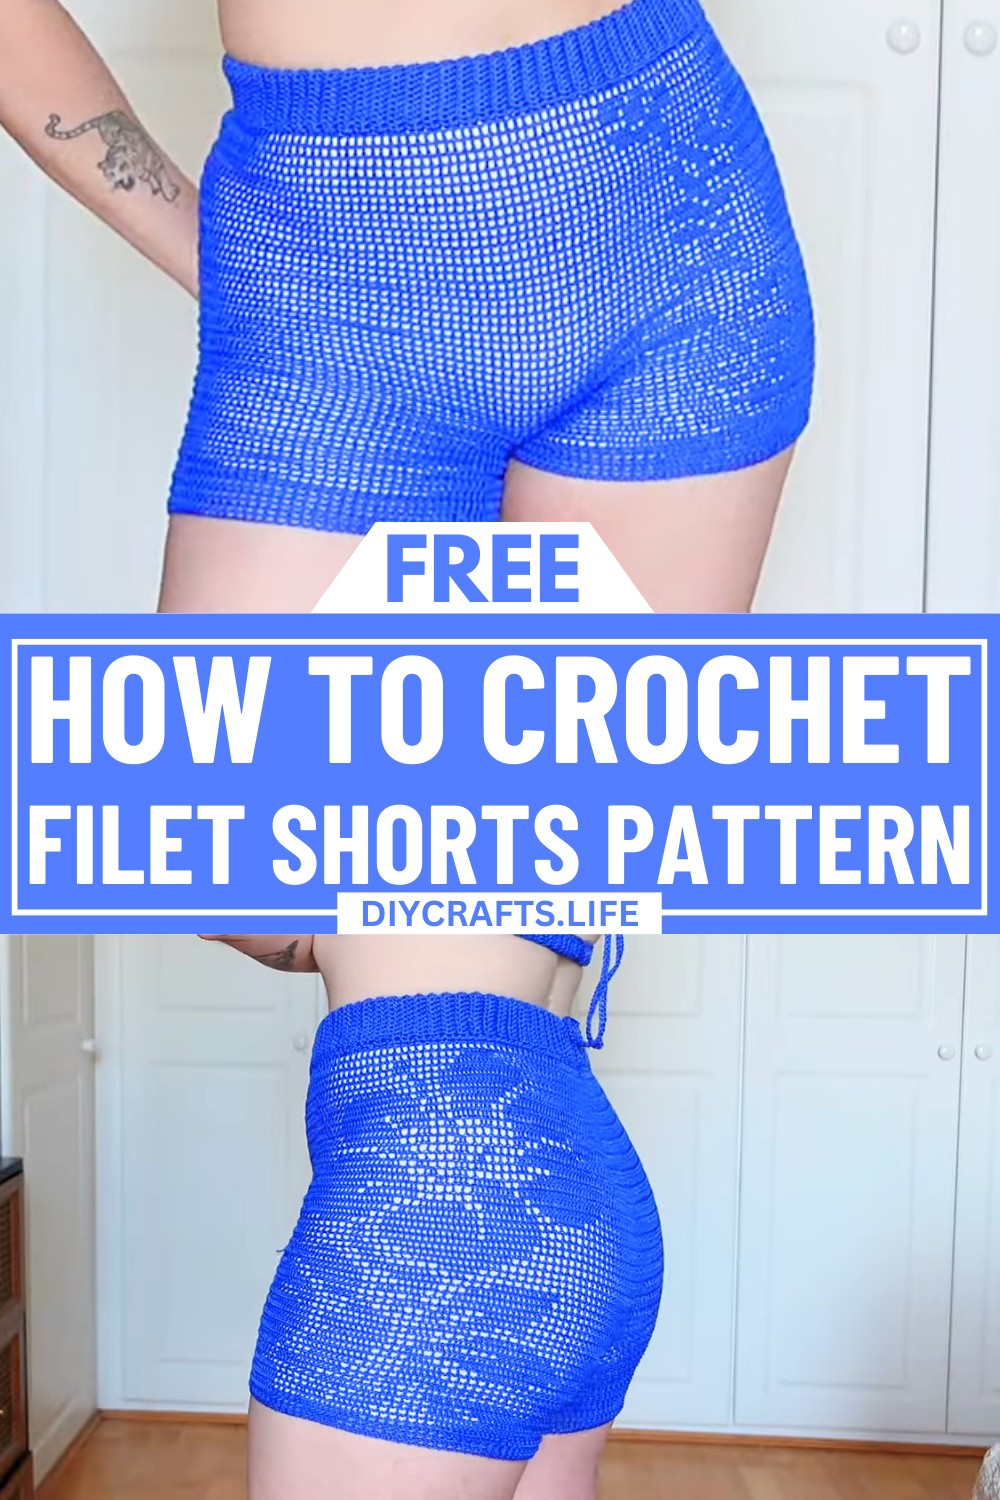
Filet Crochet Shorts
This crochet Shorts tutorial embodies both functionality and artistry, featuring an elastic waistband for a snug fit and a customizable filet grid pattern for artistic expression. The light lace-like yarn creates a breathable, airy design that’s fashionable yet practical. Whether you choose to style them as edgy shorts or a chic skirt, this versatile pattern is your canvas for creating a truly personalized wearable masterpiece.
Credit Katie Joslin
Materials Needed:
- Yarn: 4 balls of Rainbow Lace yarn from Hobie (royal blue color) or similar lace-weight cotton yarn.
- You may need less or more depending on your size. Size Medium used ~3.5 balls.
- Crochet Hooks:
- 2mm hook for general crochet usage.
- 3mm hook for the doubled waistband (optional).
- Elastic: Length of elastic matching your waist or wherever you want the shorts to sit.
- Thread: To sew the elastic into a circle.
- Stitch Markers: Optional, but recommended to help with counting stitches and grid placement.
Step-by-Step Guide:
1. Elastic Waistband:
- Measure and cut the elastic to fit your waist (or hip measurements for a looser fit).
- Sew the elastic ends securely into a circle, using either a sewing machine or hand-stitching.
2. Rib Stitch Waistband:
- Starting chain:
- Using doubled yarn (if thicker waistband desired) and a 3mm crochet hook, chain 21 stitches (adjust based on your preference).
- Ensure this length is more than double the width of the elastic.
- First row:
- Single crochet into each chain stitch across, giving you 20 single crochet stitches (plus one turning chain).
- Rib Stitch Rows:
- For the first and last stitch of each row, do a complete single crochet through both loops.
- For middle stitches, single crochet into the back loop only to create the ribbed look.
- At the end of each row, chain 1 and turn your work.
- Length:
- Continue ribbing until the waistband is long enough to stretch over the widest part of your lower body (so the shorts can be pulled up easily).
- Important: Do not make it the exact size of your waist, as this will make pulling it up impossible. It should be slightly larger.
- Joining the waistband:
- Slip stitch the first row to the final row: Match the stitches at both ends and slip stitch them together securely.
- Do NOT cut the yarn yet.
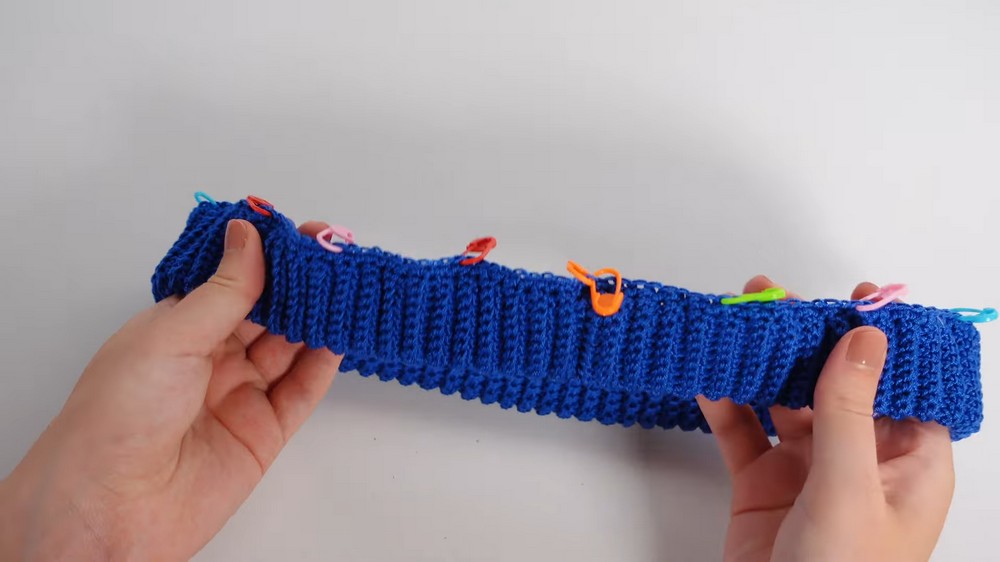
3. Encasing Elastic:
- Fold the waistband:
- Lay the elastic underneath the band, folding the ribbed waistband over it.
- Closing the fold:
- Single crochet all the way around the edge of this folded band to encase the elastic completely.
- Make sure to match each single crochet stitch to the end stitches of the ribbing rows.
- Finish with a slip stitch into the first stitch for uniformity.
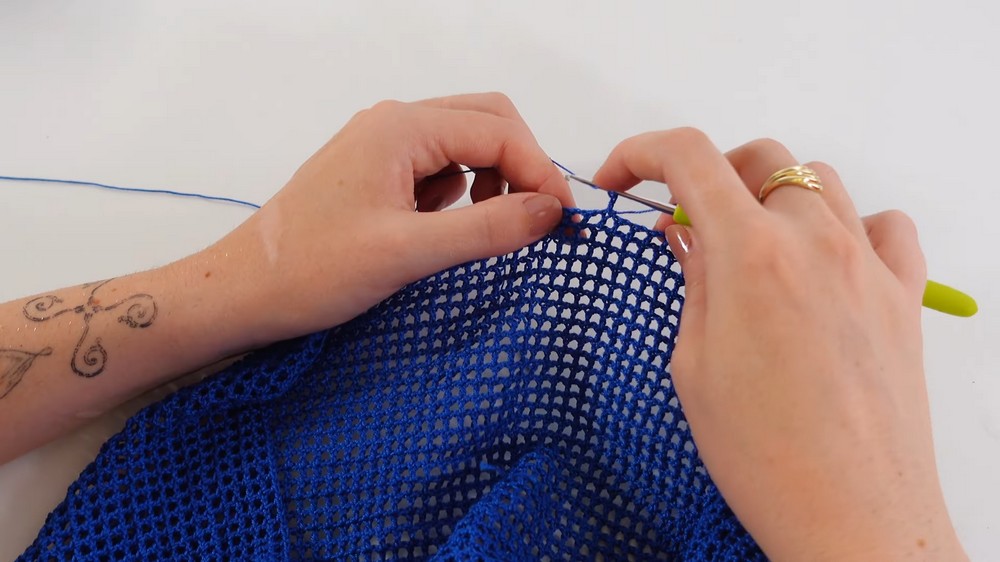
4. Main Body:
- Switch to Single Yarn:
- Return to a 2mm crochet hook and single yarn.
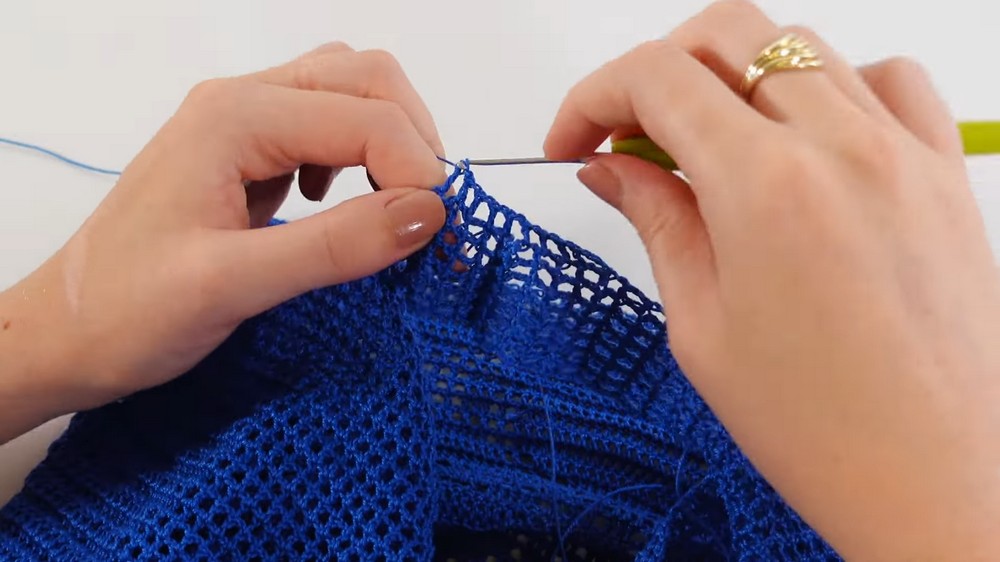
- Setup for Fillet Crochet:
- Fillet crochet involves a grid pattern (blank and filled squares). A blank square uses double crochet and chain stitches, while a filled square uses double crochet stitches only.
- Attach your yarn at the back seam marker using a slip stitch. Chain 3 as a starter stitch.
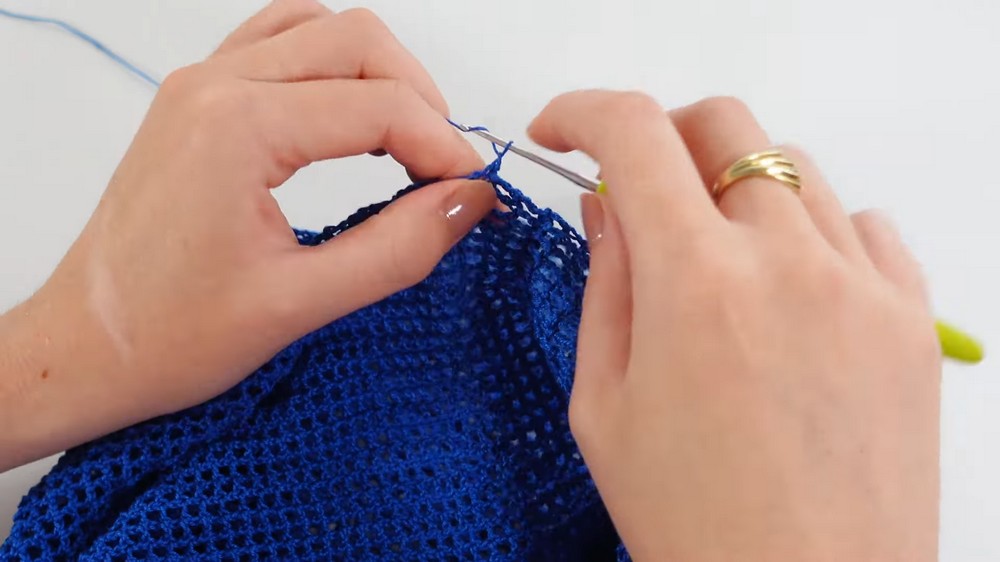
- Mesh Stitch Around the Waist:
- Perform a double crochet mesh stitch:
- Double crochet into the next stitch, chain 1, and repeat around.
- Optional: You can skip alternating stitches for a tighter fit (standard fillet crochet method).
- Perform a double crochet mesh stitch:
- Mark Grid Placement:
- Using stitch markers, identify where you'll place your fillet crochet design:
- Example: For a 56-square-wide grid, count stitches and place markers at the start and end of the grid region on one leg.
- Using stitch markers, identify where you'll place your fillet crochet design:
- Work the Grid:
- Follow your fillet crochet grid pattern row by row.
- Crochet blank squares (DC + chain) and filled squares (DC stitches) as per your chosen pattern.
- Turn work after each row and adjust your starting point accordingly.
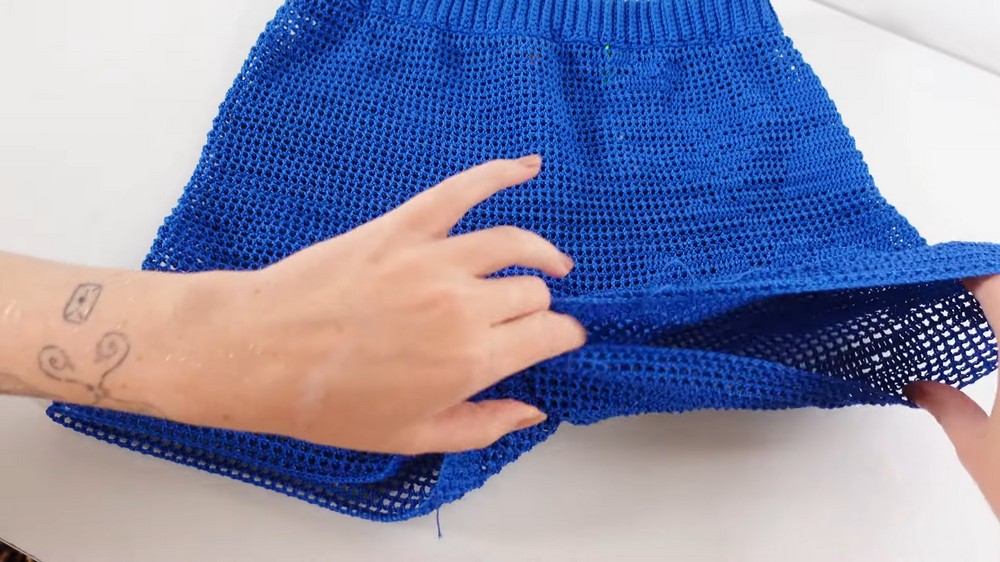
- Complete the Body:
- Crochet sufficient rows to reach the desired length of the main shorts body.
- Example: 36 rows for the main body, including any fillet crochet design incorporated.
- Crochet sufficient rows to reach the desired length of the main shorts body.
5. Optional: Skirt Variant:
- If staying as a tube skirt, simply continue fillet crochet rows without dividing for legs.
- For a split skirt, stop joining rounds and crochet back-and-forth in panel style for the back slit.
6. Create the Gusset:
- The gusset connects the front and back pieces for the shorts:
- Back Gusset:
- Attach the yarn at the midpoint of the back (centered based on seam marker). Crochet a section 7 blank squares wide.
- Continue rows until the gusset reaches halfway through the crotch.
- Front Gusset:
- Attach yarn at the midpoint of the front section, following the same process as the back gusset.
- Repeat rows until gusset length matches that from the back section.
- Secure Gusset:
- Slip stitch front and back gusset pieces together while the project is inside out, creating an invisible seam.
7. Legs:
- Attach yarn near the gusset and begin working around the leg hole:
- Crochet into each stitch at edges.
- Continue your fillet crochet design or plain mesh stitch for 23 rounds (or as desired).
- At the end of the leg, secure the yarn with a knot.
- Repeat the process for the second leg.
8. Finishing Touches:
- Weave in loose ends neatly.
- Optionally add a border or extra rows below the shorts for styling.
Notes:
- If you're a beginner, pace yourself when working with fillet crochet patterns, as grids require careful counting.
- Adjust yarn tension when working ribbing or the gusset panel to ensure the shorts retain stretch.
- Always try on periodically to confirm fit and make adjustments.