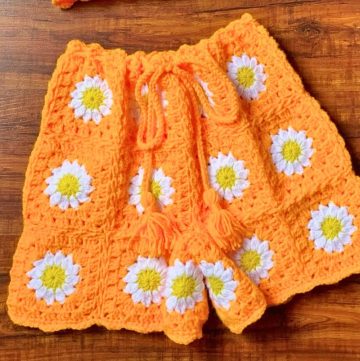
Granny square shorts are a fun and stylish handmade outfit that brings both comfort and creativity to your wardrobe. Made using colorful yarn and unique patterns, these shorts are great for any casual day, whether you're lounging at home or heading out. The design’s special touch comes from the granny squares, which allow you to mix bold or subtle colors for an outfit that's uniquely your own.
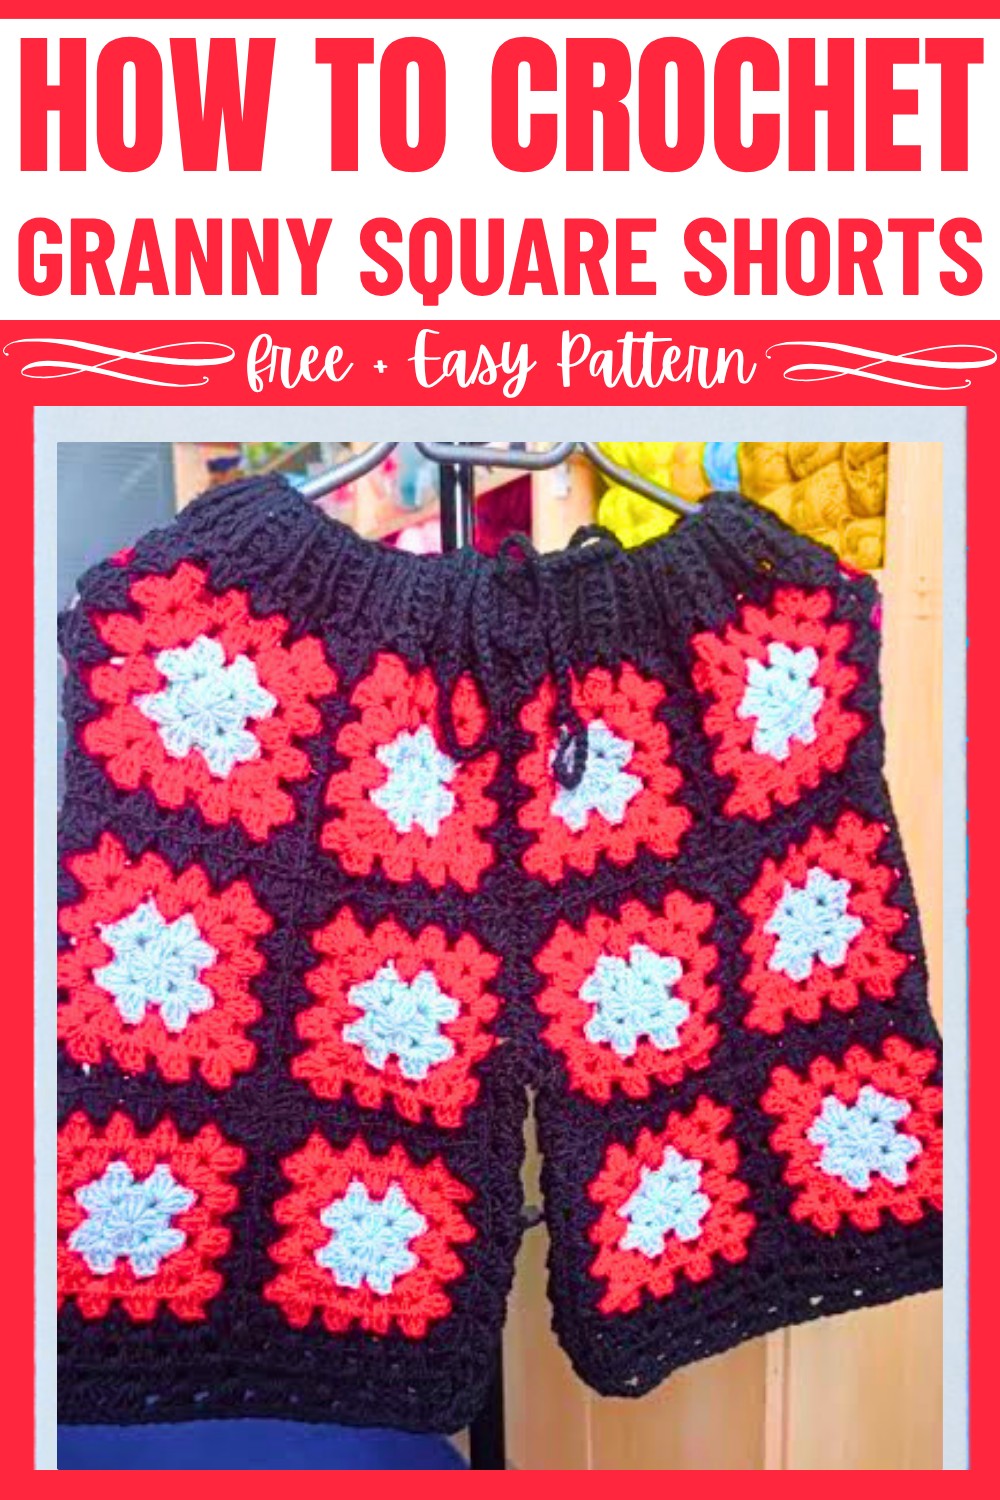
These Crochet shorts are simple to make, starting with basic granny squares that are joined together to form the base. You can adjust the size easily to fit perfectly, making them versatile for everyone. They include a neat ribbed waistband with a drawstring to ensure a snug yet comfortable fit. Not only are they practical and cozy to wear, but they're also a rewarding way to turn yarn into wearable art!
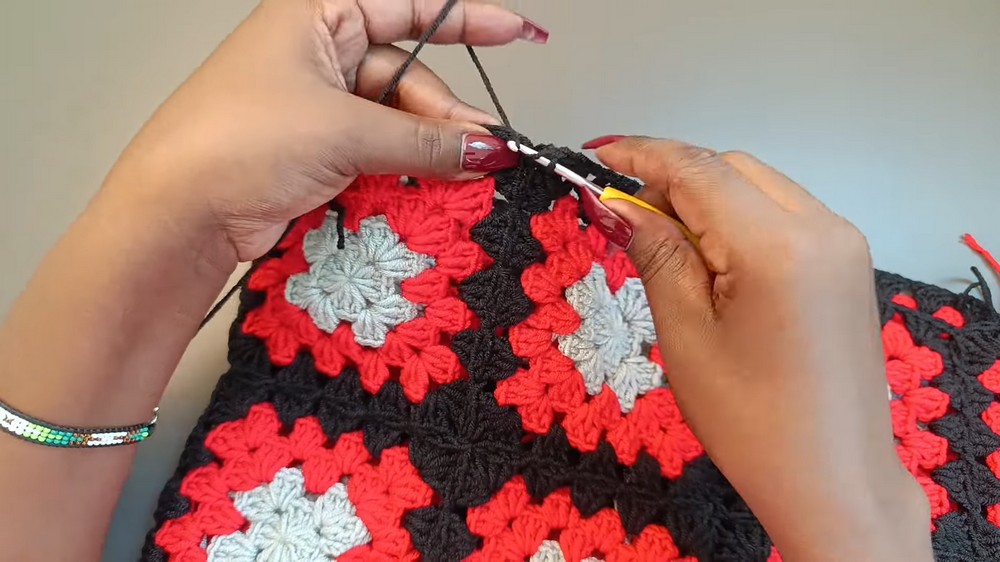
Credit LaDenser Crochets
Materials & Tools Needed
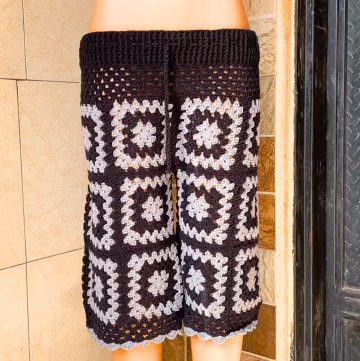
- Yarn: Ali Baby Best (or any DK yarn in three shades, e.g., gray, red, and black)
- Crochet Hook: 3.5 mm
- Additional Tools:
- Darning needle
- Pair of scissors
- Measuring tape
- Stitch markers
Finished Size & Customization Ideas
- The size and fit of the shorts depend on your body measurements:
- Granny Square Size: Measure one square, and multiply its width by 4 to determine if it fits your thigh circumference.
- Customization:
- Make more rows for wider granny squares for larger sizes or fewer rows for smaller sizes.
- Adjust the length by adding rows of squares for longer shorts or pants.
Pattern Abbreviations & Terminology
- Ch: Chain
- Sl st: Slip stitch
- Sc: Single crochet
- Dc: Double crochet
- YO: Yarn over
- Cluster: A group of 3 dc worked into the same space
- Shell: (3 dc, ch 2, 3 dc) into the same space
- RS: Right side
- US terminology is used for this pattern.
Step-By-Step Detailed Crochet Instructions
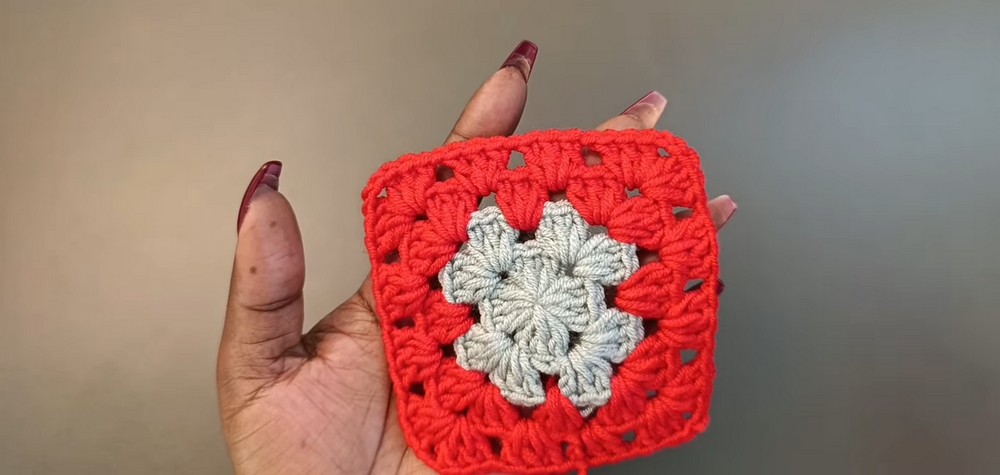
Part 1: Granny Squares
- Foundation Round:
- Begin with a magic ring, ch 3 (counts as first dc).
- Work 3 dc in the ring, ch 2 (1st corner).
- Repeat (3 dc, ch 2) 3 more times.
- Close the round with a sl st into the 3rd ch of starting ch-3.
- Tighten the magic ring.
- Round 2:
- Sl st into the next dc, next dc, and the corner ch-2 space.
- In the corner space: (Ch 3, 2 dc, ch 2, 3 dc) — completes the new corner.
- (Ch 1, skip 3 dc, Shell in next corner space) around.
- Close with a sl st into the 3rd ch of starting ch-3.
- Round 3 & Beyond:
- Attach a new color (e.g., red): Start with a slip knot. Insert hook into any corner space, ch 3, and work as follows:
- (Ch 3, 2 dc, ch 2, 3 dc) in corner spaces.
- (Ch 1, 3 dc in next ch-1 space) along the sides.
- Repeat this pattern for as many rounds as necessary. The final border (black) will be added during the joining step.
- Attach a new color (e.g., red): Start with a slip knot. Insert hook into any corner space, ch 3, and work as follows:
- Sizing:
- Adjust the number of granny square rounds according to your size. Measure your squares to ensure the cumulative width of 4 squares matches your thigh measurement.
- Total Squares:
- For shorts: Make 24 squares.
- For pants: Add more rows and squares as needed for length.
Part 2: Joining the Granny Squares
- Preparation:
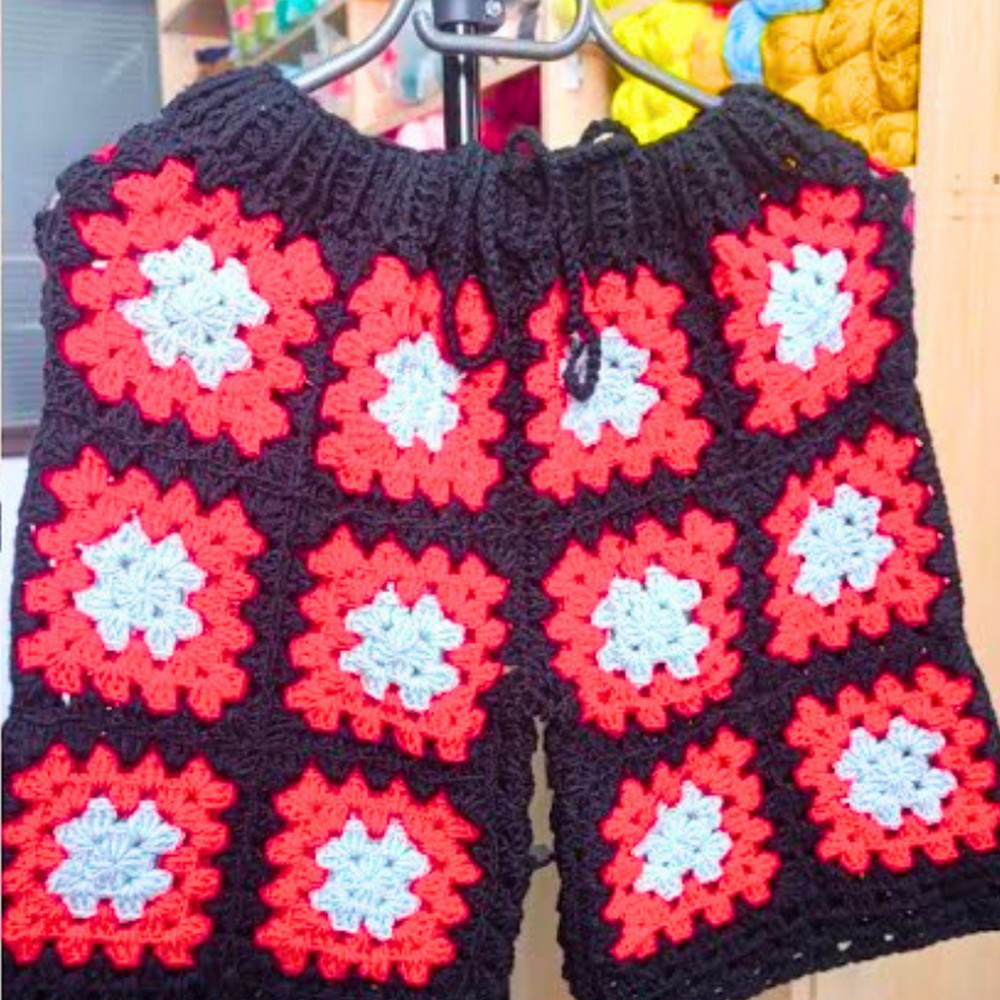
- Arrange your 24 squares into two panels (12 squares each):
- 3 rows by 4 squares for each leg panel.
- Arrange your 24 squares into two panels (12 squares each):
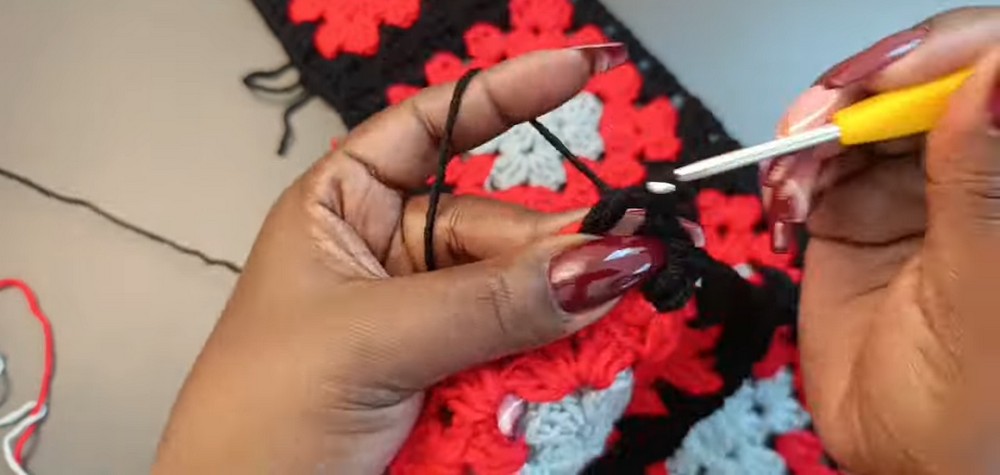
- Joining Method (Flat Join):
- Start with black yarn, slip knot, and sl st into the corner ch-2 space of the first square.
- Work around each square with (Ch 1, 3 dc in each chain space, ch 1), creating a border.
- To join squares:
- After completing one side of the first square, align the second square and join into its corresponding chain spaces using a sl st and ch 1.
- Alternate between working the 3 dc and joining with sl sts along shared edges.
- Continue until all 4 squares are joined horizontally (Row 1).
- Repeat for Row 2 and Row 3.
- Complete Both Panels:
- Assemble two panels: 3 rows and 4 squares each.
- Leave a gap at the top for the waistband and join the inseam later.
Part 3: Join Leg Panels
- Inner Seam:
- Fold each panel to form a leg.
- Use black yarn and sl st to seam up the inseam of each leg.
- Join Legs:
- Align the crotch seams of both legs.
- Slip stitch from the front crotch through to the back crotch, joining securely.
Part 4: Extend and Adjust Waistband
- Waistband Extension:
- Determine the size of the fly (10 inches suggested, plus 2 inches for the waistband).
- Attach yarn to one side of the fly opening.
- Work additional rows of granny square-style clusters (3 dc, ch 1), shaping the waistband evenly on both sides.
- Ribbing:
- Work around the entire waistband using front post and back post double crochets to create a ribbing.
- Alternate Fpdc and Bpdc for 5 rows.
Part 5: Drawstring
- Make a Drawstring:
- Ch 200 (or adjust length as needed). Fasten off.
- Weave the drawstring through the ribbed waistband.
Finishing Touches
- Weave in all loose ends with a darning needle.
- Block the shorts for a polished look.
Tips for Customizations
- Colors: Alternate colors for each square or customize your color scheme.
- Length: Add additional rows of squares for full-length pants or remove for shorter shorts.
- Fit: Adjust the waistband ribbing thickness or drawstring tightness for a snug fit.