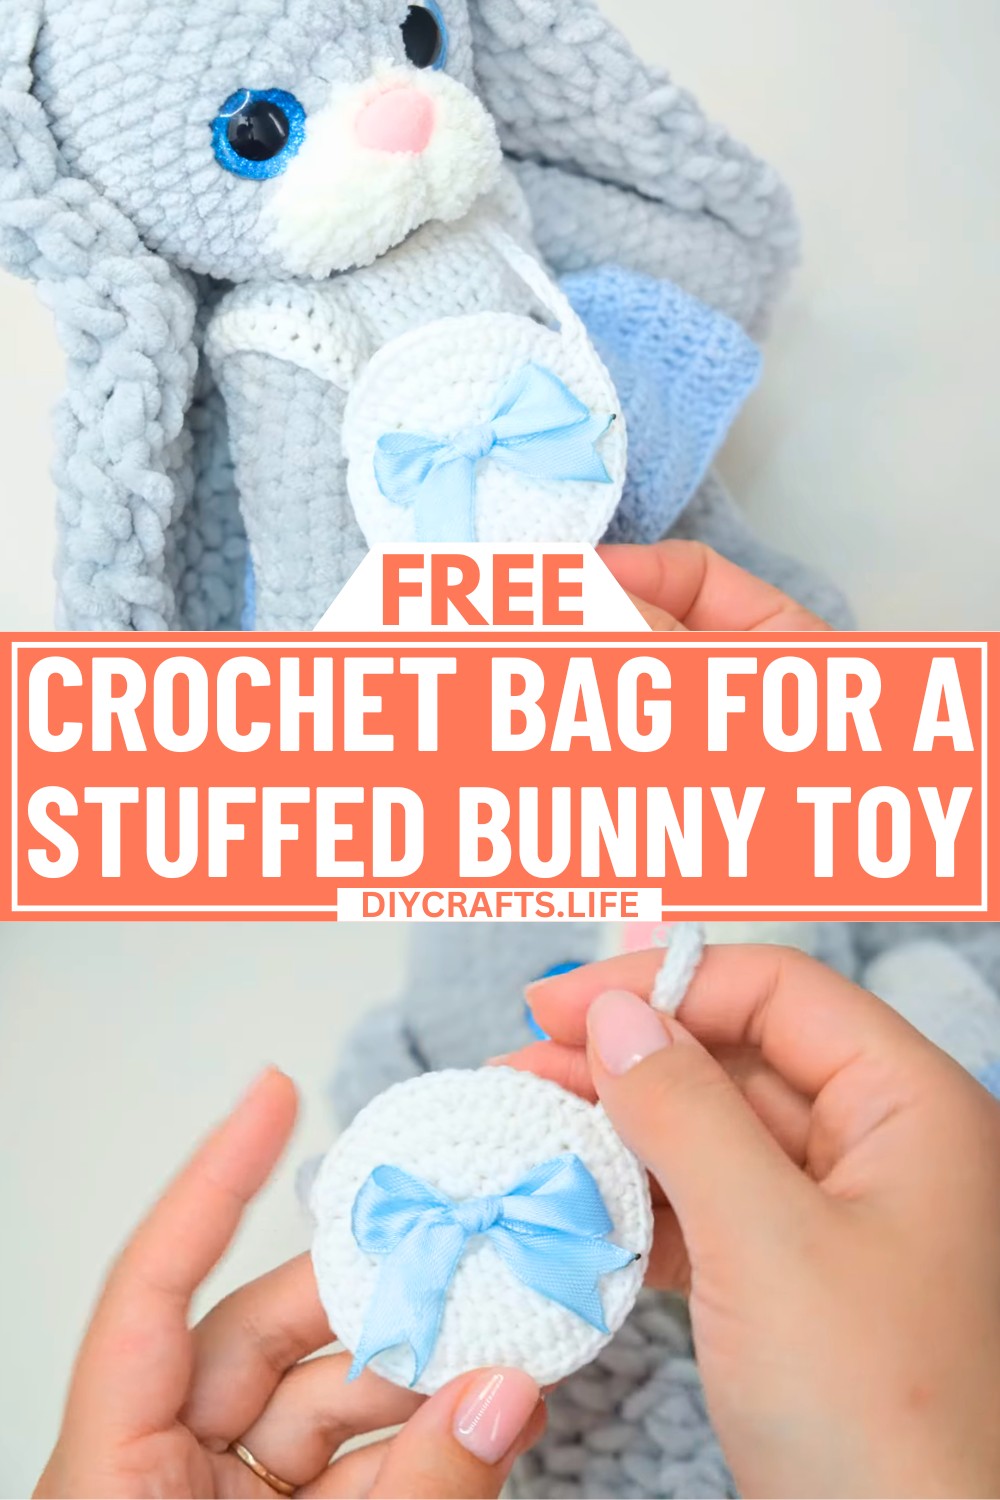
Give your stuffed bunny toy a stylish companion! This charming crochet bag isn’t just practical but brims with personality. Crafted to accentuate the playful charm of your stuffed bunny, it pairs functional design with timeless elegance, making it more than just a toy accessory—it’s a miniature masterpiece.
Crochet BAG for Bunny Toy

This crochet bag stands out with its compact size, detailed stitching, and adorable appeal. From carefully crafted handles to the perfectly-sized compartments, it’s designed to fit seamlessly with your stuffed bunny toy. Its eye-catching patterns and flexible structure allow endless customization, blending creativity with practicality for a whimsical yet functional accessory.
Credit DidyToys
Materials & Tools Needed
- Yarn: Semi-cotton yarn in white color (or a color of your choice)
- Hook size: 2 mm crochet hook
- Accessories:
- Scissors (to cut yarn tails)
- Sewing needle (for weaving in tails and assembling parts)
- Ribbon (optional, for decorating the bag with a bow)
- Thread (to be used as a stitch marker, if needed)
- Transparent glue or hot glue gun (for attaching the bow)
Finished Size & Customization Ideas
Finished Size:
- The bag's finished size is small and designed for a stuffed bunny toy, but the exact size varies depending on your yarn and tension.
Customization Ideas:
- Colors: Use different yarn colors to match your toy’s outfit or theme (e.g., pastel tones for a soft, charming look).
- Strap Length: Adjust the strap length for different toy sizes or to add versatility (e.g., as a shoulder bag or crossbody bag).
- Decorations: Add beads, buttons, or appliques alongside the optional bow to personalize the bag further.
- Size Scaling: Use heavier yarn and a larger hook size to make the bag larger, if needed.
Step-by-Step Detailed Crochet Instructions
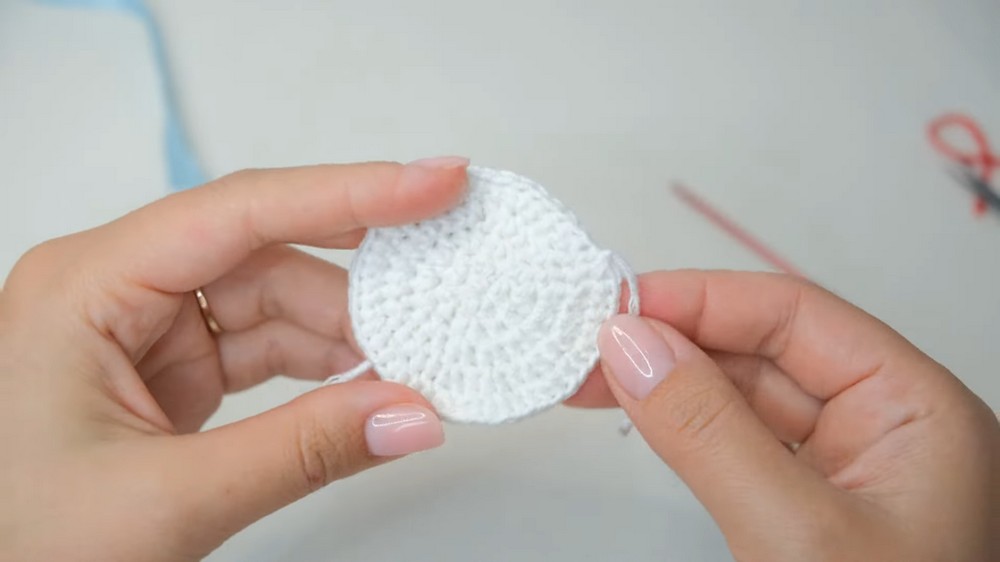
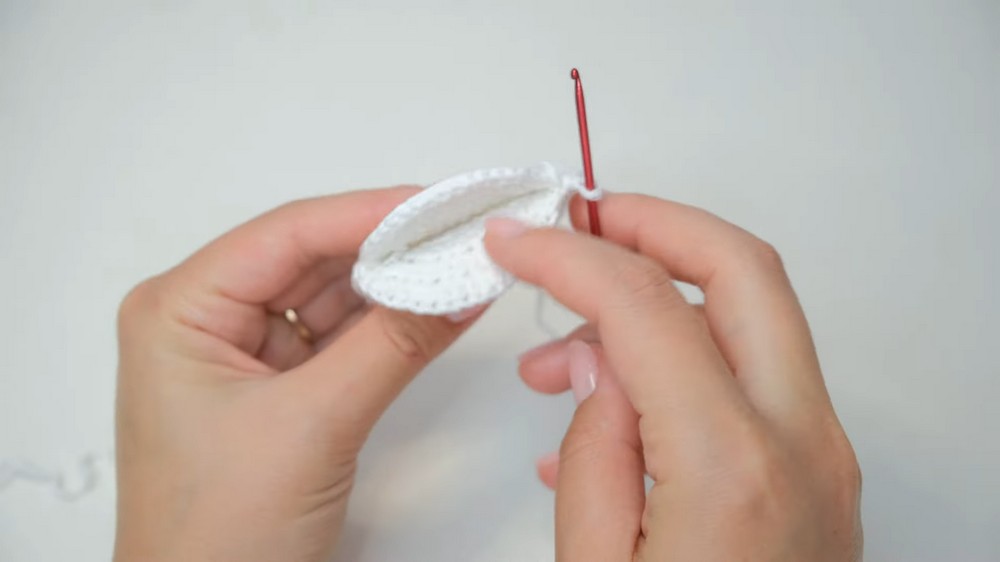
Part 1: First Panel of the Bag
- Magic Circle:
- Begin with a magic circle.
- Work 6 half double crochets (HDC) into the magic circle. (6 stitches)
- Pull the tail to tighten the circle.
- Round 2:
- Work 6 increases: Crochet 2 HDC into each stitch of the previous round. (12 stitches total)
- Round 3:
- Again, work 12 increases: Crochet 2 HDC into each stitch. (24 stitches total)
- Round 4:
- Crochet 1 HDC, then 1 increase (2 HDC in 1 stitch), repeating this sequence 12 times. (36 stitches total)
- Round 5:
- Crochet 2 HDC, then 1 increase, repeating this sequence 12 times. (48 stitches total)
- Flatten the Edge:
- To make the edge flatter:
- Crochet 1 single crochet (SC), followed by 1 slip stitch (SL ST).
- Fasten off by cutting the yarn and pulling it through.
- To make the edge flatter:
Part 2: Second Panel of the Bag
- Repeat the same steps (1–6) to create the second panel.
- Do not cut the yarn on the second panel after completing step 6—this yarn will be used to join the two panels.
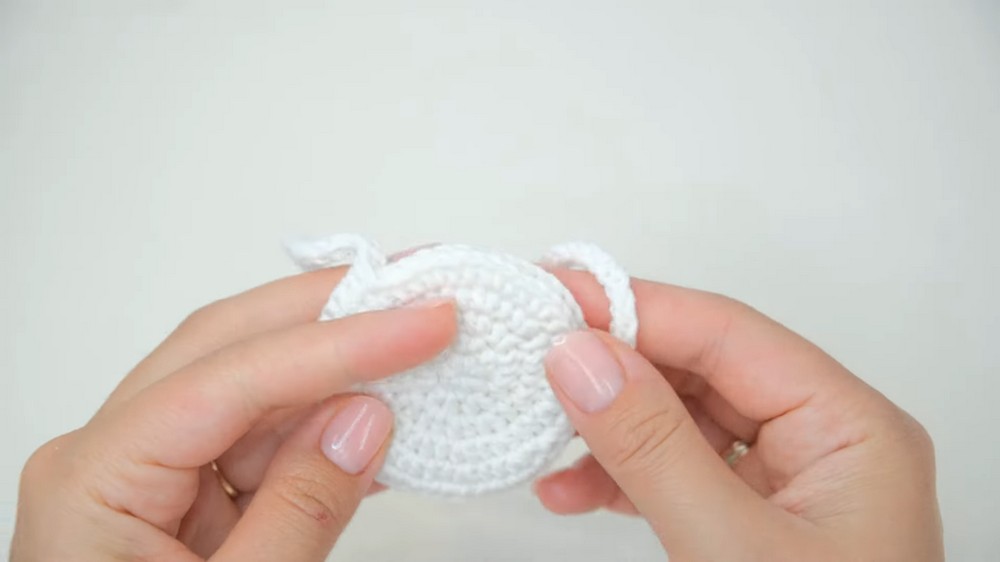
Part 3: Joining the Panels
- Align the two panels together with the wrong sides facing inwards.
- To join:
- Insert your hook through the first stitch of the second panel.
- Then insert it through the corresponding stitch in the first panel.
- Crochet 1 SC into both layers.
- Repeat for each stitch, working your way around the edge.
- After crocheting approximately 30 SC (to leave an opening), fasten off.
- Note: You can adjust the size of the opening by crocheting more or fewer SC.
Part 4: Strap
- In the stitch near the opening, insert your hook and attach your yarn.
- Crochet a foundation chain to your desired strap length.
- Finishing the strap:
- Attach the other end of the chain to one side of the panel by crocheting it into the stitch.
- Cut the yarn, leaving a tail for sewing.
- Fasten off, and use the sewing needle to sew and secure the strap ends to the bag.
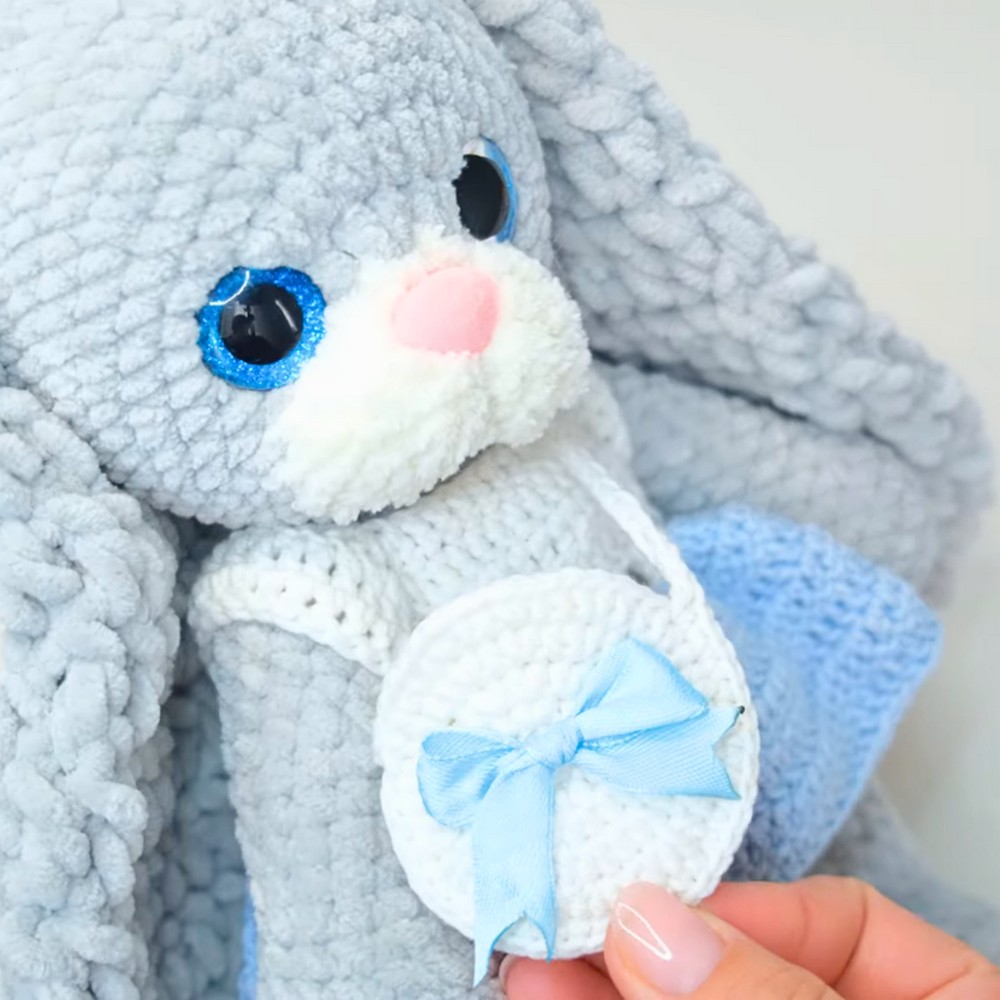
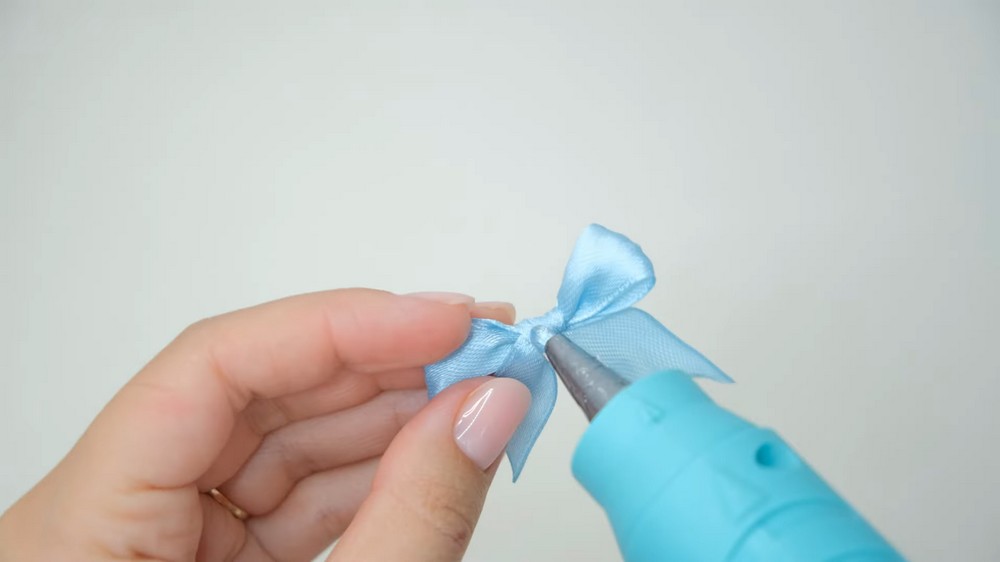
Part 5: Decorating the Bag with a Bow
- Create the Ribbon Bow:
- Form the ribbon into a small bow.
- (Optional) Heat-seal the ribbon edges to prevent fraying.
- Attach the Bow to the Bag:
- Use a transparent glue or hot glue gun to attach the bow to the bag.
- Alternatively, sew the bow onto the bag for extra durability.
Finishing Touches
- Weave in any remaining yarn ends with the sewing needle.
- Adjust the strap length if needed.
- Ensure all parts are securely sewn/glued in place, and the bag is sturdy.
Notes
- Beginner Tip: If you’re new to magic circles, practice creating one separately until you’re confident.
- Leave enough opening space in the bag for the toy’s accessories or design preference.