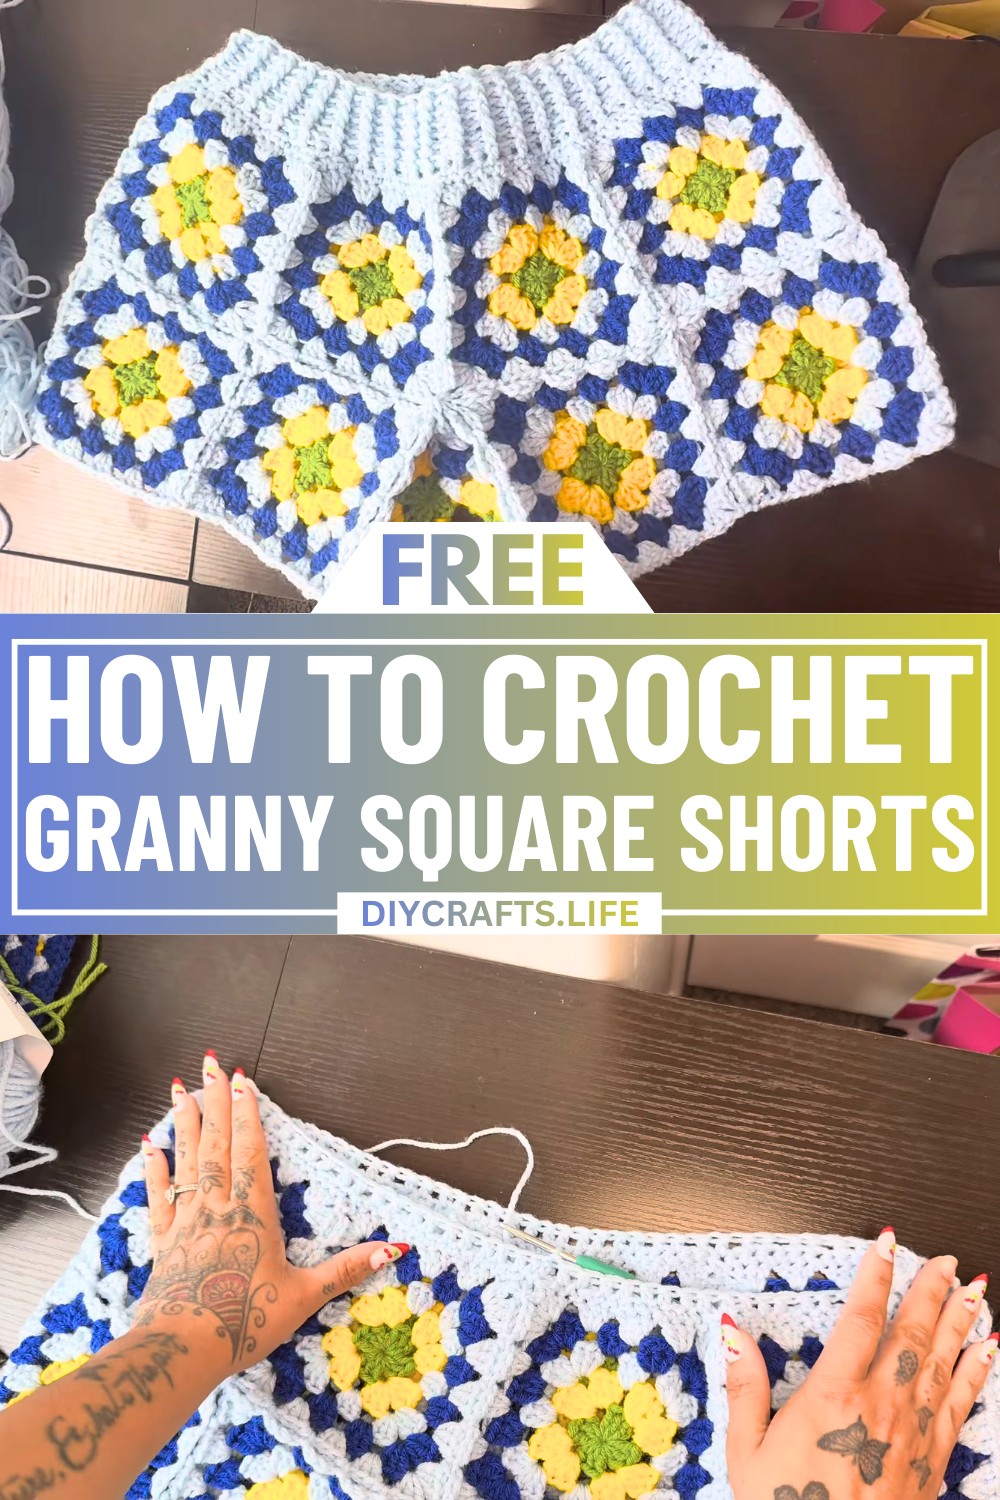
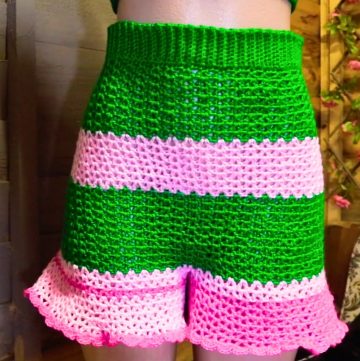
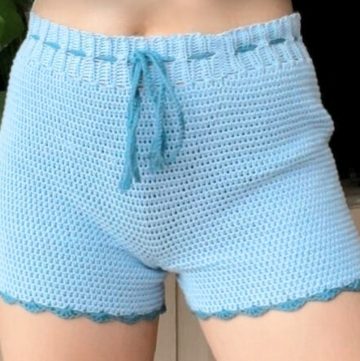
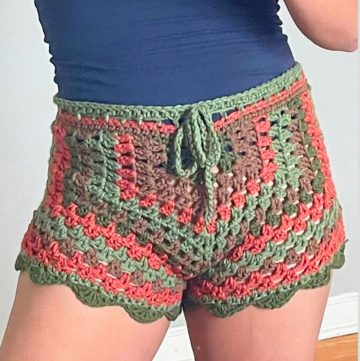
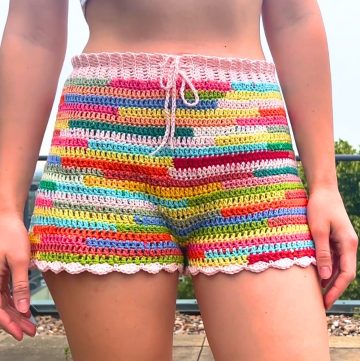
Nothing makes a fashion statement quite like a bold, handmade piece that captures personality and charm. Crochet granny square shorts are the perfect blend of nostalgic craftsmanship and modern style, offering a look that's both playful and effortlessly stylish. Designed to turn heads and spark joy, this creation will have you ready for sunny days, casual outings, or even lounging with unbeatable comfort.
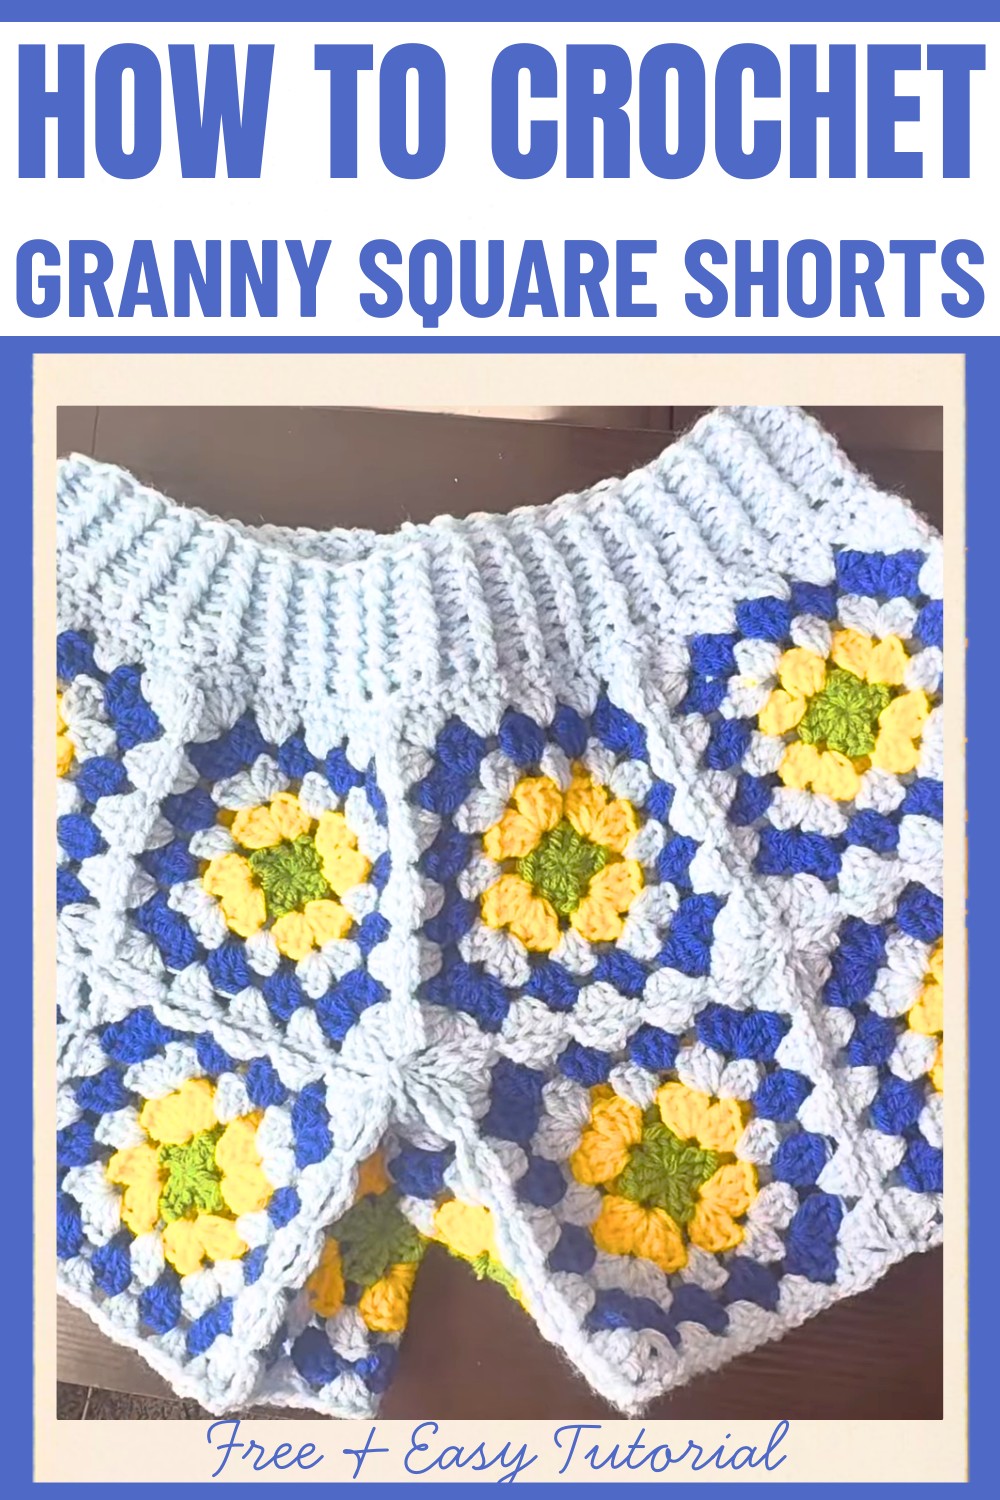
Granny Square Shorts Crochet Tutorial
This unique crochet pattern weaves vintage-inspired granny squares into an eye-catching pair of shorts that stand out for their intricate details and vibrant colors. The design combines functionality and flair, giving you a versatile garment that pairs beautifully with almost anything. Whether you're choosing colors to fit your mood or shaping squares to reflect your individuality, this pattern lets you celebrate creativity while embracing timeless crochet artistry.
Credit MarieMadeIt__
Materials Needed:
- Weight 4 acrylic yarn (e.g., Red Heart, Big Twist)
- 4.5 mm crochet hook
- Yarn needle
- Scissors
- Measuring tape
Measurements:
- Hip Measurement: Start with your hip measurement. For a fitted fit, subtract 4-6 inches (e.g., using a 44-inch hip measurement, subtract 6 inches to get 38 inches).
- Granny Square Size: Divide your adjusted hip measurement by 8 (e.g., 38 inches ÷ 8 = 4.75 inches for each square).
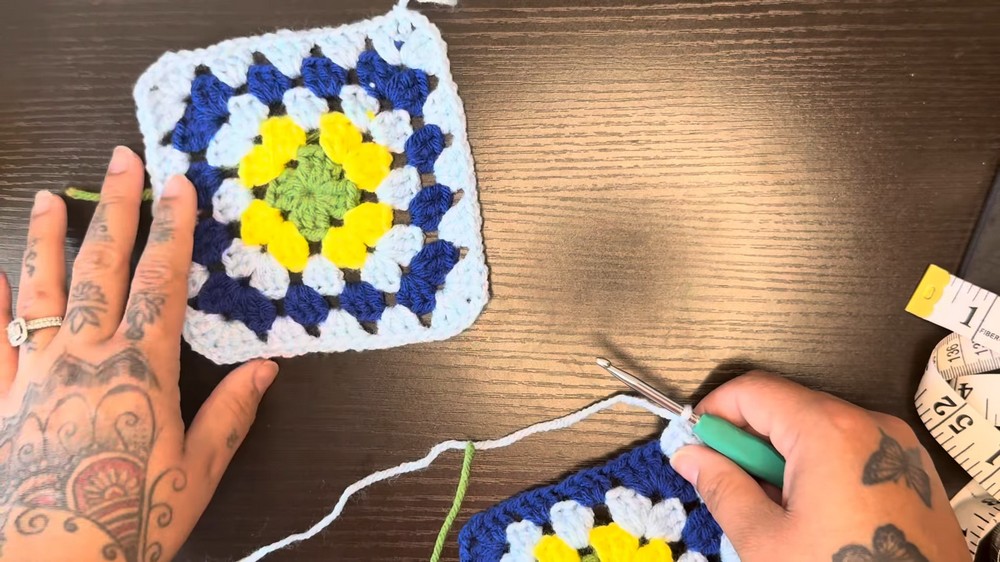
Granny Square Pattern:
- Starting Your Granny Square:
- Make a magic ring or chain 4 rings.
- Chain 3 (counts as a double crochet), place 2 double crochets into the ring.
- Chain 2, place 3 double crochets into the ring. Repeat until you have 4 clusters.
- Pull the tail to close the ring and slip stitch to the top of the chain 3.
- Second Round:
- If changing colors, tie the new color yarn to the previous one.
- Chain 3, place 2 double crochets into the corner space.
- Chain 1, place 3 double crochets in the next corner, chain 2, place 3 more double crochets. Repeat for all corners.
- Close the round with slip stitch and prepare for a color change if desired.
- Continue Pattern:
- Continue adding rounds until the square measures your calculated size (e.g., 4.75 inches).
- Change colors for each round if desired, joining the last row via a join-as-you-go method.
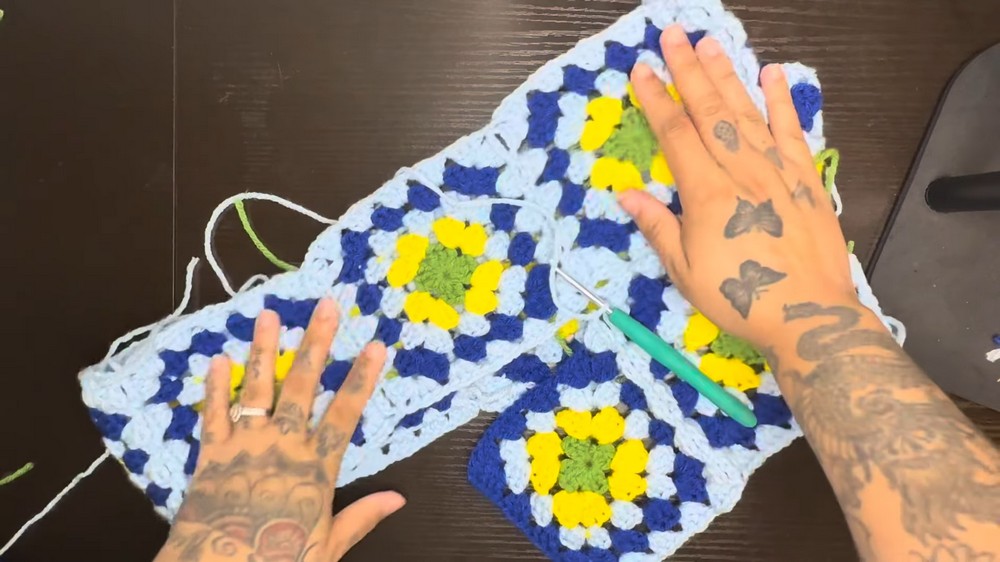
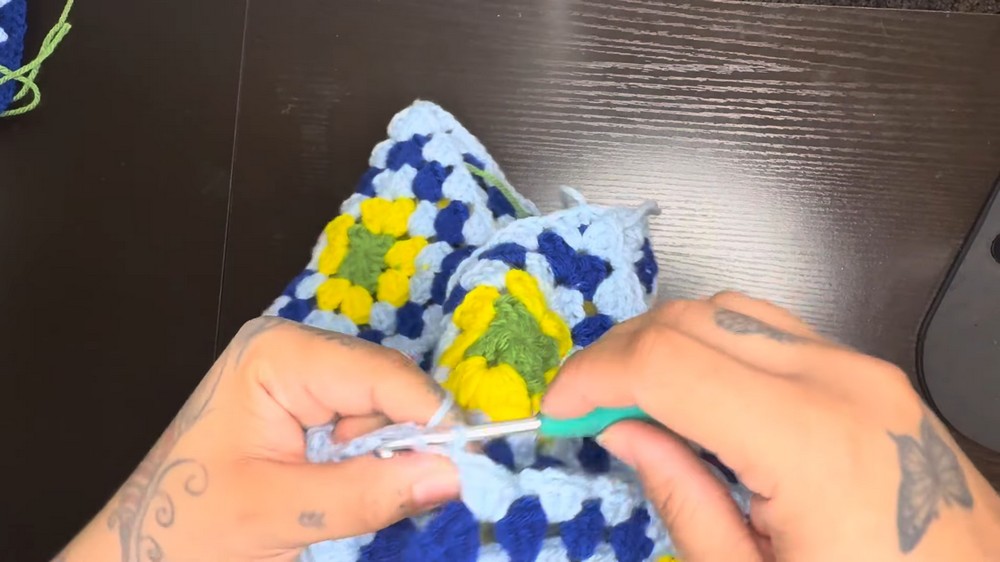
Assemble the Granny Squares for Shorts:
- Connect each square using a join-as-you-go method.
- Create a row of 8 squares, then connect the last square to form a loop.
- Create a second row of 8, attaching each square diagonally to the square above in the loop.
Create The Leg Sections:
- First Leg:
- Fold the loop and add 4 squares to make one leg. Join four squares at the bottom and connect the last square to the first square diagonally to close the leg.
- Second Leg:
- Repeat the process on the other half of the loop.
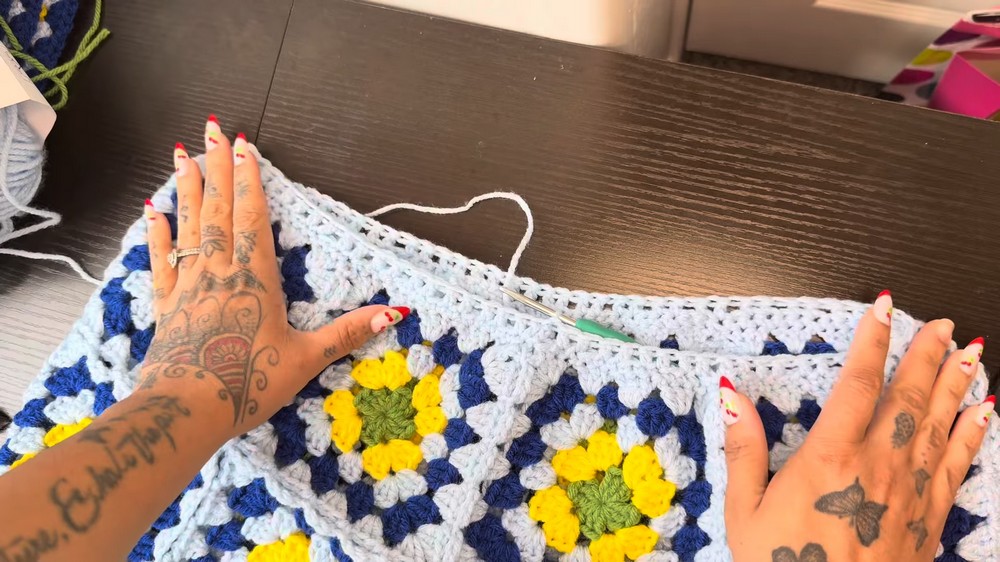
Creating the Waistband:
- Attach yarn to the middle of any square.
- Round 1: Skip chain spaces, work single crochets into each double crochet.
- Round 2: Chain 3, two double crochets, skip one stitch, and repeat.
- Further Rounds: Alternate front post and back post double crochets to create a ribbed waistband. Repeat until the desired thickness is achieved.
Finishing:
- After achieving desired waistband height, finish with slip stitches and weave in any remaining ends.
Optional:
- Add a drawstring for an adjustable fit.
Follow this step-by-step guide to craft your custom granny square shorts!