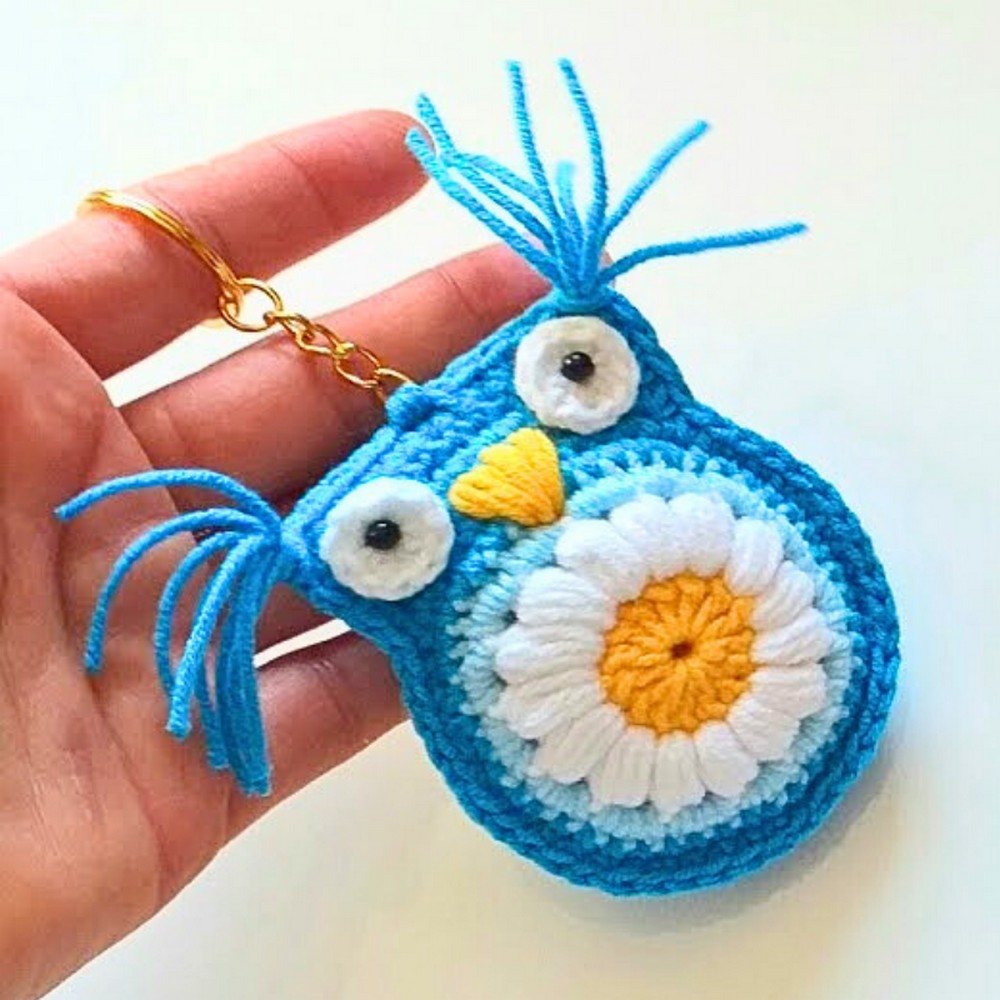
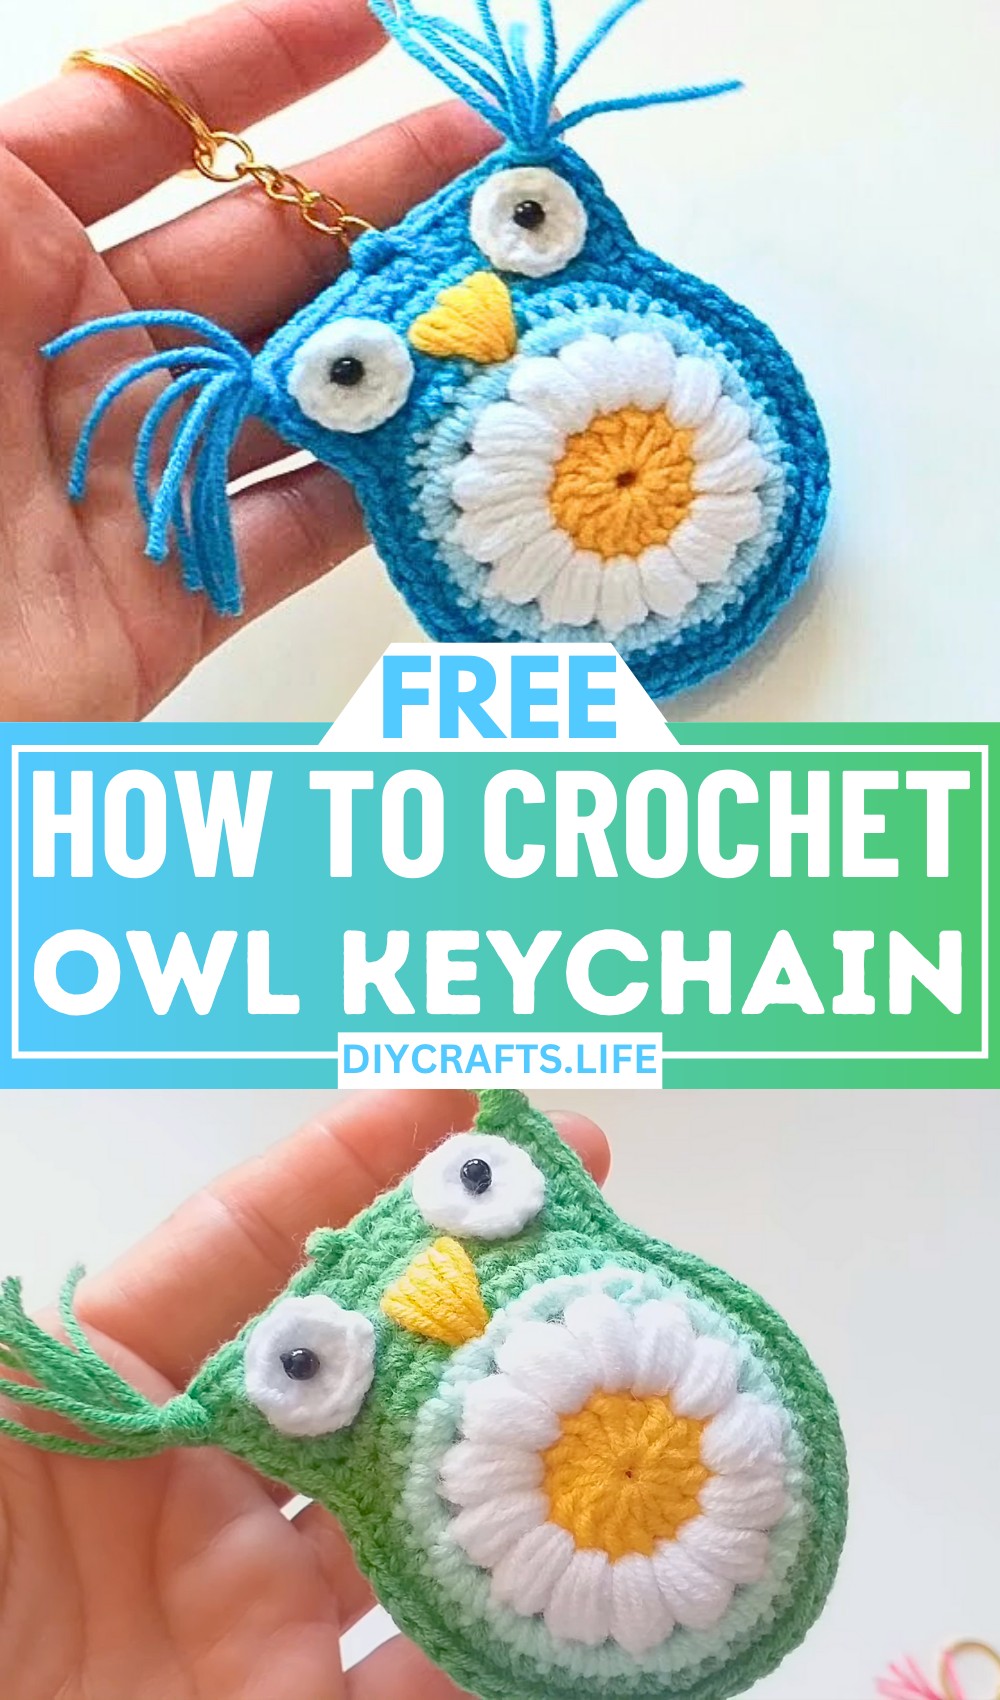
Create a charming crochet owl keychain with vibrant details and a unique design. This adorable accessory combines colorful puff stitches, tassels, and hand-stitched features, making it both functional and stunning. It's perfect for personal use or gifting and easily brightens any item it’s attached to.
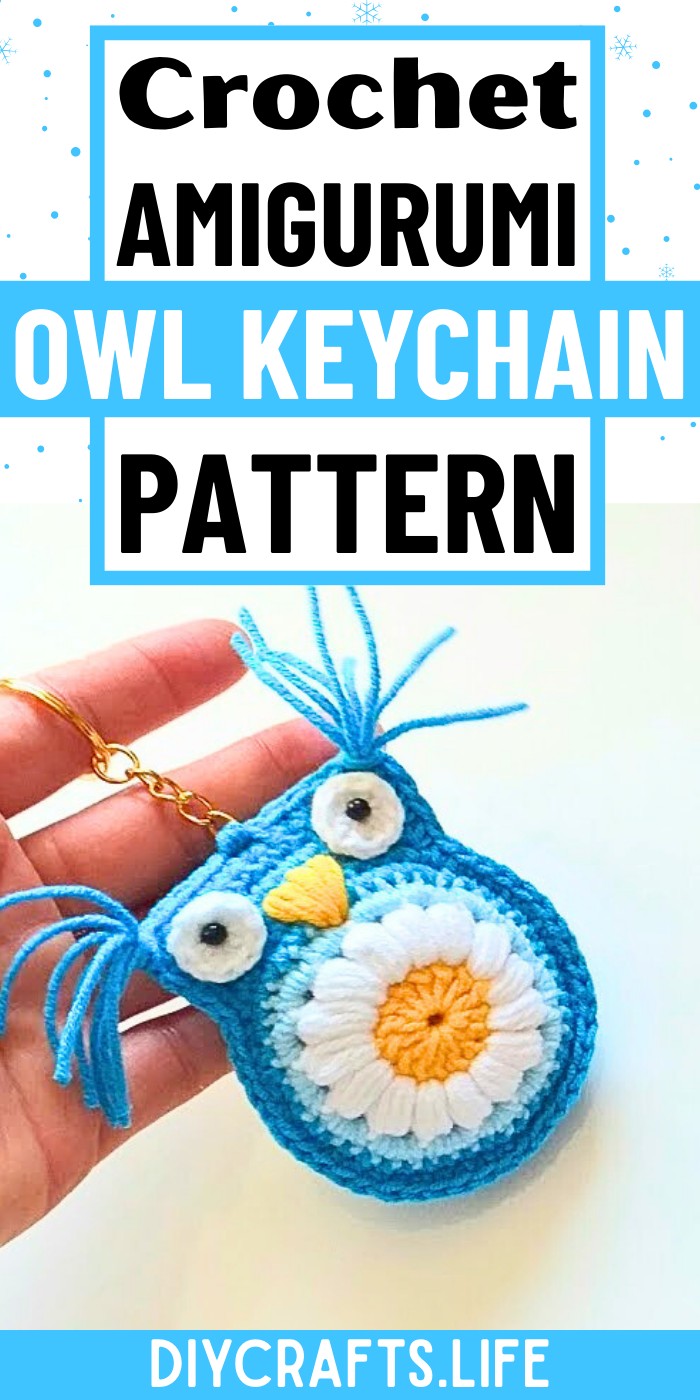
This owl keychain is an ideal combination of durability and creativity. Made with cotton yarn and reinforced seams, it's long-lasting and lightweight for daily use. Attached to your keys, purse, or zippers, it adds a fun, handcrafted touch. The detailed eyes, nose, and tassels make it especially unique and decorative.
Crochet a Colorful Owl Keychain
Follow simple steps starting with a magic ring and puff stitches to build this owl's base shape. Construct the face and body using 12 single crochet rotations and finish by adding tassels, fiber stuffing, and carefully sewn details. This project is beginner-friendly and guarantees a rewarding crafting experience.
Credit elisi sevdası
Materials and Preparation
For the Crochet Owl Keychain, you'll need the following materials:
- Yarn Type: Cotton yarn.
- Yarn Weight: Size 3 (lightweight).
- Hook Size: 2.20 mm crochet hook.
- Additional Tools:
- Beads for decoration.
- Tapestry needle for sewing.
- Keychain handle.
- Fiber stuffing (optional for firmness).
Optional: Use stitch markers for tracking rounds, especially if you are a beginner.

Abbreviations and Notes
The following abbreviations are used in this pattern:
- MR - Magic Ring.
- CH - Chain.
- SC - Single Crochet.
- DC - Double Crochet.
- HDC - Half Double Crochet.
- PS - Puff Stitch (explained below).
- SS - Slip Stitch.
Special Stitch:
Puff Stitch (PS):
- Yarn over, insert the hook into the designated stitch, pull up a loop.
- Repeat this step 3 times (you should have 7 loops on your hook).
- Yarn over and pull through all loops on the hook.
Important Notes:
- Follow the pattern carefully to maintain symmetry in your owl keychain.
- Make sure to mention which yarn color to use for various parts (body, eyes, etc.).
- Keep a consistent tension to ensure uniform stitches.
Gauge, Approximate Size, and Pattern Notes
Gauge: Not necessary for this project.
Approximate Size: The finished owl keychain should be about 2-3 inches tall, depending on your tension and yarn choice.
Special Techniques:
- Changing yarn colors to create different parts of the owl.
- Creating small, detailed elements like eyes and beak.
- Stuffing the owl lightly with fiber for a fuller effect.
Step-by-Step Pattern
Step 1: Owl Body
- Start with a Magic Ring (MR) using your main yarn color (e.g., brown or gray).
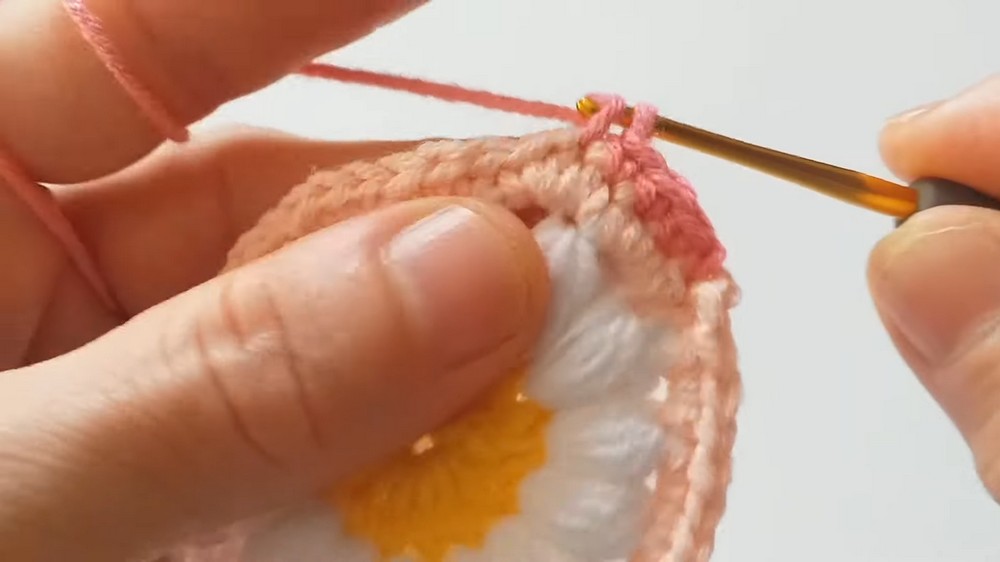
- CH 3 (counts as first DC), 15 DC into the MR. Tighten the ring and join with a SS to the top of the CH 3.
- Change to white yarn, CH 3, then work 5 PS (Puff Stitches) evenly spaced in this round.
- 1 CH, work 15 PS around (one PS in each DC from the previous round).
- SS to join, 1 SC on top of each puff stitch. In the middle space between puffs, work 2 SC.
- Continue this pattern around and join with a SS.
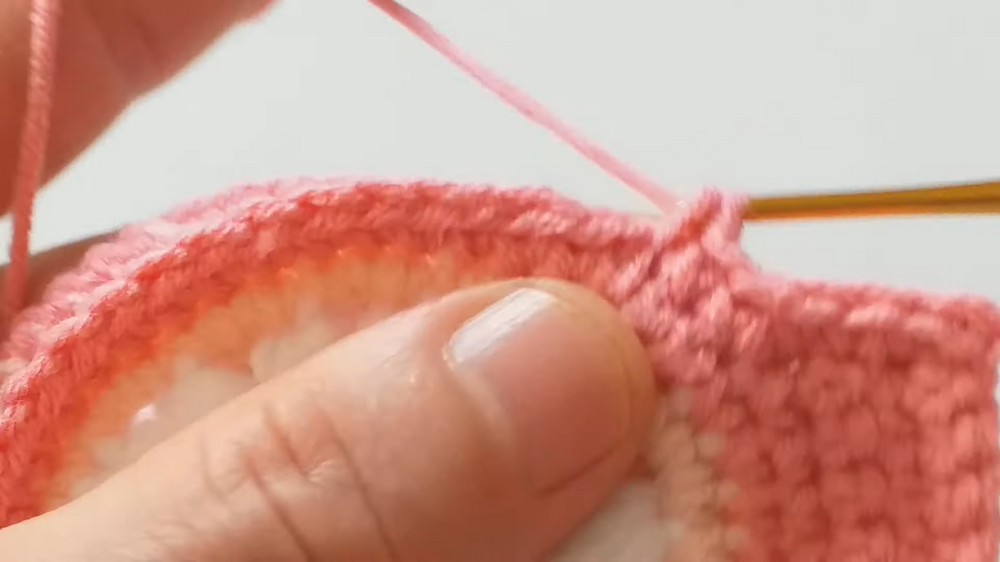
Step 2: Forming the Owl’s Shape
- Work 1 SC in each space around without increasing or decreasing, joining each round with a SS.
- CH 1, make 12 SC, 1 CH and rotate your work.
- Repeat this step for 4 rows.
Step 3: Creating Two Identical Patterns
- Create another piece following the exact instructions for Step 1 and Step 2.
- Place the two pieces together, wrong sides facing each other.
Step 4: Combining the Two Pieces
- Use a tapestry needle and main yarn color to single crochet through both pieces all around, stuffing lightly with fiber as you go until the owl is firm but not overly packed.
- Secure the top part with single crochet stitches.
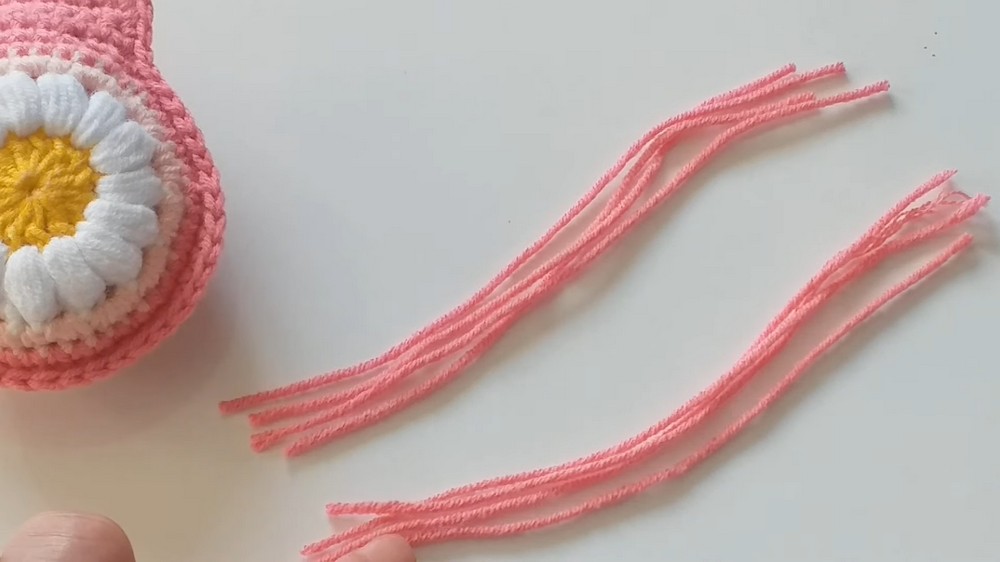
Step 5: Adding the Tassels
- Cut 10 cm yarn pieces.
- Attach yarn pieces to the bottom corners of the owl body to create tassels, securing with knots and trimming any excess.
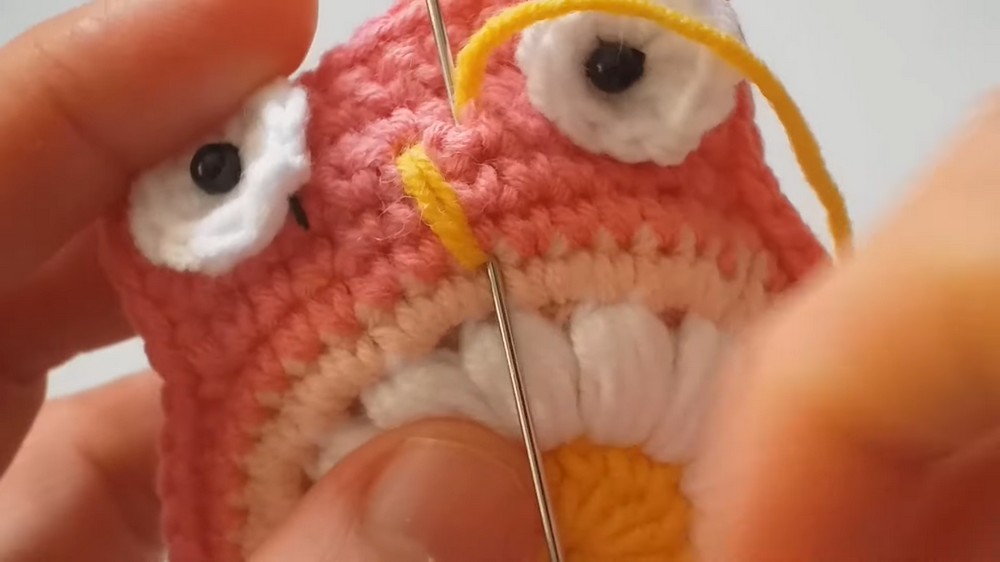
Step 6: Creating Eyes and Beak
- Eyes:
- Use white yarn to create a Magic Ring (MR), CH 3, then work 10 HDC (Half Double Crochet) into the ring.
- Close the ring with a Slip Stitch (SS). Make two eyes.
- Use thin thread to sew the eyes onto the owl’s face.
- Beak:
- Use yellow yarn to crochet a small triangle.
- Sew the beak onto the owl’s face between the eyes.
Step 7: Attaching the Keychain Ring
- Keychain Ring:
- Sew or crochet the keychain handle to the top of the owl body.
- Ensure it is securely attached to sustain everyday use.
Pattern Question
Question: Do I need to use cotton yarn specifically for this project?
Answer: While cotton yarn is recommended for durability and neat puff stitching, you can experiment with other types of yarn, provided they match the required thickness (number 3 recommended).
Conclusion
Crocheting this owl keychain is a simple yet delightful hands-on project filled with creative details. With step-by-step guidance for stitching, assembling, and final touches, you’ll have a durable accessory that exudes both charm and personality. Enjoy crafting this adorable piece!