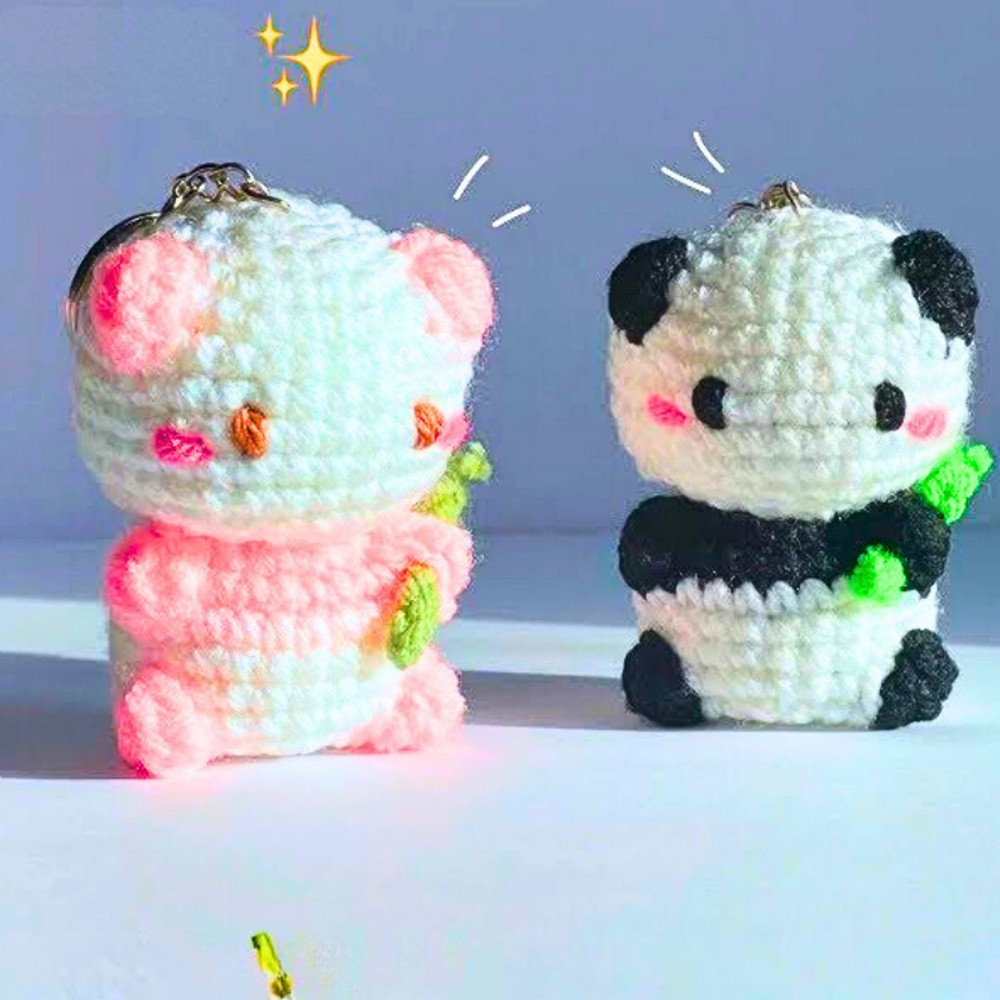
Create an adorable crochet No Sew Panda with this beginner-friendly tutorial! Perfectly shaped and beautifully designed, this panda features intricate details, including pink blush, bamboo, and bobble-stitched ears. It's versatile, functional, and easily customizable for gifts, decorations, or keychains.
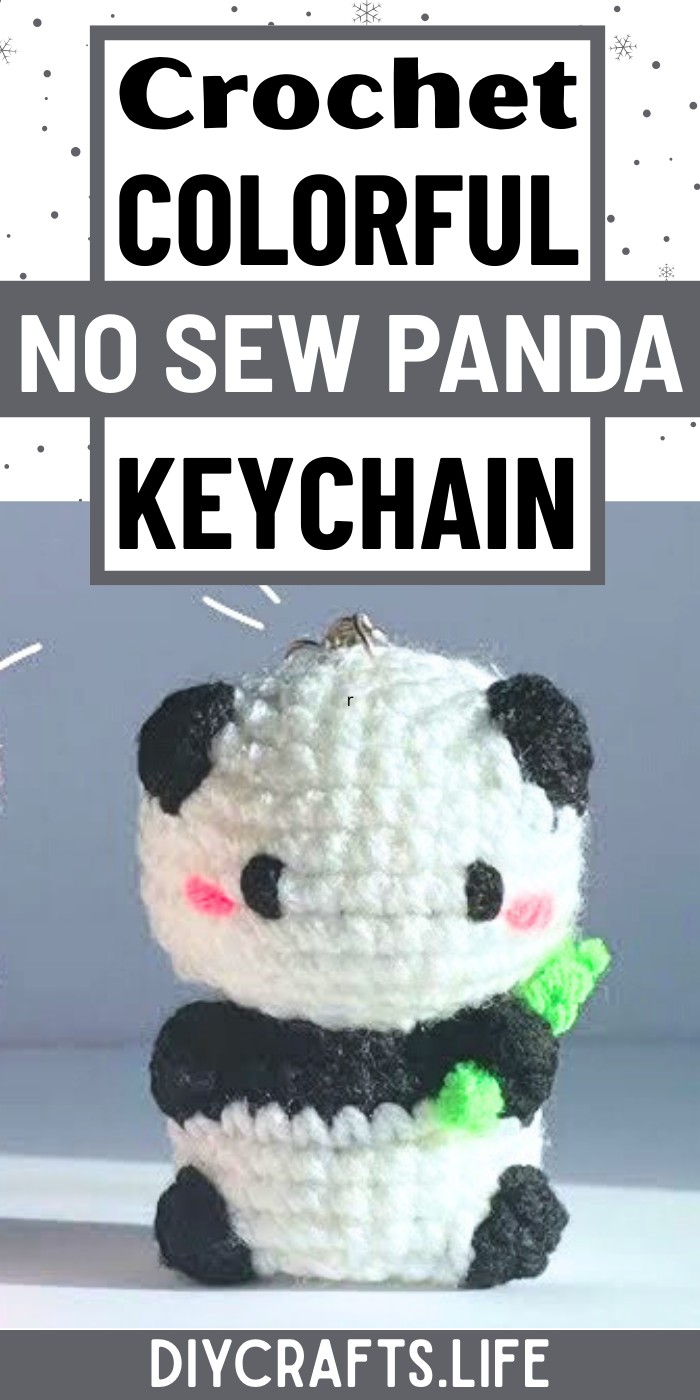
This No Sew Panda is not only visually charming but also durable and practical. Its detailed bobble stitch ears, blush accents, and added bamboo enhance its appeal. With secure finishing techniques, it's ideal as a keyring, keepsake, or a touch of cuteness for your belongings.
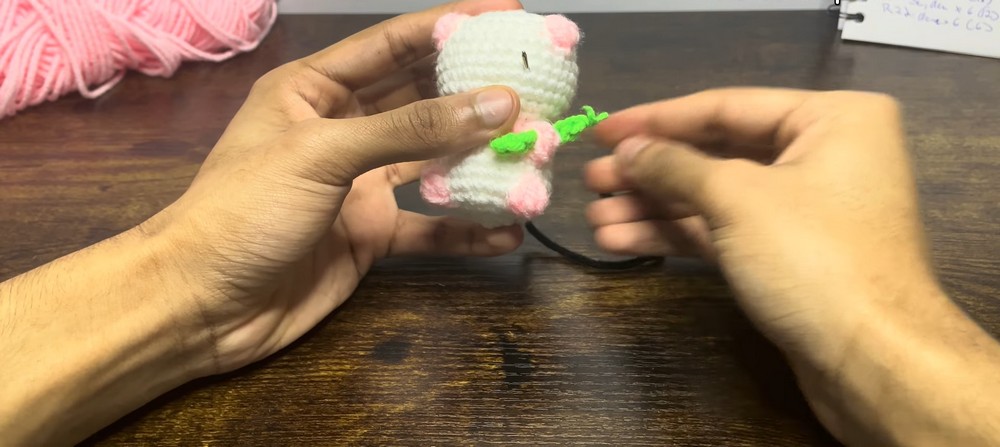
Crochet No Sew Panda
Crafting this panda is straightforward and rewarding. With step-by-step guidance, you'll combine techniques like magic ring, bobble stitches, and clever decreases. From shaping its body to securing a keyring, every stage is thoughtfully explained—build your crochet skills while creating something meaningful!
Credit Divine Crochets
Materials and Preparation
To crochet your no-sew panda, here's what you’ll need:
- Yarn: Weight 4 yarn (medium)
- Primary color: White (for the panda body and head)
- Secondary colors: Small amounts of pink (blush and decorative features) and green (optional bamboo accessory)
- Crochet Hook: 3mm
- Tools:
- Scissors
- Stitch marker
- Yarn needle
- Stuffing/polyfill
- Key ring (optional for panda keychain)
Abbreviations and Notes
Here are the abbreviations used in the pattern:
- SC: Single Crochet
- ST: Stitch(es)
- CH: Chain
- SL ST: Slip Stitch
- INC: Increase (two SC in the same stitch)
- DEC: Decrease (crocheting two stitches together using the invisible decrease method)
- BL: Bobble Stitch
Notes:
- This project is beginner-friendly, but some steps (like the bobble stitch or color changes) may require extra attention.
- Each round starts with a SL ST into the first stitch and ends with a chain 1.
- Always use a stitch marker to track rounds and the starting stitch in each round.
- Adjust stuffing to give the panda a round and firm shape.
Gauge, Approximate Size, and Pattern Notes
Gauge:
Gauge is not critical for this project, but stitches should be tight to prevent stuffing from showing through.
Finished Size:
The completed panda is approximately 3 inches in height when using the recommended yarn and hook size.
Pattern Notes:
- This tutorial teaches how to crochet a no-sew panda, complete with accessories like blush, bamboo, and decorative details.
- Special techniques include creating a magic ring for the base and bobble stitch for ears. A gauge swatch is unnecessary but keep consistency in tension to ensure smooth results.
Step-by-Step Pattern
Panda Head and Body (Rounds 1–22)
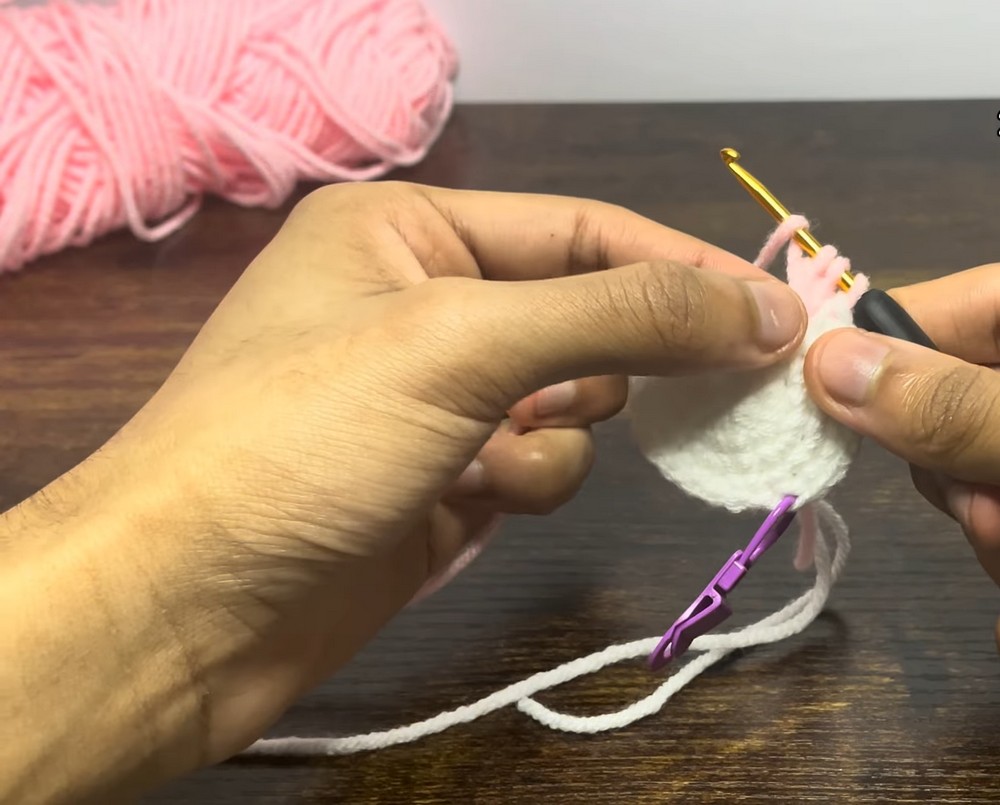
Round 1: Create a magic ring with your primary color. Work 6 SC into the ring. SL ST to join. CH 1.
Round 2: INC in each stitch around (12 ST total). SL ST and CH 1.
Round 3: Alternate 1 SC and 1 INC (18 ST total). SL ST and CH 1.
Round 4: Alternate 2 SC and 1 INC (24 ST total). SL ST and CH 1.
Round 5: Alternate 3 SC and INC, repeat twice. Switch to secondary color for bobble ear 1.
- Make 1 bobble stitch (BL). Switch back to the primary color and continue with SC and INC for the remaining stitches. Finish this round with 2 bobble ears placed evenly around the head. Mark stitches for alignment.
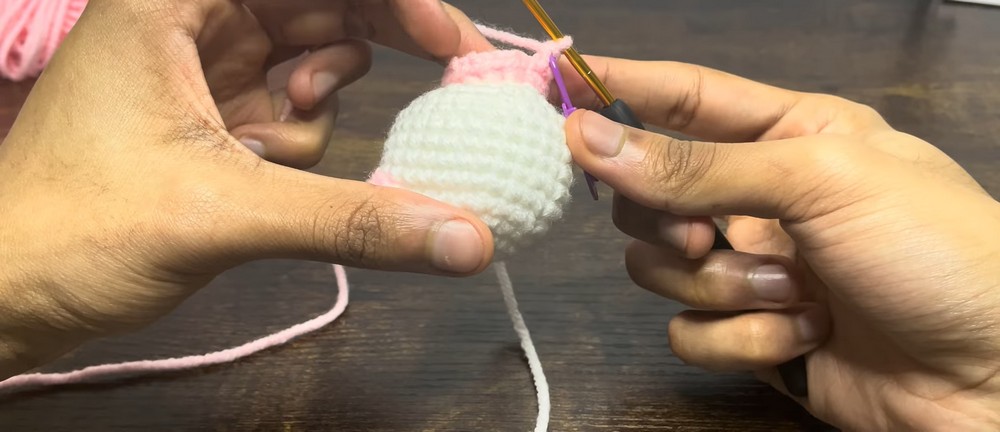
Round 6–10: SC in each stitch around with the primary color (24 ST total). SL ST and CH 1 after each round.
Round 11: Alternate 3 SC and DEC (18 ST total). SL ST and CH 1.
Round 12: Alternate 2 SC and DEC (12 ST total). SL ST and CH 1.
Round 13: SC and DEC alternately (6 ST total). SL ST and CH 1.
Stuff the panda generously to ensure a plump body before the next step.
Round 14: DEC around. Finish off with a yarn tail and weave through remaining stitches to close the piece neatly.
Bamboo Accessory
- Cut a strand of green yarn. Fold in half and create a slip knot in the center.
- Crochet 6–8 chains for the bamboo stem's length. Secure with knots and attach to the panda ear or body using a yarn needle.
Face Details (Eyes and Blush)
Eyes: Count 8 rounds down from the top of the head. Attach black yarn and embroider eyes 5 stitches apart, ensuring they align with the bobble ears for a cute, symmetrical look. Tie off the yarn at the back and tuck securely.
Blush: Using pink yarn, add a small blush detail below and slightly to the side of each eye. Tie off and tuck in.
Key Ring Attachment (Optional)
- Locate the center top of the panda head.
- Take your primary color yarn and loop through the bottom loop of the key ring using a yarn needle.
- Secure tightly by threading back through the base stitches. Knot and tuck ends into the panda.
Final Touches
Your adorable no-sew panda is complete with cute details and accessories. This project is perfect for keychains, decorations, or gifting!

Pattern Question
Q: How can I ensure the bobble stitches are securely positioned on the panda?
A: Push the bobble stitch back as you crochet closely around it to avoid skipped stitches. Additionally, ensure proper tension and positioning for a defined and secure effect.
Conclusion
This tutorial makes crafting the No Sew Panda fun and straightforward. With clear instructions on forming the body, adding exact details, and securing pieces, you’ll create a durable panda full of personality. Choose your own colors for custom designs, and enjoy bringing this cute panda to life!