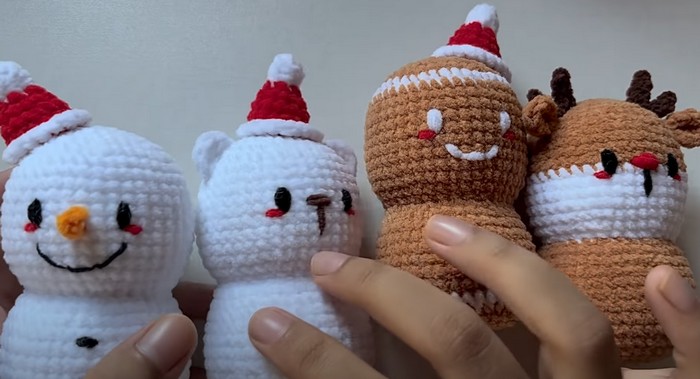
Create a set of vibrant and heartwarming crochet Christmas dolls that bring festive joy to your home or loved ones. These adorable dolls feature intricate details, charming designs, and endless customization options, making them the perfect decoration or gift for the holiday season!
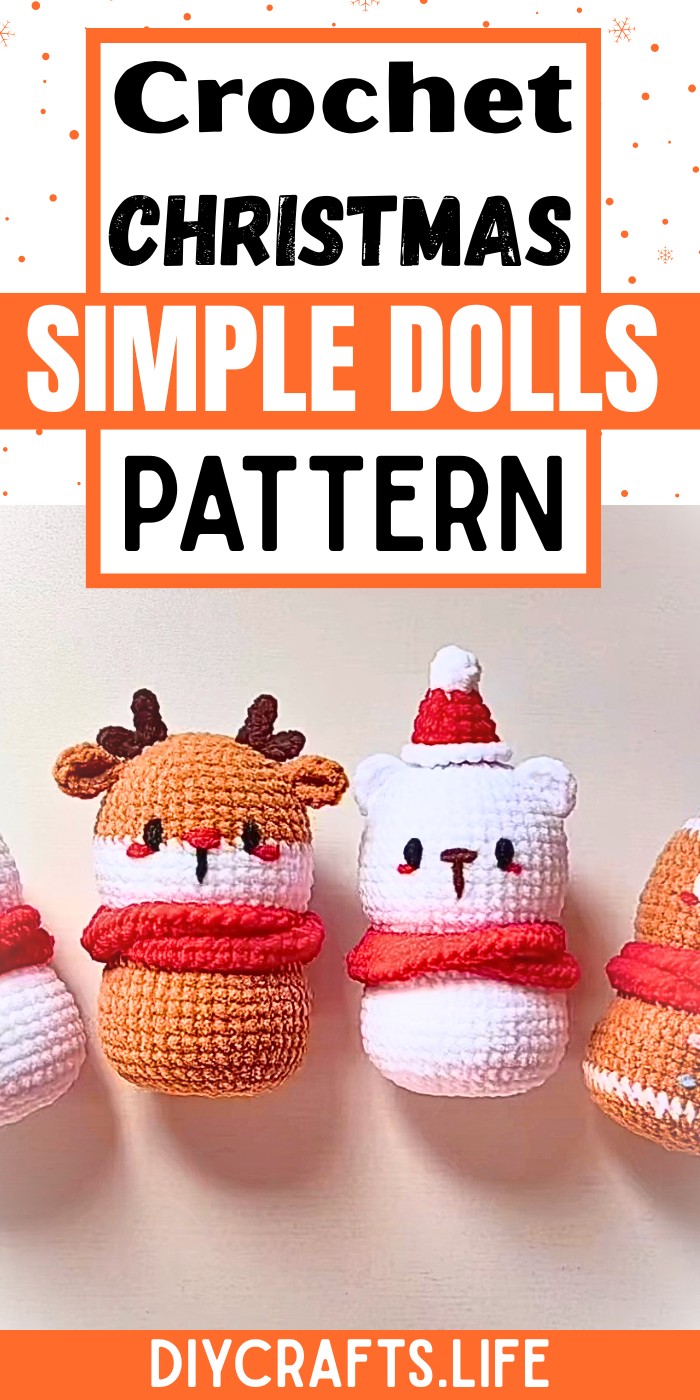
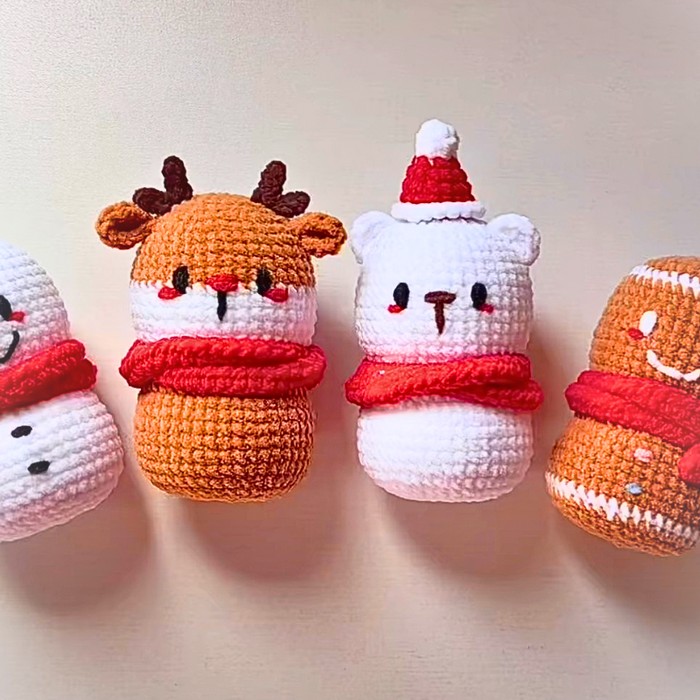
These crochet Christmas dolls are both decorative and functional. With their durable stitching and lively colors, they hold up well as seasonal displays or play items for children. Their versatility lets you create snowmen, reindeer, and more, each with distinct personality and flair to brighten any festive setup.
Crochet Christmas Dolls
Crafting these dolls is an enjoyable project for any skill level. The detailed yet easy-to-follow pattern ensures success, whether you're a beginner or a seasoned crocheter. The project is customizable, allowing unlimited creativity in colors, patterns, and designs to match your holiday vibe.
Credit Chubby Cheeks
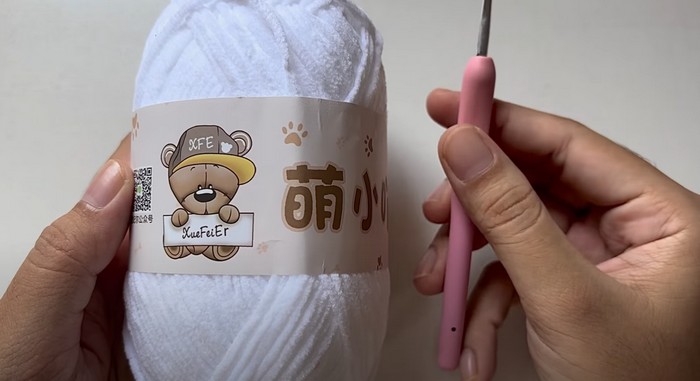
Materials and Preparation
To begin, gather the following materials:
- Yarn:
- Brown: For reindeer and gingerbread man
- White: For polar bear, snowman, and gingerbread stripe details
- Red: For accessories (hats, scarves, reindeer's nose)
- Black: For snowman accessories and facial features
- Orange: For snowman nose
- Blue and pink: For gingerbread accents
- Dark brown: For polar bear’s nose
- Hook Size: 2.5 mm crochet hook
- Additional Tools:
- Stitch markers (for marking rounds)
- Yarn needle (for sewing pieces and hiding yarn tails)
- Scissors
- Polyfill stuffing (for filling the dolls)
- Hot glue (optional for hat attachment)
- Yarn Recommendations: Medium-weight (Size 3 or 4) yarn is ideal for this project.
Abbreviations and Notes
Abbreviations:
- SC - Single Crochet
- HDC - Half Double Crochet
- INC - Increase (two SC in the same stitch)
- DEC - Decrease (combine two stitches into one)
- SLST - Slip Stitch
- CH - Chain
Pattern Notes & Tips:
- Always use a stitch marker to track the first stitch of each round, as the dolls are worked in continuous spirals.
- Changes in yarn color are carried out on the last stitch of a round. Pull through the new yarn color to complete the stitch.
- Specific details on the face (eyes, nose, blush) or clothing can be customized based on personal preference.
- The magic ring technique is critical for starting most pieces.
Gauge, Approximate Size, and Pattern Notes
- Gauge: Not specifically required, as the dolls can vary slightly based on tension. Use medium-weight yarn and a 2.5 mm hook for consistency.
- Finished Size: Each doll is approximately 4–6 inches tall.
- Special Techniques:
- Magic ring: Essential for starting pieces.
- Front loop-only crochet: Used for adding dimension.
No gauge swatch is necessary for this project as slight size variations will not affect the final product.
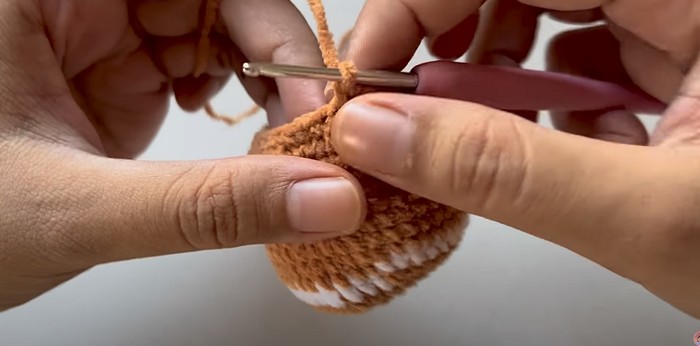
Step-by-Step Pattern
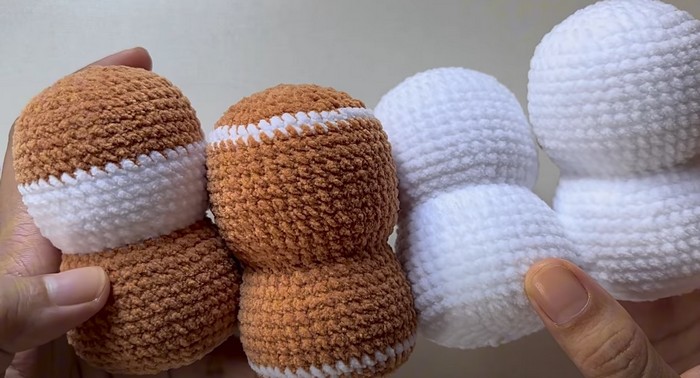
Head and Body
(Follow specific color details for each doll as noted below).
- Round 1: Begin with a magic ring. Make 7 SC into the ring. (7 total)
- Round 2: INC in each stitch around. (14 total)
- Round 3: (1 SC, 1 INC) repeat 7 times. (21 total)
- Round 4: (2 SC, 1 INC) repeat 7 times. (28 total)
- Round 5: (3 SC, 1 INC) repeat 7 times. (35 total)
- Round 6: (4 SC, 1 INC) repeat 7 times. (42 total)
- Color change for gingerbread man: Switch to white yarn for one round.
- Continue SC in each stitch from Rounds 7-11. Change color back as needed.
- Rounds 12-16: SC in brown or white, depending on the specific doll.
- Start decreasing from Round 17:
- (4 SC, 1 DEC) repeat 7 times (35 total).
- (3 SC, 1 DEC) repeat 7 times (28 total).
- Pause after round 21 to stuff the doll’s body.
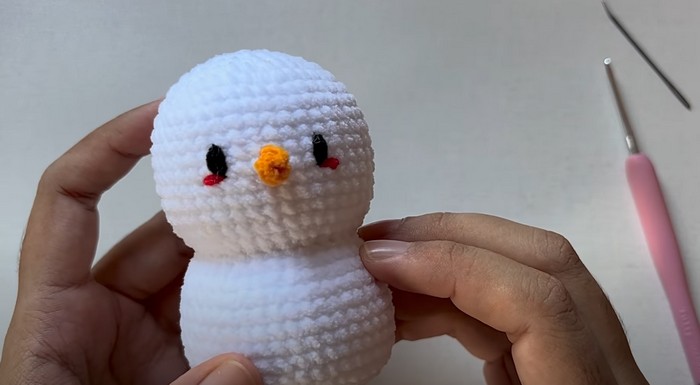
Eyes and Nose
- Eyes: Place small pieces of black or white yarn on rounds 11 and 12, with 6 stitches between them.
- Nose:
- For the reindeer and polar bear, create small ovals with red or dark brown yarn.
- For the snowman, crochet a small orange carrot nose starting with 6 chains, then slip stitches back.
Legs, Arms, and Accessories
- Arms and Legs: Start with the magic ring and follow the same basic structure as the head, stopping earlier to achieve desired size.
- Reindeer Antlers:
- Chain 4 and work slip stitches back. Repeat twice to create branches.
- Sew or glue antlers to the head.
- Polar Bear Ears:
- Create a magic ring with 5 HDC and attach them to the top of the head.
- Snowman Scarf:
- Chain 82 and work HDC stitches across for a simple scarf.
- Christmas Hat:
- Start with white for the brim: magic ring with 6 SC, then 6 SC rounds. Switch to red yarn and increase gradually across 8 rows to form a festive triangle shape.
Final Details and Assembly
- Embroider the mouth for each doll. Add blush underneath the eyes using red yarn.
- Sew on any patterns like buttons for the snowman or accents for the gingerbread man.
- Attach the arms, legs, and accessories. Adjust placement for personality, and stuff each section lightly before sewing.
- Optional: Use hot glue to secure the Christmas hat in place.
Pattern Question
Q: How do I change colors seamlessly for the project?
A: To change colors, finish the last stitch with the initial color, then pull through the new color as you finish the stitch. Secure your yarn tails to prevent unraveling.
Conclusion
Crocheting these Christmas dolls is a delightful way to spark creativity while preparing for the holidays. They’re versatile, charming, and rewarding to make. Whether it’s handmade gifts or festive décor, these dolls add a personal, heartfelt touch to your celebrations.


