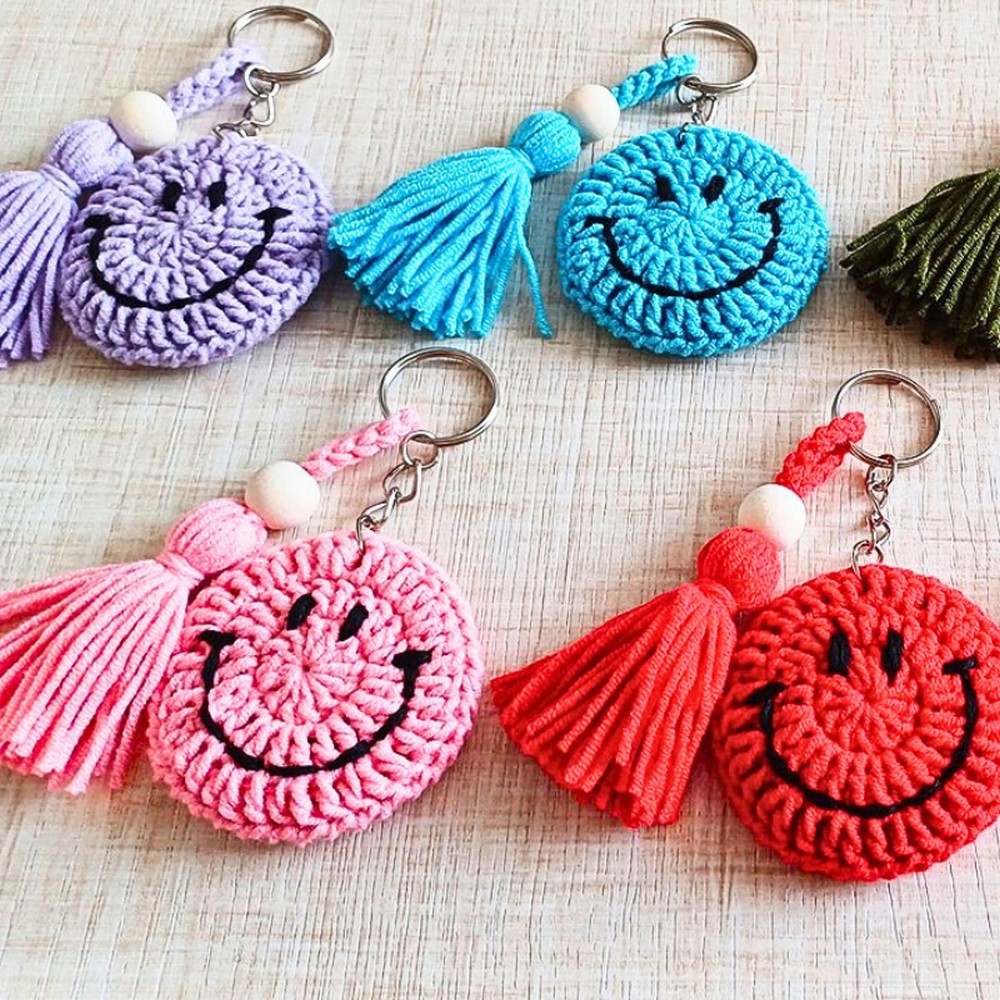
Unlock the joy of crafting with these colorful smiley face keychains! Not only are they an eye-catching addition to any keys or bags, but they're also a versatile project suited for both crochet beginners and experts. With a blend of vibrant acrylic yarn and a simple 3mm hook, these keychains are sure to brighten up your day.

These Crochet smiley face keychains are both durable and charming, making them the perfect accessory for your keys, backpack, or purse. Crafted with sturdy acrylic yarn, they're designed to withstand daily wear and tear while adding a pop of color and personality wherever they go. Their unique design and practicality make them a fantastic handmade gift.
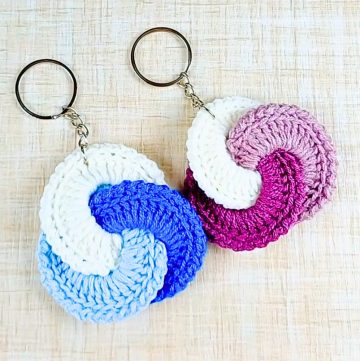
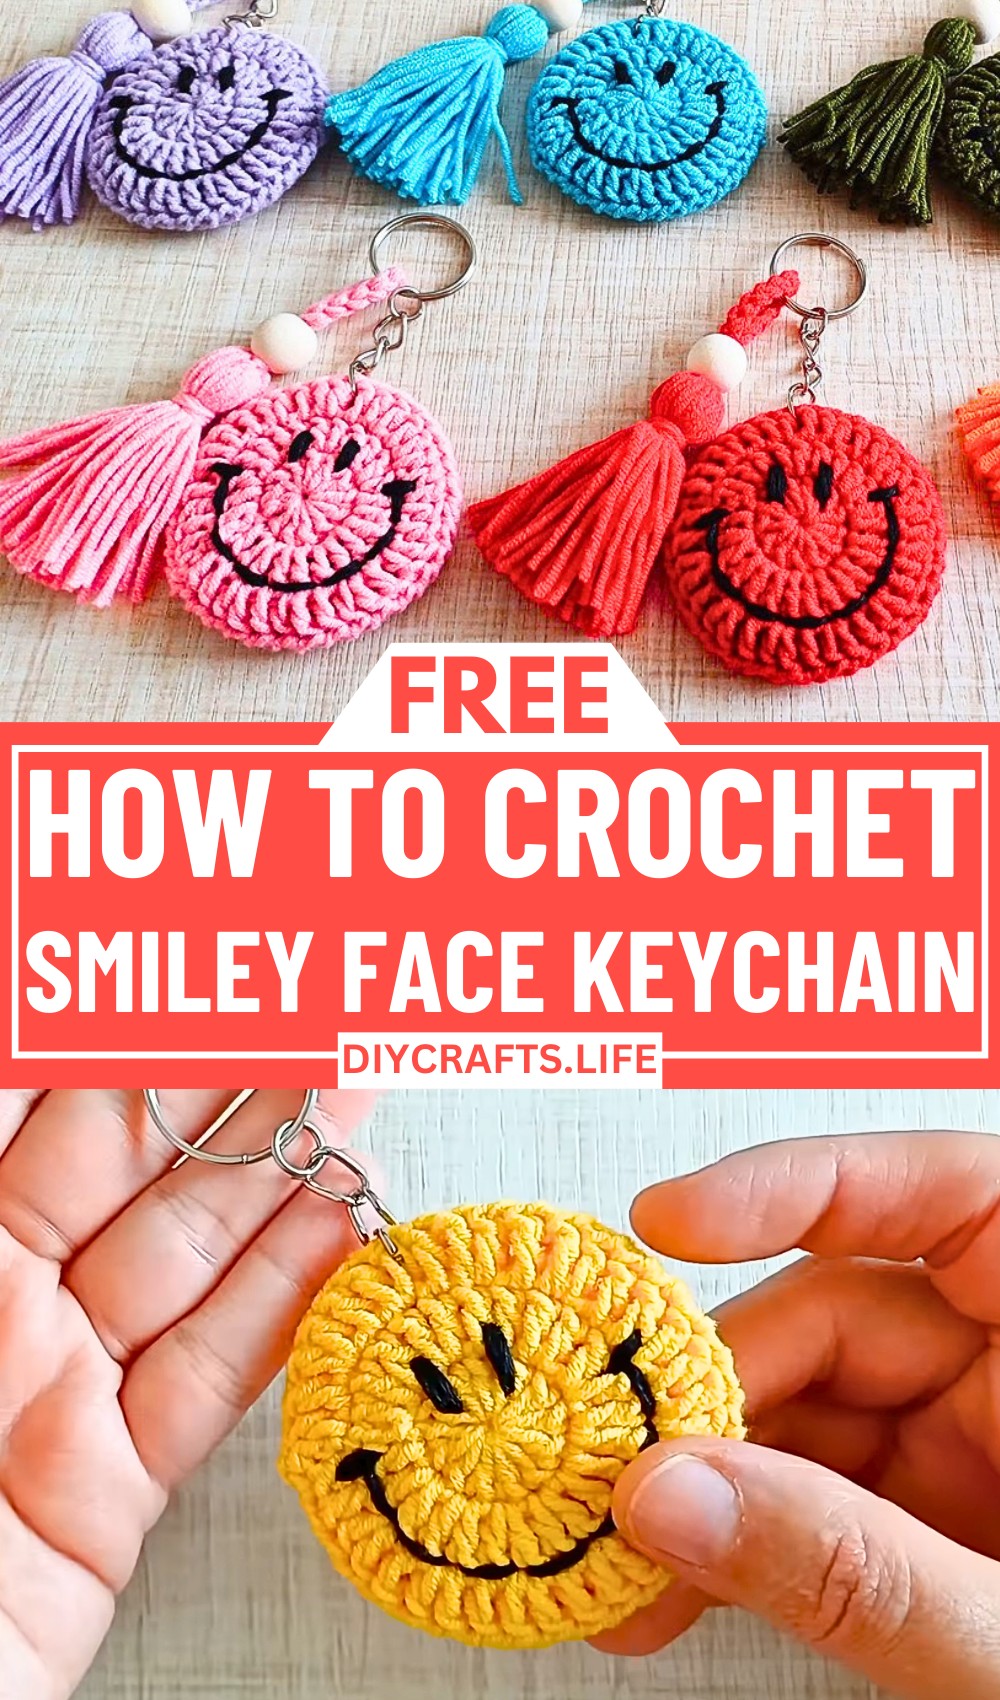
Crochet Colorful Smiley Face Keychains
Making these keychains is a delightful process that uses basic crochet techniques, including the magic ring and various double crochet stitches. Each step is straightforward and well-explained, allowing crafters of all levels to enjoy creating these cheerful accessories. With the included pattern and a 3mm hook, you'll breeze through the project in no time.
Credit Poplar Crochet
Materials and Preparation
To make the Crochet Smiley Face Keychains, you will need:
- Yarn: Acrylic yarn (choose bright colors for the "smiley face"). Medium-weight yarn is ideal for this project.
- Crochet Hook: 3mm hook
- Additional Tools:
- Scissors
- Tapestry needle for weaving in ends
- 1cm wooden bead for decoration
- Yarn for Finishing: Cut approximately 50 cm of yarn for assembly and details.
Abbreviations and Notes
Here are the abbreviations used in the pattern:
- Ch: Chain
- Slst: Slip Stitch
- Dc: Double Crochet
Pattern Notes:
- The project starts with a Magic Ring, which is a useful technique for creating a seamless circular base (ideal for the smiley face keychain).
- Gauge is not critical, but tension should be consistent for uniform circles.
- Customizations, such as face embroidery, can be added at the end.
Gauge, Approximate Size, and Pattern Notes
- Gauge: Not necessary for this project.
- Approximate Size: The completed smiley face base measures about 5–6 cm in diameter.
- Special Techniques:
- Magic Ring: For a closed, circular foundation.
- Crafting a decorative chain loop.
- Gauge swatches are unnecessary for this small project.
Step-by-Step Pattern
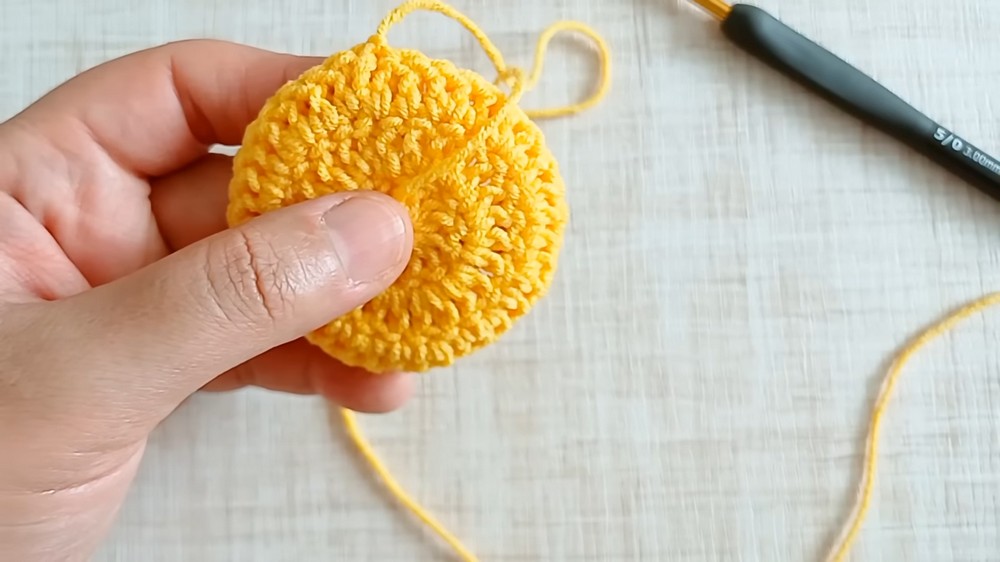
Step 1: Create the Base Circle
- Start with a Magic Ring to form a circular foundation.
- Row 1:
- Chain 3 (this counts as the first dc).
- Work 12 double crochets (dc) into the magic ring.
- Tighten the magic ring and join the round with a slip stitch (slst) to the top of the starting chain.
- Row 2:
- Chain 3 (this still counts as the first dc).
- Crochet 2 double crochets (dc) into each stitch around (this creates increases for the circle).
- Finish the round with a slip stitch (slst) into the top of the starting chain.
- Row 3:
- Chain 3.
- Use an alternate pattern for shaping: Work 2dc in one stitch, 1dc in the next stitch (repeat this pattern across the round).
- Finish with a slip stitch (slst).
- Cut the yarn, leaving approximately 50 cm of yarn tail for finishing and details.
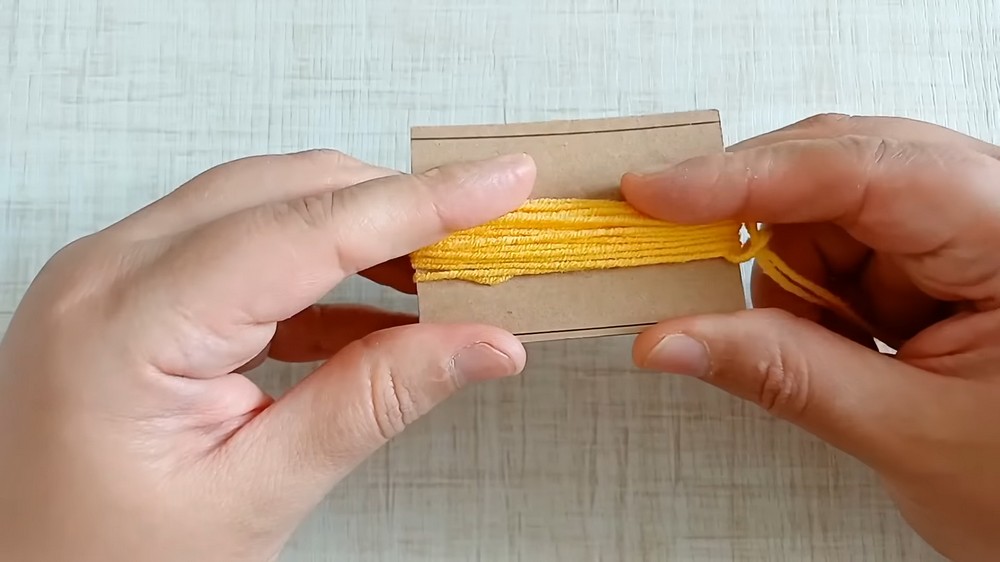
Step 2: Form the Keychain Loop
- Use the yarn tail to create the decorative hanging loop:
- Crochet 30 loops using single crochet stitches or chains.
- After finishing the loops, chain 15, then join with a slip stitch (slst) at the base of the chain.
Step 3: Add Decoration
- Thread a 1cm wooden bead onto the loop section for extra charm.
- Tighten and secure the bead.
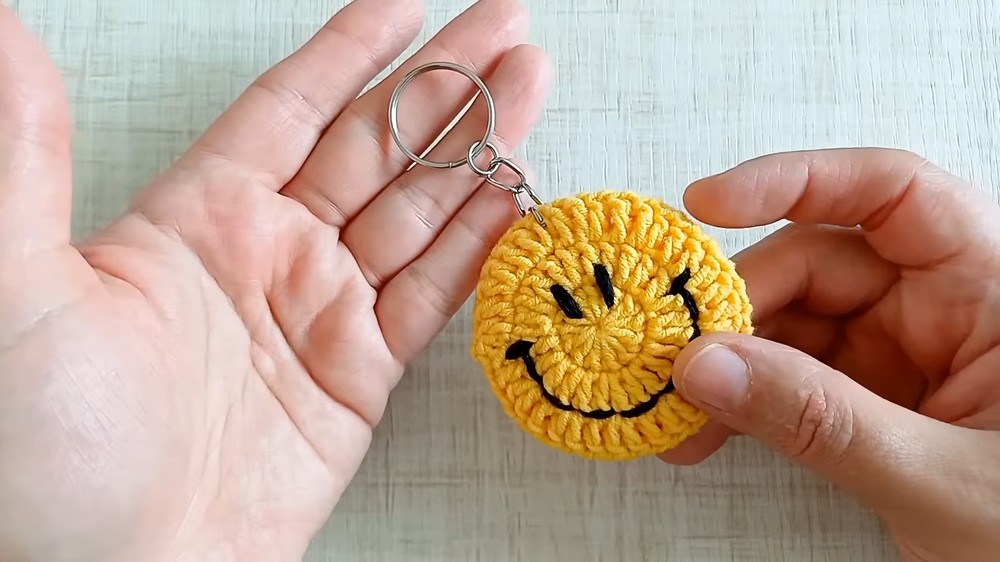
Step 4: Finishing Touches
- Weave in all loose ends using your tapestry needle for a polished finish.
- Optionally, embroider or decorate the circular base to create a smiley face.
Pattern Question
Question: How do I ensure the 30 loops are evenly spaced when making the keychain?
Answer: When forming the loops, make sure to keep a consistent tension on your yarn and evenly space each loop as you create them. Accurate counting and spacing will help maintain uniformity.
Conclusion
In this tutorial, you'll learn how to crochet delightful, colorful smiley face keychains that are both fun and functional. Following the precise steps and using just a few materials, you'll have a vibrant new accessory that showcases your creativity and adds joy to everyday items.