Start your holiday season with Frosty the Snowman, a charming crochet pattern blending cozy design with winter cheer. This delightful decor piece sparkles with joy, warming hearts while adding unique character to your space. Its customizable yarn options guarantee versatility and a personal touch.
Add Frosty to your holiday decorations or gift him as a thoughtful keepsake. Frosty's durability makes him perfect for long-lasting seasonal charm. With plush yarn options and intricate detailing like a hat and vibrant scarf, he's guaranteed to stand out in any festive setting.
Crochet Frosty The Snowman
Begin crocheting Frosty with confidence! With straightforward steps and adaptability for various skill levels, this pattern is beginner-friendly yet offers creative potential for seasoned crafters. Personalize using color options to design a snowman uniquely yours.
Credit The Kindness Company
The step-by-step tutorial video for making the Crochet Snowman can be found at the end of the post.
Materials and Preparation
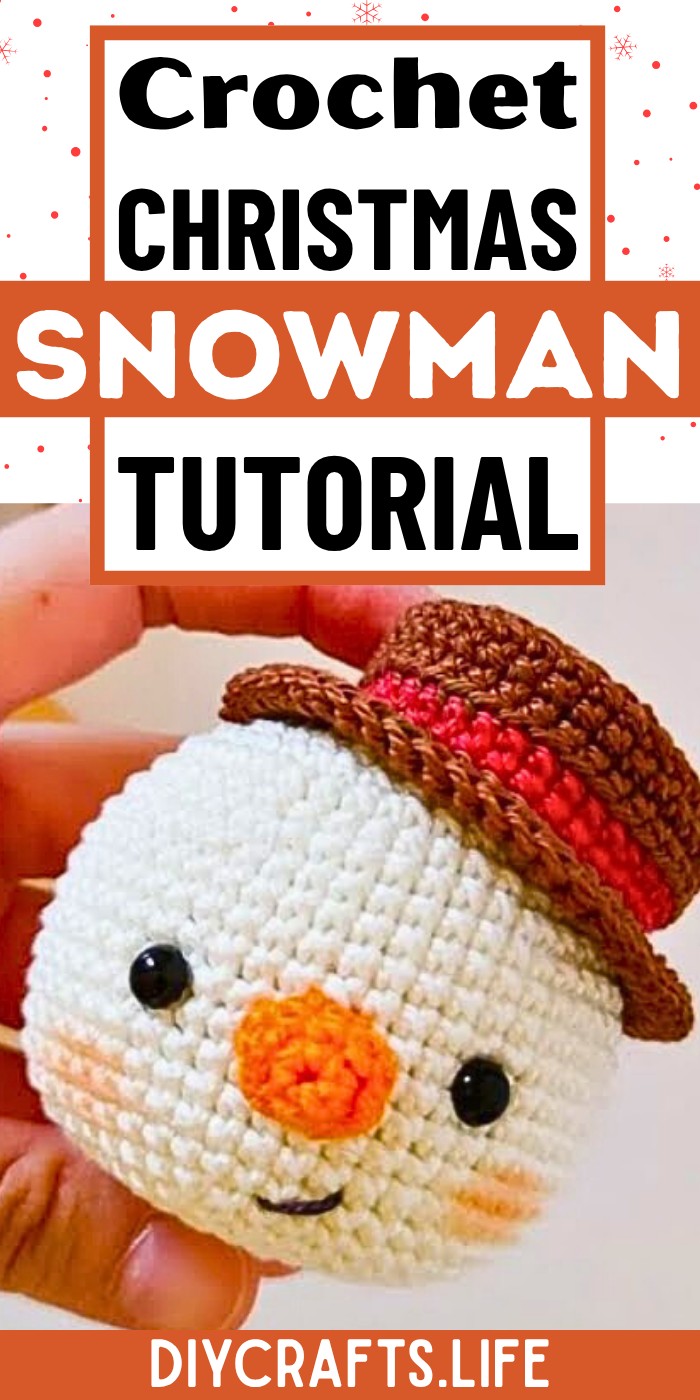
To create your Frosty the Snowman, you will need:
- Yarn: Worsted weight yarn for the body (white), nose (orange), hat (brown/red), and embroidery details (black embroidery floss).
- Optionally, you can use sport, DK, or plush weight yarn by adjusting your hook size.
- Crochet Hook: 4 mm hook (or a hook appropriate for your yarn weight).
- Safety Eyes: Two eyes of your preferred size. If creating for a young child or pet, use embroidery instead of safety eyes.
- Stuffing: Fiberfill or similar material for the body and the hat.
- Tapestry Needle: For weaving in ends and sewing the nose and hat.
- Scissors: For cutting yarn tails.
- Stitch Markers: To keep track of rounds.

Abbreviations and Notes
Here are abbreviations used in this pattern:
- SC: Single Crochet
- INC: Increase (two SC into the same stitch)
- DEC: Decrease (combining two stitches into one)
- BLO: Back Loop Only
- FLO: Front Loop Only
Important Notes:
- The snowman is worked in continuous rounds unless specified. Always use a stitch marker to mark the first stitch of each round.
- Add stuffing as needed while working through the pattern sections.
- When changing colors, pull the new color through during the last pull-through of the final stitch in the previous round. This creates a seamless transition.
Gauge, Approximate Size, and Pattern Notes
- Gauge: Gauge is not critical for this project; adjust yarn and hook size to achieve desired texture and shape.
- Finished Size: The snowman’s dimensions will depend on your chosen yarn, but with worsted weight, expect a height of approximately 5-7 inches.
- Special Techniques:
- Magic Ring: Used to start circular sections like the head, hat, and nose.
- Safety eyes and embroidered facial features complete Frosty’s adorable look.

Pattern Question
Q: How can I adjust Frosty’s size?
A: Use thinner yarn and a smaller hook for a compact version or bulkier yarn with a larger hook for an oversized snowman.
Conclusion
Enjoy every stitch as you bring Frosty the Snowman to life. Pairing festive charm with practical creativity, this pattern offers endless fun for all skill levels. Whether for gifting or personal decor, it’s a rewarding way to add magic to your holidays.


