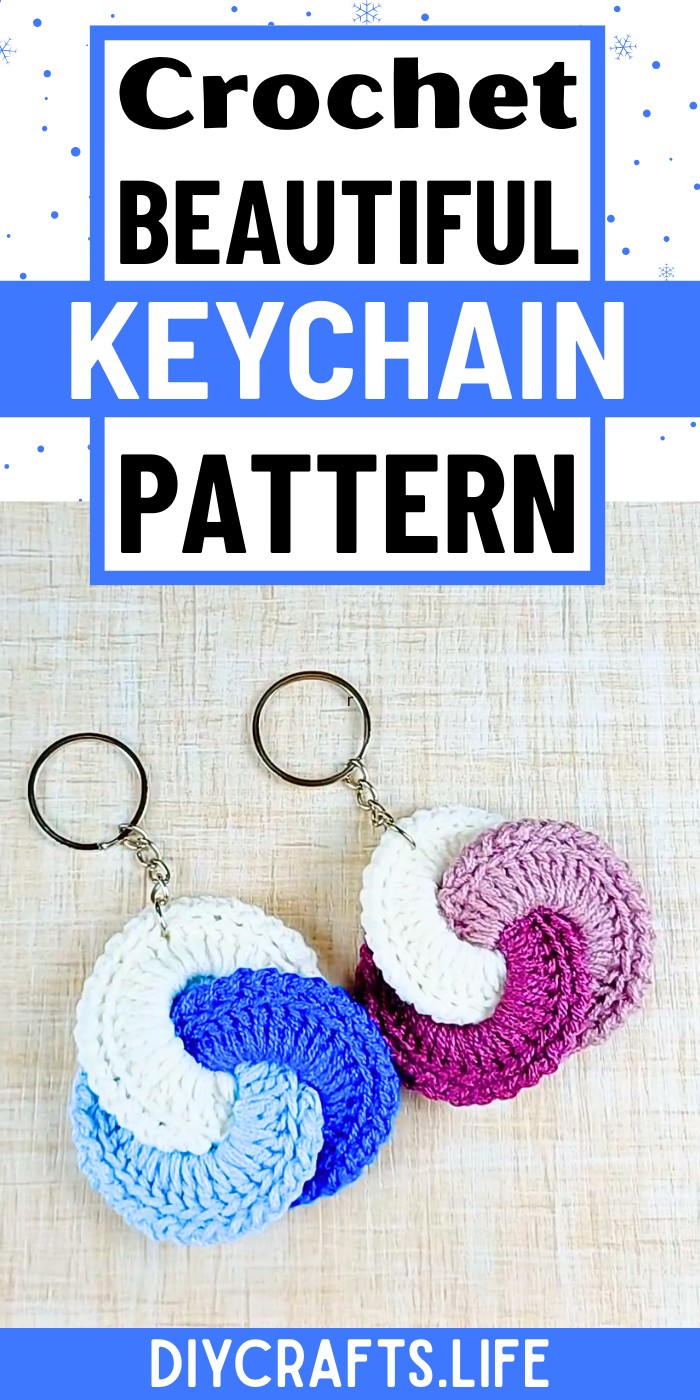
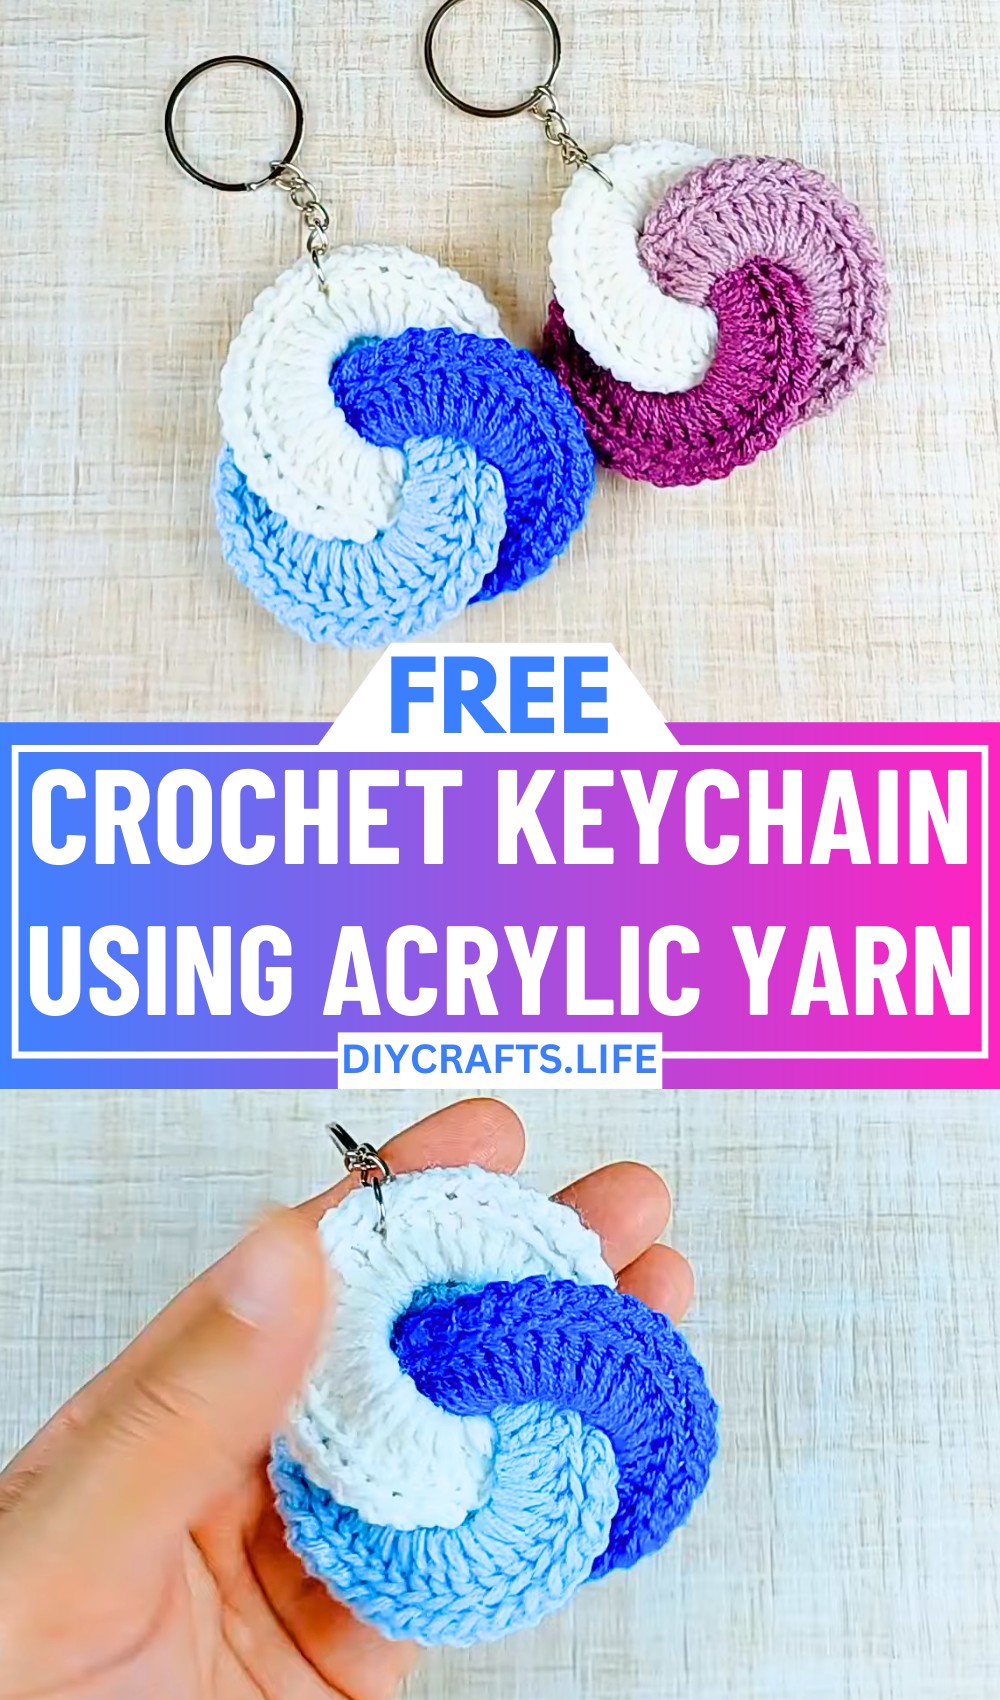
Create a charming crochet keychain using a simple yet elegant pattern! Perfect as a stylish accessory, this versatile design combines the practicality of a keyholder with a pop of handmade beauty. With just some acrylic yarn and basic stitches, you can craft a functional and eye-catching keychain in no time.
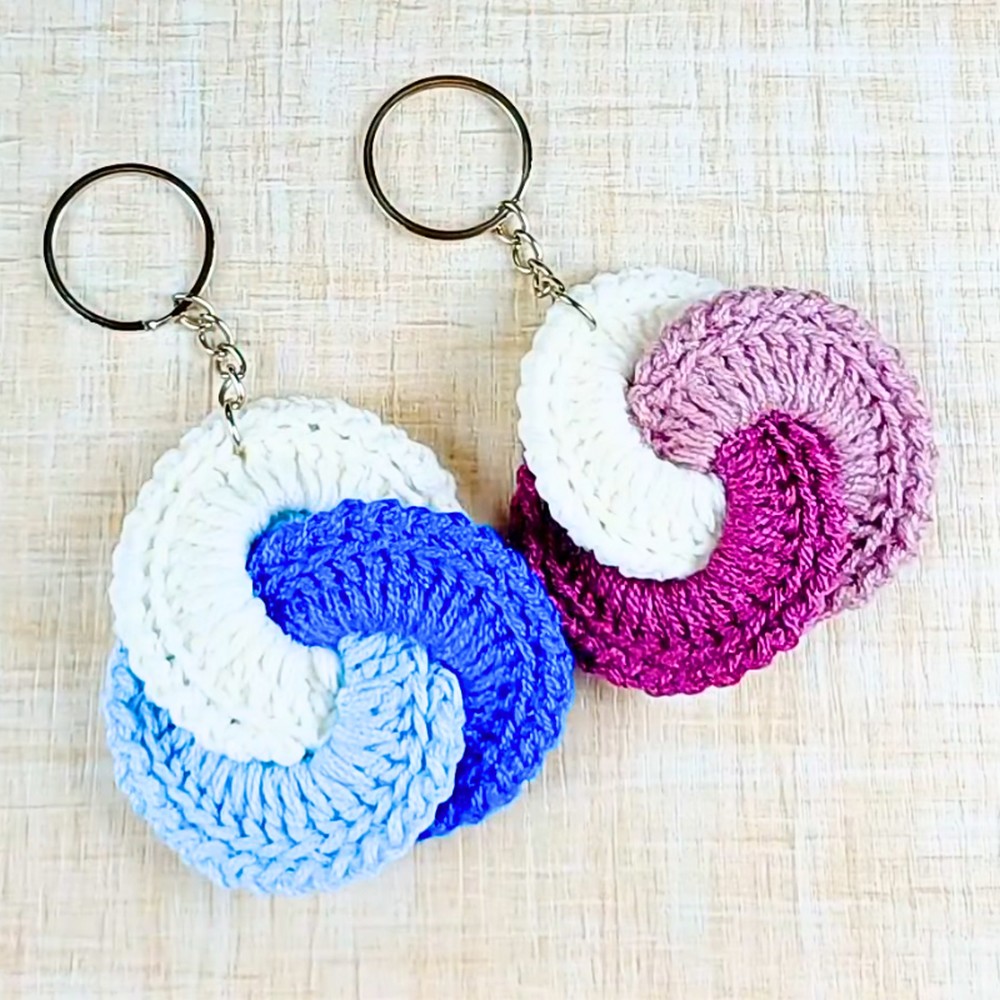
This crochet keychain is as functional as it is stunning. Made with durable acrylic yarn, it holds up well to everyday use while showcasing intricate details. Please attach it to your keys or bags, or use it as a zipper pull. Its lightweight design and unique handmade look make it both practical and stylish.
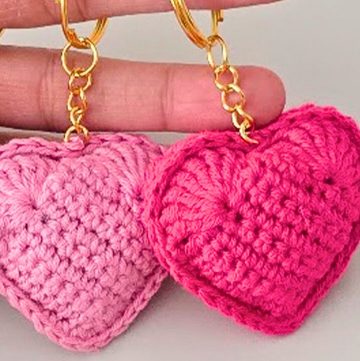
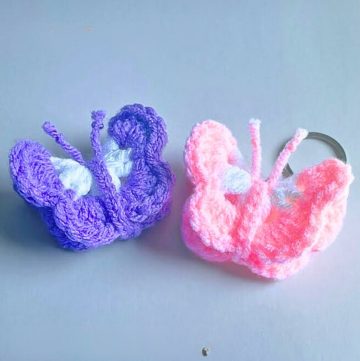
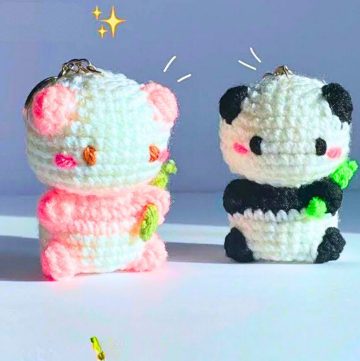
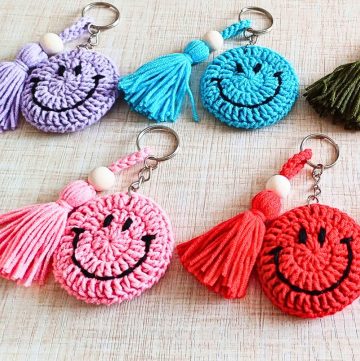
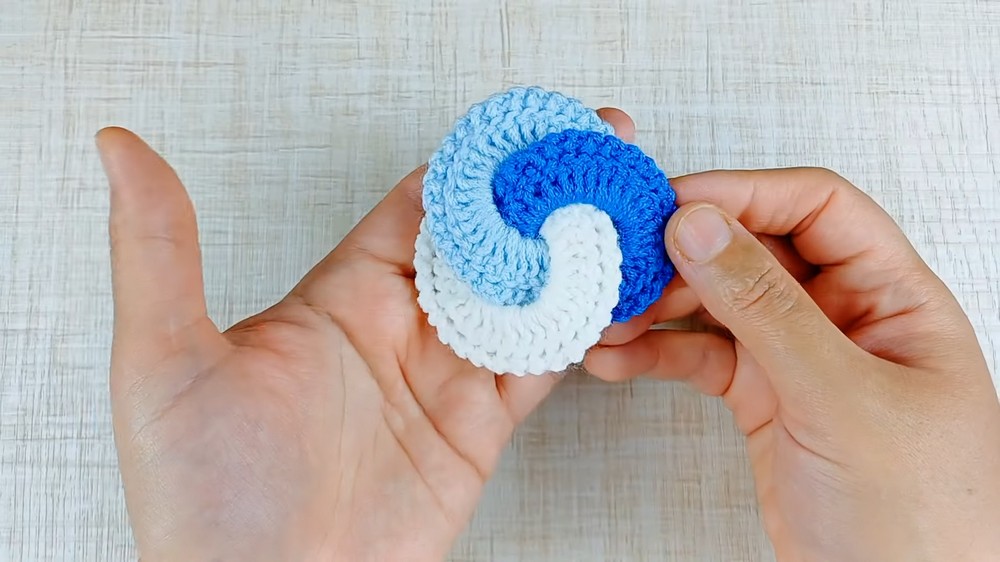
Crochet Keychain
Crafting this keychain is a breeze, even for beginners! With a simple pattern that includes slip stitches, chains, and double crochets, this project is quick, rewarding, and fun. Follow along step by step to turn basic materials into a highly personalized accessory you'll love.
Credit Poplar Crochet
Materials and Preparation
To create the crochet keychain, you will need the following materials:
Materials:
- Yarn: Acrylic yarn (medium-weight yarn is recommended).
- Hook Size: 3.5 mm crochet hook (or any size suitable for your yarn type).
- Additional Tools:
- Tapestry needle for weaving in ends.
- Scissors.
- Keychain ring or clasp.
- Optional: Beads or charms for decoration.
Abbreviations and Notes
| Abbreviation | Meaning |
|---|---|
| CH | Chain |
| SC | Single Crochet |
| DC | Double Crochet |
| SLST | Slip Stitch |
Notes:
- This project involves basic crochet stitches like chains, slip stitches, and double crochet, making it beginner-friendly!
- Work tightly and uniformly, especially for keychain accessories, to achieve a polished look.
- Use stitch markers if needed to help track your starting point in rounds or rows.
Gauge, Approximate Size, and Pattern Notes
- Gauge: Gauge is not crucial for this project, as keychains are typically made to personal size preference. Keep an even tension throughout for a neat appearance.
- Approximate Size: The finished keychain will be roughly 1–2 inches in diameter, depending on the yarn and hook used.
- Special Techniques: This project includes chains, slip stitches, and double crochet (DC) worked in rows and rounds. No gauge swatch is necessary.
Step-by-Step Pattern
Step 1: Foundation Chain
- Start by making a slip knot on your hook.
- CH 15. This will form the starting chain, which serves as the base of your crochet keychain.
- Make a SLST into the first chain to form a loop.
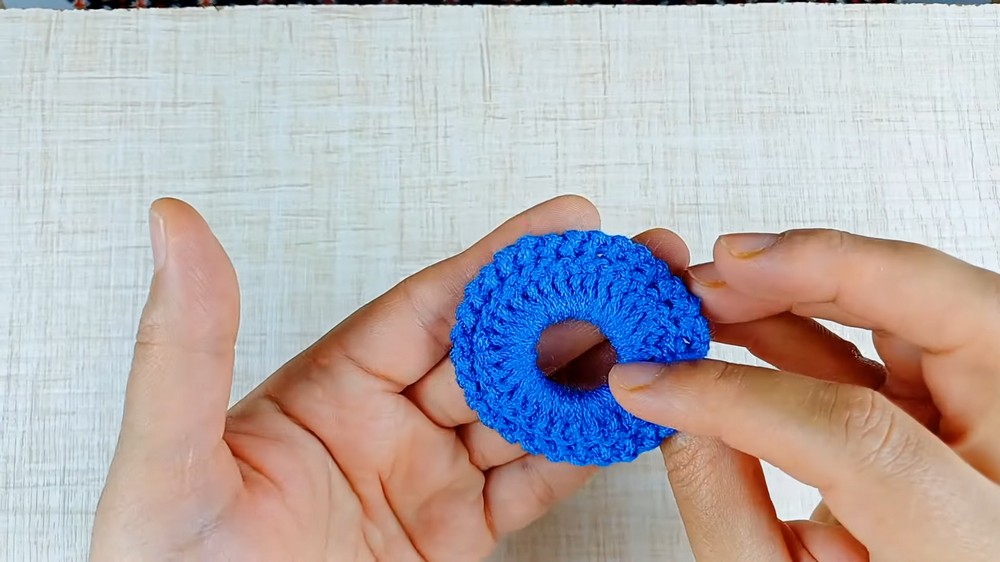
Step 2: Adding Double Crochet
- CH 3 (this counts as the first double crochet in the next row).
- Work 30 DC into the loop formed by the chain. Ensure your stitches are evenly distributed around the loop.
- Once you complete the round, SLST into the starting CH 3 to join and close the round.
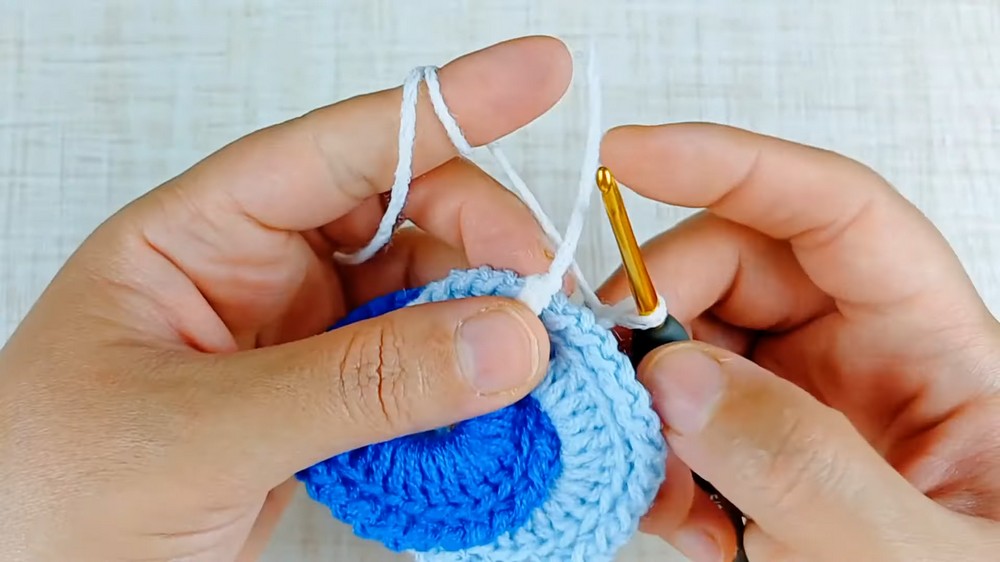
Step 3: Finishing Edges
- CH 1, then SLST in each stitch around the edge of the piece. This adds a neat border to the keychain.
- Finish off and leave a small tail for sewing.
Step 4: Creating the Keychain Attachment
- Attach the keychain ring: CH 15, and secure this chain to your keyring by weaving the yarn through the ring and fastening off with a SLST.
Step 5: Final Touches
- Use the tapestry needle to weave in all loose ends for a clean finish. Trim any excess yarn.
- If desired, add beads, charms, or embellishments to the keychain for extra decoration.
Pattern Question:
Question: How many chains do I need to start the pattern?
Answer: Begin with 15 foundation chains, which serve as the base for the rest of the pattern.
Conclusion:
This step-by-step crochet keychain tutorial shows just how easy it is to craft something both practical and beautiful. Whether you're a beginner or a seasoned crocheter, this quick project is a perfect way to add flair to your accessories or create a thoughtful gift!