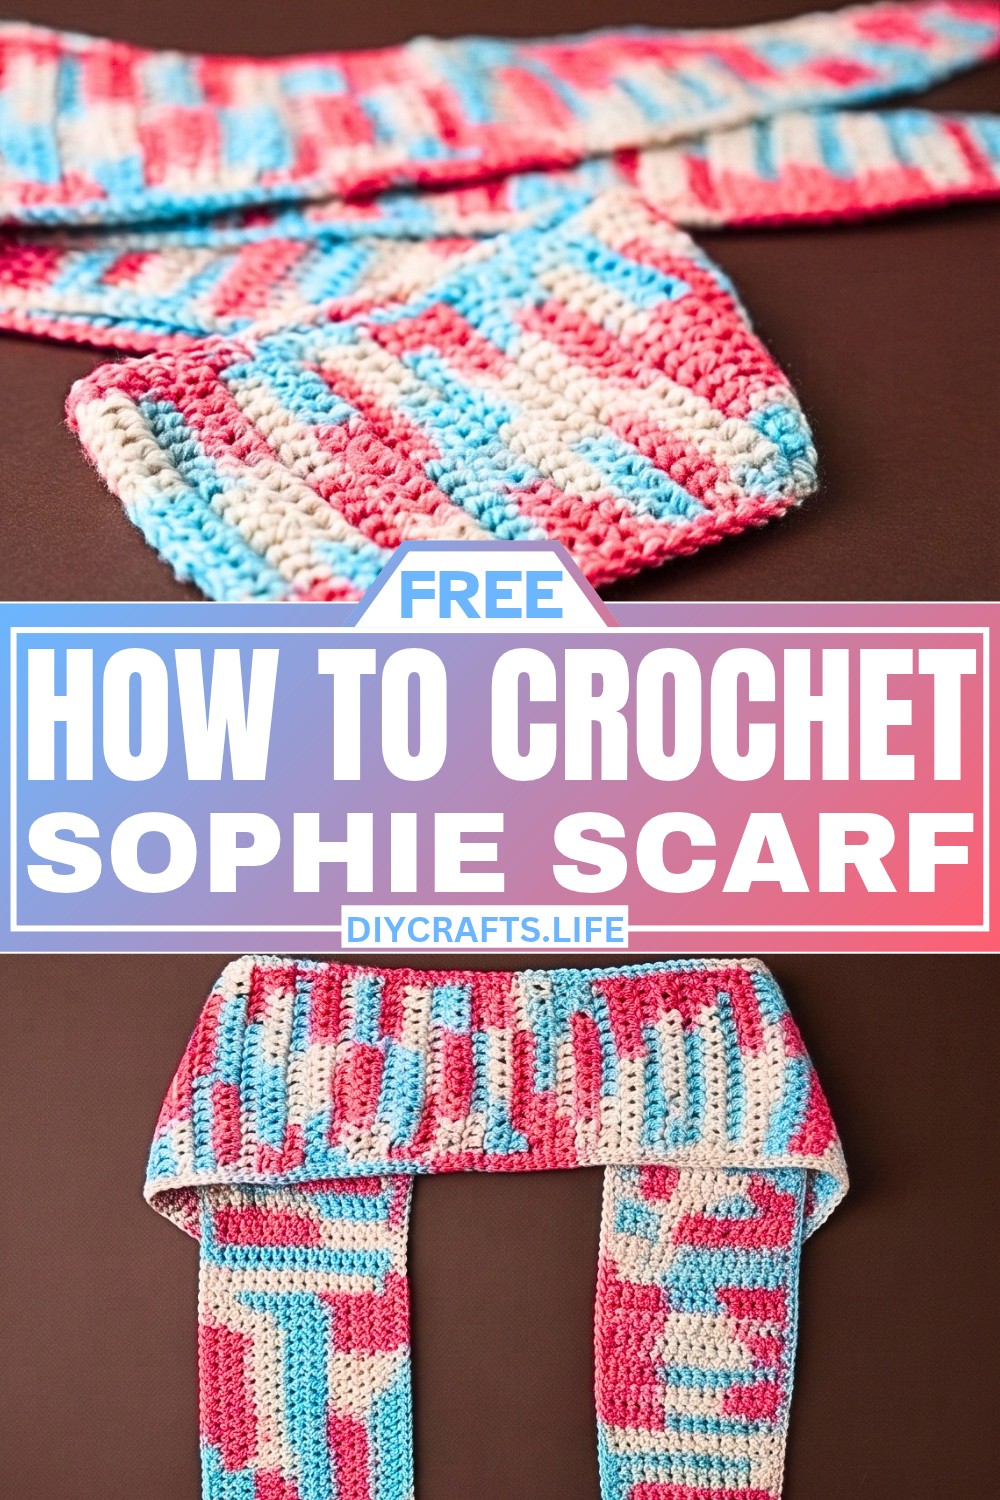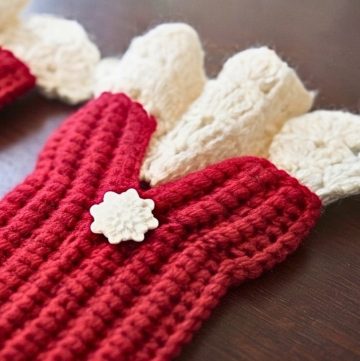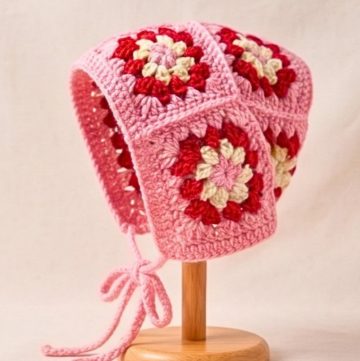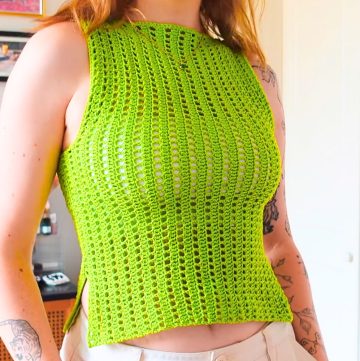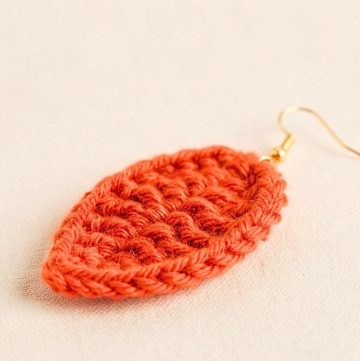

The Sophie Scarf proves that a small crochet piece can make a big impression. Its graceful shape and neat finish create an accessory that's easy to style in different ways. Wear it as a classic neck scarf, a charming hair tie, or a decorative touch for your favorite bag. If you're looking for a quick project with an elegant result, this crochet pattern is a great place to start.

The instructions guide you through the scarf one section at a time, making it easy to follow from the first stitches to the final edging. You'll gradually shape the crochet piece with easy stitch repeats that create its signature look without feeling complicated. As each row comes together, you'll see this compact design transform into a stylish handmade accessory you'll want to reach for again and again.
Credit knitting Anytime
Materials & Tools Needed
- Yarn – Select your preferred yarn for scarves. A lightweight yarn or DK weight is suitable. Adjust based on the look you want.
- Crochet Hook – Use the hook size recommended for your chosen yarn (commonly 3.5–4.5 mm for DK yarn).
- Scissors.
- Yarn needle – For weaving in the tail ends.
Finished Size & Customization Ideas
- Width: 11 cm.
- Length: Adjustable depending on your preference. After reaching the 11 cm width, you can increase or decrease the number of rows to make the scarf longer or shorter.
- Customization Ideas:
- Use multiple colors for a striped scarf.
- Add fringe or tassels to the ends for a boho-chic look.
- Use a textured or variegated yarn for added visual interest.
Pattern Abbreviations & Terminology
(Note: Written in US terms)
- ch – Chain
- sc – Single Crochet
- dc – Double Crochet
- st(s) – Stitch(es)
- inc – Increase (2 stitches in the same stitch)
- dec – Decrease (joining two stitches into one)
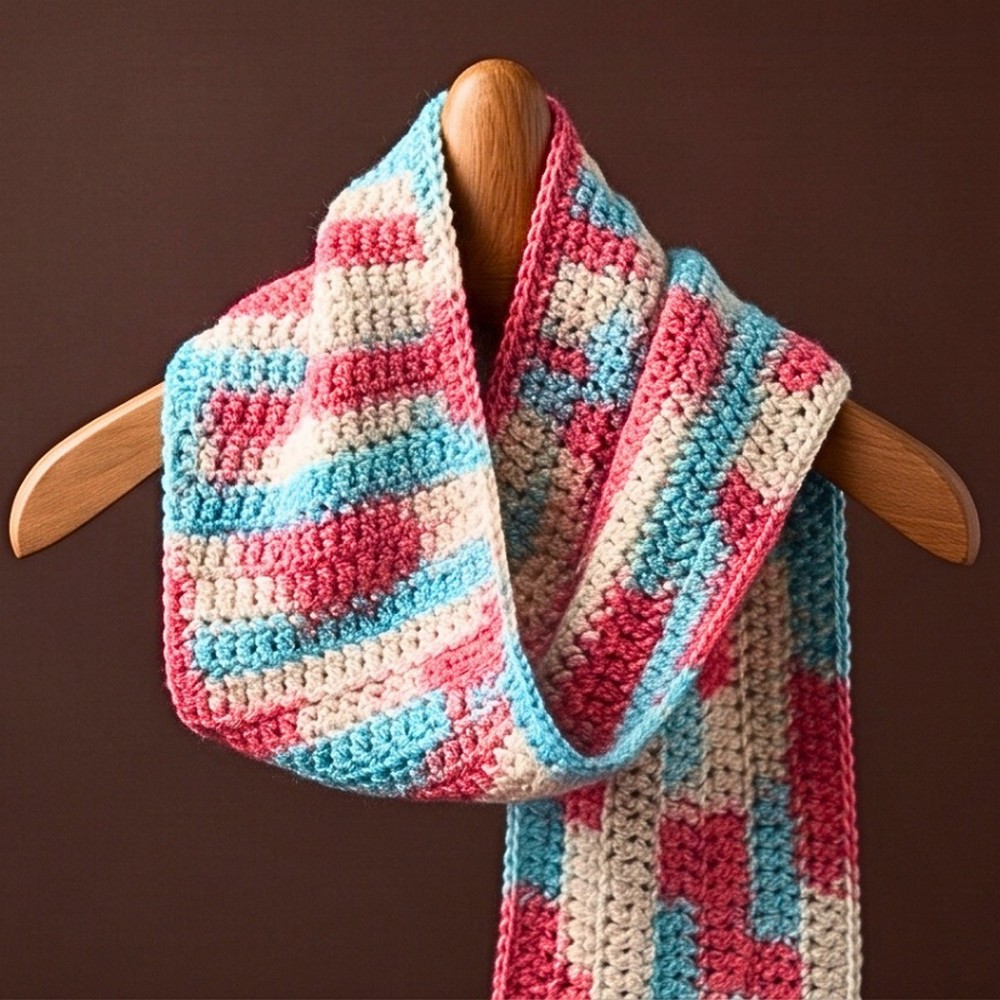
Step-by-Step Detailed Crochet Instructions
Foundation Setup
- Start with a slipknot.
- Chain 4 (ch 4).
- Insert your hook into the first chain and make a single crochet (sc) to form a ring.
Begin the Scarf
For the scarf, the pattern follows a simple sequence of single crochets and double crochets, with increases at specific points.
Row 1:
- Turn your work.
- Single crochet (sc) into the first stitch.
- Continue with a single crochet (sc) into the second loop of the first stitch to form a foundation.
- In the second chain, make 1 double crochet (dc).
- In the third chain, make 1 double crochet (dc).
- Turn your work.

Row 2:
- Do not begin with a chain.
- Work 1 single crochet (sc) into the first stitch (this is called a stacked single crochet to create a straight edge).
- In the second loop of the first stitch, make another single crochet (sc).
- Work 1 double crochet (dc) into all the remaining stitches across.
- Turn your work.
Row 3 (Increase Row):
- Single crochet (sc) into the first stitch.
- In the second stitch, make 1 double crochet (dc).
- Continue working 1 double crochet (dc) into each stitch until the second-last stitch of the row.
- In the second-last stitch, work 2 double crochets (inc) into the same stitch to increase width.
- In the last stitch, work 1 double crochet (dc).
- Turn your work.
- Note: You will always increase in the second-last stitch for the increase row.
Row 4 (No Increase Row):
- Begin with a stacked single crochet (sc).
- Work 1 double crochet (dc) in all remaining stitches across.
- Turn your work.

Repeat Rows 3 and 4:
- Repeat the pattern by alternating between:
- Increase Row (Row 3): Add 2 stitches in the second-last stitch.
- No Increase Row (Row 4): Work straight with no increases.
- Continue until the width of the scarf reaches 11 cm.
Building Length of the Scarf
- Once the width reaches 11 cm, stop increasing.
- Work straight rows (1 stacked sc at the start, followed by dc in all stitches across).
- Add rows until the scarf is the desired length. This section creates the middle portion of your scarf.
Decreasing for the Second End
- Begin decreasing at one end to create the tapered look, symmetrical to the start.
- Alternate between:
- Decrease Rows:
- Begin with a stacked single crochet (sc).
- Work double crochet (dc) into all stitches except the last three stitches.
- For the last three stitches: Work a decrease (pull up loops in two stitches, then yarn over and pull through all 3 loops on the hook).
- Double crochet (dc) into the final stitch.
- Turn your work.
- No Decrease Rows: Work straight rows of double crochets with no decreases.
- Decrease Rows:
- Continue this decrease pattern until the rows taper to a point, symmetrical to the other end of the scarf.
Adding the Border
- Once the scarf shape is complete, chain 1.
- Work single crochets (sc) evenly across all edges of the scarf to create a clean border.
- Use slip stitches to join the border and finish. Chain 1 and fasten off.

Finishing
- Weave in the tail ends with a yarn needle to hide them.
- Block the scarf if necessary to ensure it maintains its shape.
Pro Tips
- For a softer and more drapey effect, use a larger hook size or a lightweight yarn.
- Experiment with different yarn textures or colors to make each scarf unique.