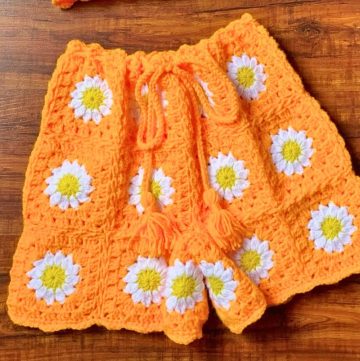
These crochet high-waisted granny square shorts are stylish and unique. They’re easy to wear during warm days, offering a playful and summery look. Made with colorful granny and half-granny squares, these shorts combine comfort and creativity, making them an excellent addition to your handmade wardrobe. Whether dressed up for a casual outing or worn at home, their charm is undeniable.
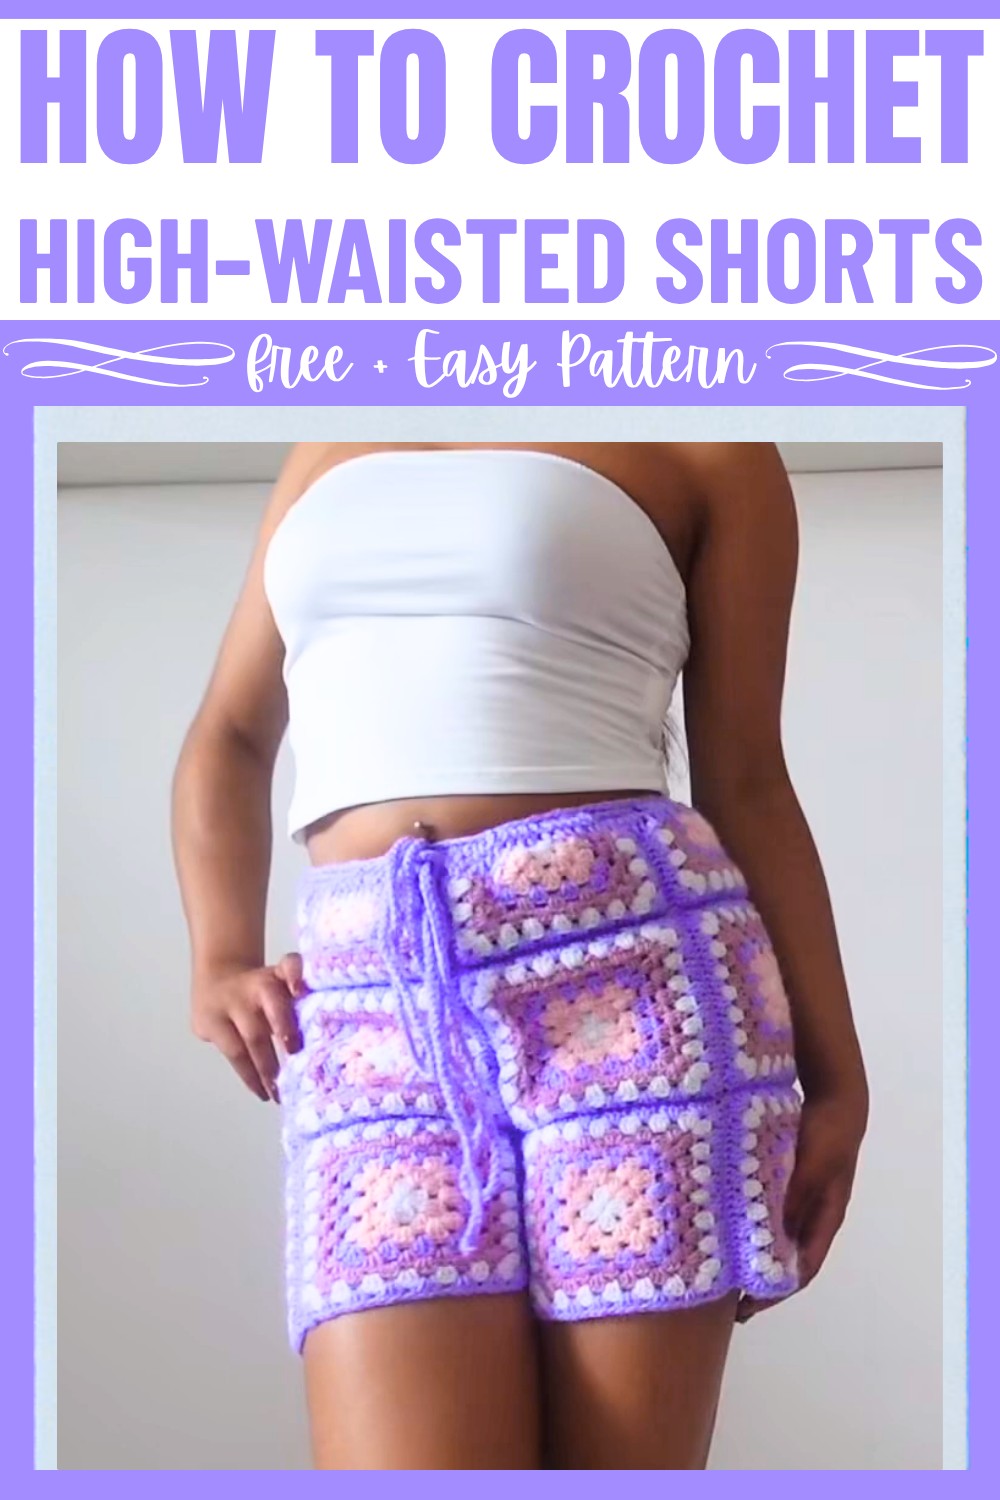
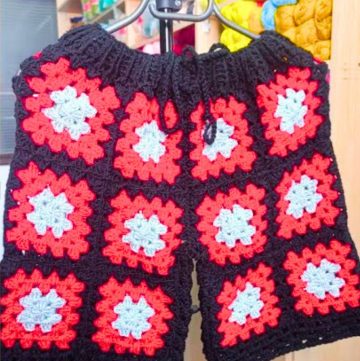
To make these shorts, you’ll use simple granny squares, half-granny squares, and elastic at the waist to ensure a perfect fit. The squares are joined seamlessly, creating a neat finish without visible gaps. Adding elastic and crocheting the waist detail ensures the shorts feel secure and look polished. You can choose any color combination you love, from bright tones to softer palettes, to match your style.
Credit Nasrin xoxo
Materials & Tools Needed:
- Yarn: Acrylic yarn in 4 colors (choose a summery or vibrant palette as preferred).
- Crochet Hook: 3 mm crochet hook.
- Additional Tools:
- Tapestry needle (for sewing and weaving in ends).
- Measuring tape.
- Elastic: For the waistband, to "snatch" the waist and ensure the shorts fit properly.
Finished Size & Customization Ideas:
- Finished Size: The shorts in the video were made for a 35-inch hip measurement. Adjust the size by increasing or decreasing the number of rows in the granny squares and half-granny squares.
- Customization Ideas:
- Adjust the granny square size for larger or smaller sizes (the squares in the tutorial were about 6 inches with 8 rows).
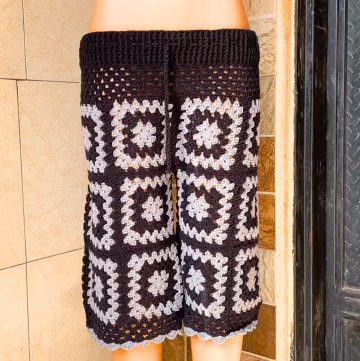
- Experiment with color schemes (bright or pastel colors, monochrome, or multi-color squares).
- Add extra rows or rounds if the shorts feel too short.
Pattern Abbreviations & Terminology:
(Note: The pattern uses US crochet terminology.)
- sl st = Slip Stitch
- ch = Chain
- st = Stitch
- sp = Space
- tr = Treble Crochet
- htr = Half-Treble Crochet
- dc = Double Crochet
- sc = Single Crochet

Step-by-Step Crochet Instructions:
Step 1: Crochet Full Granny Squares
You will need 6 full granny squares for the top portion of the shorts (hips and waist) and 8 full granny squares in total for the legs (4 per leg). Follow these steps:
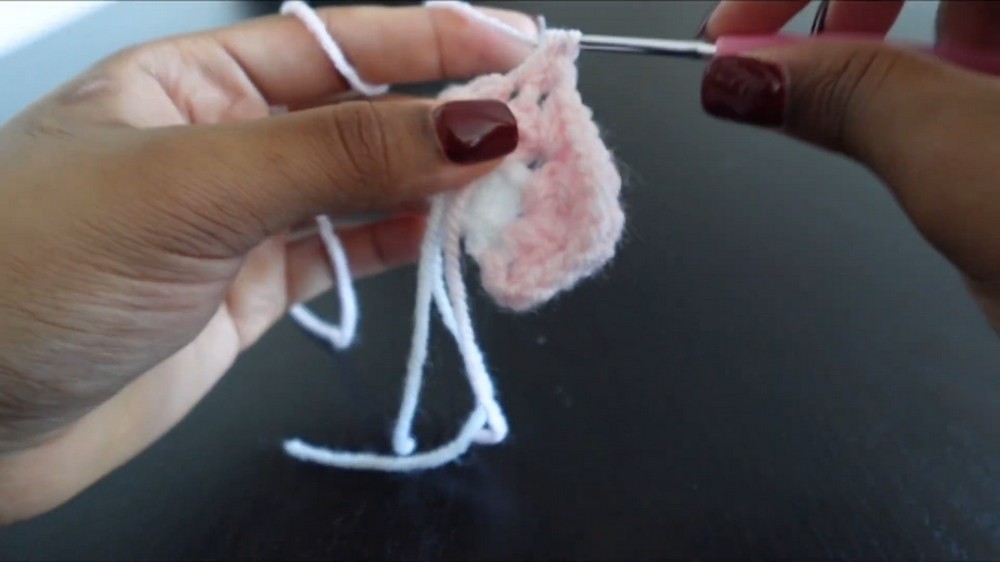
- Start the Circle:
- Begin with a slip knot.
- Chain 4 and slip stitch back into the first chain to form a circle.
- Round 1:
- Chain 2 (counts as the first htr).
- Place 2 htr into the circle.
- Chain 1, repeat for a total of 4 sets of 3 htr clusters with chain-1 spaces in between.
- Slip stitch into the chain-2 from the start of the round to close. Fasten off and cut yarn.
- Joining a New Color & Round 2:
- Join the new color in any chain-1 space.
- Chain 2, place 2 htr in the chain-1 space.
- Chain 1, place 3 htr in the same chain-1 space.
- Move to the next chain-1 space: Place 3 htr, Chain 1, 3 htr (this forms a corner).
- Repeat for the remaining corners and slip stitch to tidy up. Turn your work.
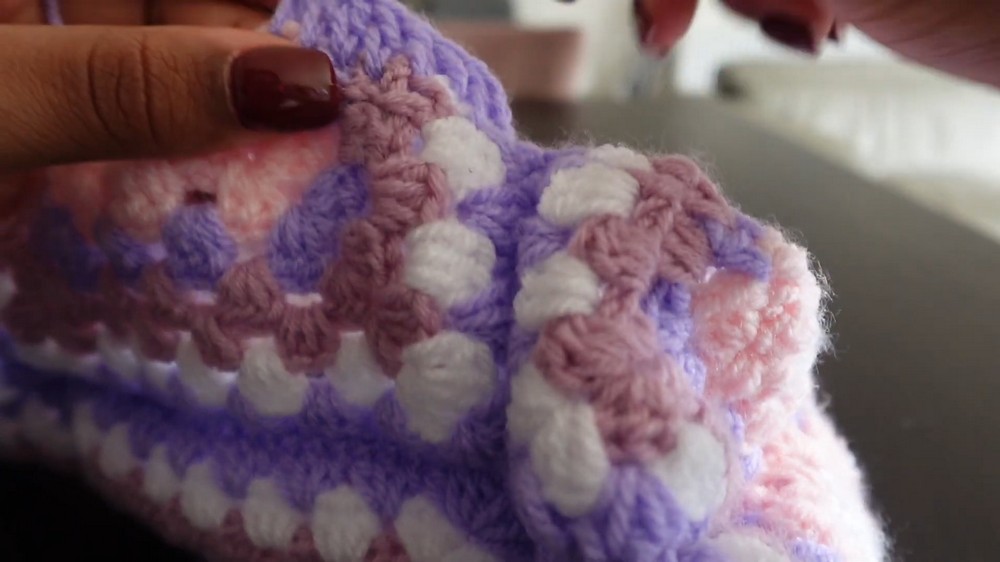
- Subsequent Rounds (Rows 3-8):
- Each corner space gets 3 htr, Chain 1, 3 htr.
- For all non-corner chain spaces, only place 3 htr.
Note: There are no chains between the non-corner spaces, making the granny square compact for better coverage.
- Repeat until your square is approximately 6 inches wide (8 rows). Cut yarn and weave in ends.
Step 2: Crochet Half-Granny Squares
For the upper section (near the waist), you will also need 6 half-granny squares. These are made as follows:
- Foundation:
- Start with a slip knot.
- Chain 4 and slip stitch back into the last chain to form a circle.
- Row 1:
- Chain 2, place 1 htr in the circle.
- Chain 1, place 3 htr, chain 1, and place 2 htr to complete the row. Fasten off and cut yarn.
- Adding New Rows:
- Attach a new color.
- Begin with a chain 2, place 1 htr into the first space.
- Follow the same granny square pattern:
- Corners get: 3 htr, Chain 1, 3 htr.
- Edges get 3 htr each.
- Remember: The rows build evenly to maintain the triangular shape.
- Repeat Rows until the half-granny square is appropriately sized to fit the shorts (matching the height of your full squares). In the tutorial, there were generally 8 rows for half-granny squares.
Step 3: Assembling the Shorts
- Joining Full and Half Squares for the Waist and Hips:
- Lay out 6 full squares and 6 half squares to form a rectangular section that will fit your hips.
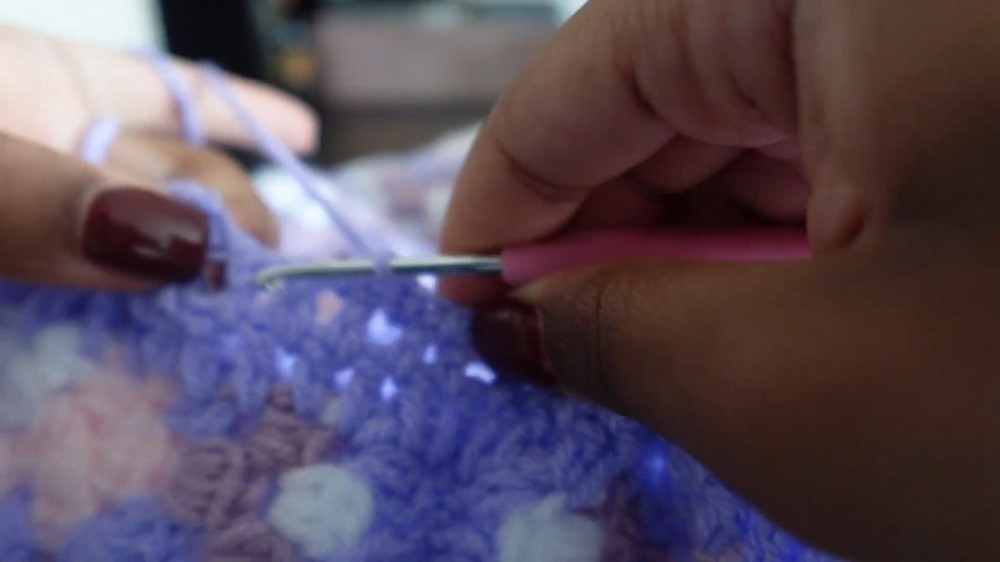
- Ensure all squares are the right side up (check that edges flick up slightly).
- Place squares together (right sides facing each other), and join them by slip stitching through the front loops only of each stitch on the edges of the squares.
- Repeat the process to join all squares together into a rectangle.
- Joining Full Squares for the Legs:
- Make 2 sets of 4 squares (4 squares per leg).
- Join squares in the same manner as above.
- Connecting the Legs to the Waist:
- Align the leg panels with the bottom of the waist rectangle and attach them using slip stitches (front loops only) for consistent seams.
- For the crotch seam, join the inner edges of both leg pieces with slip stitches.
Step 4: Finishing Details
Waistband:
- Add Double Crochet Rounds:
- Start at the top of the shorts.
- Work 2 rounds of double crochet along the waistband area, placing stitches evenly.
- Attach Elastic:
- Cut elastic to your waist size, then tie it securely in a loop.
- Sew or slip stitch the elastic along the waistband (every 2-3 stitches).
- Cover Elastic:
- Work a row of single crochet over the elastic to encase it fully.
Drawstrings:
- Chain approximately 200 stitches (or longer for customization).
- Weave the chain through the top row of the waistband for a decorative tie.
Step 5: Weaving in Ends & Fixing Gaps
- Use a tapestry needle to weave in loose ends and secure knots.
- If any gaps form around the seams, turn the shorts inside out and sew them closed by weaving stitches in a circular motion inside the fabric.
Notes:
- Always block your granny squares before assembling for more precise seams.
- The shorts might stretch due to the nature of granny squares, so make them slightly smaller than your exact measurement for a snug fit.
- If desired, wear a pair of shorts underneath for better coverage.