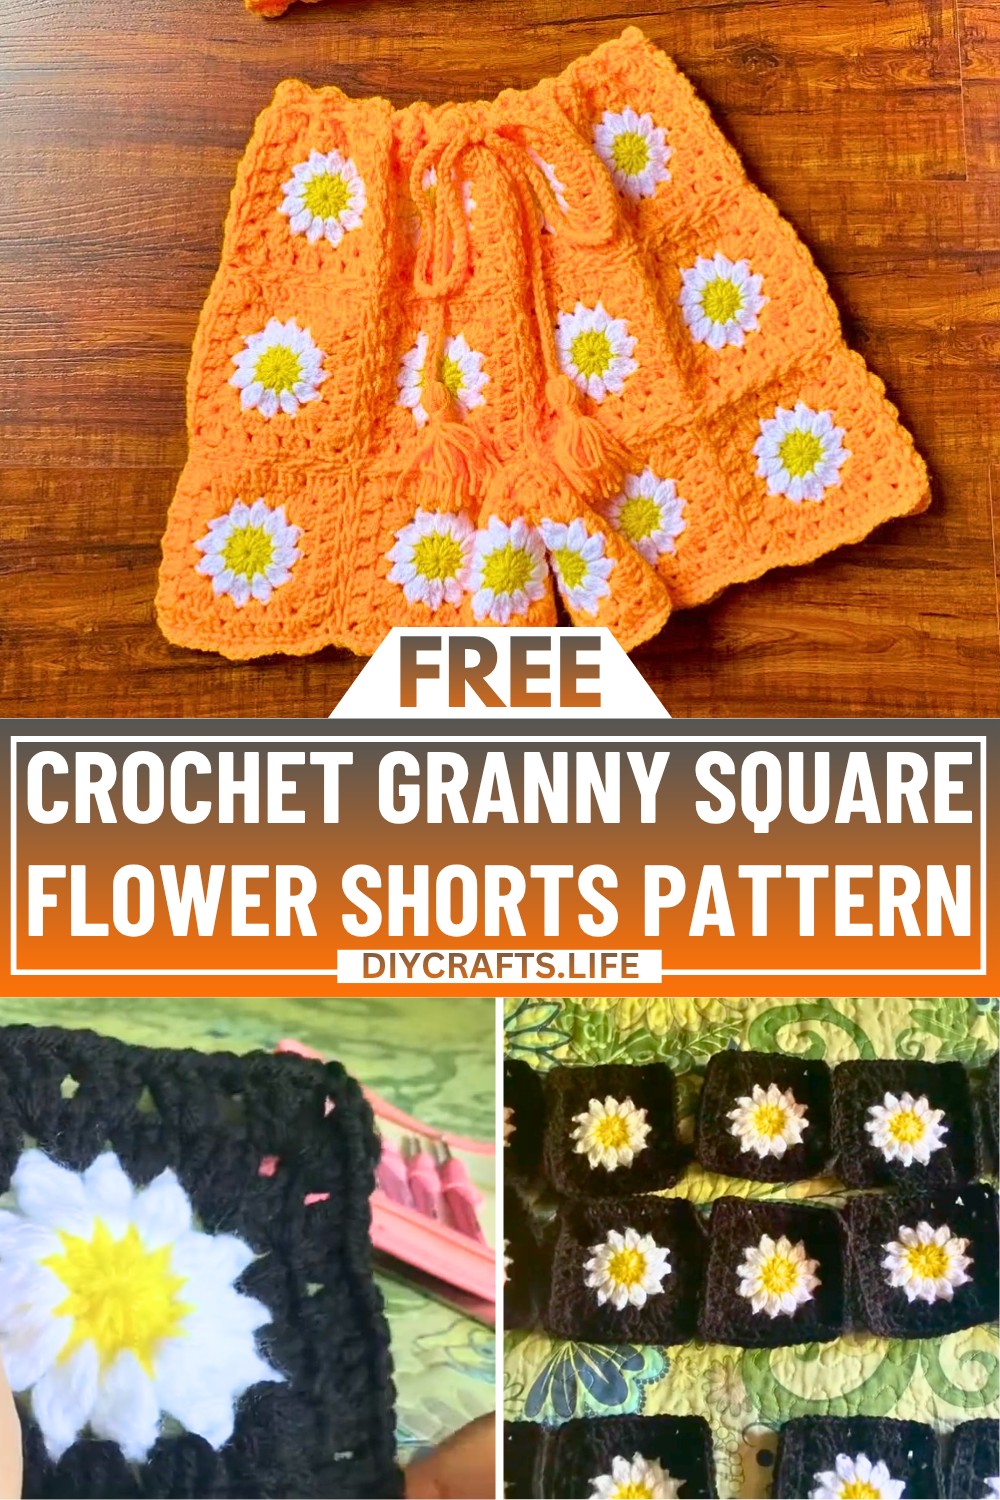
Crochet Flower shorts are a beautiful and playful piece of clothing that can brighten up your wardrobe. Made with eye-catching granny squares featuring floral designs, they’re perfect for hot summer days, lounging at home, or even as a fun festival outfit. Simple yet bold, these shorts stand out with their unique colors and patterns.
Granny Square Flower Crochet Shorts
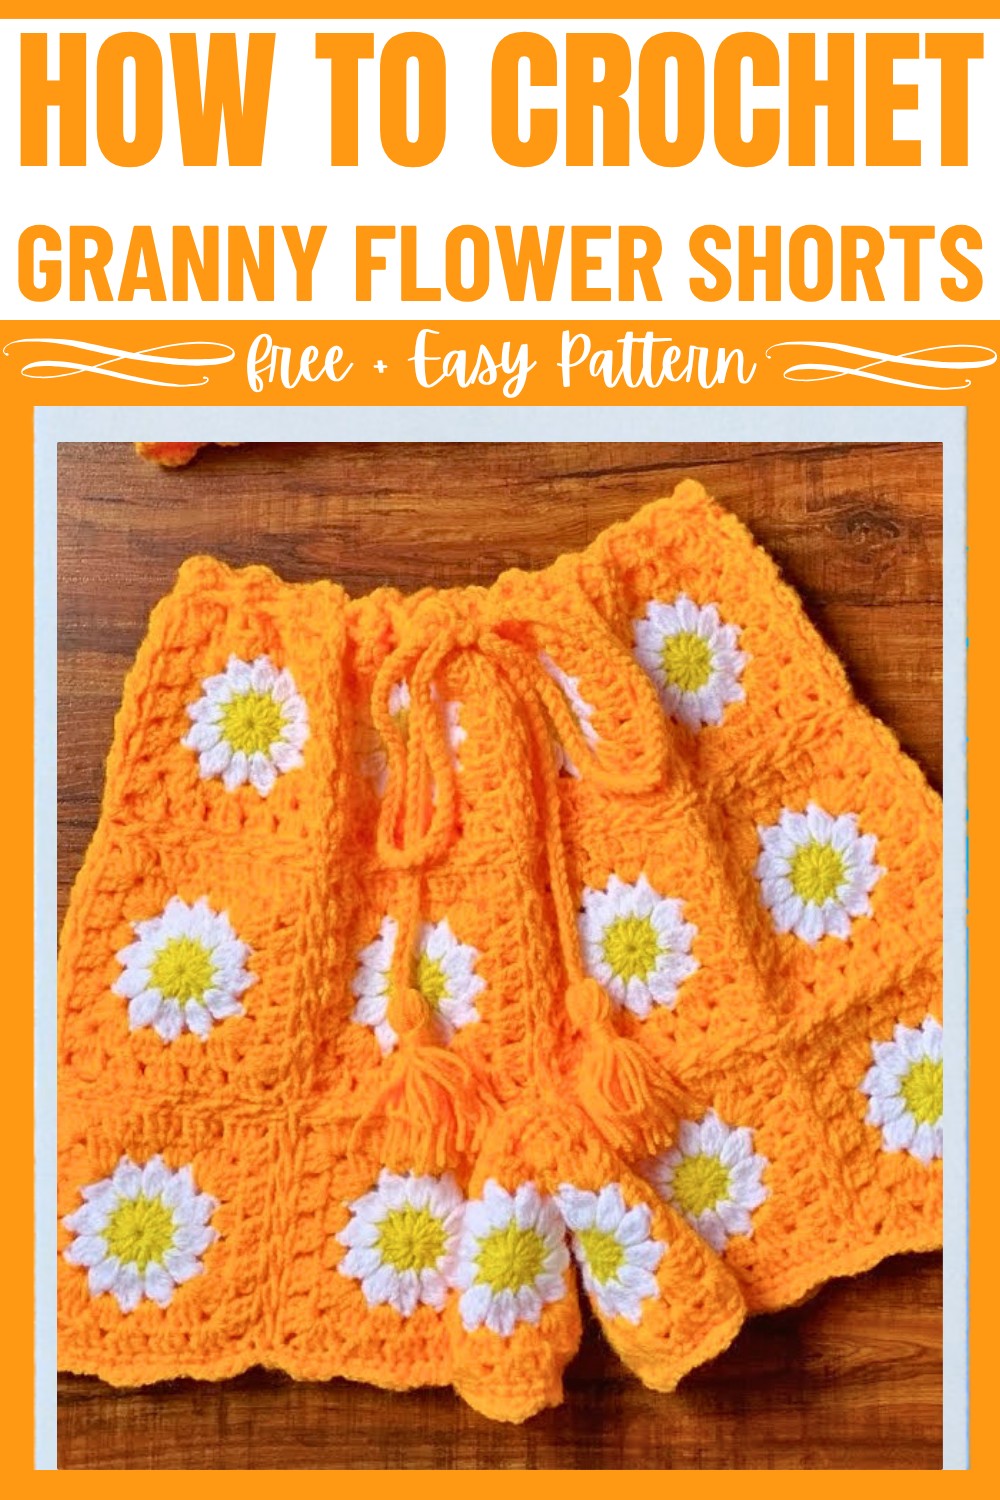
What makes these crochet shorts special is not only their stylish look but how they’re created. By joining multiple colorful squares together, you can form a lightweight and breathable design that’s both comfortable and flattering. These shorts also feature a handy drawstring waist that you can adjust to your size for the perfect fit.
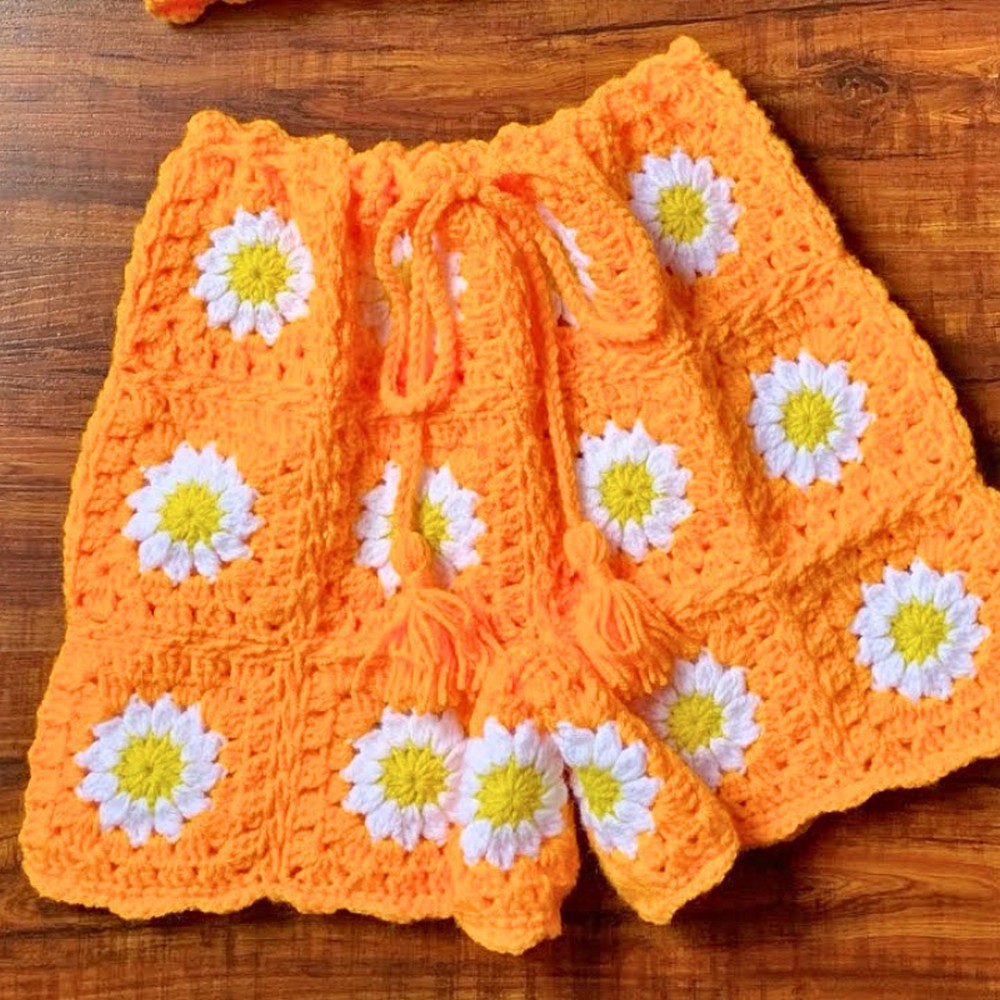
You’ll get to mix and match yarn colors of your choice, adding a personal touch to your creation. Whether you stick to the tutorial's yellow, white, and black "daisy" theme or pick your own palette, the result is always exciting. Crochet beginners and enthusiasts alike will enjoy creating this wearable masterpiece that’s as fun to make as it is practical to use.
Credit WildxDandi Crochets
Materials & Tools Needed
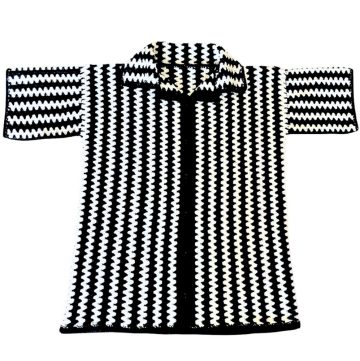
- Yarn: Medium-weight yarn (Three colors are suggested: yellow, white, and black. The colors replicate a daisy-like pattern with black as the primary color.)
- Recommended Yarn: Red Heart Super Saver (or similar).
- Hooks:
- 4mm Crochet Hook (for the granny squares).
- 5mm Crochet Hook (for the string/tie).
- Scissors: For trimming excess yarn.
- Tapestry Needle: For weaving in ends.
- Yarn Guide (Optional): To reduce tension and prevent burns during crocheting.
Finished Size & Customization Ideas
- Sizes:
- The tutorial covers sizes ranging from XS to XL.
- Adjust the number of granny squares based on size:
- XS: Fewer squares.
- XL: More squares.
- Customize layout for even or odd-numbered square counts to balance the design.
- Square Distribution (Example for Size Small):
- Waist and Hip: Two rows of six squares each (12 squares).
- Short Leg Panels: Two rows of two squares each (4 squares).
- Customization Ideas:
- Use different color combinations for unique designs.
- Add additional borders or embellishments to the granny squares.
- Make the drawstring longer or shorter depending on desired tie length.
Pattern Abbreviations & Terminology
The pattern uses US crochet terminology:
- ch: Chain
- sl st: Slip Stitch
- sc: Single Crochet
- hdc: Half Double Crochet
- dc: Double Crochet
- ch-sp: Chain Space
- yo: Yarn Over
- beg: Beginning
- st(s): Stitch(es)
Step-by-Step Detailed Crochet Instructions
Below is the breakdown of the Flower Granny Squares, Joining the Squares, Shaping the Shorts, Adding Borders, and Creating the Drawstring, all as per the tutorial.
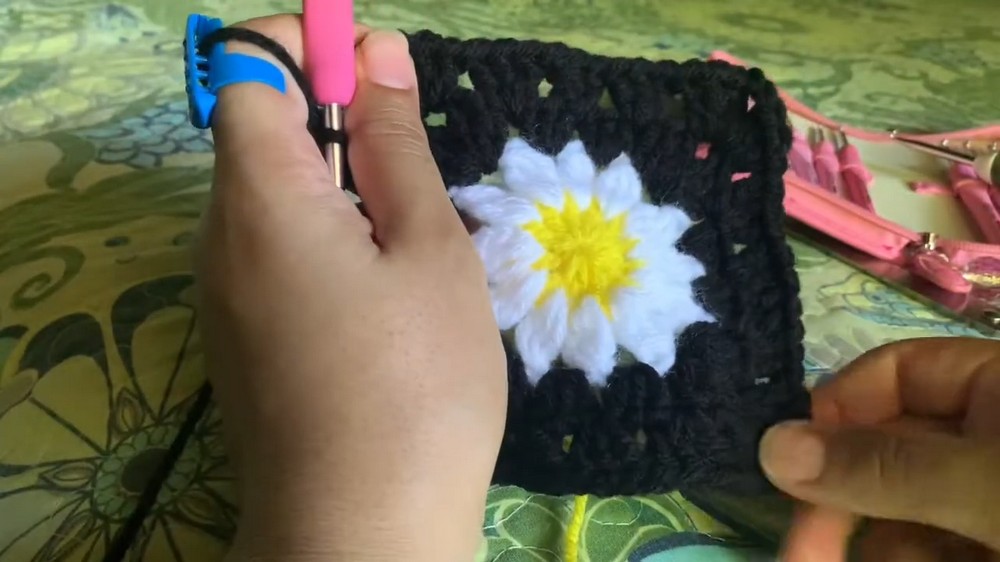
1. Flower Granny Squares
Each square consists of three rounds: Yellow center, White petals, and Black border.
Round 1 (Yellow Center)
- Start with a magic circle.
- Chain 3 (counts as the first dc of the round).
- Make 11 double crochets into the magic circle.
- Pull the circle tightly closed (no hole should be visible).
- Slip stitch into the top of the chain-3 to join, and chain 1 to fasten off.
- Stitch Count: 12 dc in total.
Round 2 (White Petals)
- Attach the white yarn to any space between stitches in Round 1.
- Chain 3.
- Make 2 dc into the same space. Yarn over and pull through all loops (cluster stitch).
- Chain 2. Skip to the next space and repeat:
- Cluster of 3 dc, chain 2, all the way around.
- Slip stitch into the top of the 1st cluster to join. Chain 1 and fasten off.
- Stitch Count: 6 clusters with 2 ch spaces between each.
Round 3 (Black Border)
- Attach black yarn to any ch-sp from Round 2.
- Make 3 hdc into the first ch-sp. In the next ch-sp, make 3 hdc.
- At the first corner ch-sp:
- Make 3 dc, chain 2, 3 dc (corner created).
- Continue:
- 3 hdc into ch-sp → Corner (3 dc, ch 2, 3 dc) → repeat pattern around.
- At the first corner ch-sp:
- Slip stitch to join to the first hdc.
- Chain 1 to fasten off.
- Final Shape: A square with distinct corners.

2. Number of Granny Squares
| Size | Number of Squares | Notes |
|---|---|---|
| Extra Small | Fewer squares | Adjust placement for a narrower waist. |
| Small | 20 squares | Place in 4 sections: 2 rows of 6 squares (waist), 2 rows of 4 squares. |
| Medium | 22–24 squares | Ensure proportional placement for an even look when worn. |
| Large | 26+ squares | Increase rows to make the shorts wider and larger. |
| Extra Large | 30+ squares | Balance waist and leg placement. |
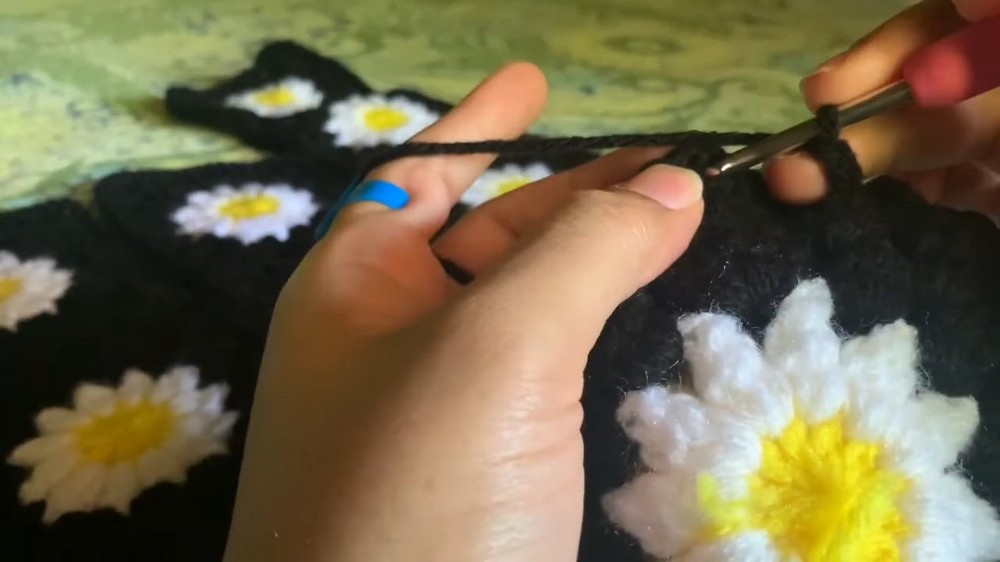
3. Joining the Squares
- Flat Stitch Join:
- Place two squares right sides together.
- Insert your hook into both corner chains (first square and second square).
- Slip stitch to join and fasten it off.
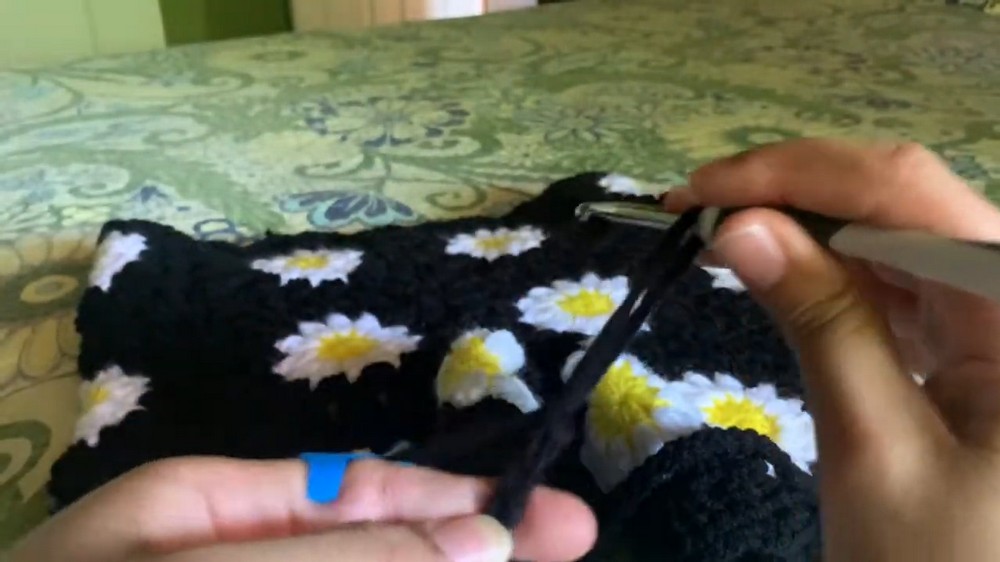
- Add Space Between Joins:
- Chain 3 after joining two spaces to give a breathable look (
in → out → in → outmethod).
- Chain 3 after joining two spaces to give a breathable look (
- Repeat this process row by row until all rows are complete and ready to shape into shorts.
4. Shaping the Shorts
- Create the Leg Holes:
- Fold the connected squares to create the shorts structure. Align the squares for symmetry.
- For the crotch area, join 1 square’s side from the left row to the right row.
- Join circularly around each leg opening to close the tubes.
5. Adding Borders
- For each leg hole and waistband:
- Row 1: Single crochet around (1 sc in each stitch, and 1 sc on both sides of joins).
- Row 2 (Lace Edge):
- Single crochet into a stitch.
- Next stitch: 2 hdc.
- Next stitch: Single crochet.
- Slip stitch into next 2 stitches.
- Repeat for a scalloped edge.
6. Creating the Drawstring
- Using the 5mm hook and two strands of yarn:
- Chain 150–200 (depending on desired length).
- Leave about 5–6 inches on both ends for tassels.
- Thread the drawstring:
- Start at the front-center ch-2 space. Weave in and out through the waistband.
- Make Tassels:
- Cut 8 strands of yarn (4 per tassel). Wrap and secure to both ends of the drawstring.
Finishing Techniques
- Weave in all ends: Use a tapestry needle to tuck loose yarn into seam stitches for a clean finish.
- Trim excess yarn: Clean up loose or uneven tassel ends.
- Block the shorts: If the shape feels uneven, lightly dampen and block them to align the granny squares.
Final Note
Follow the size chart adjustments for custom measurements and always focus on the front panel for alignment. Experiment with colors for a unique design!