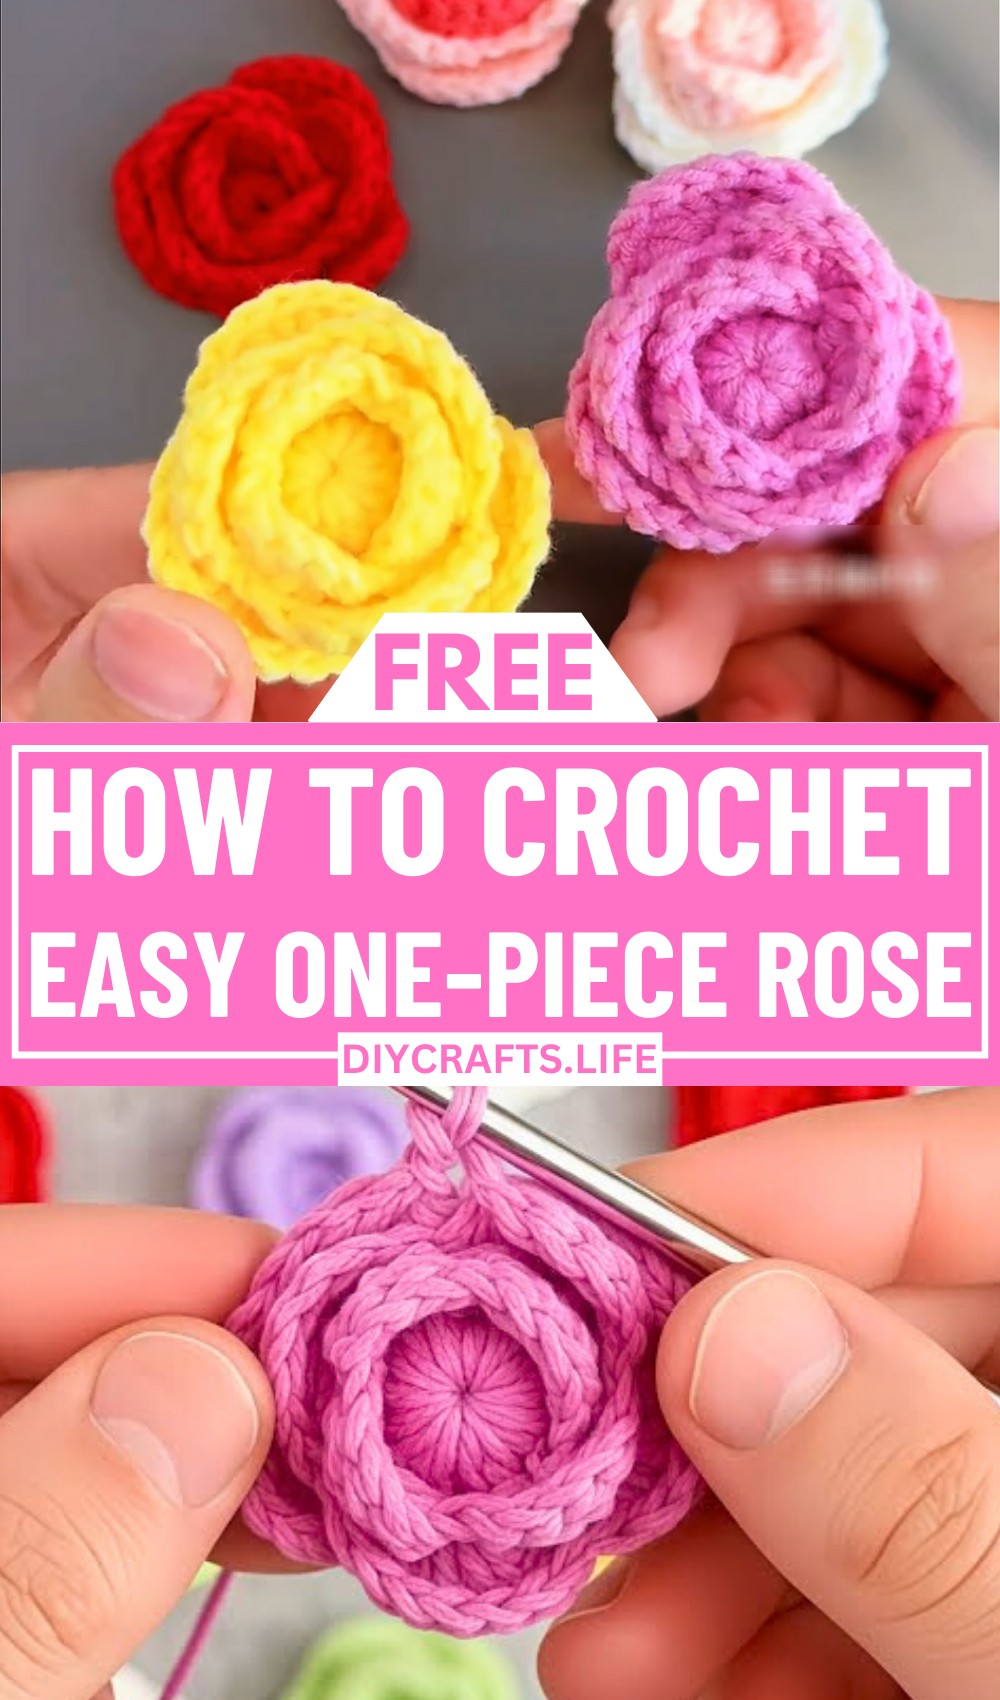
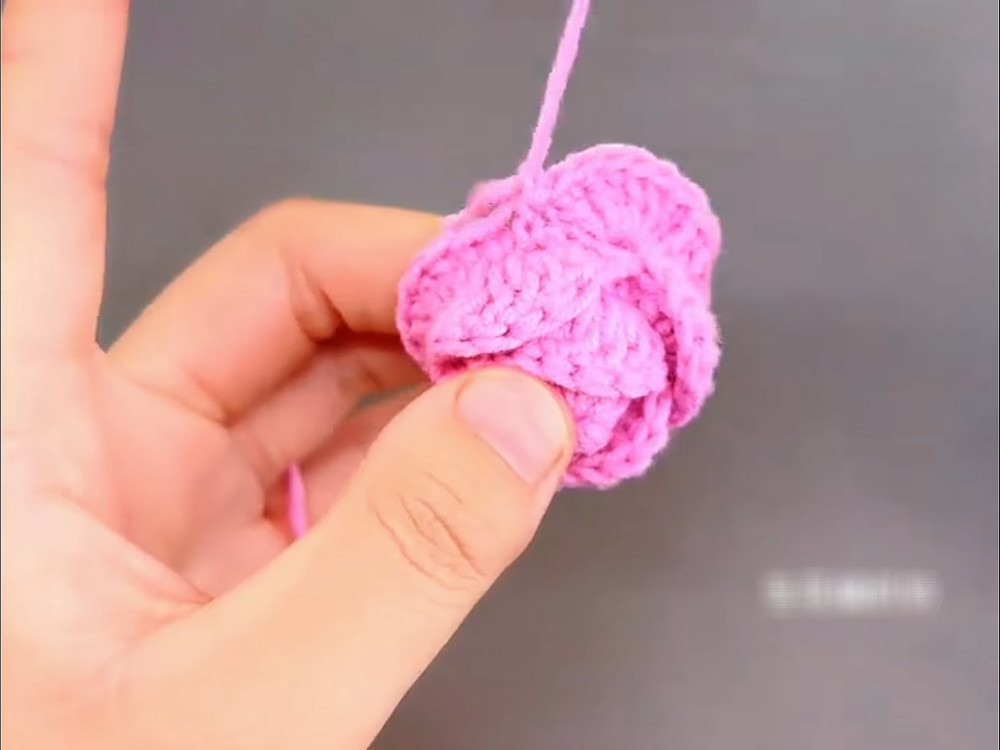
A crochet masterpiece begins with a single loop—a delicate one-piece rose that speaks of elegance and simplicity. Whether you’re crafting a breathtaking centerpiece or adding an extra touch of charm to your projects, this design blooms effortlessly in style. With its layered petals and captivating texture, this one-piece creation adds finesse to your craft in a way that feels both timeless and modern.
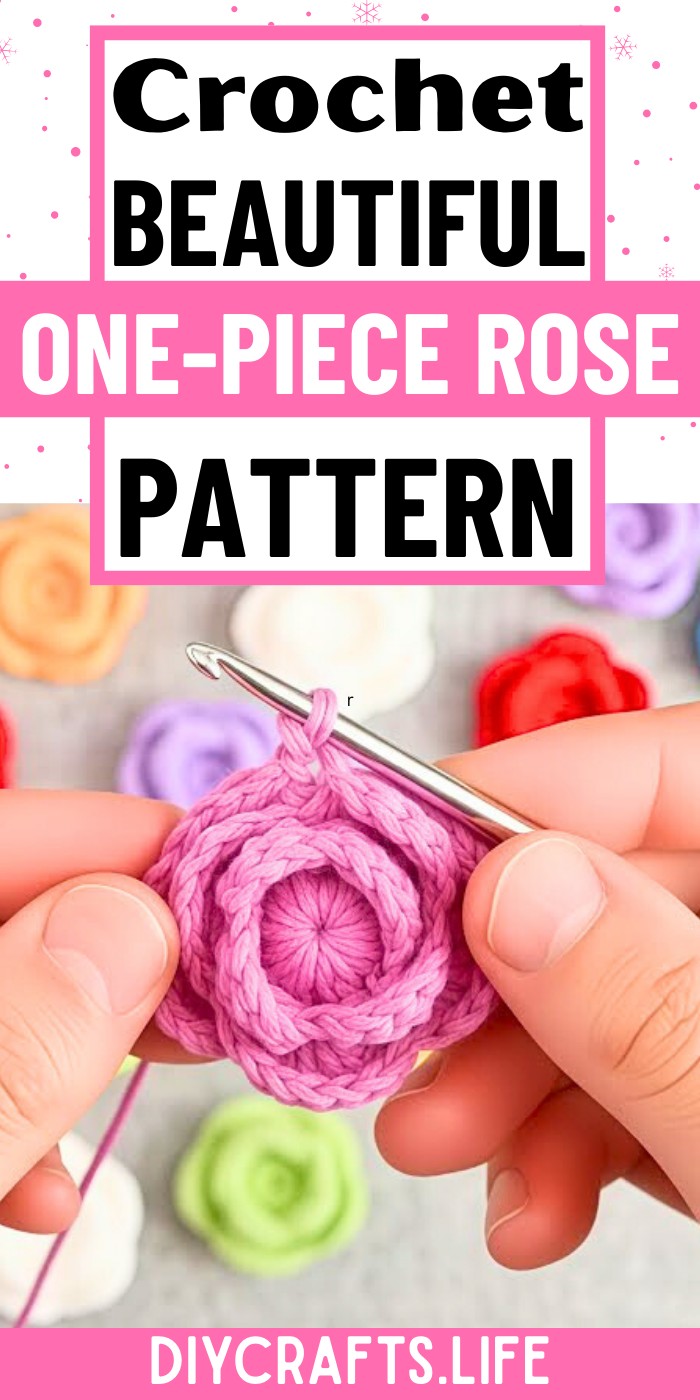
One-Piece Crochet Rose
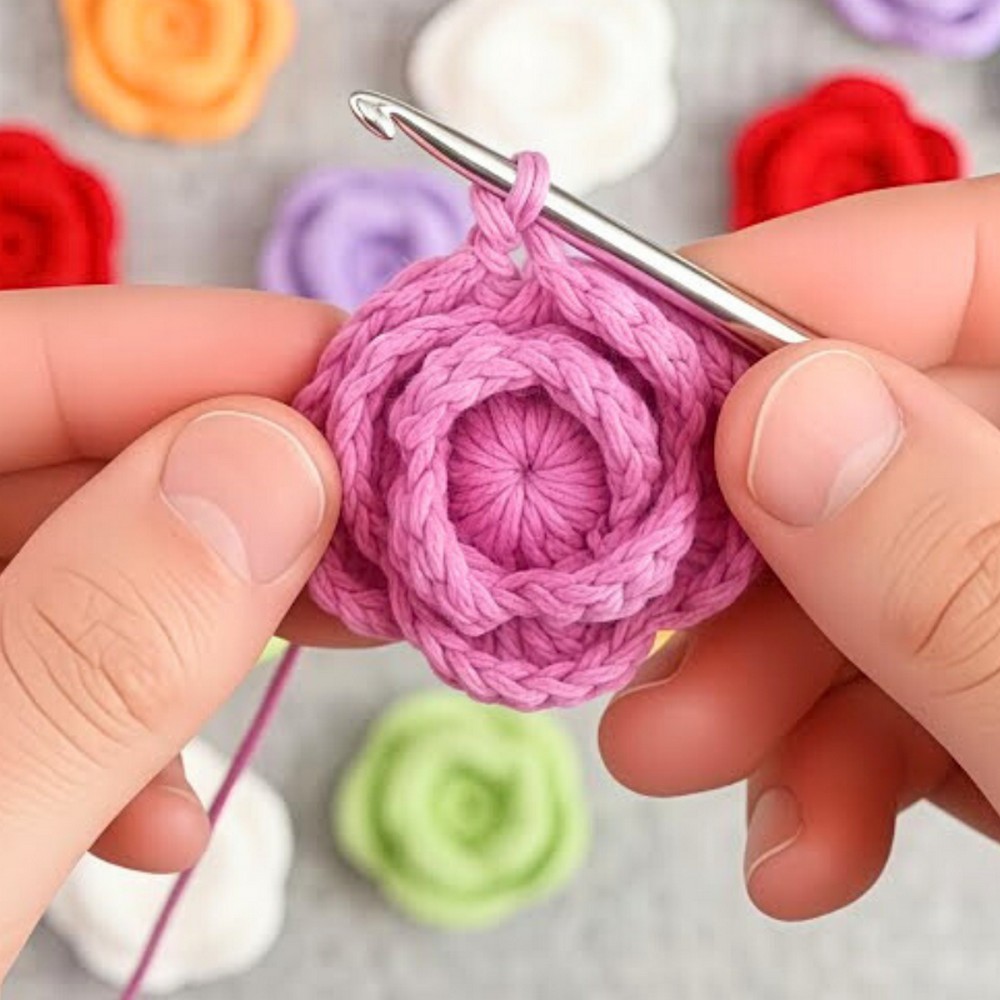
This crochet rose is more than just a flower; it’s an embodiment of thoughtful creativity. Designed to naturally overlap its petals and give a beautiful layered effect, its center rises gracefully, adding dimension and depth. Using gradient yarns or sticking to a solid hue allows endless customization possibilities. Whether stitched onto a blanket or showcased on accessories, its versatility makes it a true standout in your collection.
Credit Xúy Crochet
Materials & Tools Needed
To create your One-Piece Crochet Rose, you'll need:
- Yarn:
- 4-ply yarn is used in the tutorial to achieve delicate and defined petals.
- For variation, experiment with different weights of yarn to achieve larger or smaller roses.
- Hook:
- A 2.5mm crochet hook (as demonstrated in the pattern) for a tight and neat finish.
- Adjust the hook size to match your yarn or achieve the desired texture.
- Optional Supplies:
- Scissors to cut the yarn.
- Yarn needle to weave in ends or attach the rose to another project (like blankets or accessories).
Finished Size & Customization Ideas
- Approximate Finished Size:
- Using 4-ply yarn and a 2.5mm hook, the rose is small, approximately 2–3 inches in diameter, depending on your tension.
- Customization Ideas:
- Changing Yarn Weight: Thicker yarn (e.g., bulky) will produce larger roses, while thinner thread (e.g., lace or cotton) will result in delicate, smaller roses.
- Color Personalization: Use gradient or multicolored yarn for a seamless color-change effect or switch yarn colors between layers for a more vivid, multi-toned rose.
- Layer Adjustment: Add or reduce petal layers for varying fullness.
- Multiple Uses: This rose can be sewn onto hats, blankets, scarves, headbands, or even jewelry for embellishment.
Pattern Abbreviations & Terminology
This tutorial uses U.S. terminology. Below are the common abbreviations:
- ch: chain
- dc: double crochet
- sc: single crochet
- slst: slip stitch
- st: stitch
- magic ring: magic circle (a technique to begin crocheting in the round).
Step-by-Step Detailed Crochet Instructions
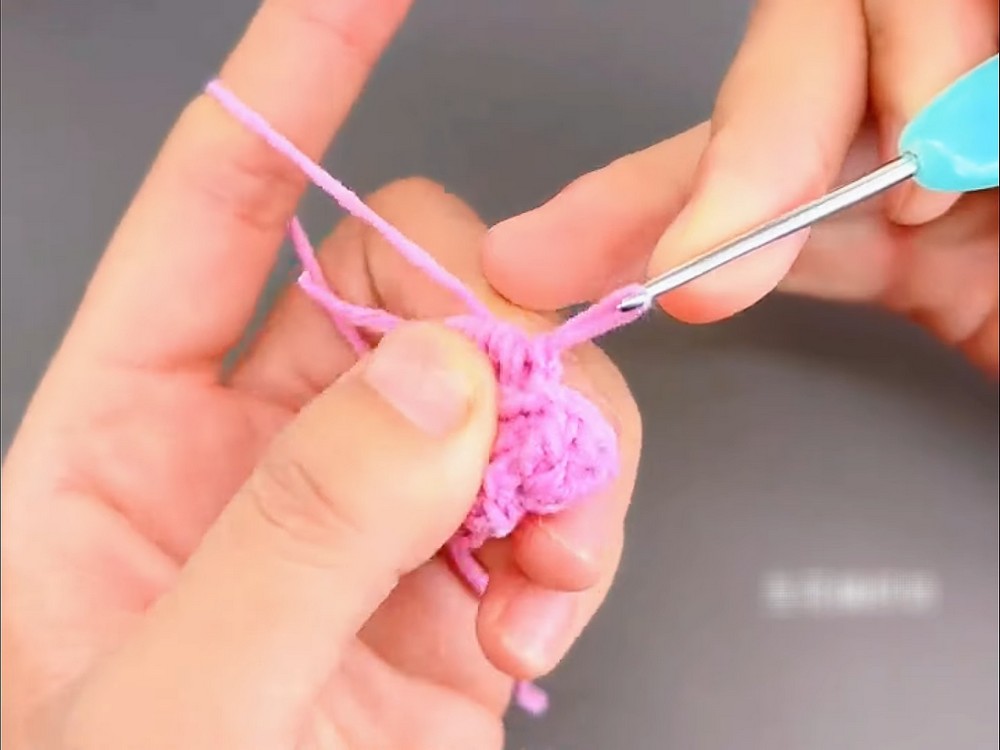
Foundation Round
- Start with a Magic Ring:
- Insert your hook into the ring, pull up a loop, and chain (ch) 3 (this does not count as a stitch).
- Work 12 dc into the magic ring:
- Yarn over, insert the hook into the ring, pull yarn through, yarn over, pull through two loops, and then pull through the remaining two loops. Repeat this to create 12 double crochet stitches in total.
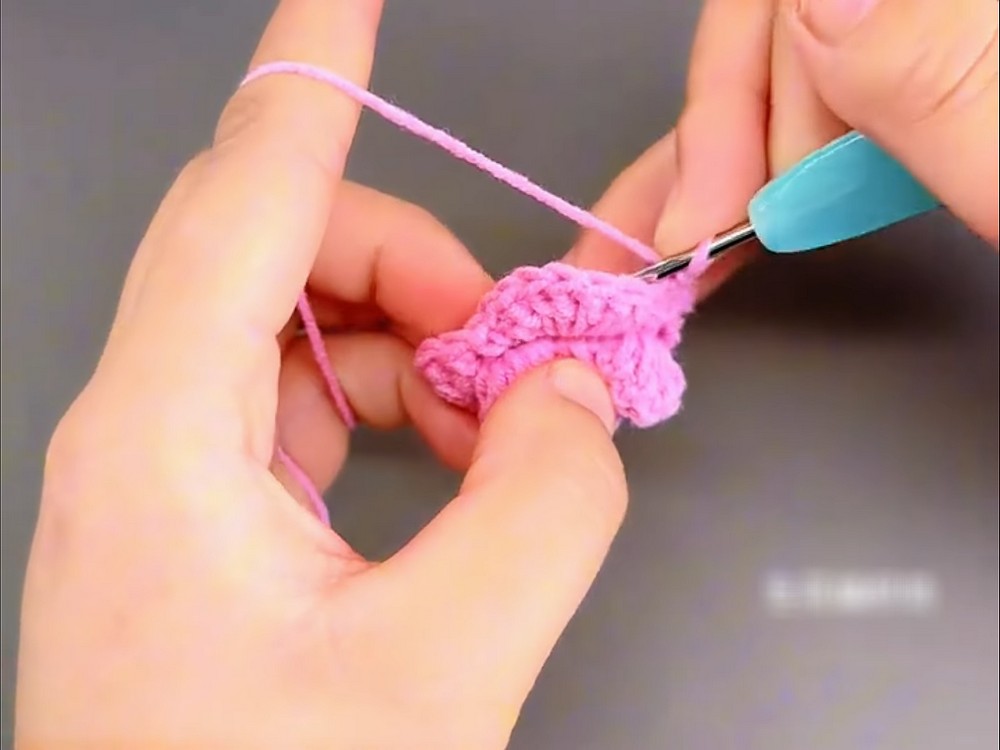
- Close the Round:
- Pull the Magic Ring tight to close the center.
- Join with a slip stitch (slst) into the first actual dc stitch (not the ch3).
Round 2: Setting Petal Framework
- Create Chain Loops:
- Chain 1. Into the same stitch (where the slst was made), work 1 sc.
- Chain 2, skip the next stitch, and work 1 sc into the third stitch.
- Repeat this pattern (ch2, skip one, sc into the next) around the circle.
- Finish the Round:
- After your last chain 2, skip one stitch and join with a slst into the first single crochet.
- You will now have 6 chain spaces.
Round 3: First Layer of Petals
- Begin Petals:
- Chain 1. Into the first chain space, work 1 sc.
- In the next chain space, work 5 dc, and then 1 sc into the next chain space.
- Repeat this sequence (1 sc into a space, 5 dc into the next) around for a total of 3 petals.
- Complete the Layer:
- Slip stitch into the first single crochet to close the round.
Round 4: Framework for Second Layer
- Prepare Chain Loops:
- Chain 1.
- (Optional) Change Yarn: If you’d like to use a second color, complete the slst in the new color.
- Insert your hook into the space underneath the first petal from Round 3. Work 1 slst, then chain 3.
- Mark Loop Spaces:
- Move to the next connecting point (underneath the next petal)—work 1 slst, chain 3.
- Repeat this around, creating 6 chain spaces.
- Finish the Framework:
- Join with a slst into the first chain space to close.
Round 5: Second Layer of Petals
- Petal Formation:
- Chain 1. Work 1 sc into the first chain space.
- Into the second chain space, crochet 7 dc.
- Continue the sequence (1 sc into a space, 7 dc into the next) for all 6 spaces.
- Finish the Layer:
- Slip stitch into the first sc to close the round.
Round 6: Framework for the Third Layer
- Chain Loops for Petals:
- Chain 1. Insert your hook into the left space underneath the second layer's petal.
- Slst, chain 4 (instead of 3). Continue working slst + ch4 around the petals, marking 6 spaces.
- Close the Round:
- After the last chain 4, slst into the first chain to finish.
Round 7: Third Layer of Petals
- Final Layer Petals:
- Chain 1. Work 1 sc into the first chain space.
- Into the second chain space, crochet 9 dc.
- Repeat the sequence (1 sc into a space, 9 dc into the next) for all 6 chain spaces.
- Complete the Rose:
- Once all petals are complete, slst into the first sc to finish.
- Chain 1 to secure, cut the yarn, and pull through the loop to fasten off.
- Tidy Up:
- Weave in any loose yarn ends with a yarn needle.
Final Touches
- The center of the rose naturally rises, giving it a beautiful three-dimensional finish.
- If attaching the rose to another project, leave a long yarn tail for sewing.
- Consider adding beads or pearls to the center for an extra embellishment.
Enjoy your One-Piece Crochet Rose! 🌹