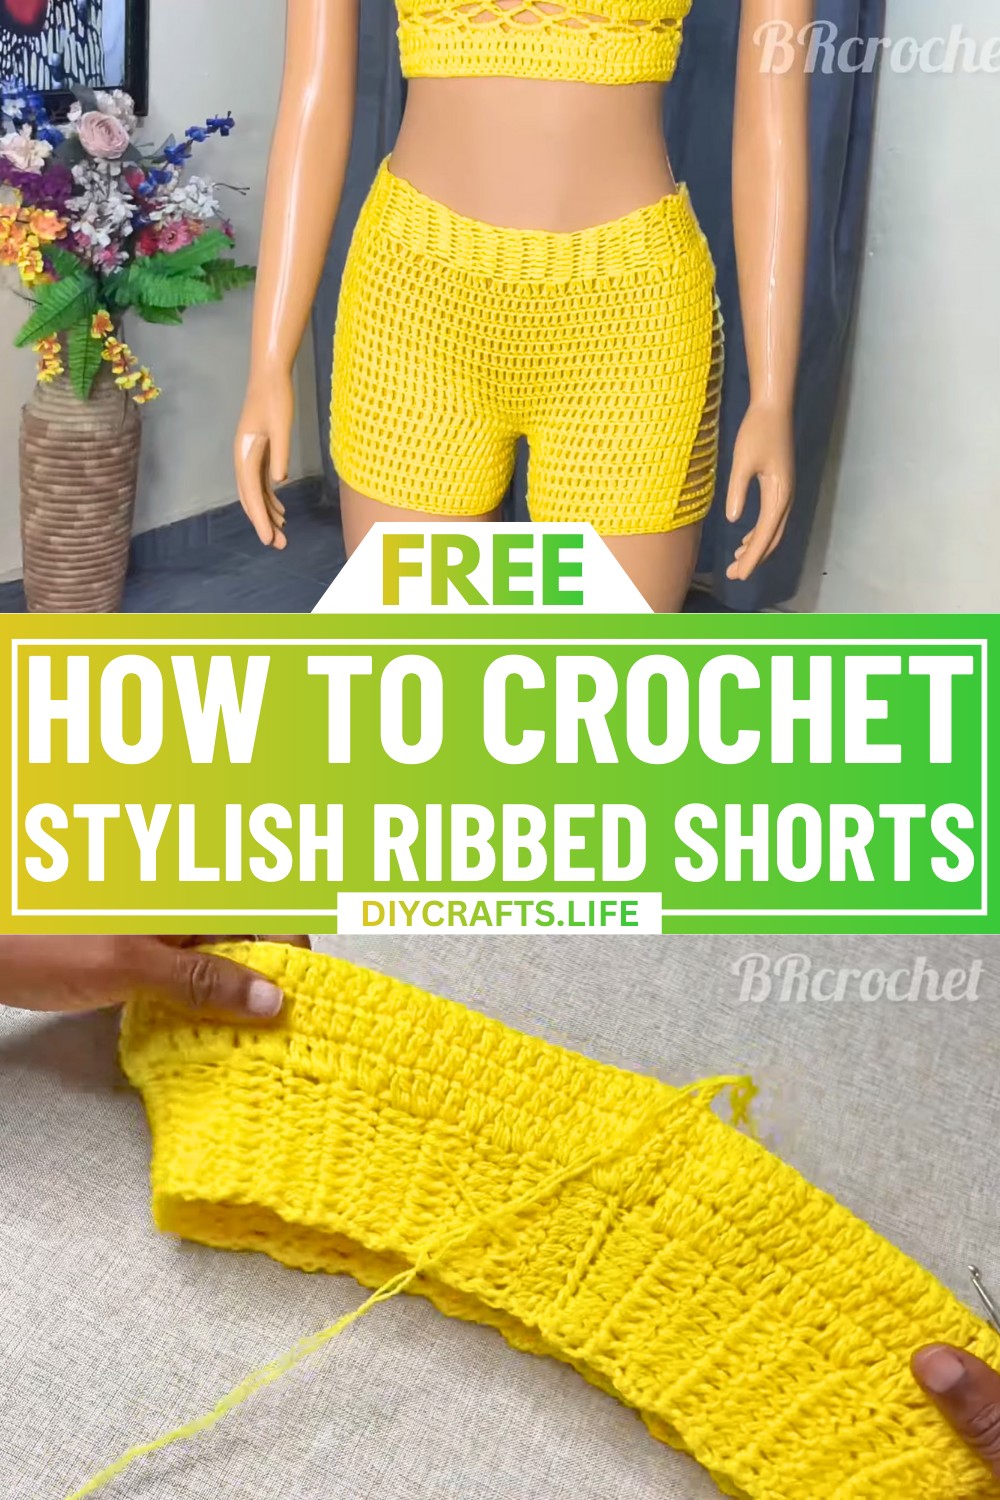
Transform your wardrobe with a crochet project that’s bold, fresh, and effortlessly stylish! These ribbed shorts are more than just an eye-catching piece; they embody comfort and creativity like never before. Perfect for anyone looking to craft a standout item that merges handmade charm with trendy design. Imagine showing off your craftsmanship while wearing something truly unique!
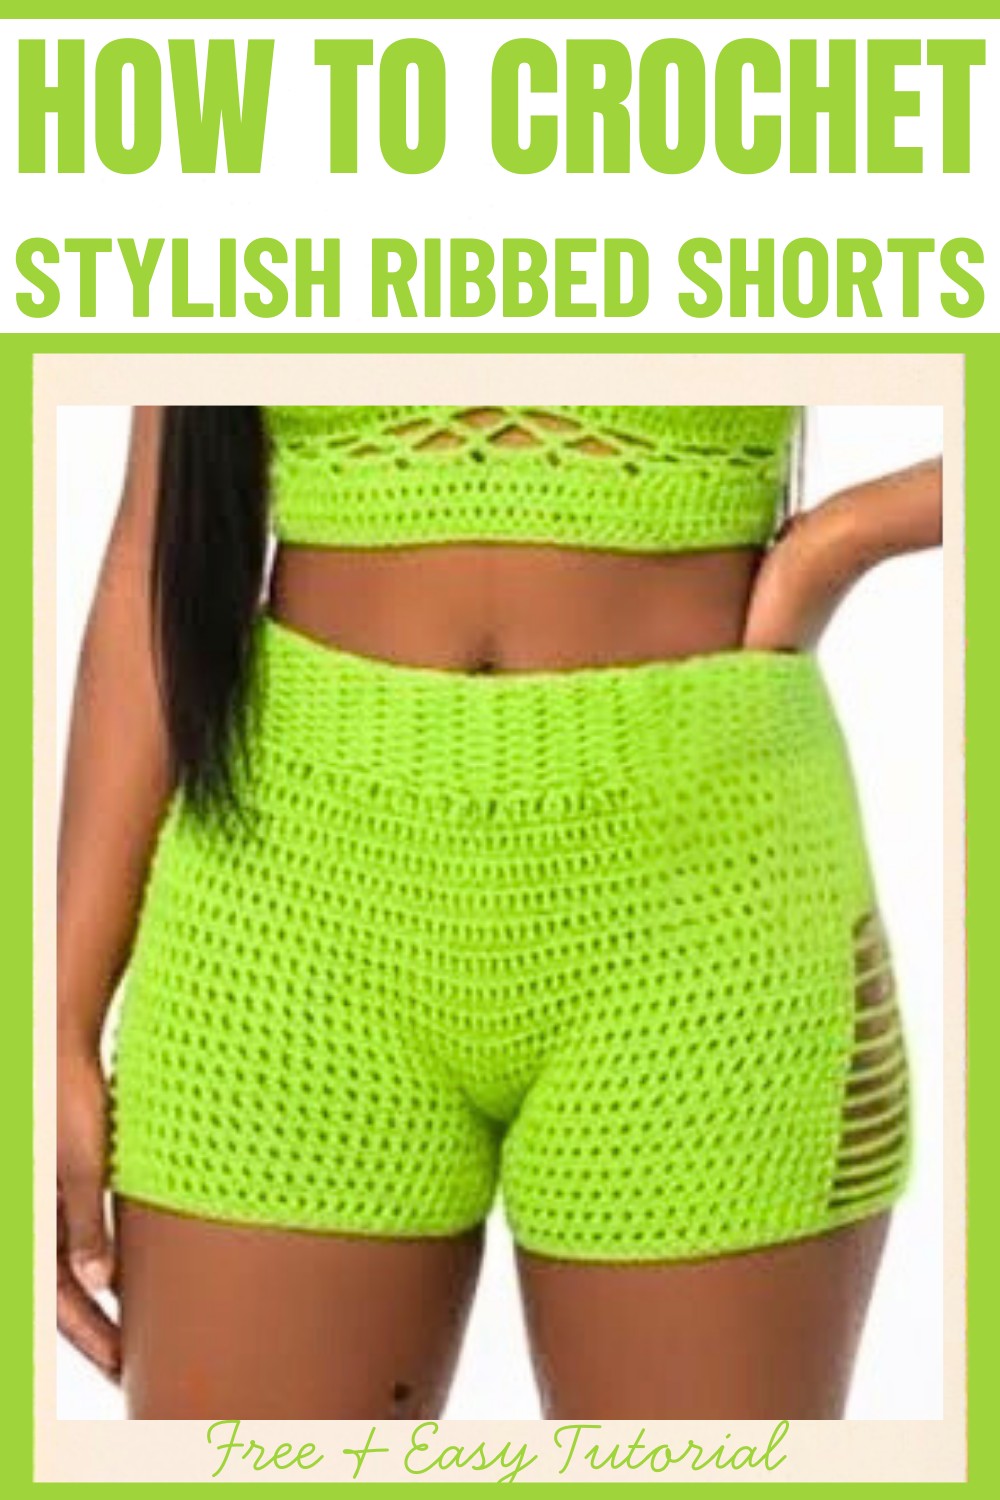
Ribbed Crochet Shorts Pattern
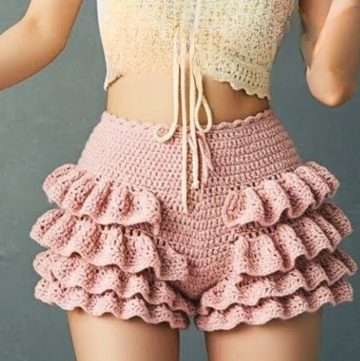
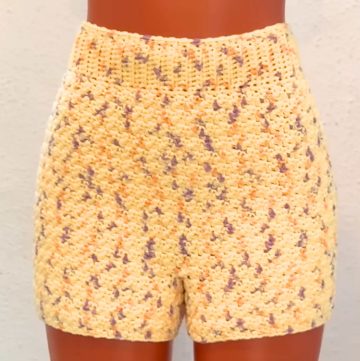
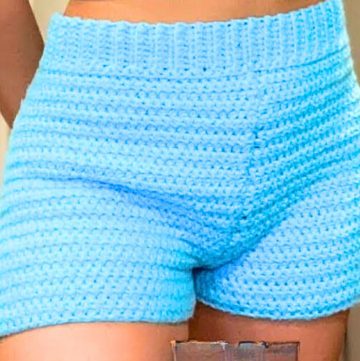
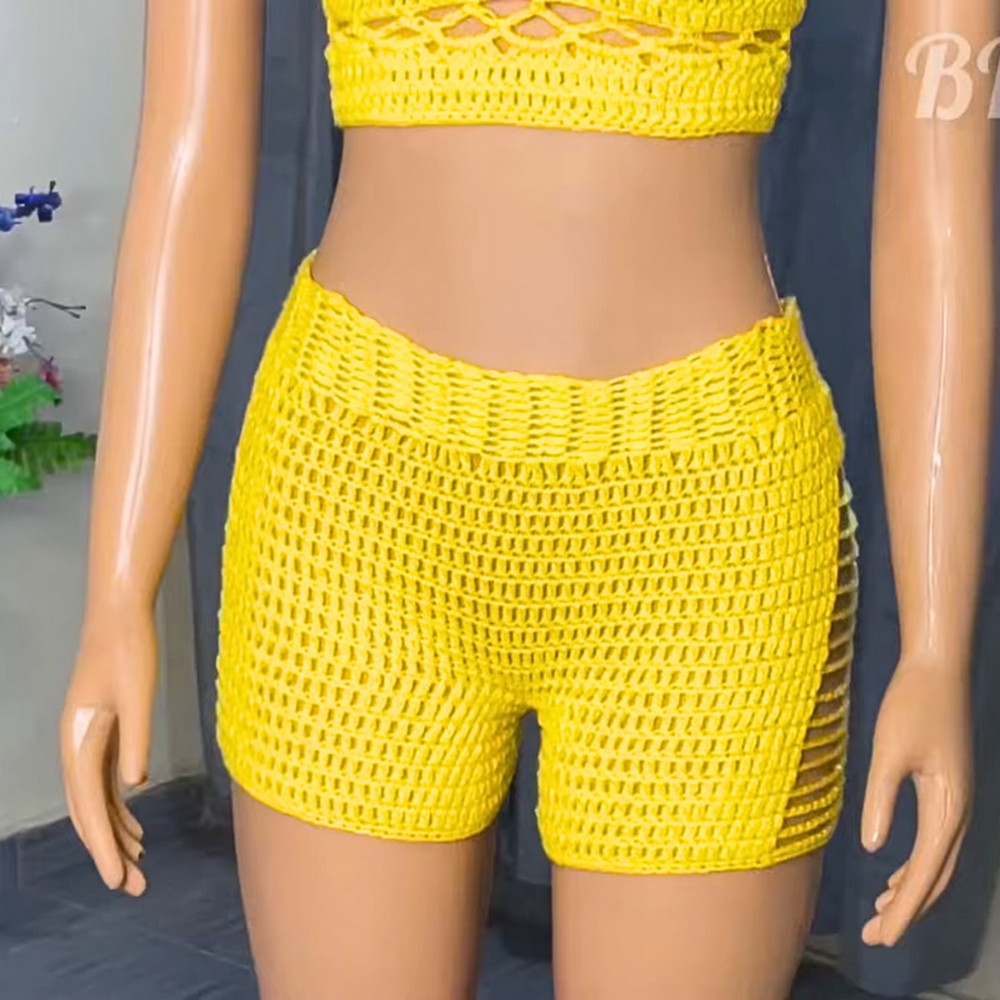
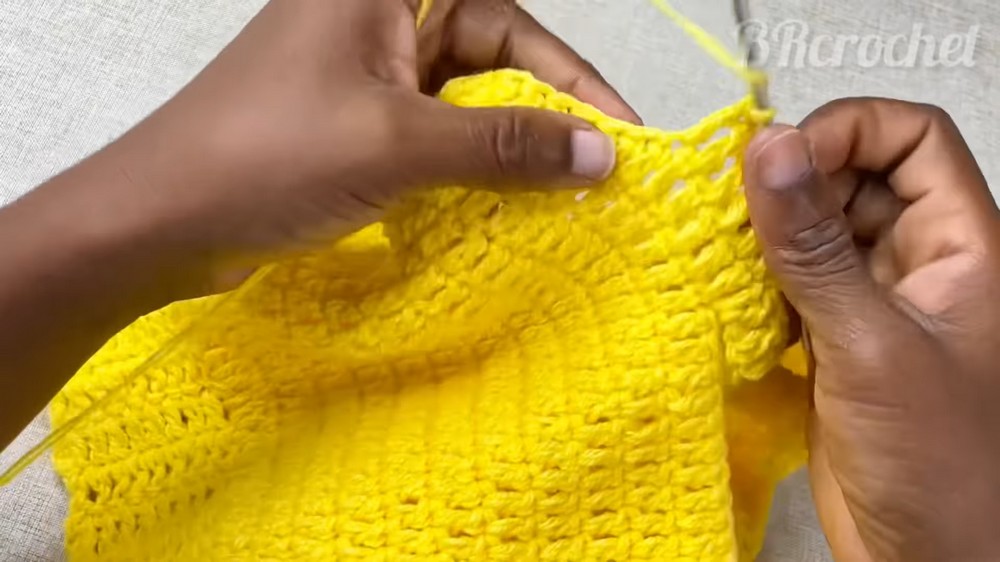
These ribbed shorts capture the essence of modern crochet design, blending texture with functionality. The pattern’s intricate ribbing creates a dynamic, breathable structure, making it ideal for warm days or layering with other outfits. The design stands out because it offers both a sleek, fitted style and a customizable touch, letting you express your signature aesthetic with your preferred yarn and color palette. Whether dressing up or staying casual, these shorts will redefine your creative wardrobe.
Credit BRcrochet
Materials Needed
- Yarn: Approximately 4 balls of yarn (40 g each).
- Crochet hook: 4 mm.
- Tape measure.
- Scissors.
- Stitch markers (6 pieces).
- Optional: Elastic thread or make a drawstring.
Step-by-Step Pattern
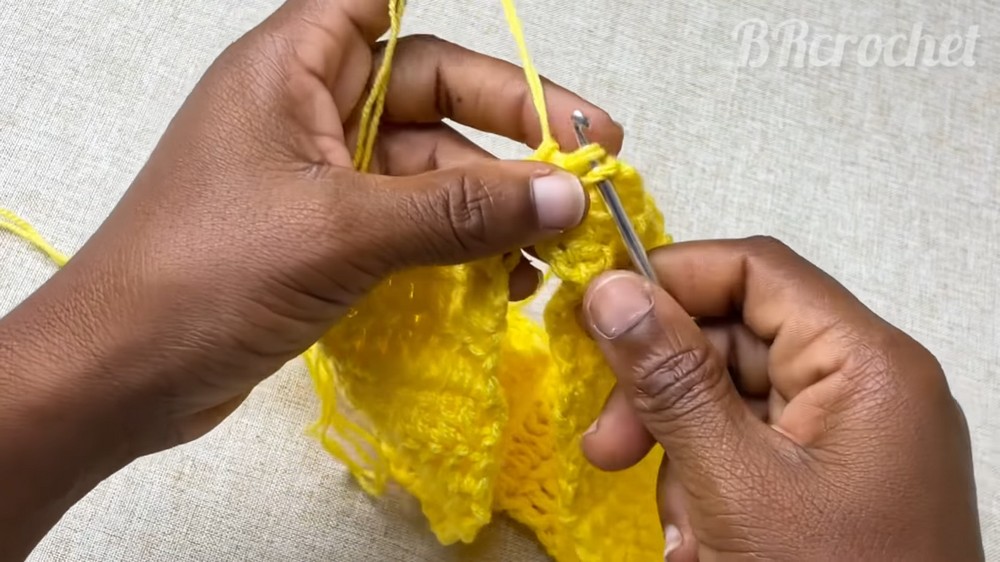
1. Create the Band
- Slip knot & chain foundation:
- Begin with a slip knot.
- Make a chain of 11 stitches.
- Double crochet in the chain:
- Skip the first 2 chains.
- Into the 3rd chain, make 1 double crochet (dc).
- Continue making 1 dc into each chain (you should have a total of 9 stitches in the row).
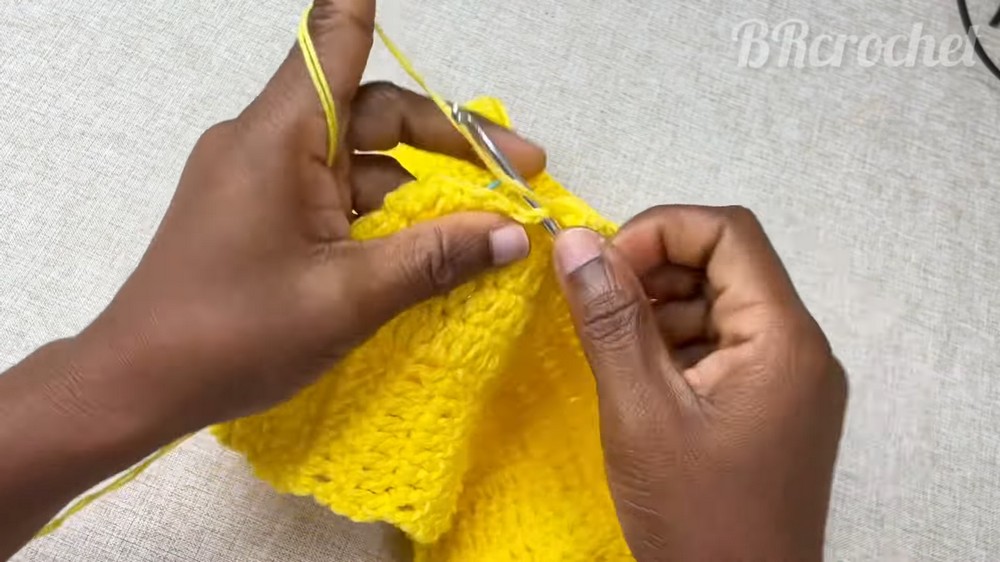
- Build the band:
- Chain 2, turn, and double crochet in every stitch across, maintaining 9 stitches per row.
- Repeat this pattern until your band has your desired waist measurement - 4 to 5 inches (accounting for stretch).
- Join the band:
- After achieving your desired length:
- Fold the band in half.
- Join it into a loop by making 1 double crochet into each stitch across the edges to connect.
- After achieving your desired length:
2. Start the Body of the Shorts
- Increase stitches for the main body:
- Chain 2.
- Into the first stitch, make 2 double crochets.
- Into every double crochet, make 1 double crochet.
- In the gaps (loops) between double crochets, make 2 double crochets.
- Continue alternating between "1 dc" and "2 dc" across the row.
- Build the shorts’ body:
- Continue crocheting 1 double crochet per stitch for 12-13 rows to form the top part of the shorts.
3. Divide for the Legs (Creating the Crotch Area)
- Mark stitch placement for the legs:
- Divide equally into two halves using stitch markers.
- Count 5 stitches from each side of the middle stitch and mark to leave space for the crotch area. You will have 10 stitches on each side.
- Form the leg holes:
- To create the leg openings:
- From 1 stitch marker to the other side, chain 10 (replacing the crotch stitches).
- Slip stitch to the opposite side to join with the next section and begin working on one leg.
- To create the leg openings:
- Increase leg length:
- Make 7-8 rows of 1 double crochet in each stitch and include chain 10 for the middle crotch area where required.
- Repeat the same process for the second leg.
4. Create the Edging
- Single Crochet for Finishing:
- After completing the legs, add a finishing row of single crochet stitches around the edges of both leg openings.
5. Add the Drawstring (Optional)
- Create a long chain for the drawstring that can go around the waist.
- Insert the drawstring into the turning loops of the waistband using a hook.
Size Adjustments
- For a bigger size (medium or large):
- Adjust waist length and leg width by increasing the chain stitches and rows around the crotch or waistband.
- Increase in increments of 2–3 stitches per row as necessary.
Measurements Reference (Small Size)
- Waistband: ~23 inches (stretches up to 28 inches).
- Crotch area: 9.5 inches (stretches to 12 inches).
- Leg hole width: 7.5 inches on each side.
- Full shorts length: 11 inches (total).
Finishing Notes
- Remove all stitch markers once done.
- Ensure sides and crotch areas are straight and aligned.
- If elastic is preferred over a drawstring, secure it at the waistline.