Get ready to elevate your summer wardrobe with a crochet top that’s the perfect mix of elegance and sunshine-ready charm. This handmade design turns simplicity into style, featuring soft bamboo-cotton yarn that feels as good as it looks. Whether you're walking on the beach or heading to a brunch date, this top will be your favorite pick for embracing breezy summer vibes.
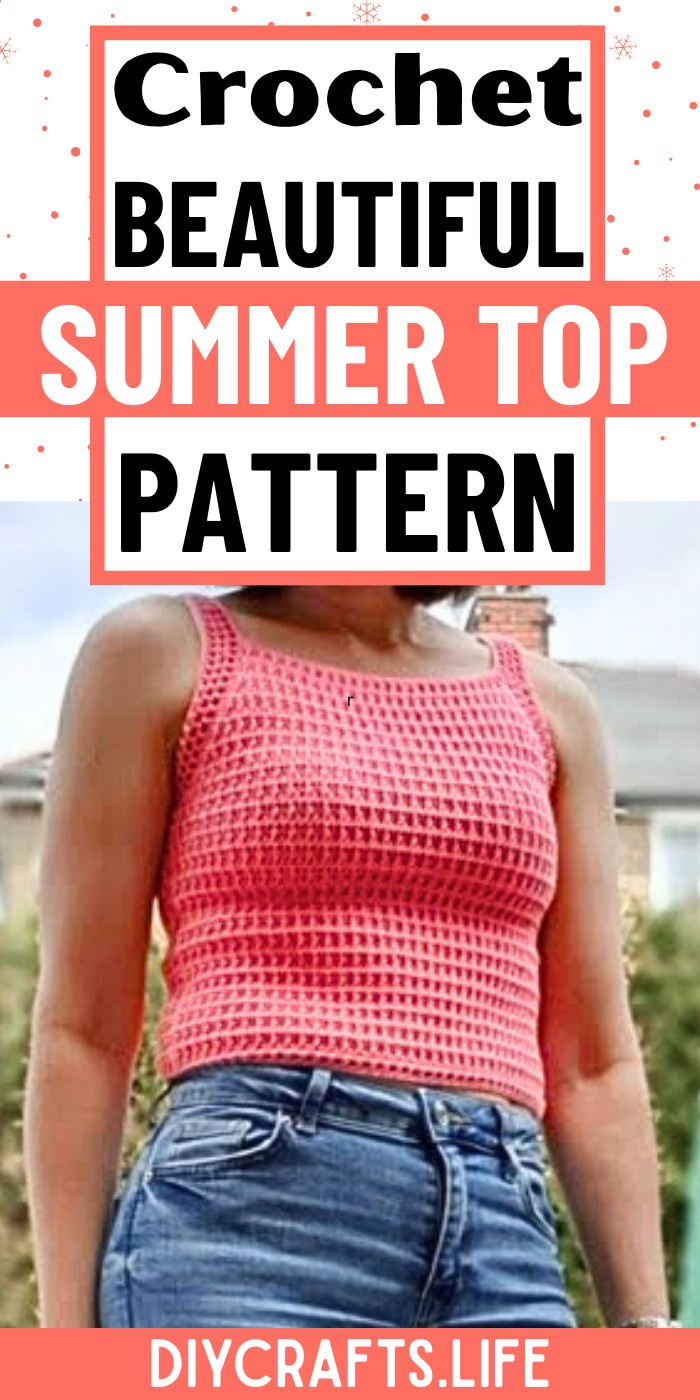
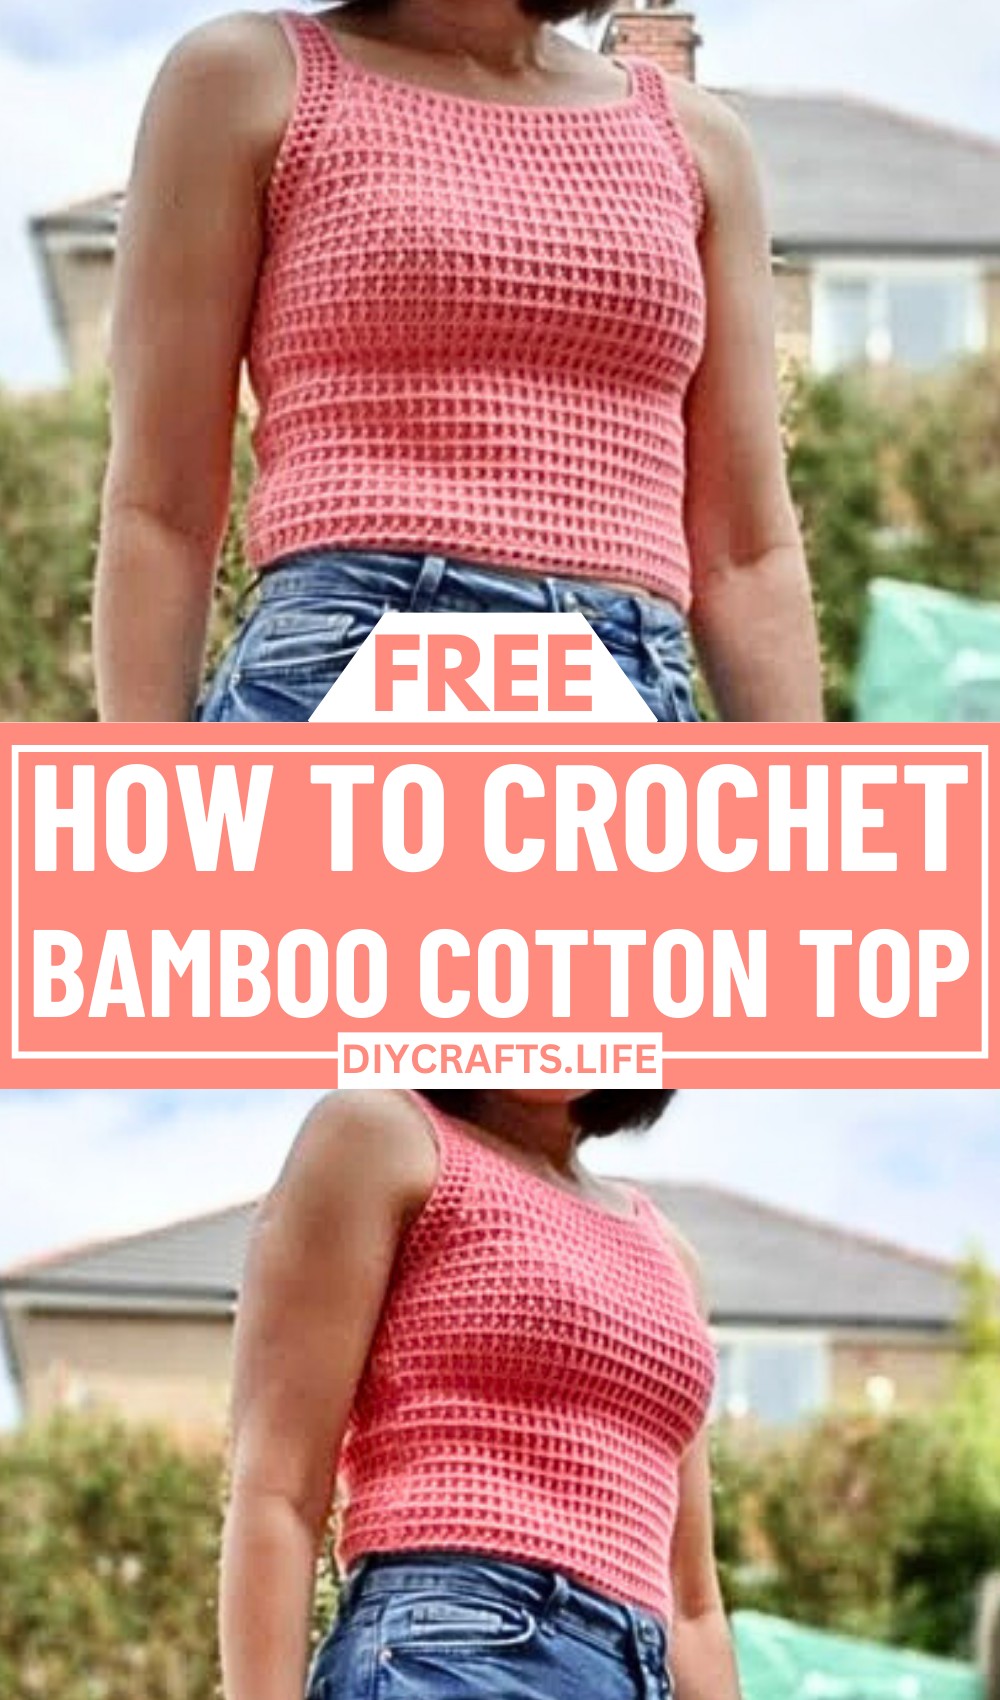
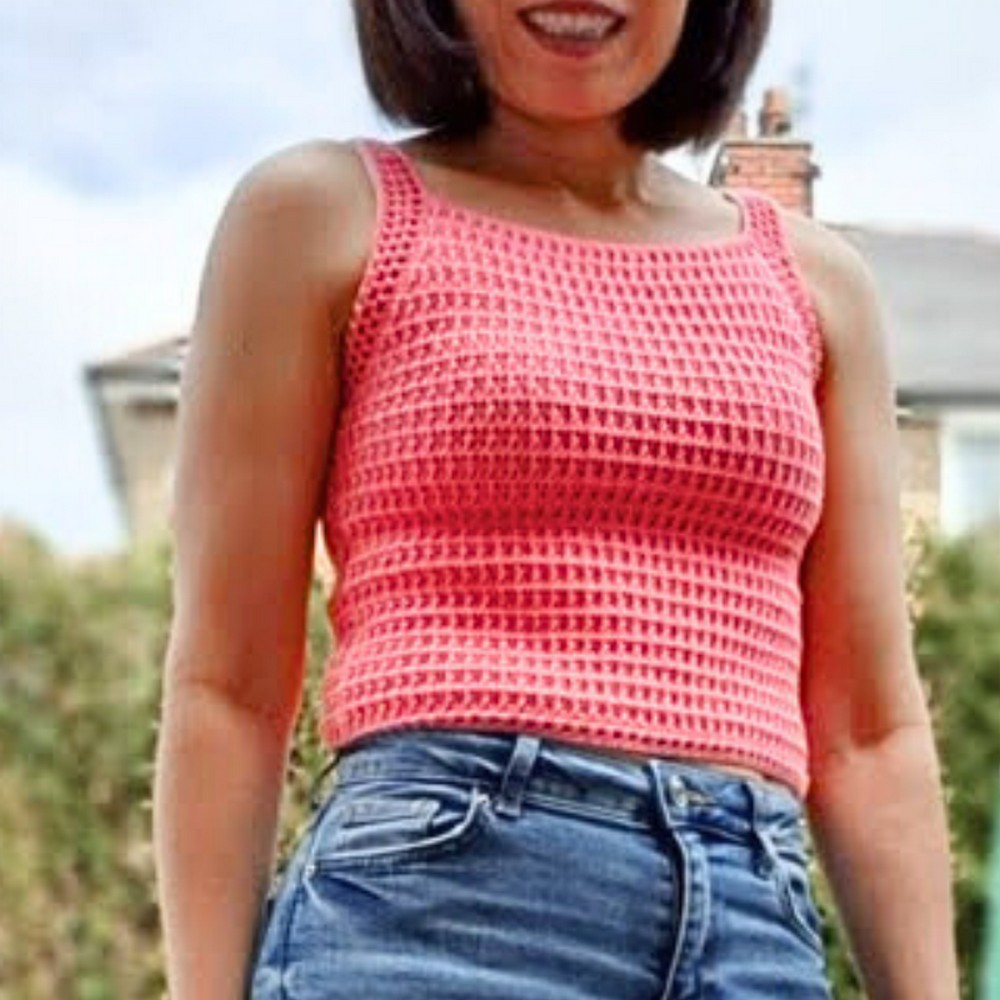
Soft Bamboo Cotton Crochet Top
This crop top stands out with its minimal, flattering details: a low neckline at the front, clean edges, and adjustable straps for a perfect fit. Crafted entirely with double and single crochet stitches, it is approachable for beginners while still delighting seasoned crocheters. With an airy design and a customizable length, it’s a canvas for your unique touch, making every top as individual as the person wearing it. Fashion meets comfort effortlessly in this easy-to-follow project.
Credit KunitaHandmade
Materials & Tools Needed
- Yarn:
- Bamboo and cotton blend yarn
- Each skein: 100 grams (60% bamboo, 40% cotton)
- Approx. recommendation: 2-3 skeins depending on size
- Crochet Hook:
- Recommended: 3.5 mm
- Used in video: 2.75 mm
- Additional Tools:
- Scissors
- Stitch markers
- Darning needles (for sewing sides and weaving in ends)
Finished Size & Customization Ideas
- Approximate Size Details:
- Top is made in two pieces (front and back)
- Size can be adjusted by altering foundation chains and row counts
- Customization Ideas:
- Adjusting Size: Add or subtract foundation chains and rows to fit desired measurements.
- Straps: Extend or shorten straps as needed.
- Yarn Weights: Experiment with different yarn weights for a varied texture.
- Color Changes: Use different colors or multi-colored yarns for a unique look.
- Longer Straps: Customize to fit better or create a different style.
Pattern Abbreviations & Terminology
- ch: chain
- dc: double crochet
- sc: single crochet
- sl st: slip stitch
- st(s): stitch(es)
- yo: yarn over
Step-by-Step Detailed Crochet Instructions
Front and Back Panel:
- Foundation Chain:
- Create a slip knot and work a foundation chain of 49 chains (or as required for the desired width - should be an odd number).
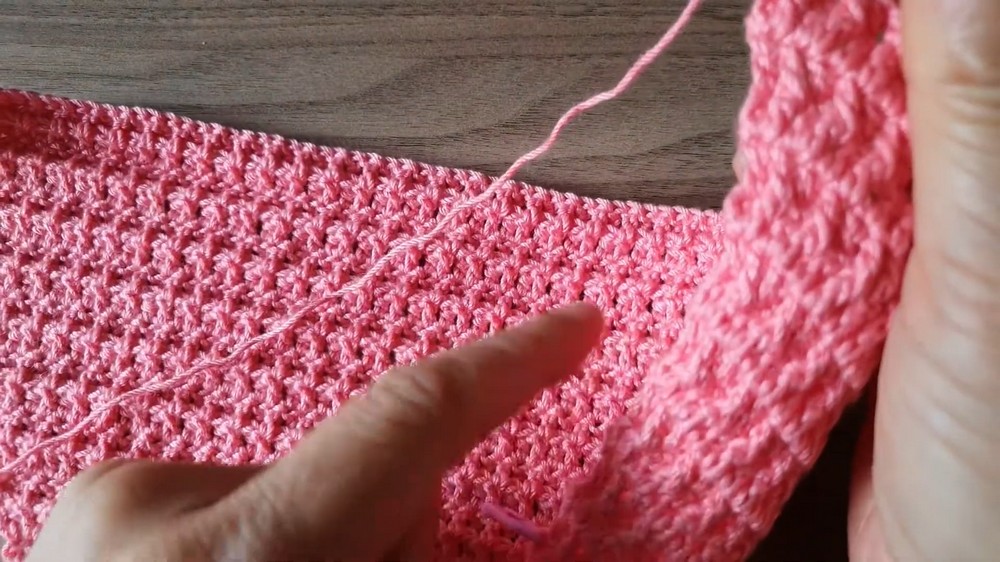
- Row 1:
- Work a double crochet (dc) in the 2nd chain from the hook and across. (You should have 49 dc)
- Row 2:
- Chain 1, turn work and make 1 sc in the first stitch.
- Continue to work sc in each stitch across the row.
- Row 3:
- Chain 1, turn work, make 1 dc in the first stitch.
- Continue to work dc in each stitch across the row.
- Subsequent Rows:
- Repeat Rows 2 and 3, alternating between sc and dc, for a total of 20 rows or until underarm length.
- Increasing for Armpit Area:
- Once you have reached the desired length for the underarm area, begin increasing at the beginning and end of each row:
- Work 2 dc in the first stitch and the last stitch of the row.
- Continue this pattern until you have increased to the desired width to fit under the arm.
- Once you have reached the desired length for the underarm area, begin increasing at the beginning and end of each row:
- Final Rows:
- After completing the increases, continue working in pattern (alternating rows of dc and sc) without increases until reaching the desired length for the body.
Straps:
- Chain Straps:
- Attach yarn to the top of one side of the panel.
- Chain 30 (or adjust for desired length of strap).
- Attach the other end of the chain to the corresponding spot on the opposite side of the panel with a slip stitch.
- Chain Strap Detailing:
- Chain 4, skip a stitch, and make a double crochet in the next stitch.
- Continue this pattern around the armhole and strap.
- Repeat for three rows, finishing with a row of single crochet along the edges for a neat finish.

Assembly:
- Joining Panels:
- Align front and back panels with the right sides facing each other.
- Use stitch markers to align edges.
- Seaming:
- With a darning needle, sew the sides of the top together from the bottom to the underarm.
- Finishing Edges:
- Work a round of single crochet along the bottom edge for a polished finish.
Final Touches:
- Weaving in ends:
- Use a darning needle to weave in all loose ends neatly.
- Block if necessary:
- Lightly block the top to shape it properly.