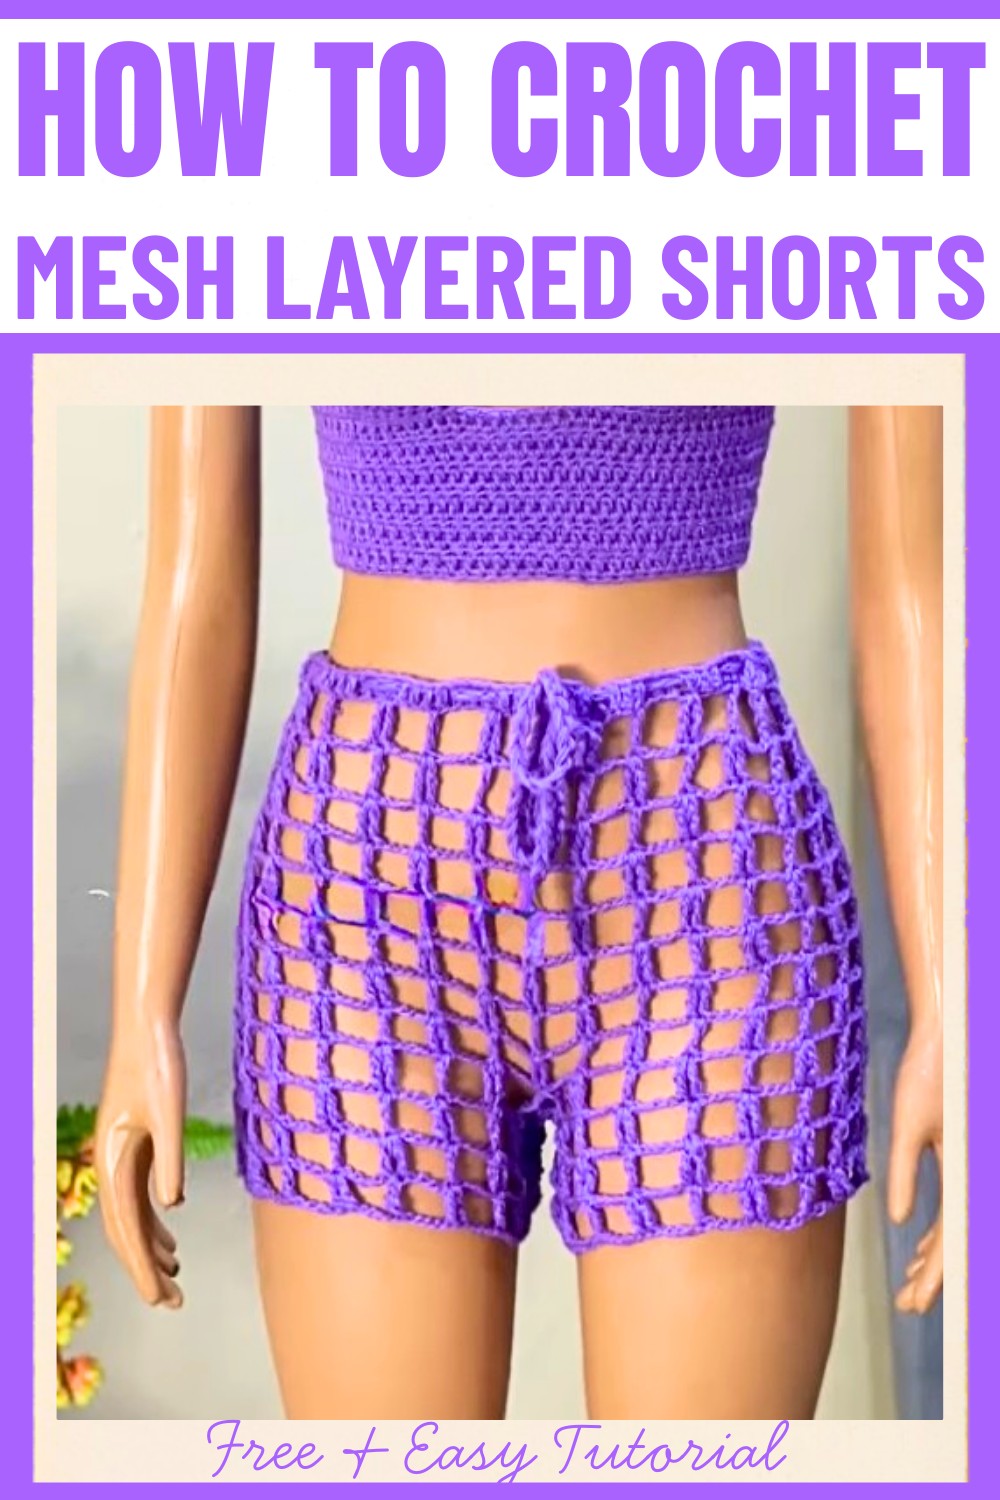
Step into the world of summer-ready style with this one-of-a-kind crochet mesh layered shorts design. Ideal for any occasion, these shorts radiate charm, blending minimalism with bold creativity. Whether you're lounging, strolling on the beach, or adding a refreshing touch to your outfit, this pattern brings a perfect fusion of comfort and finesse, making it a standout addition to any wardrobe.
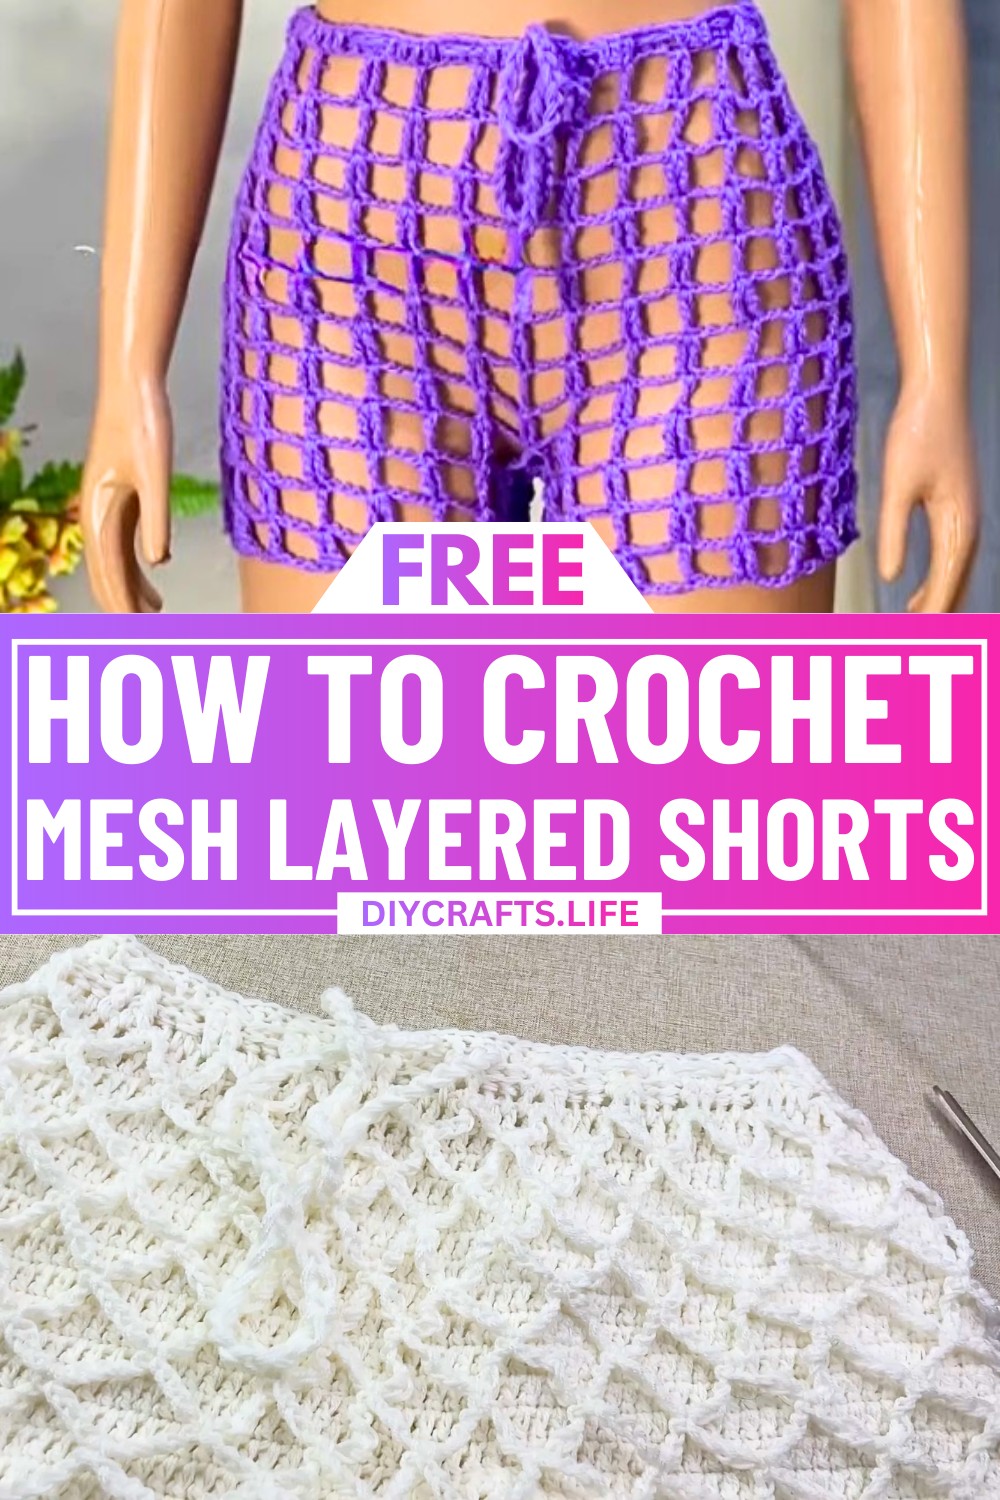
Crochet Mesh Layered Shorts Pattern
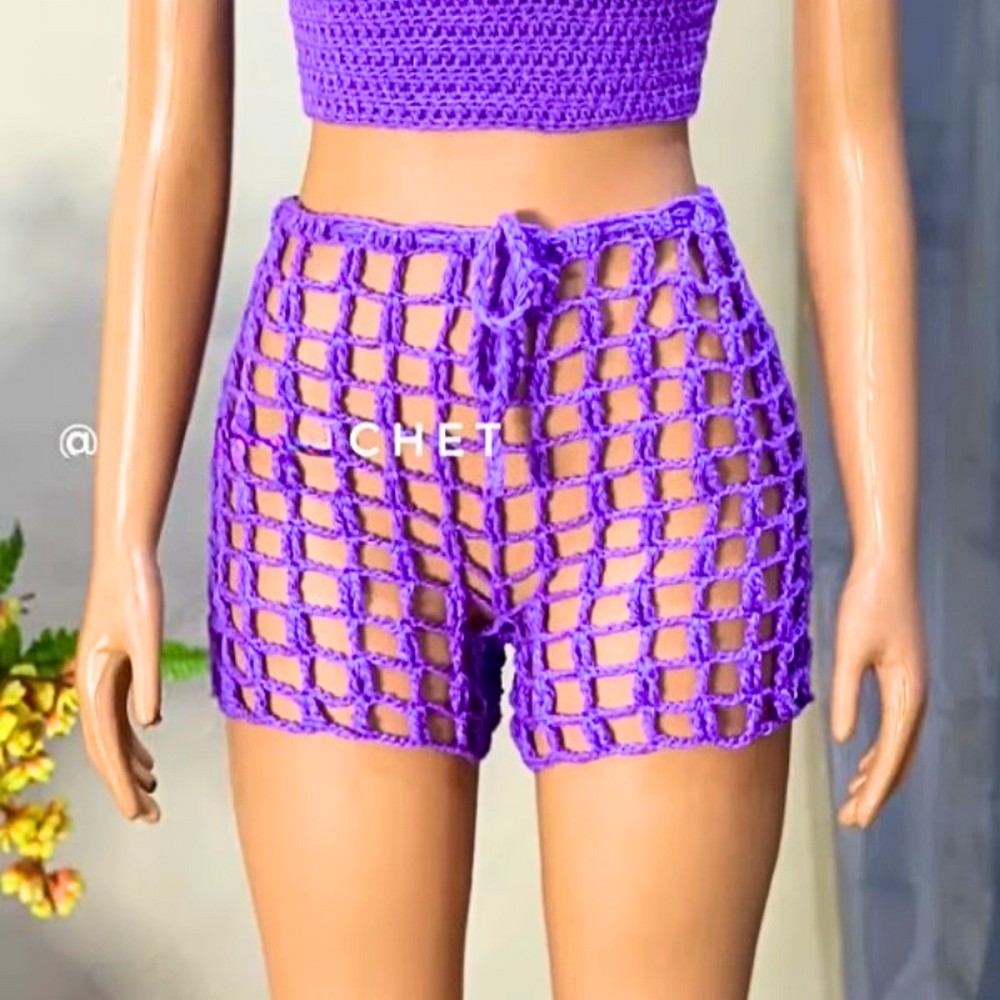
The crochet mesh layered shorts are a masterpiece in textured design and elegant layering. With a detailed mix of double crochet stitches and a stunning mesh overlay, it features a tailored fit that can be customized for any body size with ease. The intricate lace-like mesh accents add a light and airy flare, allowing for flexibility and breathability, while the drawstring waistband offers both functionality and style. With endless color possibilities, this shorts design becomes a reflection of your individuality, combining practicality with a touch of handmade sophistication.
Credit BRcrochet
Materials Needed
- Yarn: Choose any yarn color of your choice.
- Crochet Hook: 4.0 mm hook (or any hook size of your choice).
- Scissors.
- Measuring tape.
Step-by-Step Instructions
1. Crochet the Waistband
- Measure the Waist: Work with your desired waist measurement. For example, 26 inches.
- Create Initial Chain:
- Make a knot and create chains until the chain length equals your waist measurement.
- Example: For 26 inches, make chains that measure 26 inches.
- Check: Without stretching, fold the chain in half and confirm the measurement. Add 2 extra chains.
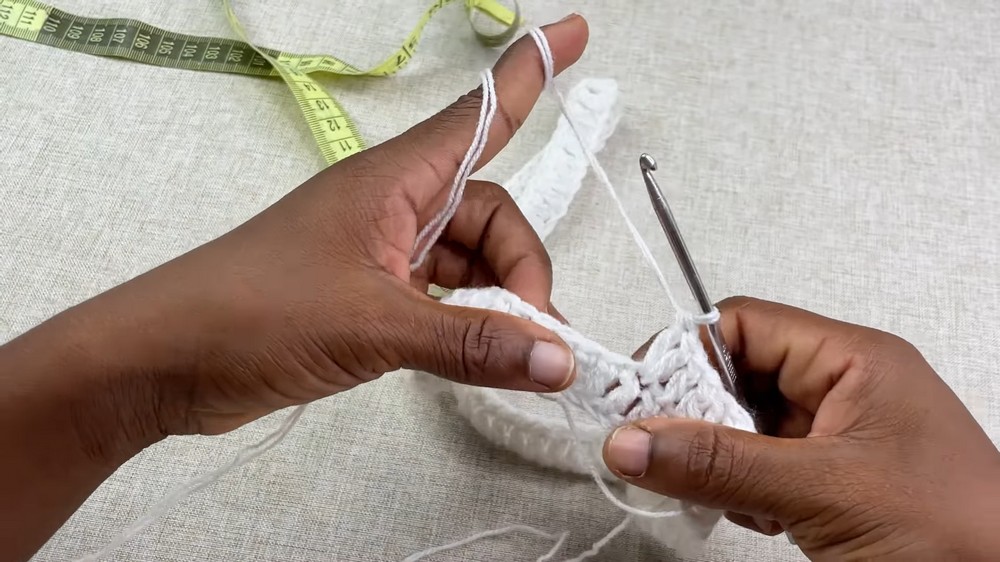
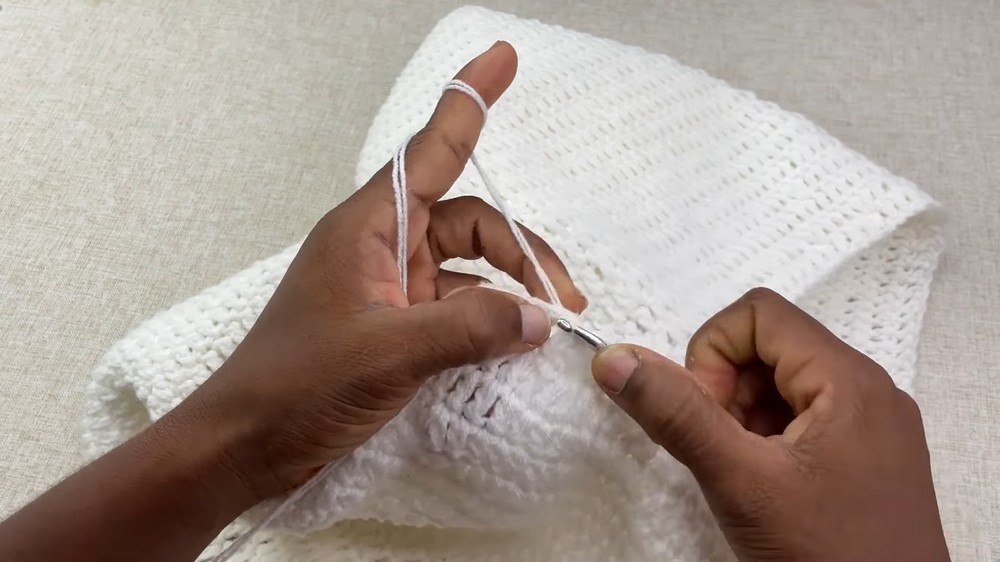
2. First Row - Double Crochet
- Skip the first two chains from the hook and work double crochet (dc) into the third chain.
- Repeat double crochet on every stitch across the row.
- Steps for Double Crochet:
- Yarn over.
- Insert hook into stitch.
- Pull up a loop (3 loops on hook).
- Yarn over, pull through the first two loops.
- Yarn over, pull through the final two loops.
3. Slip Stitch to Join
- After completing the first row, fold the piece into two. Ensure the outer part faces outward.
- Create a slip stitch to join the ends into a round.
4. Increase for Hip Measurement
- Chain Two and turn.
- Work double crochet into each stitch but increase at specific intervals:
- Pattern: 1 double crochet into the next 3 stitches, then increase by working 2 double crochets in the fourth stitch.
- Repeat this pattern until the end of the row.
- Continue working rows until the width stretches to your hip measurement (e.g., 38 inches).
5. Divide the Crotch Area
- Find the Middle Point: Fold the piece in half and mark the middle point. Use a stitch marker if available.
- Make Chains for Crotch:
- Example: Chain 16 for crotch (adjust for size if necessary).
- Slip Stitch at the middle point and turn.
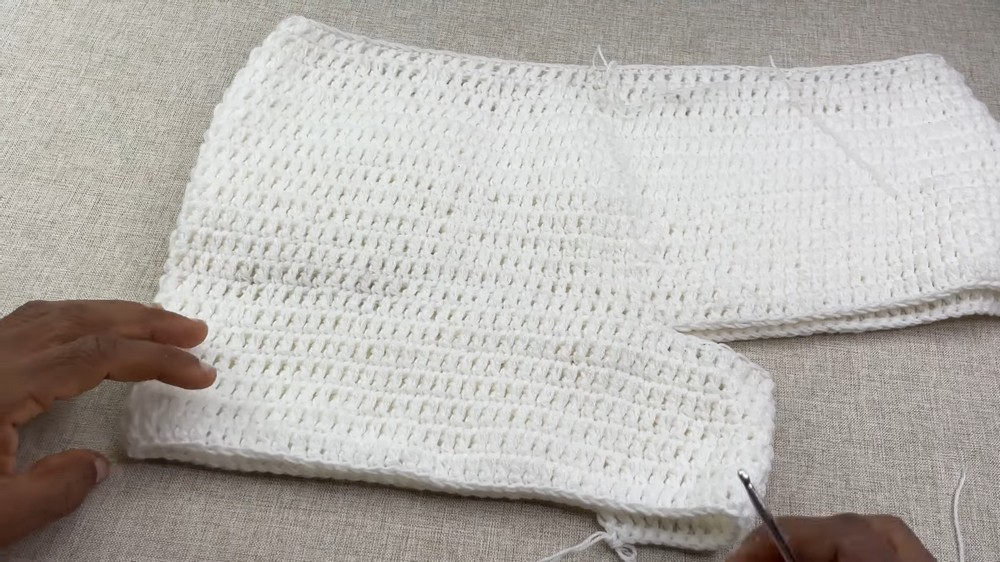
6. Work Double Crochet Around
- Begin double crochet on the chains created for the crotch.
- Continue double crochet in each stitch for a total of 5 rows to increase length.
7. Create the Second Leg
- Repeat the same process for the second half of the crotch area:
- Work double crochet in rounds for 5 rows.
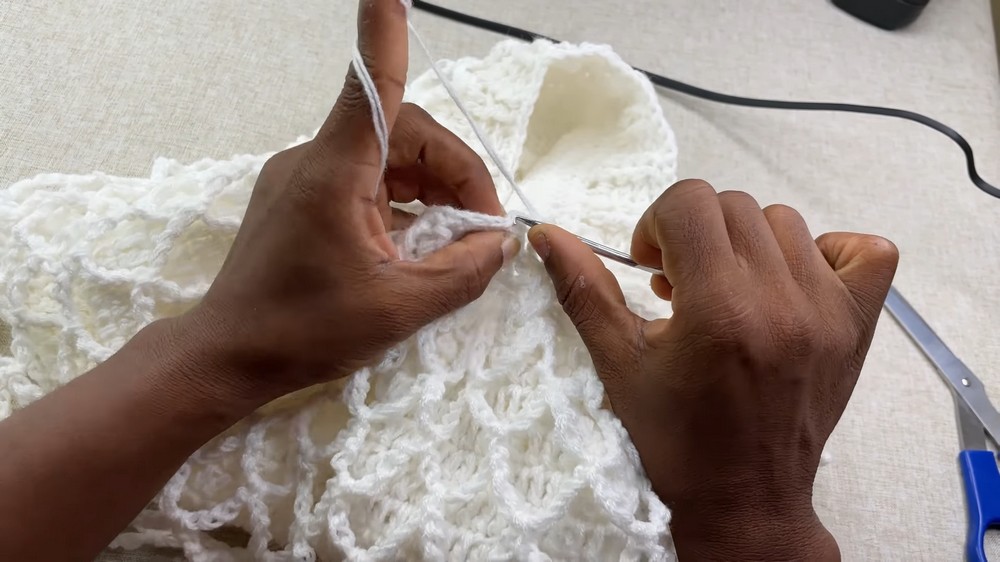
8. Work the Mesh Layered Pattern
Create Mesh
- Start with Chain Nine:
- Chain 9, then single crochet (sc) into the fourth stitch.
- Repeat:
- Chain 9, single crochet into the fourth stitch (or alternate rows with slip stitch).
- Continue this process, creating multiple mesh rows (e.g., 10 rows for each panel).
Divide Crotch Area for Mesh
- Connect the Mesh Panels:
- At the crotch area, divide into two separate panels.
- Example: Chain 5 to join the divided panels and continue working mesh rows.
- Work 5 rows of mesh around each panel.
9. Adjust the Waistband
- Decrease Width: Reduce the waistband size from the hip measurement (e.g., 32 inches) to the final waist size (e.g., 26 inches).
- Front Post and Back Post Double Crochet:
- Alternate between front post double crochet and back post double crochet to create a ribbed effect.
- Decrease randomly by joining stitches together (e.g., picking two stitches at once).
Final Waistband Rows
- Work single crochets across for one final row to secure.
10. Add Drawstring
- Make a Long Chain: Create a chain that is long enough to go around the entire waistband.
- Pass Through Waistband:
- Thread the drawstring through the front post and back post spaces, two stitches at a time.
- Tie off the ends of the drawstring.
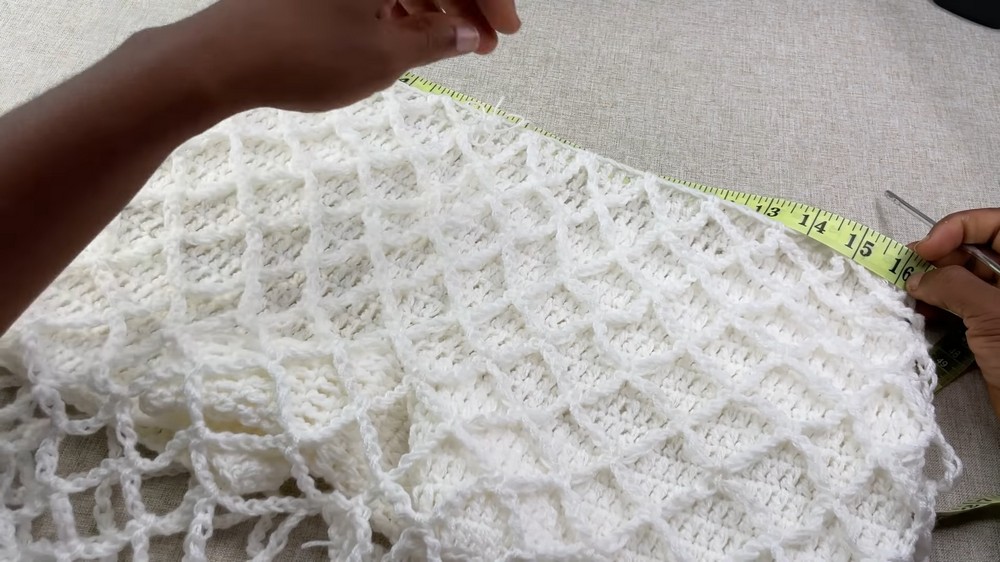
11. Measurements
Take measurements of the completed shorts:
- Waist Area: Should match your initial measurements (e.g., 26 inches).
- Stretch Measurements: Ensure it stretches comfortably (e.g., waist stretches up to 31 inches).
- Hip Measurement: Confirm your final hip measurement to ensure proper fit.
- Short Length:
- Without mesh: Example: 11 inches.
- With mesh: Example: 14 inches.
12. Final Touches
- Secure all ends by tying and cutting any excess yarn.
- Take a moment to inspect the finished shorts and ensure all parts are secured.
Summary
- Start with the waistband and work double crochet rows until reaching hip measurement.
- Divide the crotch area and crochet each leg separately.
- Add mesh layers for the shorts.
- Adjust and decrease the waistband with ribbing (front/back post stitches).
- Add a drawstring for finishing.