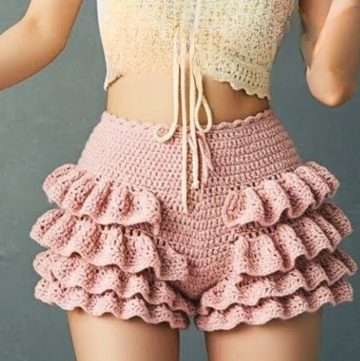
Step into a world of handmade fashion with a pair of crochet shorts that redefine comfort and style. Perfectly suited for sunny days, poolside lounging, or even a casual brunch, these shorts are the perfect mix of trendy and timeless. Their breezy texture and cute design will make them your go-to piece for warm weather adventures.
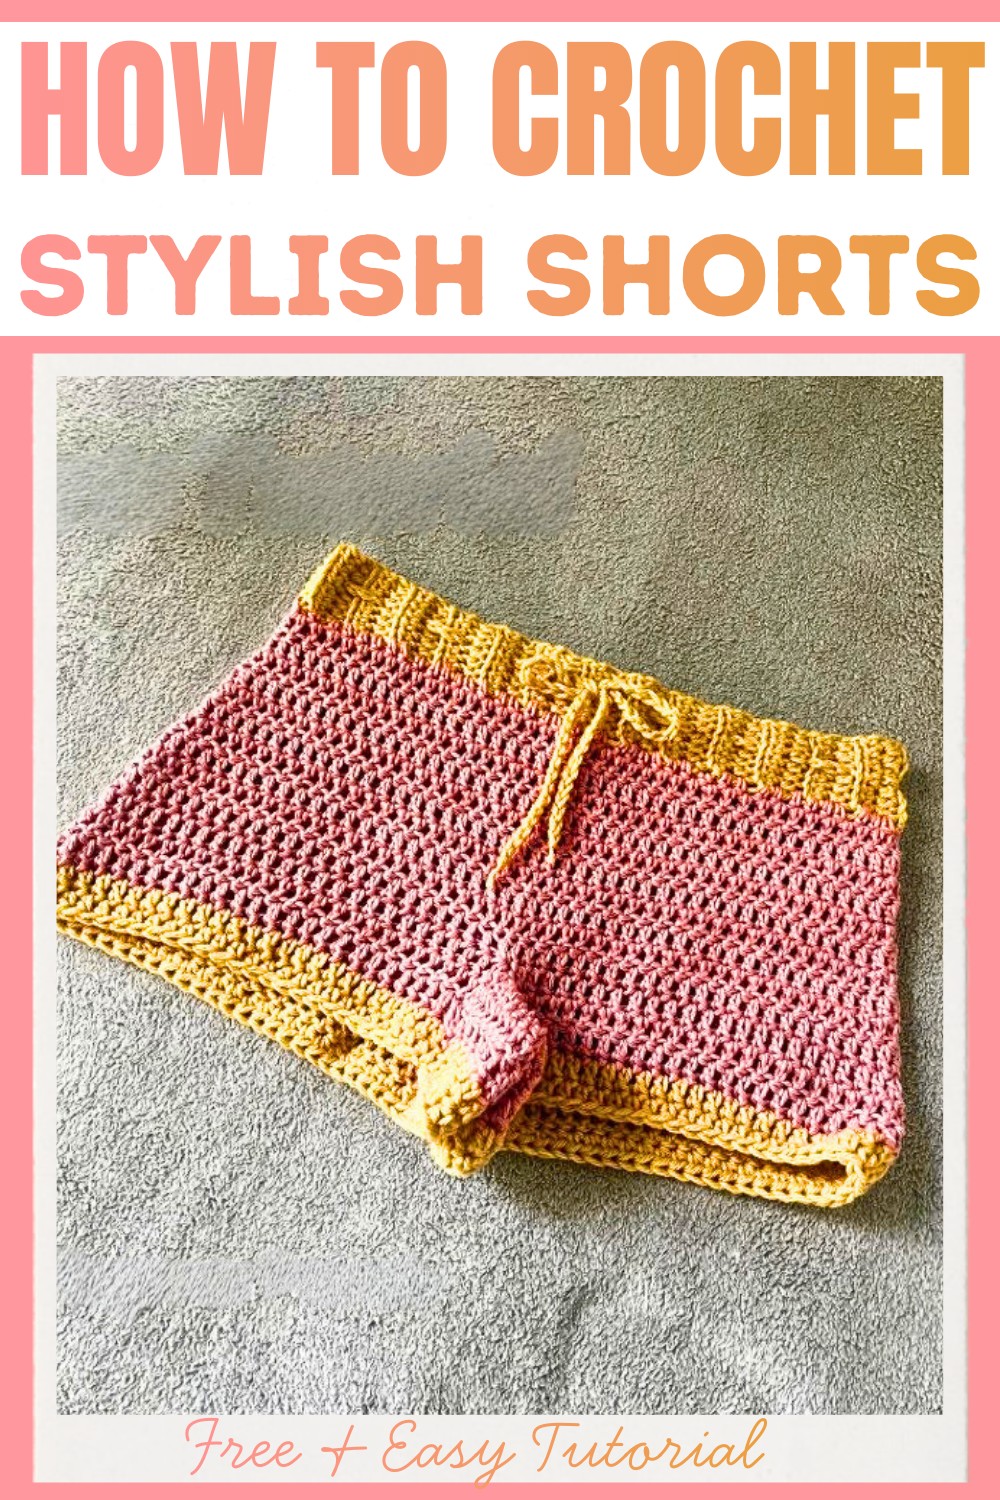
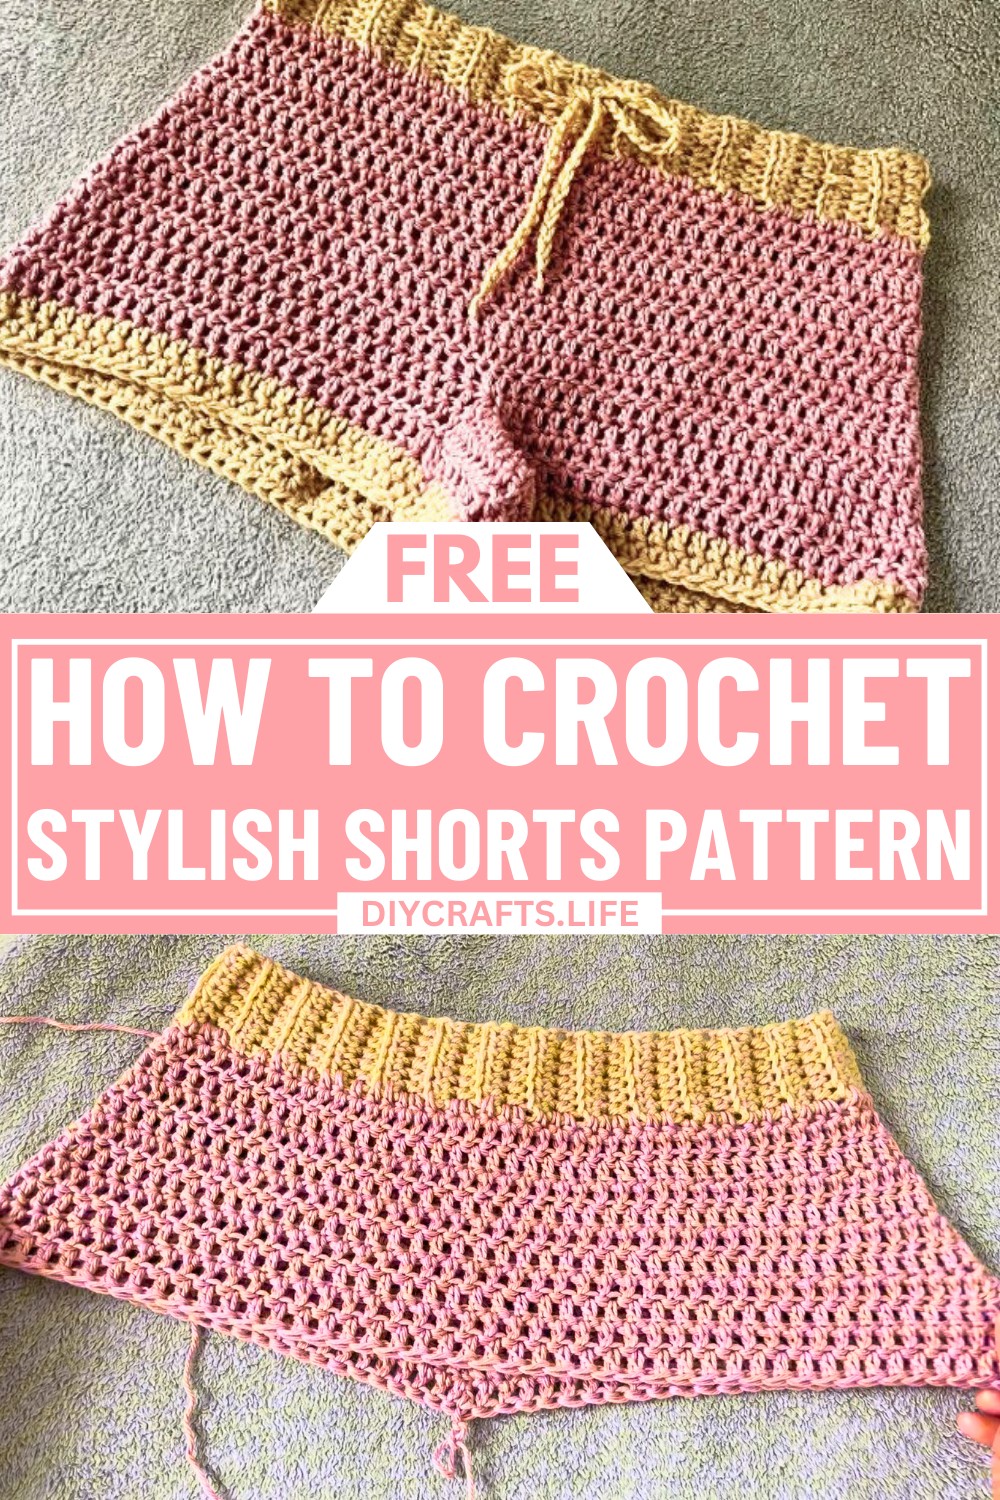
Stylish Crochet Shorts Pattern
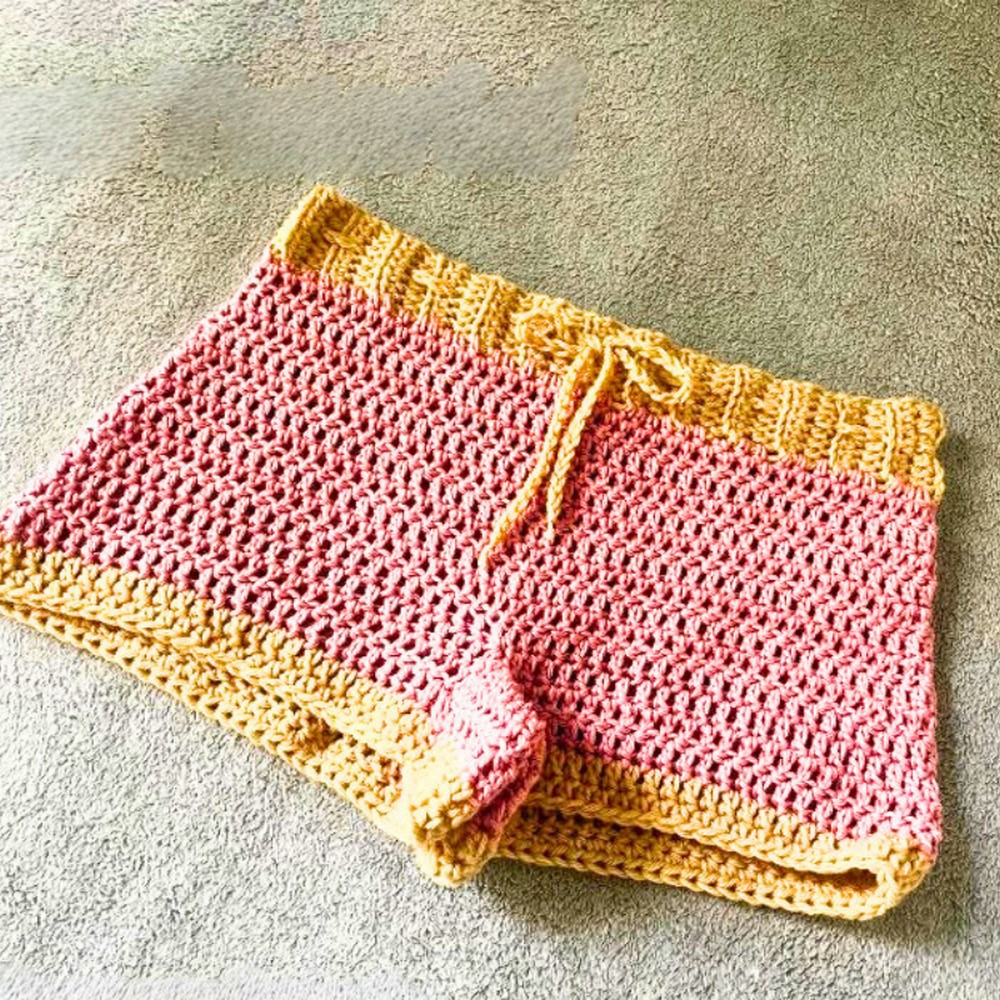
These crochet shorts stand out with their intricate stitch patterns and flattering fit. The pattern perfectly combines vibrant creativity with wearable design, making it both eye-catching and practical. Whether you love experimenting with different colors or sticking to a soft neutral palette, this pattern allows endless customization to fit your personal flair. Add a statement piece to your wardrobe and craft something truly unique!
Credit Shaun Kamryn
Materials You’ll Need
- Yarn (two colors preferred, or use as many as you’d like).
- 5.5 mm crochet hook.
- A pair of scissors.
- Tape measure.
- Two stitch markers.
Step-by-Step Pattern
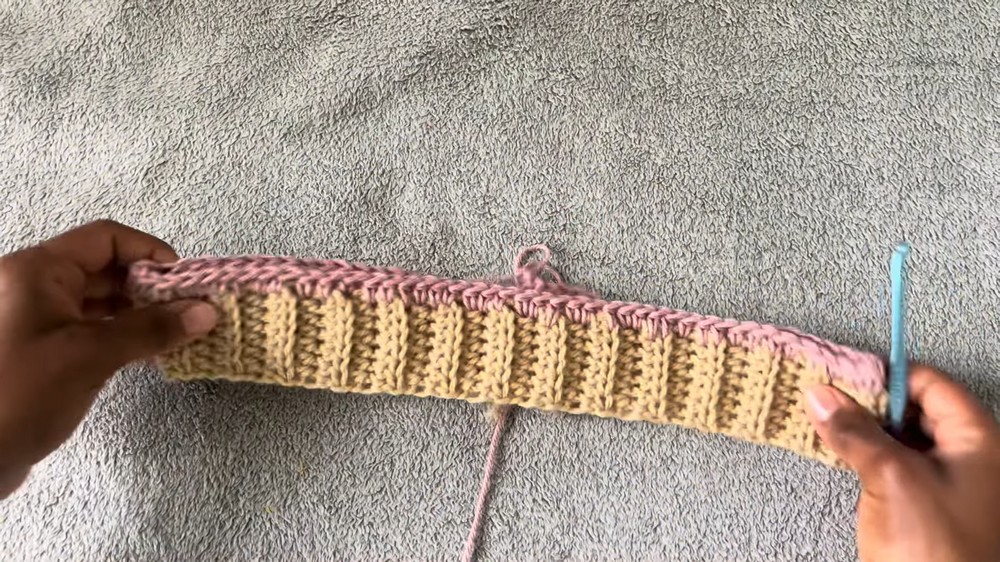
Part 1: Waistband
- Make a slip knot.
- Chain 8.
- Skip the first chain and work a half double crochet (HDC) in the second chain from the hook.
- Continue working HDCs down the chain (you should have 7 HDCs in total).
- Chain 1, turn your work, and work into the back loops only. Make 1 HDC in each stitch.
- Repeat this process (Ch 1, turn, and work into back loops) until the waistband measures 1 inch less than the circumference where you want the shorts to sit (waist or low waist).
- Once the waistband is complete:
- Fold it in half to bring the two ends together.
- Join the ends using slip stitches by matching the V-loops on each side.
- Cut the yarn and tie off.
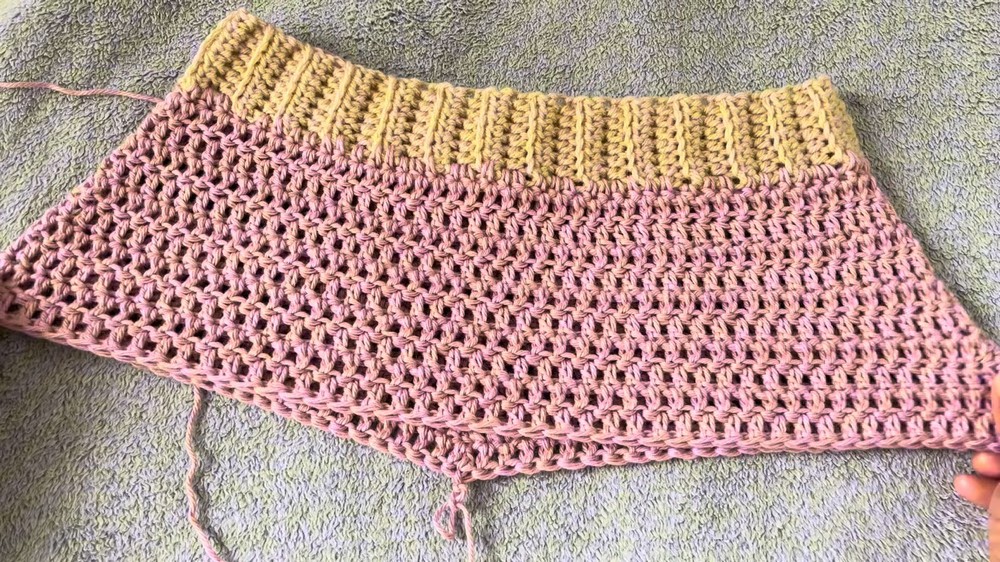
Part 2: Foundation for Shorts
- Find the middle of the waistband (by folding it in half, marking this point).
- Join your second yarn color (optional) at the middle point and chain 1.
- Around the waistband, work HDC stitches into every open space equally spaced — don’t put them too close or too far apart.
- Once you’ve completed the round, slip stitch into the first chain.
- Chain 2 and turn your work.
Part 3: Body of the Shorts
- Use stitch markers to find the middle points on both sides of the waistband. Place markers there to mark the side seams.
- Begin increasing:
- On the next row, place 1 double crochet (DC) in each stitch, except at the stitch markers where you need to place 2 DCs. Move the stitch markers up into the second DC of the increase.
- Alternate between:
- Increase rows: Increases at the marked stitches only.
- No increase rows: 1 DC in every stitch around.
- Repeat this alternating pattern for a total of 10 rows.
- Ensure that the width of the shorts after 10 rows equals half your hip size. If not, continue the increase pattern until it does.
Part 4: Splitting the Legs
- Once the desired body length is reached (6-7 inches recommended for low-waist shorts), you’ll divide for the legs:
- Count the total number of stitches around and divide the number in half.
- Mark the exact middle stitch on both the front and back sides.
- Chain 16 (or a number that suits your proportions) to create a bridge between the legs.
- Join the chain to the marked middle stitch on the opposite side using a slip stitch.
- Try the shorts on to confirm the chain length is comfortable. Adjust if necessary.
Part 5: Legs
- Start the first leg:
- Begin working DC stitches around one leg opening. Work into the stitches around the body and into the chain of the bridge (use the top loops of the chain).
- Slip stitch to join at the end of the row, chain 2, and turn your work.
- Work 3 rows (or more for desired length) of DC stitches for the leg.
- For a finishing touch:
- Use your second color (or same color) to work 1 row of HDCs to create a cuffed look.
- Repeat these steps for the second leg.
- Weave in any loose ends.
Part 6: Drawstring
- Create a long chain (measure it so once doubled, it goes comfortably around the waistband and has excess for tying).
- Weave the chain in and out of the waistband using spaces between stitches as loops.
- Adjust the string so both ends are even, and tie them into a bow.
- Weave in any remaining loose ends.