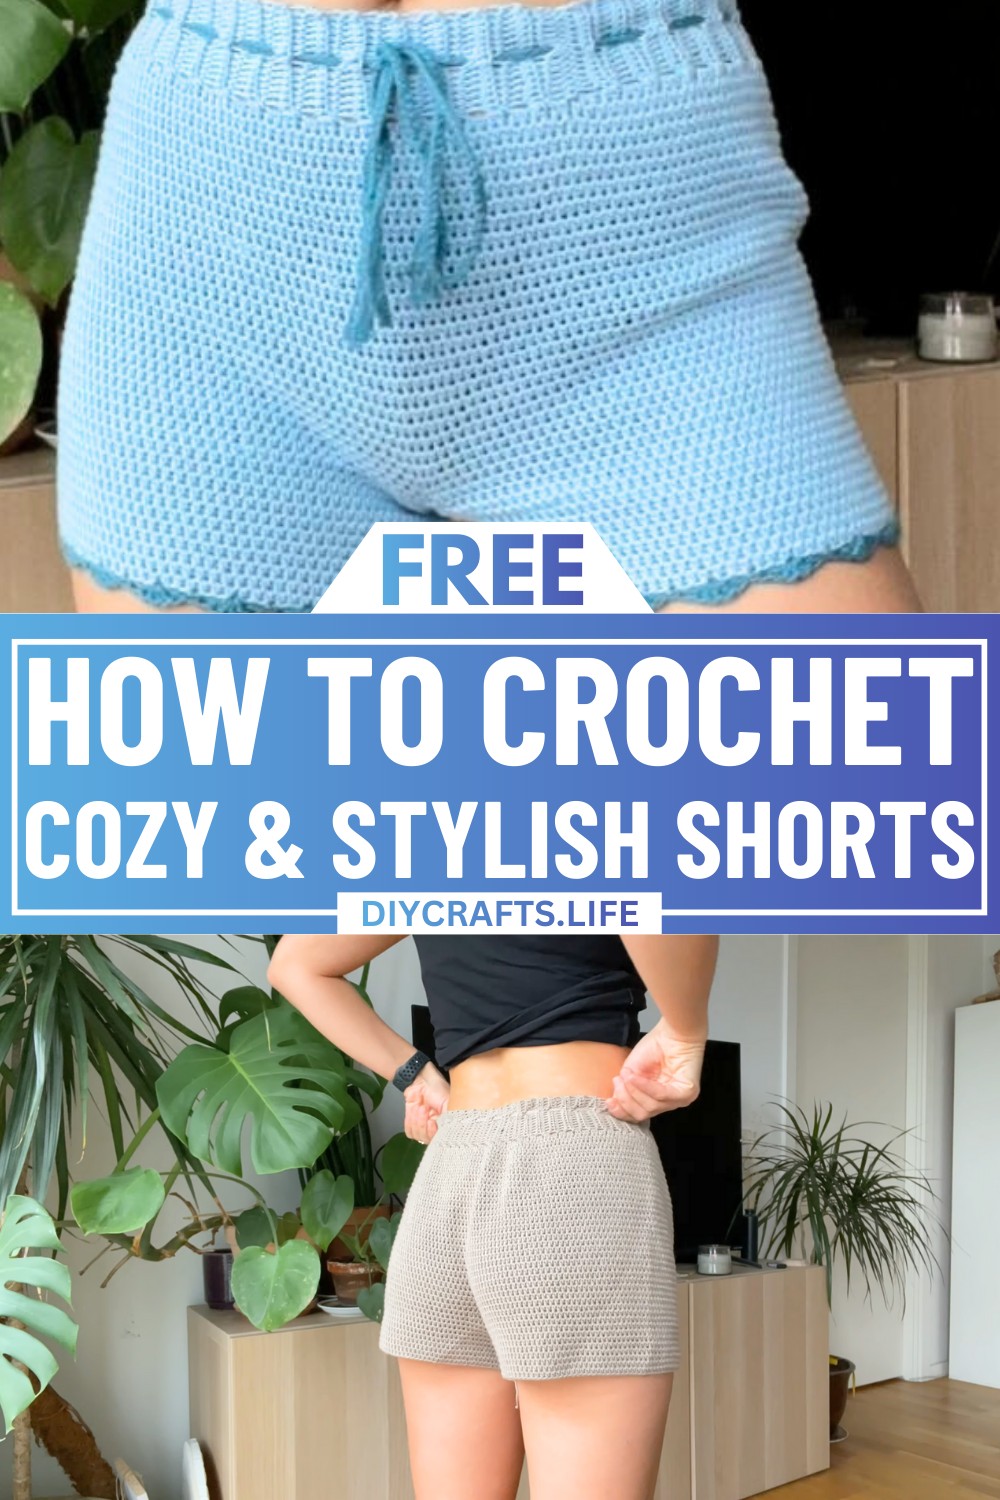
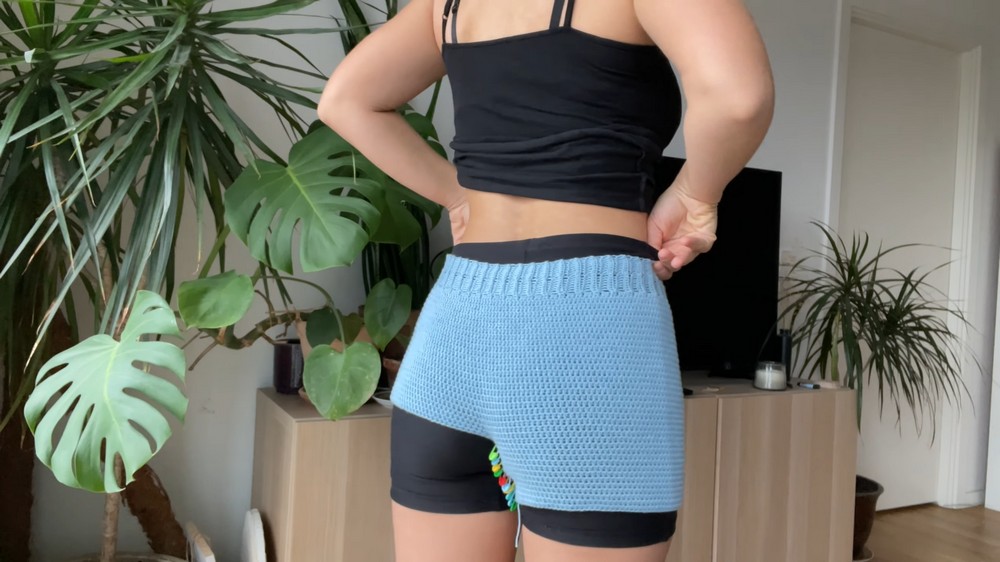
Step into summer with these charming crochet shorts, designed to combine style and comfort in a way that feels endlessly customizable. Whether you're lounging at home or heading out on a warm day, this pattern offers the perfect opportunity to craft a staple piece that suits your unique flair. A balance of practicality and elegance, these crochet shorts showcase your creativity while keeping things relaxed and stylish.
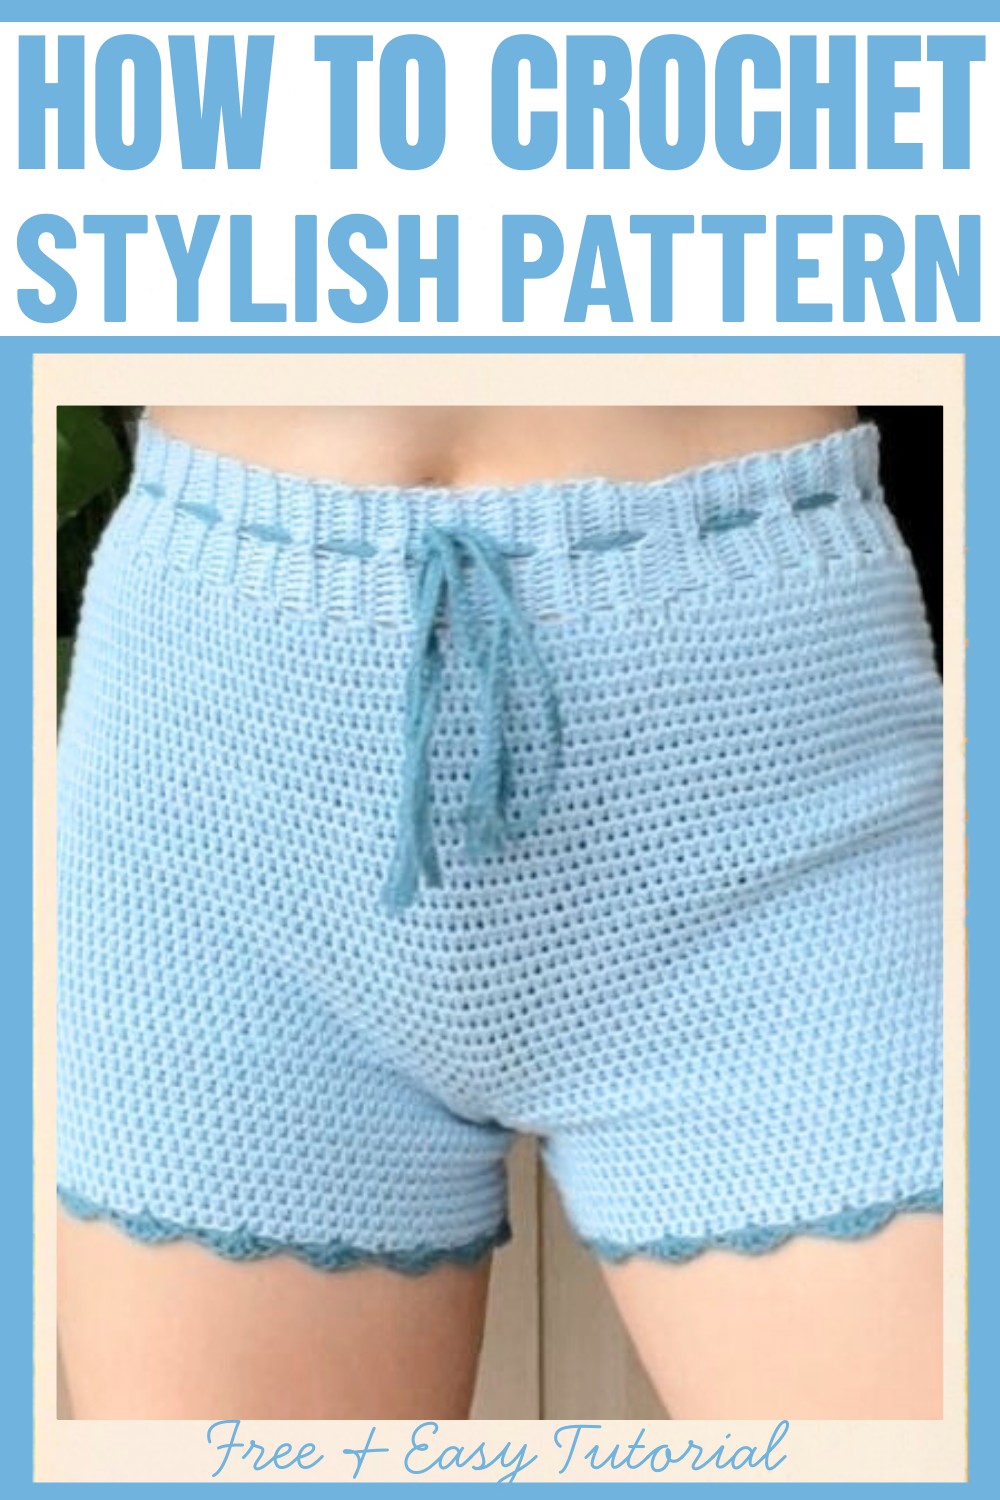
Crochet Shorts Pattern
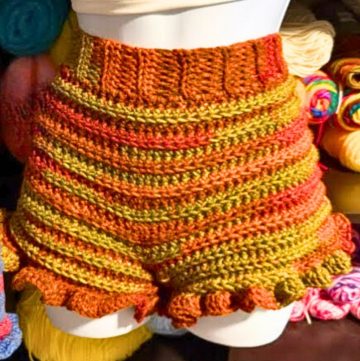
This shorts design focuses on creating a fitted waistband and a unique ribbed texture that adds character to the shorts. Featuring clear accents like an optional braided belt and detailed borders around the legs, it stands out as a wearable and versatile addition to your crochet projects. Perfectly adaptable to different sizes and colors, it’s a pattern that celebrates personal expression and thoughtful craftsmanship.
Credit by Kristine
Materials Needed
- Yarn: 4-ply cotton yarn
- Main color: Approximately 150g
- Optional accent color for borders and belt
- Crochet Hook: 3.5mm
- Stitch Markers: At least 30-40
- Scissors
- Optional: Belt thread (for the braided waistband)
Step 1: Create the Waistband
- Start with a slip knot:
- Twist the yarn, pull the yarn through the loop, and adjust the loop size for your hook.
- Create chains:
- Crochet 16 chains (or desired number based on preferred waistband width).
- First Row (Single Crochet):
- Skip the last chain.
- Create single crochet stitches across the row (15 stitches total).
- Second Row:
- Chain 1, turn your work.
- Crochet single crochets in the back loop only for a ribbed texture.
- Skip 1 stitch in the middle to form a hole for the belt.
- Third Row & Beyond:
- Repeat rows 2 and 3 alternately until you have created 90 rows (adjust row count based on waist size).
It's helpful to test the waistband around your waist to ensure the right fit.
- Join the Band:
- Connect both ends of the waistband using slip stitches, creating a circular waistband.
Step 2: Start the Body
- Foundation for the Body:
- Turn your work so the smooth side faces outward.
- Add 2 half double crochets (HDC) on top of each row around the waistband.
- Total stitches =
2 × number of waistband rows.
- Mark the Beginning:
- Place a stitch marker in the first stitch of the round. You will crochet in a spiral without slip stitching the rounds.
- Add Rows:
- Crochet 1 HDC in each stitch for 25 rounds (adjust based on desired short length).
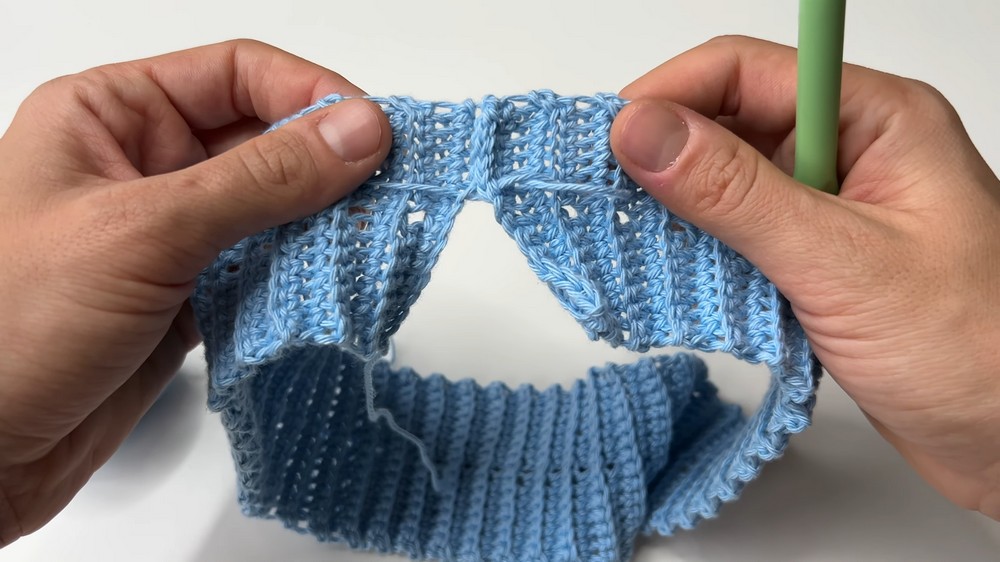
Step 3: Form the Legs
- Divide Stitches:
- Count the total number of stitches (e.g., 180 stitches for the body).
- Place a stitch marker at the halfway point (e.g., after 90 stitches).
- Create Chains for Legs:
- Add chains between the two halves:
- 18 chains for size S/M (adjust for larger sizes—typically add 2 chains per size up).
- Add chains between the two halves:
- Start First Leg:
- Attach yarn at the stitch marker.
- Add 1 HDC in each stitch (including chains).
- Continue spiraling, adding rows for leg length. Repeat for 12 rows (or desired length).
- Repeat for Second Leg:
- Attach yarn at the second marker and repeat the same process for the other leg.

Step 4: Finishing
- Fasten Off:
- To end work, do 1 single crochet, followed by 2 slip stitches in the next stitches.
- Pull the loop longer, cut off the yarn, and weave in loose ends on the inside of the shorts.
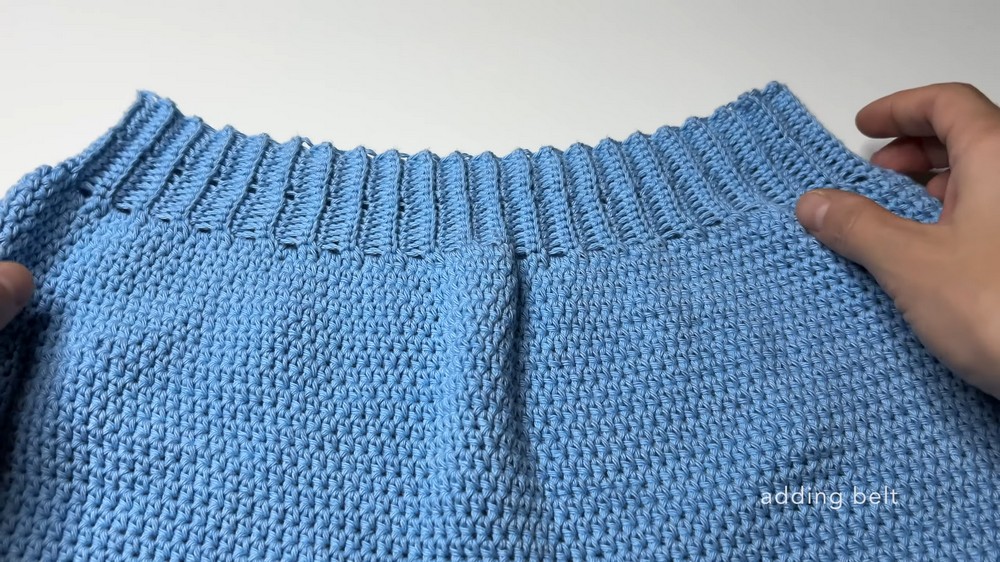
- Add Belt (Optional):
- Create braided belt using 9 threads (about 2m long each). Secure both ends with knots and braid them.
- Loop through the waistband holes to tighten the shorts.
Step 5: Leg Border (Optional)
- Attach Yarn:
- Start at the inner part of the leg. Tie yarn securely and chain 1.
- Create the Border:
- Single crochet in the first stitch.
- Skip 2 stitches, then add 5 double crochets in the next stitch.
- Skip 2 stitches, then single crochet in the next stitch.
- Repeat this pattern around the leg.
- Fasten Off:
- End with slip stitch, chain 1, cut yarn, and weave in ends.
Sizing Tips
- Waistband: Adjust rows to fit snugly around your waist.
- Body length: Add more rows for high-rise shorts or longer coverage.
- Leg rounds: Adjust the number of rounds for desired leg length.