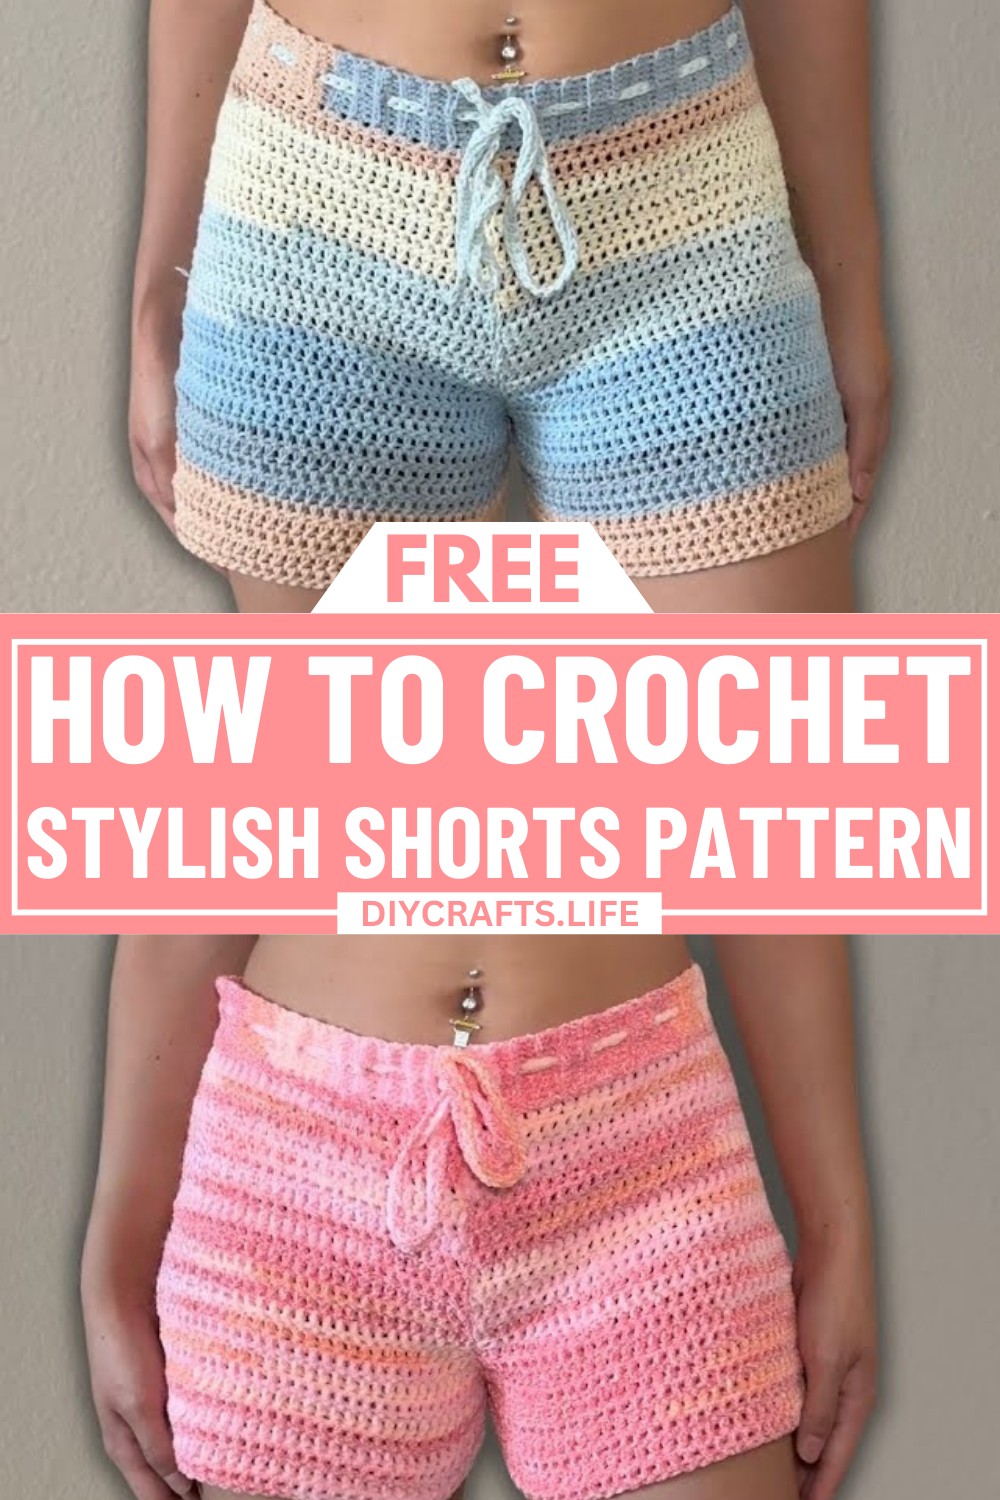
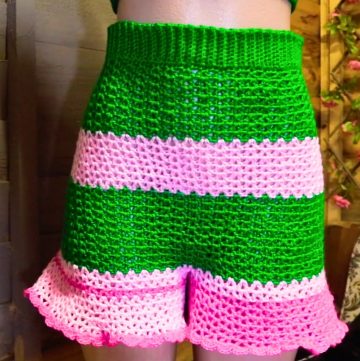
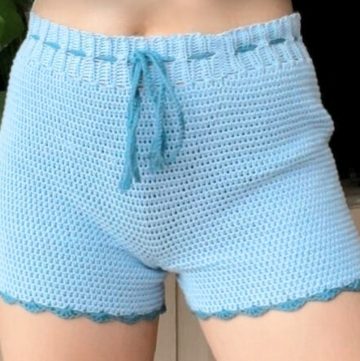
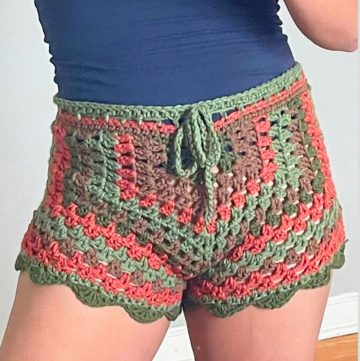
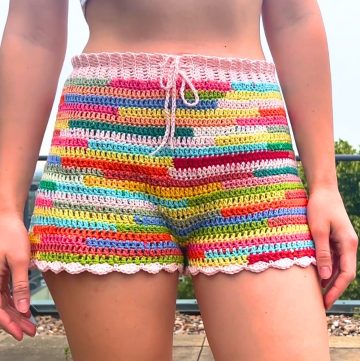
Embrace the joy of crafting cozy yet trendy crochet shorts that blend functionality with modern style. These shorts are perfect for lounging at home, hitting the beach, or adding a playful touch to your summer wear. With a structured yet delicate design, they offer the ideal balance of comfort and flair, making them a versatile addition to any wardrobe.
Stylish Custom-Fit Beach Shorts Crochet Pattern
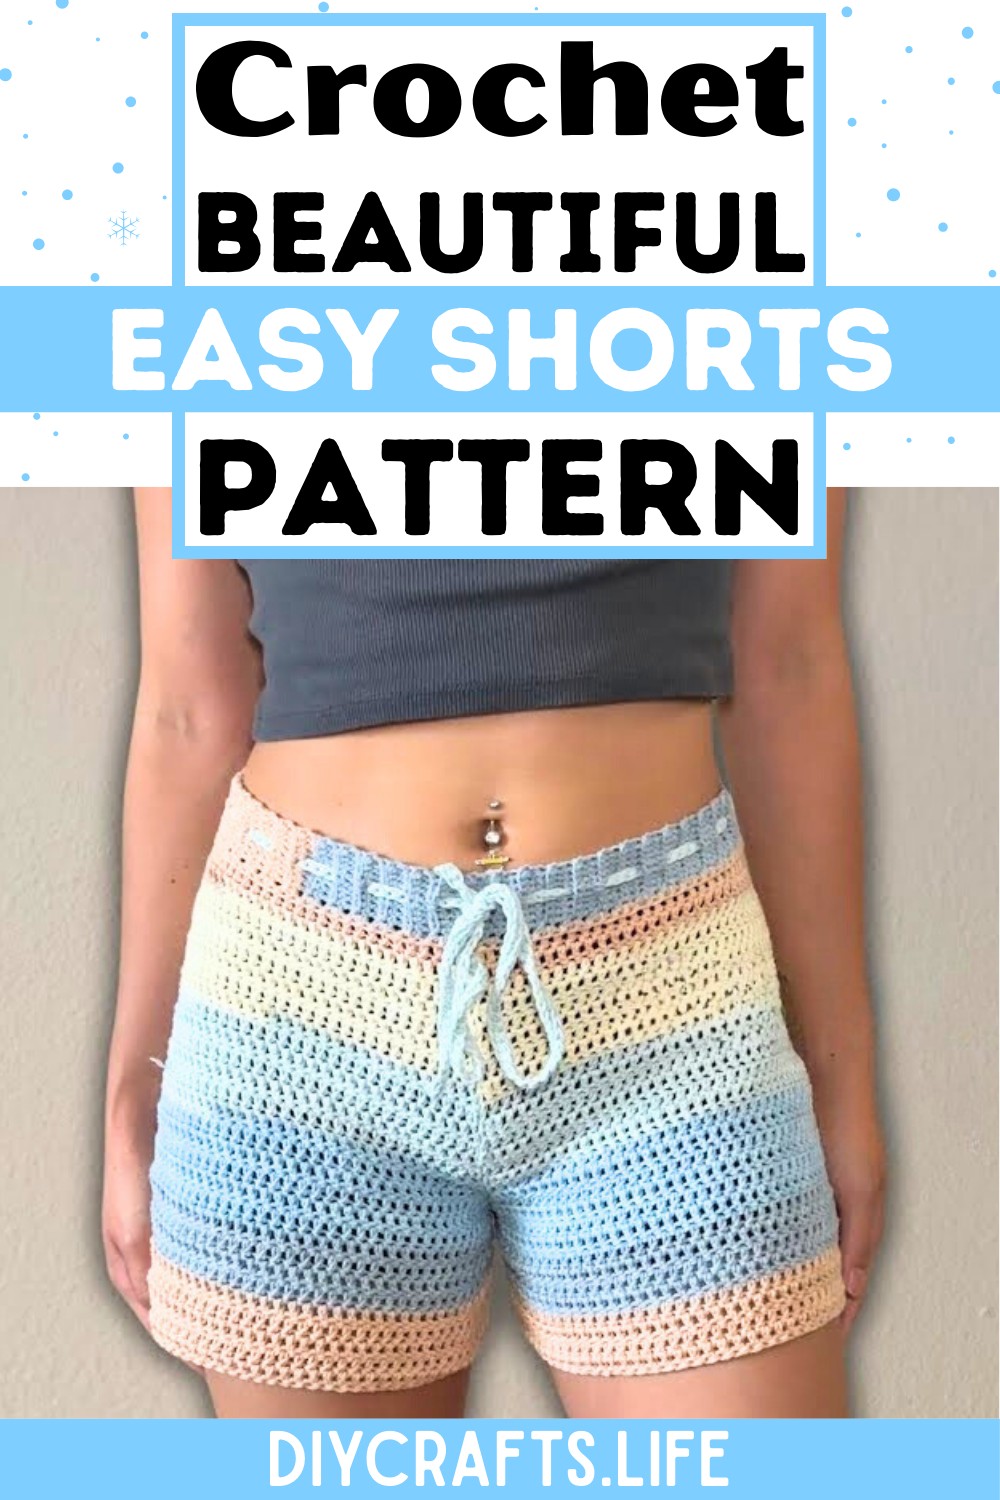
This crochet pattern features a unique textured waistband with customizable drawstring details, seamless panels for a perfect fit, and a flattering silhouette. What sets this design apart is the ability to craft completely tailored shorts using simple, easy-to-follow techniques. Whether you choose soft cotton blends for a classic summer look or playful chenille for a touch of texture, this project is all about expressing your creativity and personal style.
Credit maxine
Materials Needed
- Weight 4 yarn (60 yards per ounce or similar).
Suggested yarns:- Loops and Thread Skinny Chenille
- Karen Cotton Cakes (or other weight 4 yarn)
- Crochet hooks:
- 4mm hook (for the waistband)
- 4.5mm hook (for the shorts)
- Tape measure (for a made-to-measure pattern)
- Scissors
- Darning needle (for sewing panels together)
- Optional: Stitch markers (helpful for accurate increases and joins)

Step-by-Step Pattern
1. Create the Waistband
- With the 4mm hook, create a slip knot, then chain 10.
(Adjust chaining length if you want a wider waistband.) - Work single crochets (SC) in the back loops only:
- Skip the first chain, and SC into the next 9 stitches.
- Chain 1, turn your work.
- Row Repeats (waistband drawstring design):
- For Row 2:
- SC into the back loop only for the first 4 stitches.
- Create a hole for the drawstring by skipping 1 stitch, chaining 1, and continuing with SC in the back loop for the remaining 4 stitches.
- For Row 3 and beyond:
- Work SC in the back loops across the row, including where the chain hole from Row 2 is.
- Alternate these rows with standard SC rows and drawstring hole rows until the waistband reaches your waist measurement (unstretched). The waistband should stretch to fit snugly.
- For Row 2:
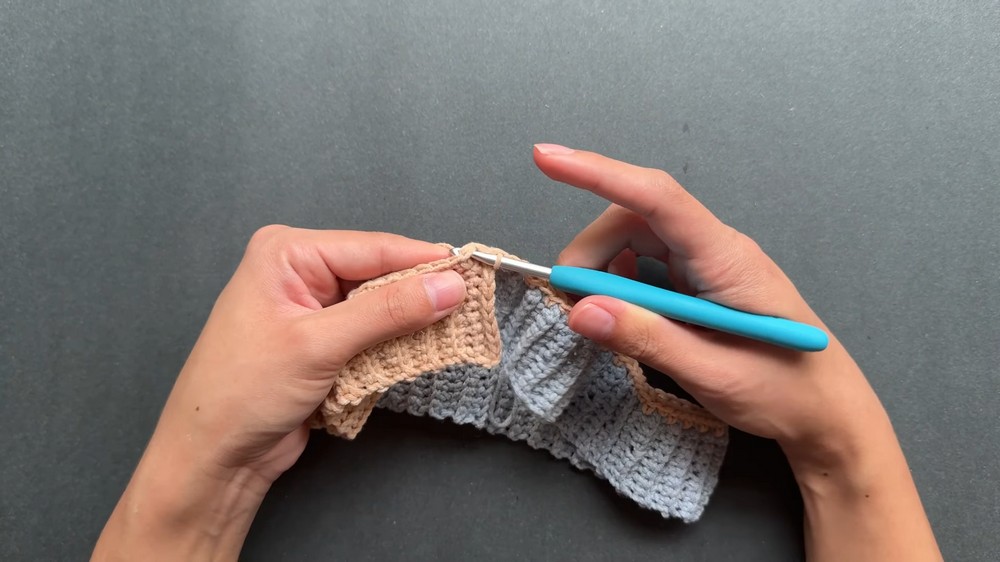
- Connect the waistband into a loop:
- Fold both ends of the waistband together.
- Using SC, join the two ends.
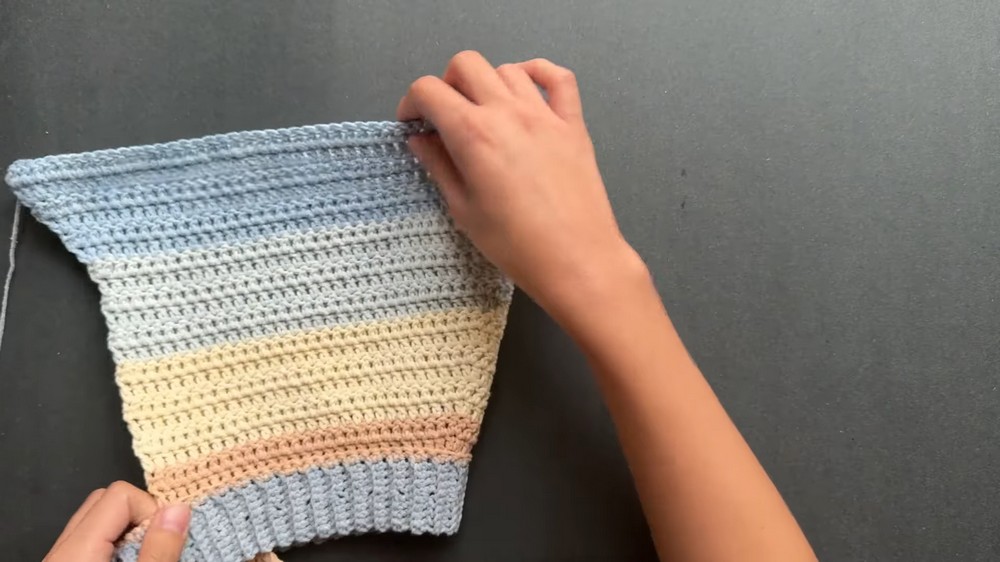
2. Begin the Shorts Body
Switch to the 4.5mm hook.
- Add single crochets around the waistband:
- Turn the waistband on its side. Attach yarn to begin working along the edge.
- Add an even number of SC around the waistband, one stitch for each "ribbed row" of the waistband.
(Example from the video: 114 stitches around, but this depends on your measurement.) - Slip stitch to the first stitch and place a stitch marker.
- Divide for Two Panels (Front and Back):
- Divide the total SC stitches by 2. Mark the midpoint of the waistband, which will separate the front panel from the back panel.
(In the video example, 114 stitches divided by 2 = 57 stitches for each panel.)
- Divide the total SC stitches by 2. Mark the midpoint of the waistband, which will separate the front panel from the back panel.
3. Panel Increases
To ensure a better fit, increases will help the shorts comfortably cover your hips and thighs. Panels are worked one at a time.
Step 1: First Panel (Back Panel)
- From the waistband, begin working back loop only double crochets (DC) across:
- Work DC in the back loop only until you reach your calculated panel midpoint.
- Insert 1 increase at the middle (two DC in one stitch):
- Place a stitch marker into the second DC of the increase to track its placement.
- Continue with DC across until the end of your panel.
- Row Repeats:
- Chain 1, turn, and work regular DC rows for the panel.
- Add increases only in the marked stitch (center) of the panel.
- Continue increasing until the panel's width matches half the fullest part of your hips (or butt). Measure to ensure the fit.
Step 2: Adjust for Legs
- Once the back panel widens correctly, switch to placing increases at both outer ends of the panel (instead of the center).
This forms the leg openings.- Place two DC in the first and last stitch of each row until the panel width reaches the desired measurement for your leg circumference.
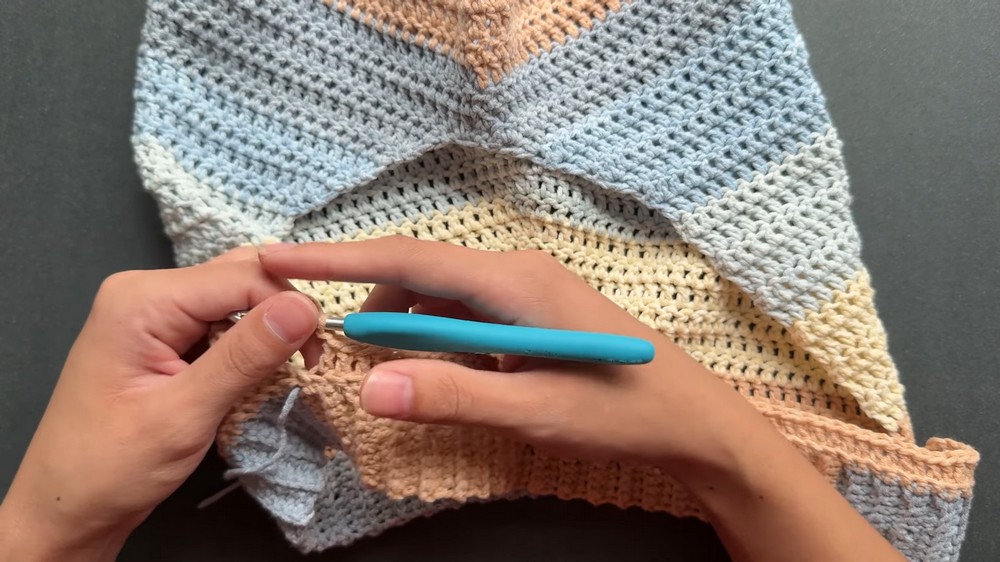
- Once complete, do not chain at the last row. Instead, slip stitch the end of the panel to the opposite side to create the leg opening.
Step 3: Second Panel
The second panel mirrors the first panel:
- Repeat the same steps, working on the remaining stitches of the waistband.
- Adjust for panel symmetry (i.e., watch for the placement of center increases). Use your first panel as a guide.
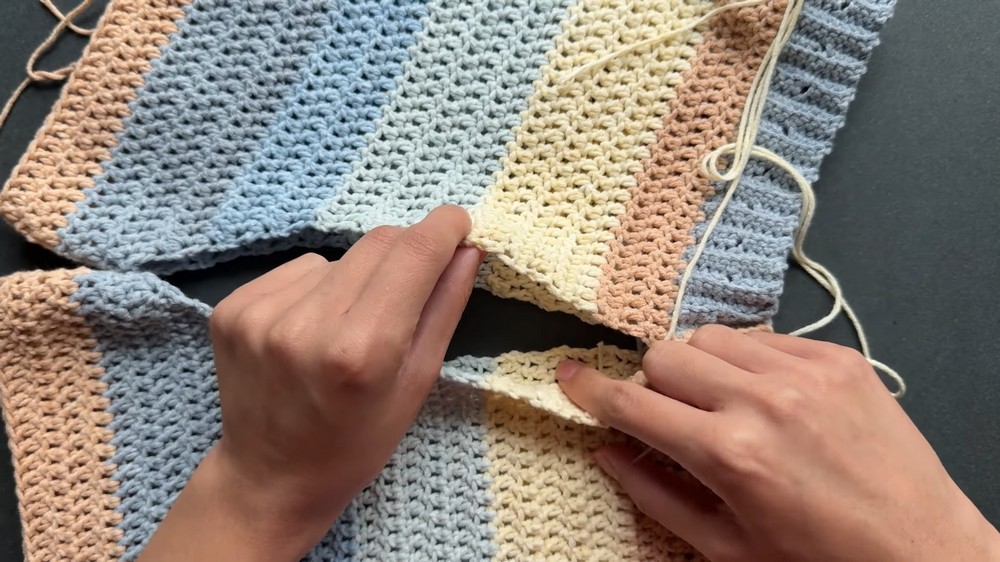
4. Join the Shorts
- Sew the panels together:
- Use yarn and a darning needle to sew the sides and the crotch area.
- Ensure you sew evenly to avoid holes. Use stitch markers if needed for accuracy.
- Leave the leg openings free.
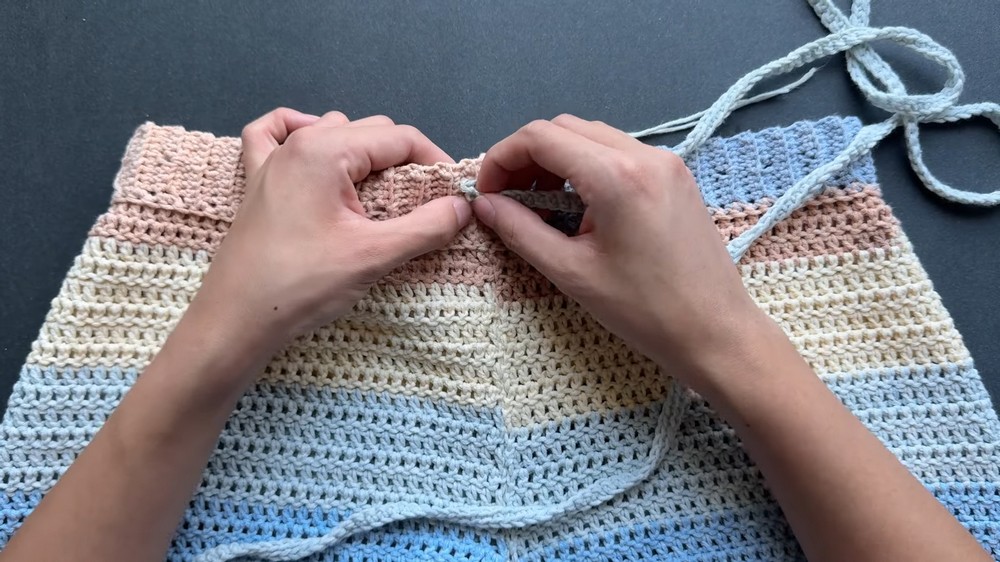
5. Add the Drawstring
- Create the drawstring with the 4mm hook:
- Make a chain double the waistband measurement (e.g., 29 inches x 2 = 58 inches).
- Work SC into each chain stitch. Cut yarn and weave in ends.
- Weave the drawstring into the waistband holes you created earlier:
- Start at the back-seam hole and weave in and out toward the front.
- Ensure the drawstring comes out evenly on both sides of the front.
Finishing Touches
- Weave in all yarn ends using the darning needle.
- Try on your shorts and make any adjustments if needed.
Customizations and Notes
- Add length: Continue repeating rows for the legs to make longer shorts or pants.
- Adjust fit: This made-to-measure method is versatile. Keep track of your own measurements as you go.
- Optional: Add edging or decorative stitches around the leg openings for a polished finish.