Transform simple granny squares into a stunning piece of wearable art! This crochet top design is perfect for showing off your creativity and personal style. Whether you prefer bold, bright colors or soft, neutral tones, this project lets you craft something uniquely your own. The best part? It’s beginner-friendly, so you can create something truly special even if you're just starting your crochet journey.
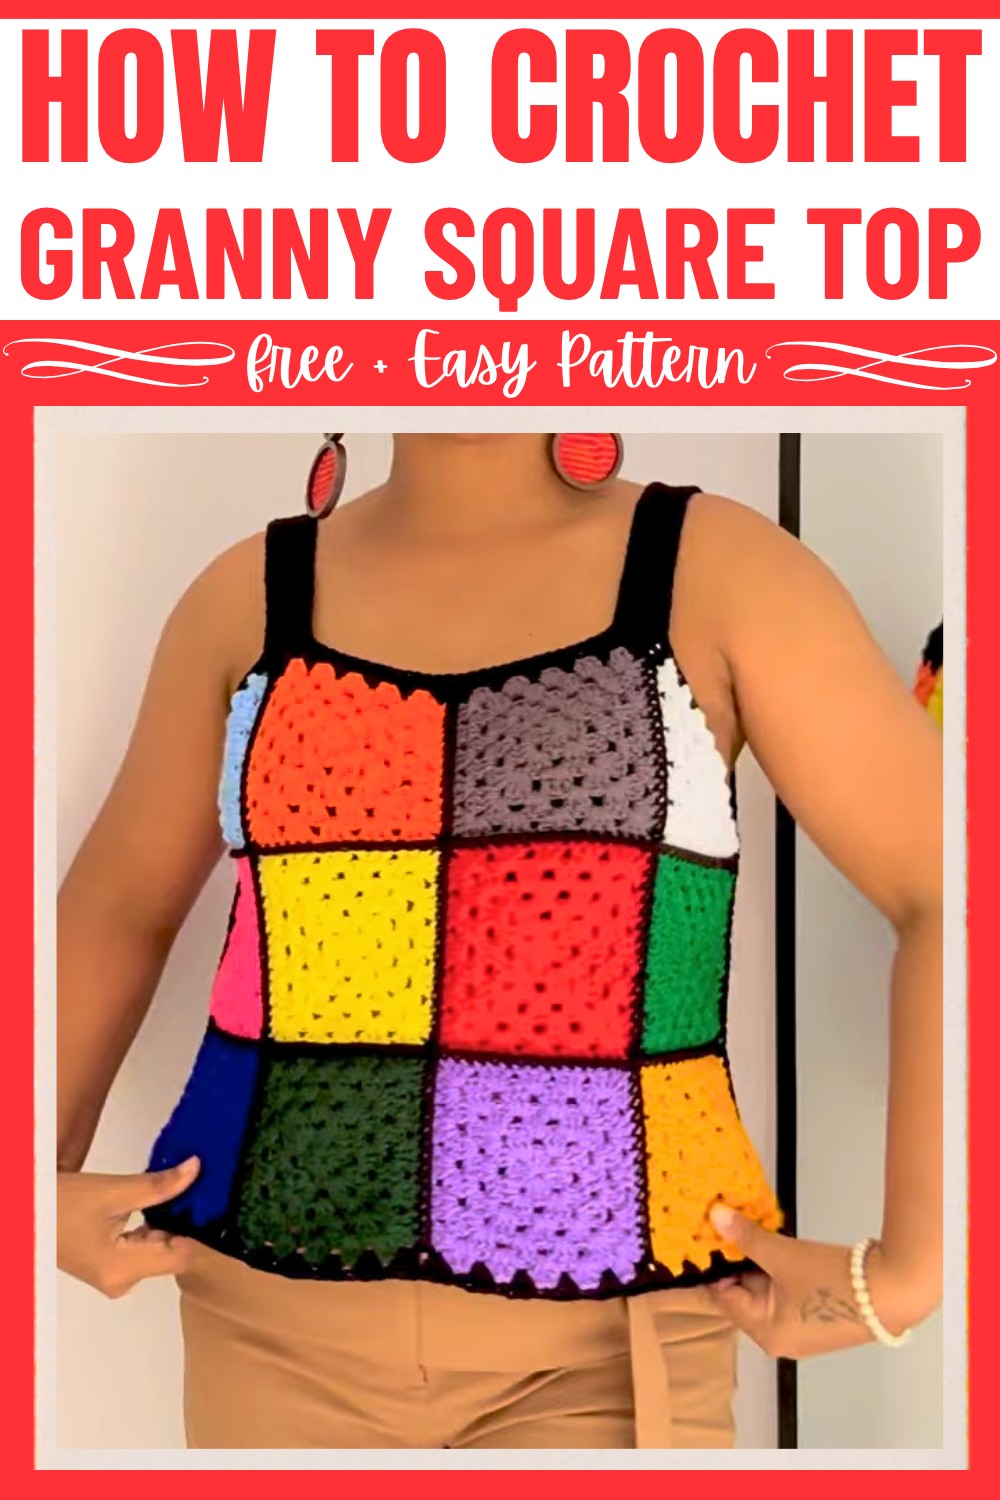
Granny Square Crochet Top
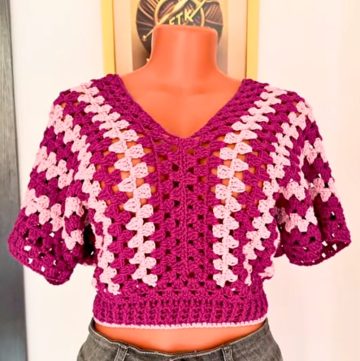
This granny square top stands out for its versatility and charm. Designed with precision and thought, the pattern balances elegance and comfort. The clever use of base colors and contrasting accents creates a bold visual statement, while its free-flowing style allows for endless customization. Add fitted strings for a tailored look or wear it as an airy, relaxed top—the possibilities are endless. Perfect for any casual outing, it’s a delightful fusion of handmade warmth and modern fashion.
Credit FTK Crochet
Materials & Tools Needed
- Yarn: Acrylic 4-ply yarn (created by combining two strands of 2-ply acrylic yarn if needed). Colors can vary, but you'll also need a base color (black or other contrasting color for joining and borders).
- Hook Size: 4.5 mm crochet hook.
- Other Tools: Stitch markers, scissors, tapestry needle, measuring tape.
- Optional: Beads for decorative chains.
Finished Size & Customization Ideas
- Size in Example:
- Bust Measurement: 40 inches (20 inches per panel for front and back). Larger or smaller sizes can be achieved by adjusting the number of granny squares used. Ensure you take your bust measurement and divide by 2 for each panel width.
- Panel Length: Each panel measures approximately 15 inches long. Achieve this by stacking granny squares vertically and adjusting the height.
- Customizations:
- Add beads or decorative chains to cinch the waist.
- Mix and match colors of the granny squares to create a playful look.
- Adjust the number of granny squares and rows based on your size or desired fit.
Pattern Abbreviations & Terminology
- ch: Chain
- sl st: Slip Stitch
- dc: Double Crochet
- cluster: A set of 3 double crochets worked into the same space.
- st: Stitch
- sc: Single Crochet
- magic circle: A technique for starting crochet in the round.
Step-by-Step Instructions
Below, we break down each part of the tutorial:
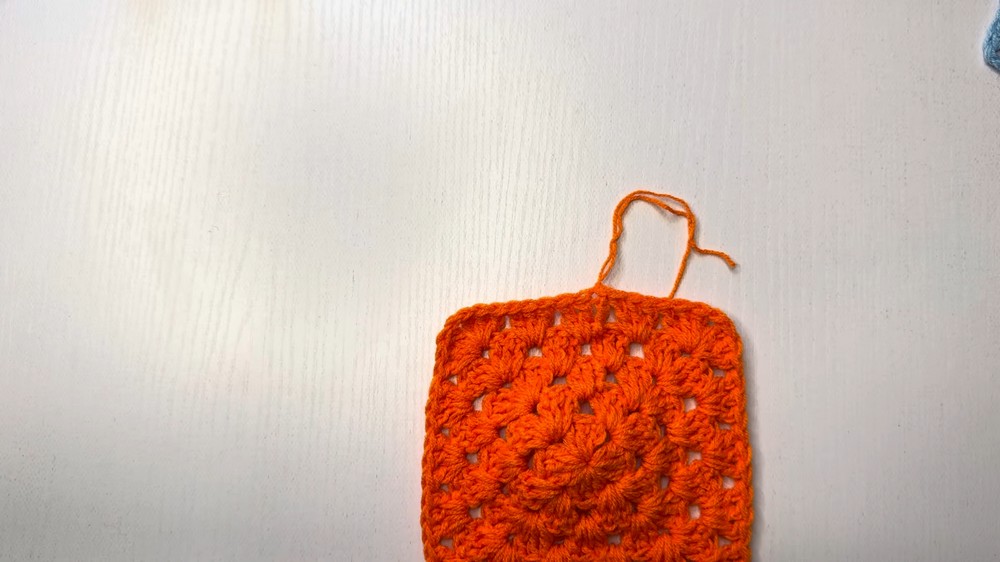
1. Granny Square
Note: Create 10 squares for each panel (front and back). Each square has 5 rounds. Adjust the number of granny squares per panel based on your measurement.
- Start with a magic circle.
- Chain 3 (acts as the first dc) and make 2 more dc into the circle (1 cluster).
- Chain 1 and repeat 3 dc clusters 3 more times, ensuring you chain 1 between each cluster.
- Tighten the circle and sl st into the top of the starting chain 3 to close Round 1.
- Round 2–5:
- Chain 3 (acts as the first dc).
- In each corner space (where chains exist), make 1 cluster, chain 1, and another cluster (to form the corner).
- Work 1 cluster in each non-corner space (no chain 1 needed here).
- Sl st into the top of the chain 3 to close each round.
- Continue this pattern until you complete 5 rounds.
- Fasten off and weave in ends.
2. Triangles
Note: Create 2 triangles per panel (4 in total). Each triangle has 5 rows.
- Start with a magic ring.
- Chain 4 (acts as the starting edge of the triangle).
- Make 1 cluster into the circle.
- Chain 1, create another cluster, chain 1 again, and make 1 dc to finish Row 1.
- Pull the yarn to tighten the ring. Do not join; this is a growing triangle.
- Rows 2–5: Continue working each row.
- At the beginning of each row, chain 4 (as the double crochet and space).
- In each middle space, create clusters. At the one corner space, make an increase: [cluster, chain 1, cluster].
- At the end of each row, chain 4 and work into the edge with a dc.
- Fasten off and weave in ends.
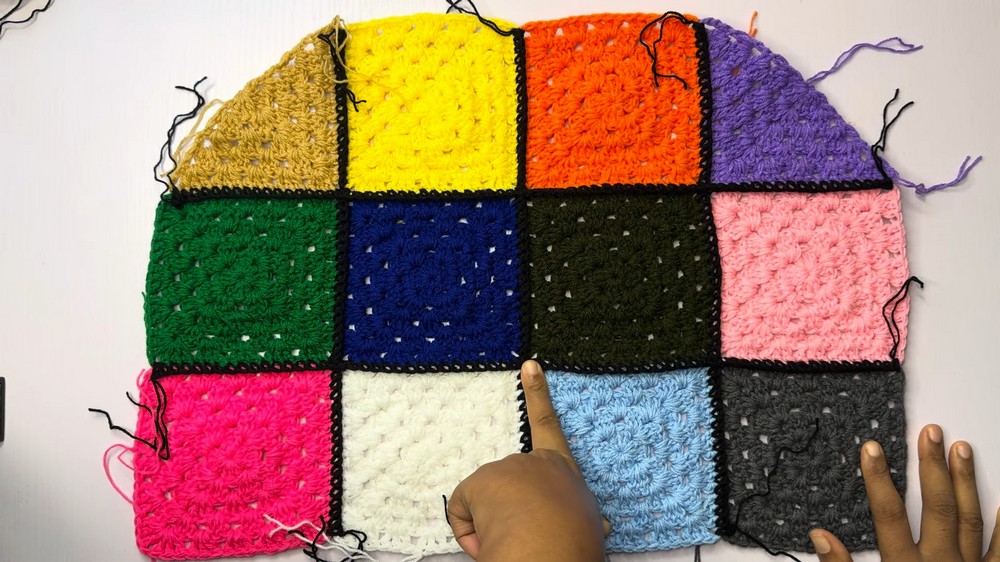
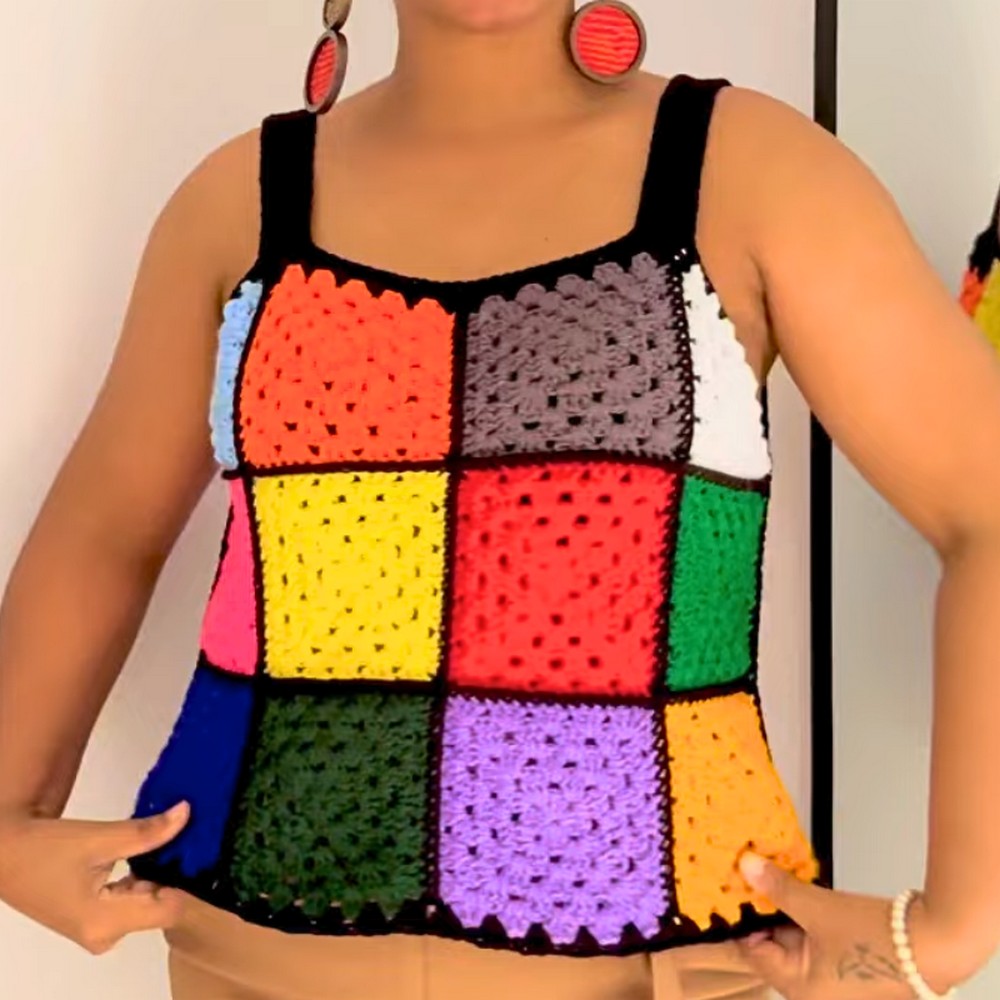
3. Layout and Assembly
Create Front and Back Panels:
- Each panel requires 10 squares and 2 triangles.
- Arrange squares in a 4x3 grid, with two triangles at the top corners to form armholes.
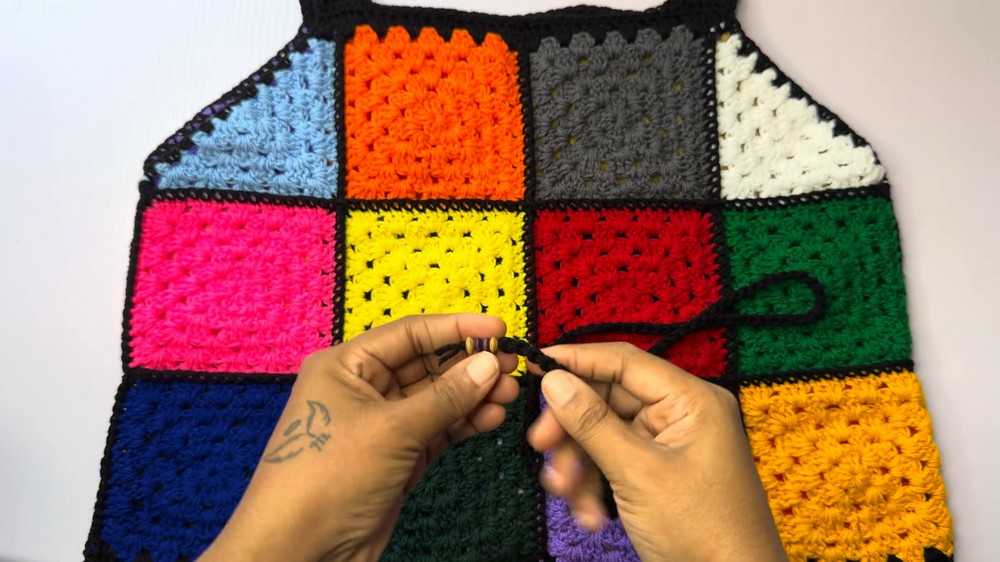
Joining Squares and Triangles:
Use black yarn and the single crochet method:
- Hold two squares wrong sides together.
- Insert the hook through both squares into corresponding stitches. Work single crochets evenly along the edges.
- Repeat for all squares and triangles to join into a single panel.
4. Join Front and Back Panels
- Use the single crochet method to join both panels along the side seams, leaving the armhole (triangle area) open.
- The tapestry needle method can be used for shoulder seams. Thread yarn and sew evenly into 5 stitches.

5. Straps (Sleeves)
- Work 24 rows of single crochet (5 stitches wide) extending from the top of each panel at the shoulder.
- Sew straps together to frame the shoulders using the tapestry needle method.
6. Neckline
- Reattach black yarn at the neckline edge.
- Work single crochets evenly into each stitch all around the neckline.
- Join with a slip stitch into the first single crochet and fasten off.
7. Bottom Border
- Reattach black yarn at any edge.
- Work clusters (3 dc) into each space all around the base of the top.
- Join with a slip stitch and fasten off.
Finishing
- Armhole Edging: Work single crochets evenly around each armhole.
- Weave Ends: Use a tapestry needle to weave in all loose ends.
- Optional Chain Tie: Create a chain using scrap yarn for a decorative waist tie. Optionally add beads for flair.
Tips & Additional Notes
- Double-check measurements as you assemble.
- Keep tension consistent for smooth joins.
- Mix colors creatively to add personality to the top.