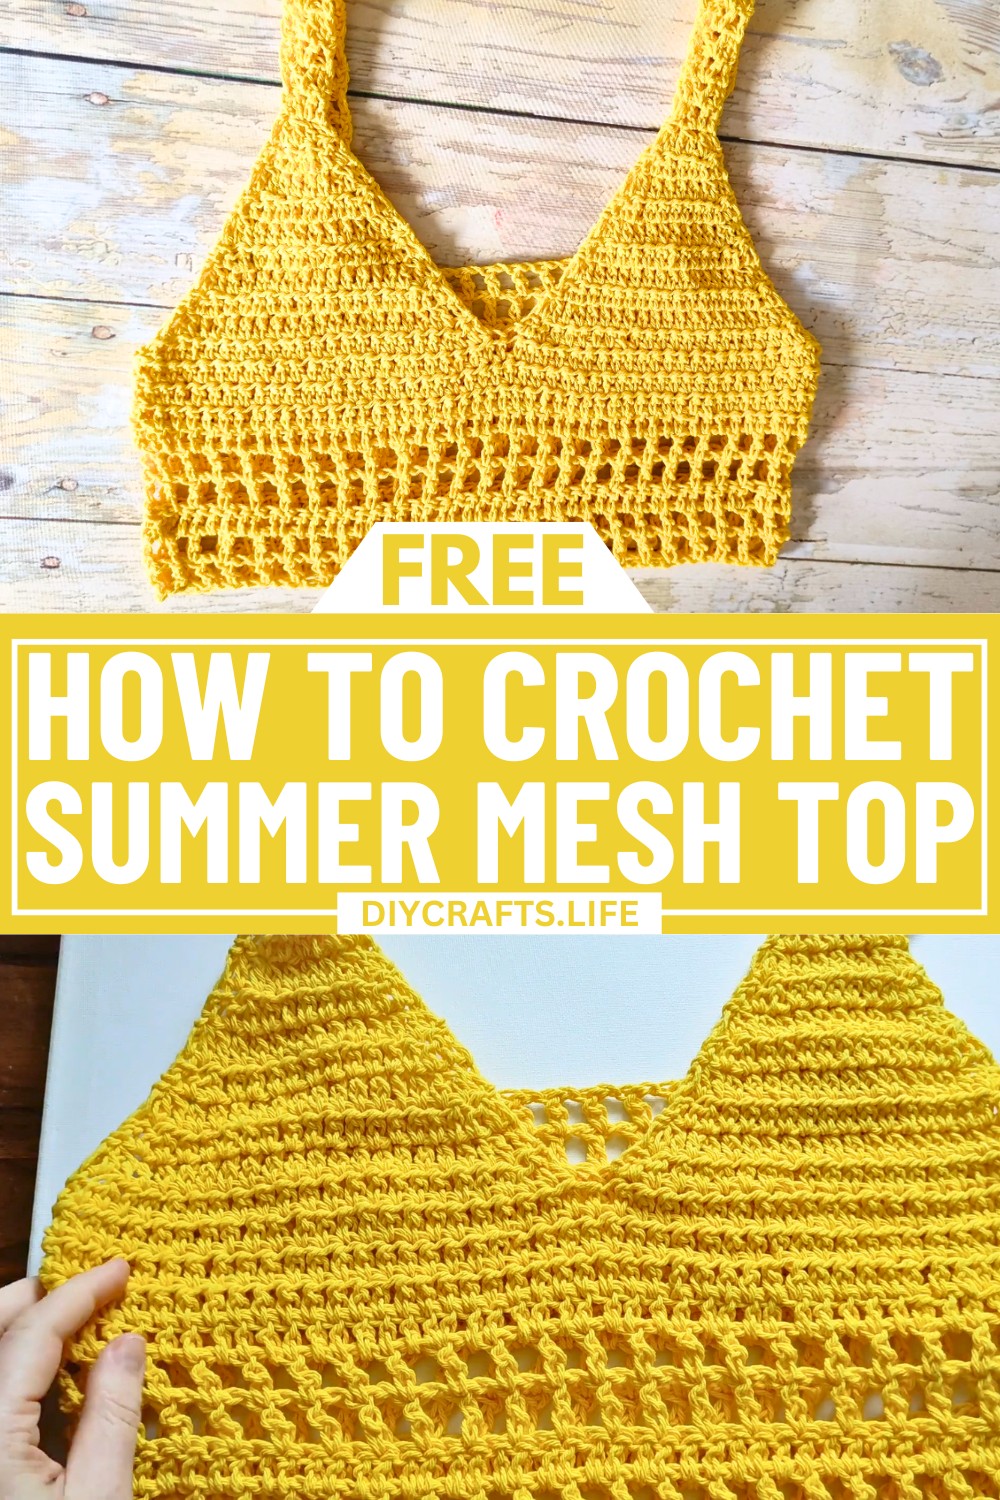
Turn heads this summer with a crochet top that radiates comfort and effortless style! Perfect for the sunny season, this unique design combines breathable mesh accents and bold details, offering a pattern that is both satisfying and fun to create. With its flattering shape and airy texture, this statement piece is your go-to for beach days, poolside relaxation, or casual outings.
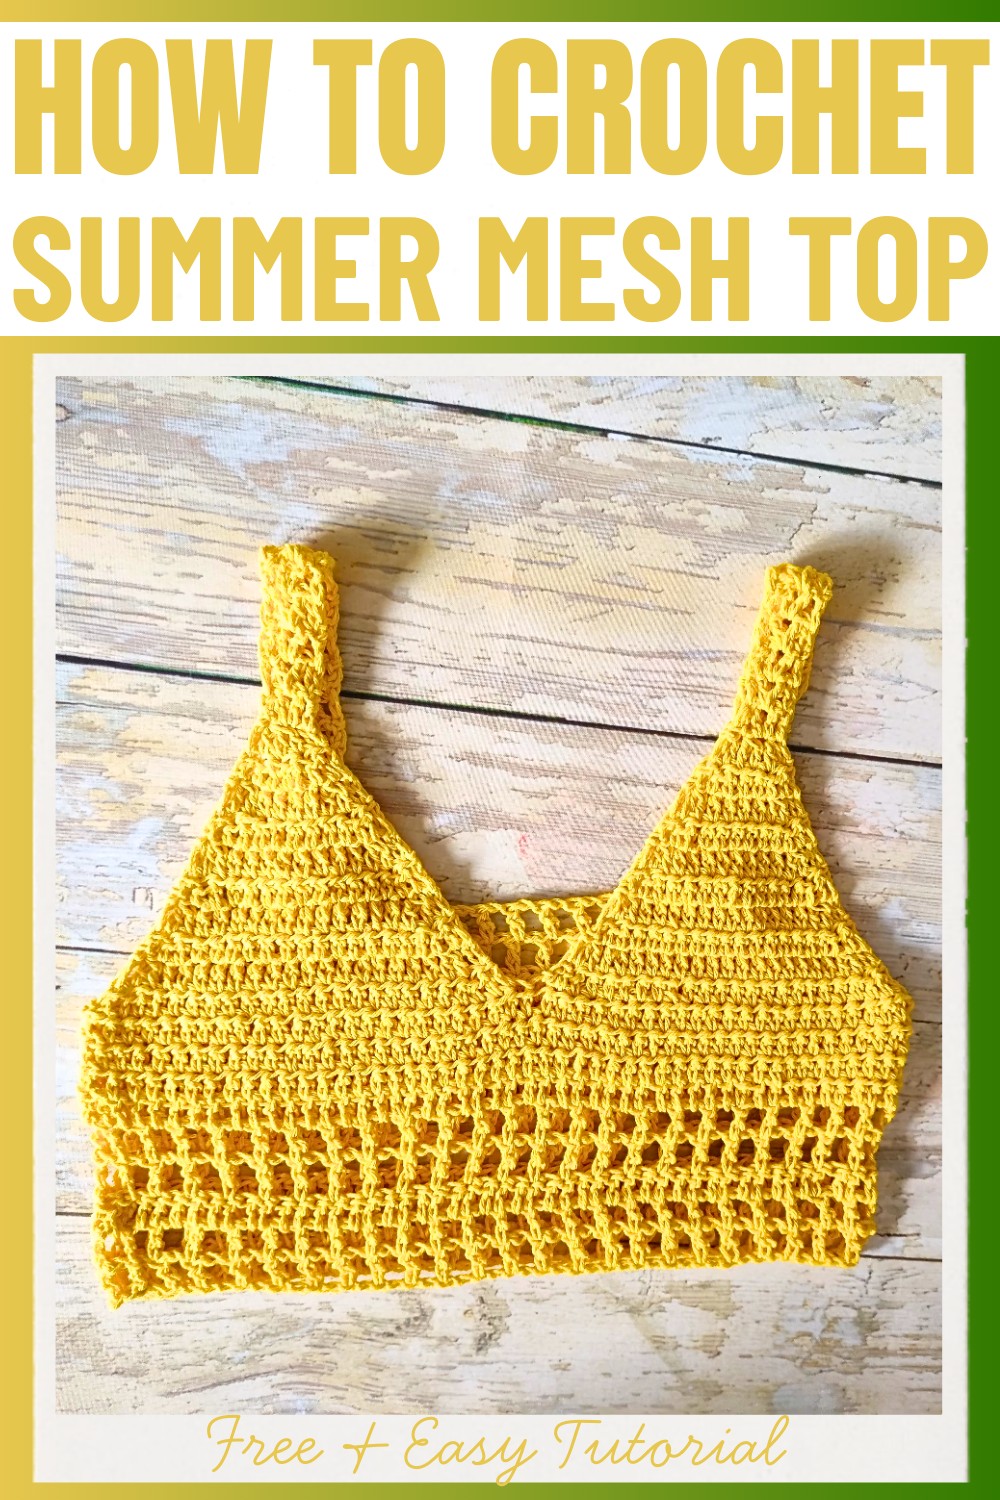
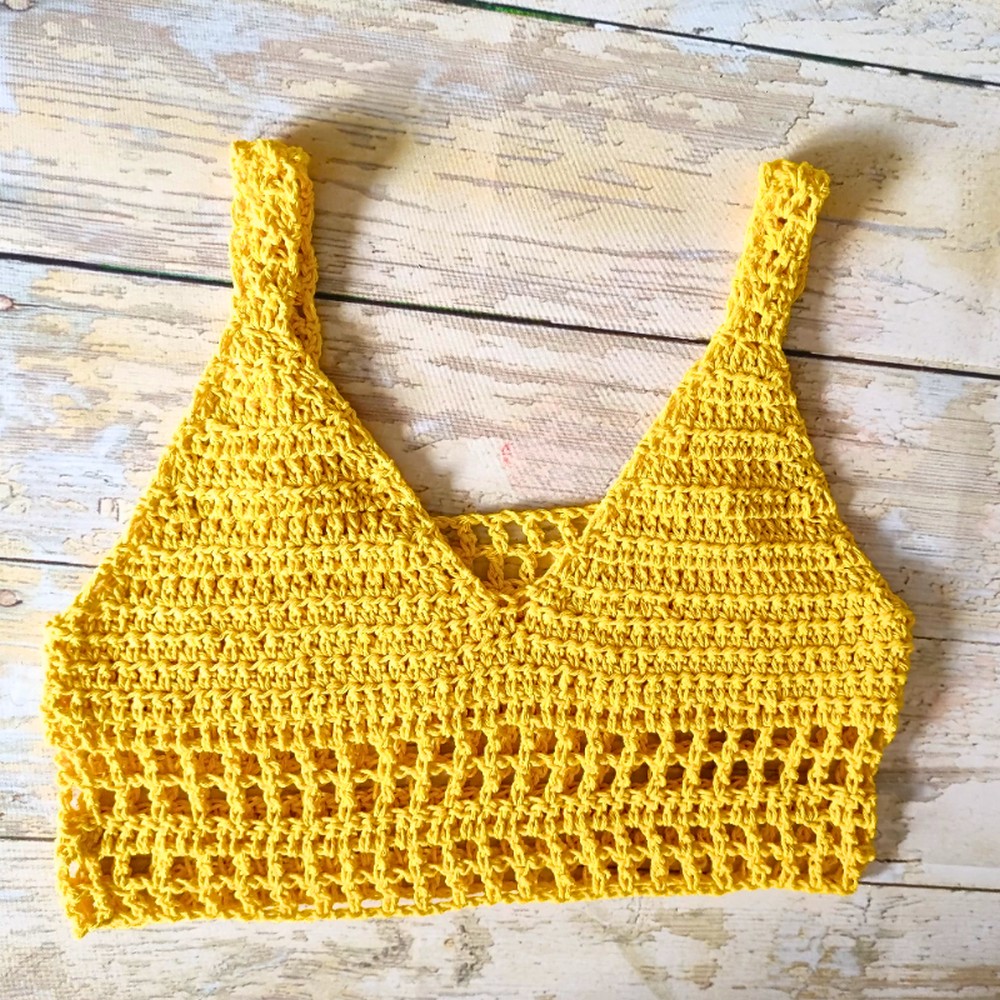
This crochet pattern blends simplicity with artistry. Crafted using a seamless bottom-up design, the top features soft triangular accents that mold beautifully to your shape. The creative strap work and subtle back shaping ensure a comfortable and chic fit for all body types. Its customizable length, structured panels, and lightweight feel make the perfect handmade piece to personalize your summer wardrobe.
Credit Hobbi CROCHET
Required Materials
- Yarn: 100% cotton yarn (155 m / 100 g skein; medium-weight yarn).
- For size medium, 1 skein (100 g) is used.
- For larger sizes, additional yarn may be required.
- Crochet hook: 4.5 mm hook.
- Stitch markers (optional, but helpful for marking sections like straps or back shaping).
- Scissors.
- Tapestry needle for weaving in ends.
Important Notes
- Sizing: This is a "made-to-measure" project. Measure the widest part of your chest for the initial chain. Keep in mind that cotton has a tendency to stretch over time, so consider a snug fit when starting.
- Construction: The top is worked from the bottom up in a mesh stitch pattern for the body, followed by shaping for the upper front, back, and straps.
- Color Options: While the tutorial uses a single color, you can use contrasting colors for the body, straps, or back if desired.
- Adjustments: You can make modifications to strap width, back length, or overall length of the top according to your preference. For longer tops or larger sizes, consider purchasing additional skeins of yarn.
- Yarn Stretch: Test the chain around your chest before starting to ensure that it fits, considering the stretch of the yarn.
- Customization: You can alternate between mesh and solid stitch rows, depending on preference for breathability and coverage.
Step-by-Step Crochet Instructions
BODY
- Foundation Chain (Round 1)
- Begin with a long chain based on the widest part of your chest measurement.
- For reference, the tutorial used 95 chains for size Medium (adjust according to your measurement and desired fit).
- Join the chain into a circle with a slip stitch, ensuring it is not twisted.
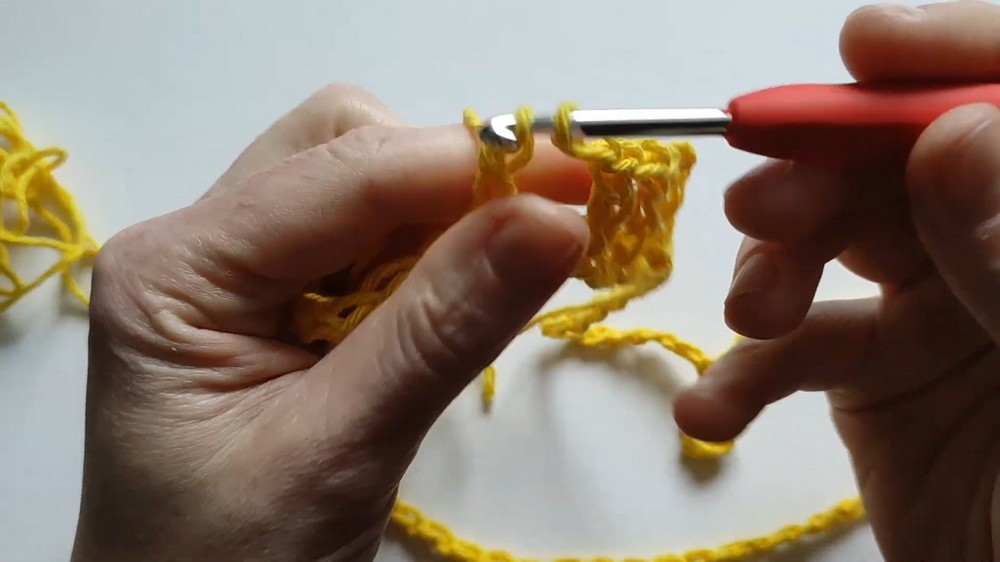
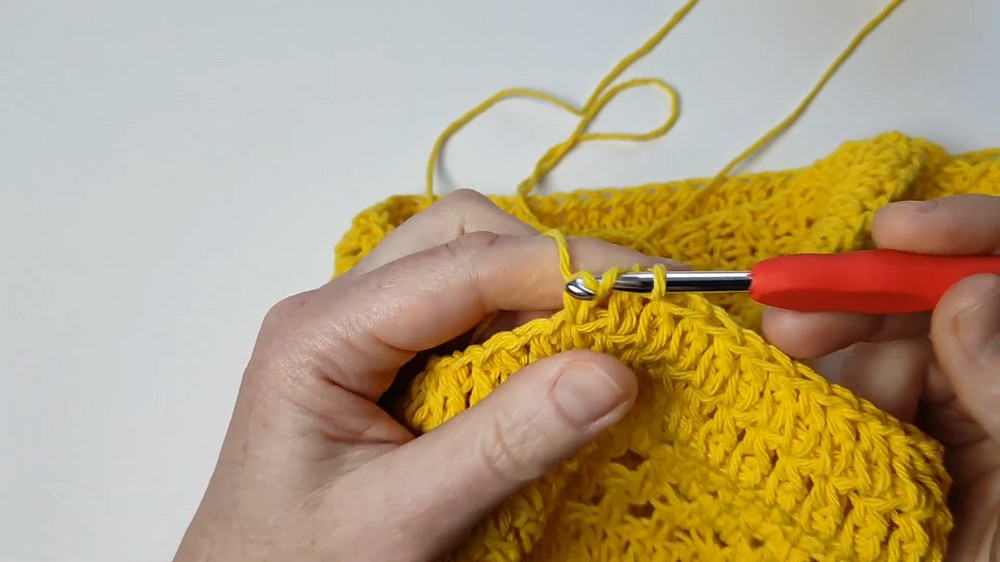
- Mesh Pattern (Rounds 2-9, or as preferred):
- Round 2:
- Chain 3 (counts as the first double crochet).
- Chain 1, skip one stitch, and double crochet in the next chain.
- Repeat chain 1, skip one stitch, double crochet until the end of the round.
- Slip stitch into the 3rd chain of the starting chain-3 to join the round.
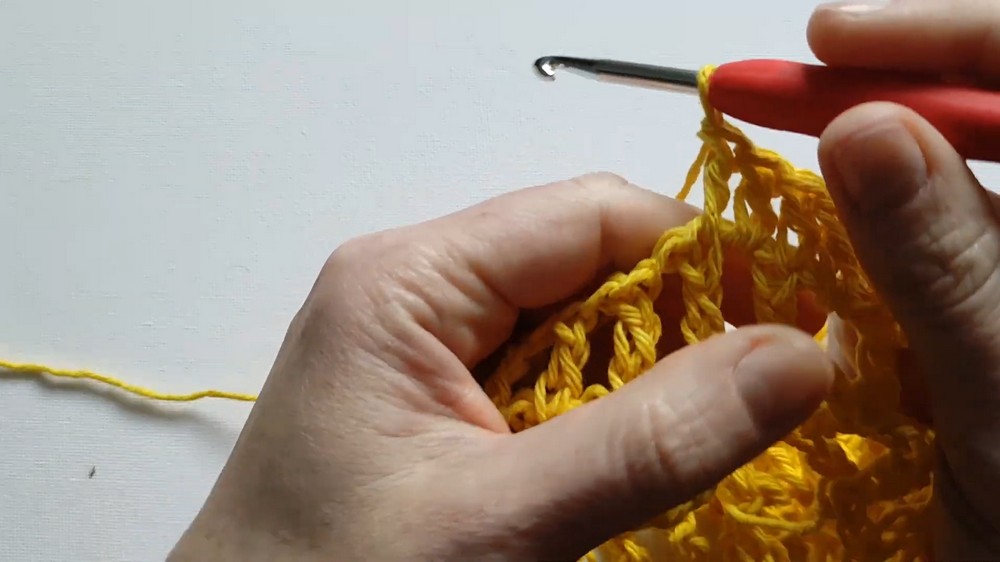
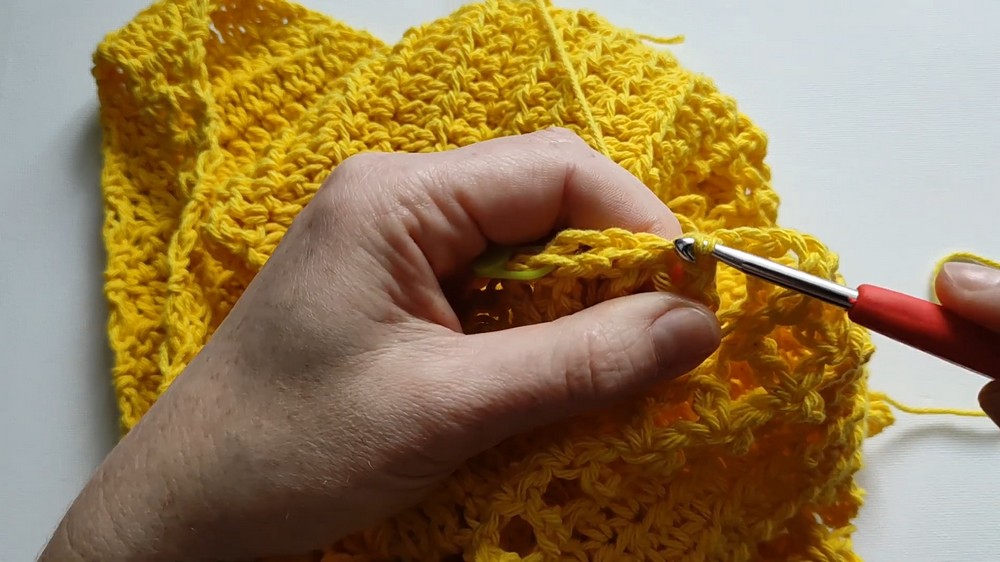
- Round 3 and beyond:
- Repeat the pattern by working a double crochet into the chain space from the previous row, followed by a chain-1, until the desired height is achieved (9 rounds used for size medium).
- Round 2:
- Option for alternating rows:
- To add more texture, alternate between 2 rounds of mesh stitch and one round of solid double crochets (i.e., double crochet in every previous row's chain space and double crochet, without skipping).
FRONT UPPER TRIANGLES
- Divide and Calculate:
- Calculate the total number of stitches (e.g., 95 for a medium size).
- Divide stitches evenly into 2 front panels and 1 back panel.
- For example, 48 stitches for the front (24 on each side) and 47 for the back.
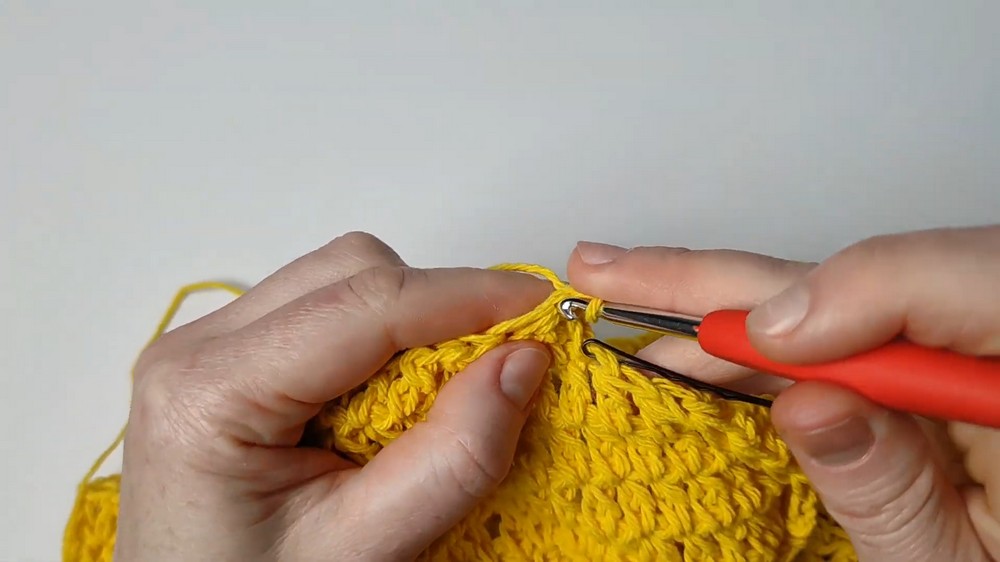
- First Triangle:
- Attach yarn to the first stitch of one front panel.
- Row 1: Chain 3 (counts as first double crochet), make a double crochet decrease over the next two stitches, then double crochet across until 3 stitches remain. Finish with another double crochet decrease and a final double crochet.
- Row 2: Turn, chain 3, repeat the same process with a double crochet decrease at the beginning and end of the row.
- Continue decreasing at both sides of each row until 3 stitches remain.
- Finish with a single decrease or leave 3 stitches intact for strap attachment.
- Second Triangle:
- Follow the same process as the first triangle for the other front panel.
BACK PANEL
- Shaped Back Panel:
- Attach yarn to the center back panel (stitches left from body division, e.g., 47 stitches).
- Create a shallow triangle by leaving 5 stitches unworked on each side for underarm shaping.
- Work consecutive rows:
- Decrease 1 double crochet at the beginning and end of each row.
- Optionally, alternate between mesh and solid rows (use mesh in the lower part and solid rows closer to the top of the back if more coverage is needed).
- Stop when you have a few stitches remaining for attaching straps (e.g., 5-7 stitches).
STRAPS
- Foundation Strap Row:
- Attach yarn to the top of the front panel (where the triangle ends).
- Create a V-stitch strap (for a decorative look):
- Foundation Row: Work one double crochet, chain 1, and another double crochet in the same stitch (this creates the first “V”).
- Repeat this pattern until the strap is the desired width.
- Continuing Straps:
- Continue rows of V-stitches, adjusting length to your measurement.
- Remember that straps will stretch slightly over time—test frequently on your body to get the right fit.
- Repeat strap instructions for the second front triangle.
ASSEMBLY
- Attach Straps to Back Panel:
- Using the yarn tail or new yarn, attach the completed front straps to the back panel. Leave enough space between the straps for comfort and adjust placement to match your size and preference.
- Finishing:
- If desired, add a single crochet border or crab stitch edge around the neckline, straps, and bottom hem for a professional finish.
- Use a tapestry needle to weave in all loose ends.
Design Variations
- Length Adjustment:
- For a more cropped look, stop the body section early.
- To make it longer, simply add more rows before transitioning to the upper panel shaping.
- Custom Edging:
- Add decorative touches like scalloped edges or picot stitches to the bottom hem or straps.
- Color Play:
- Use a contrasting color for the straps or the last few rows for extra flare.
Finishing Touches
- Test the fit of the top to ensure it is comfortable and meets your desired style.
- After completing, steam block or lightly hand wash to relax stitches and improve drape.