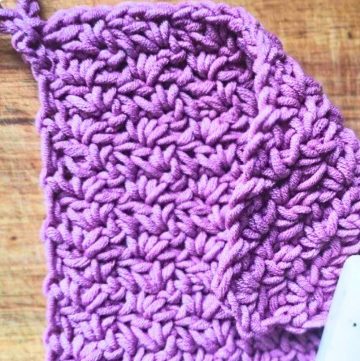
Add a touch of intricate charm to your kitchen with a crochet kitchen towel that showcases beauty in every stitch. This design turns practical into stunning, making it a standout addition to your home. Whether hanging gracefully from your oven handle or displayed as a decorative element, this piece redefines how we see everyday kitchen essentials.
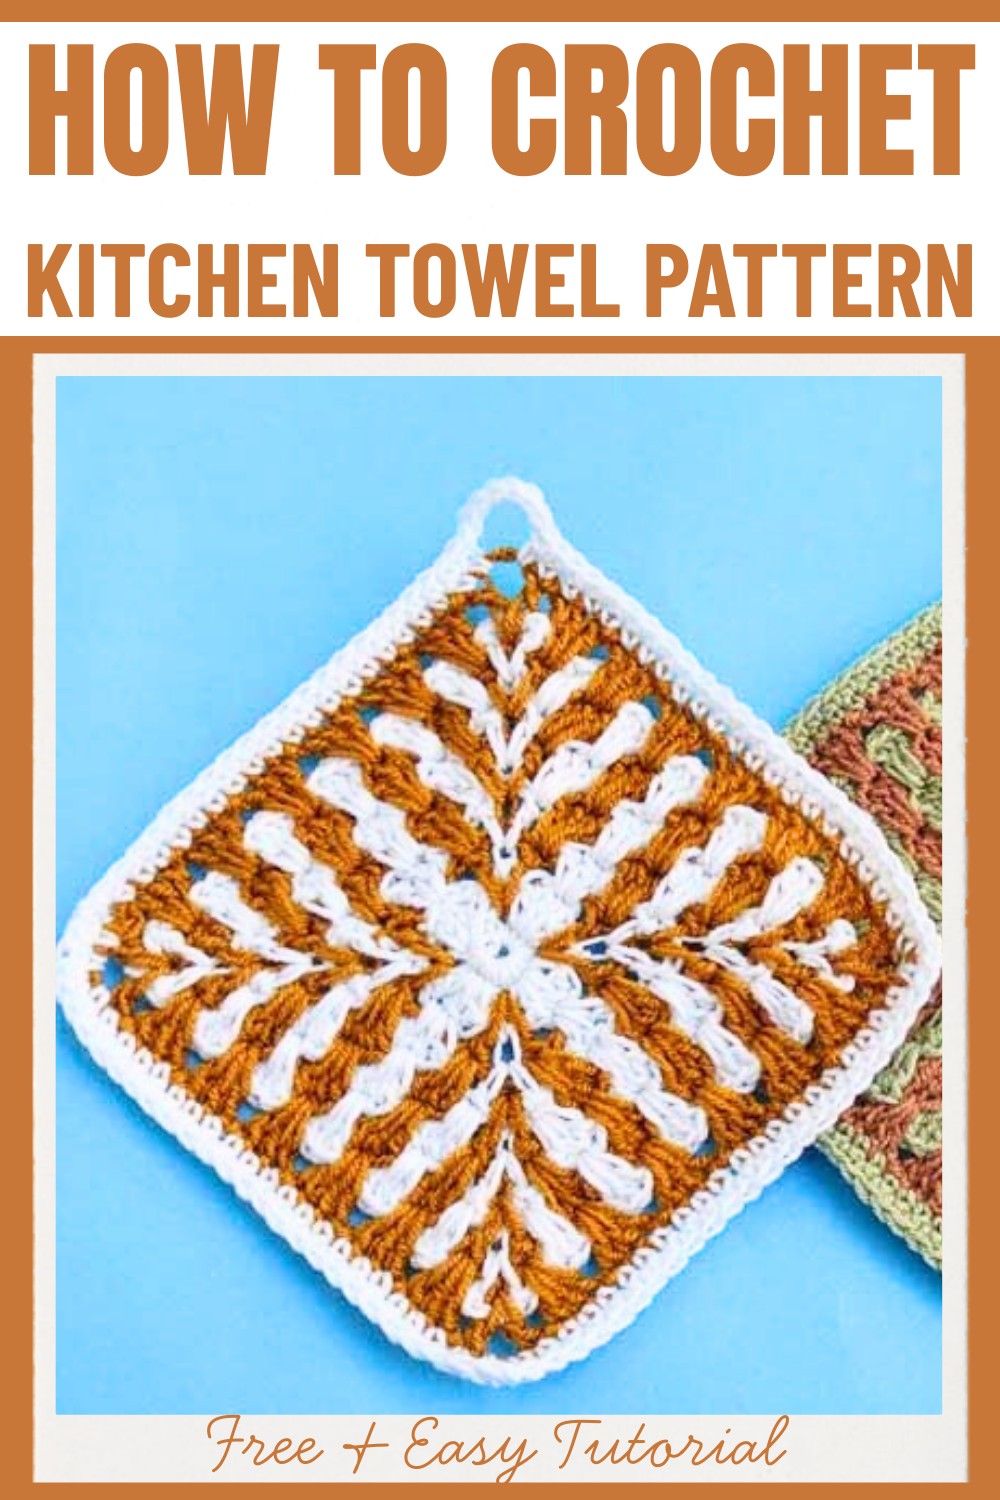
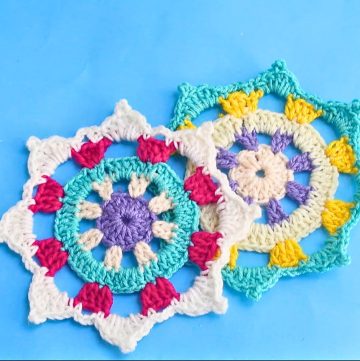
This pattern uses a striking mosaic granny square technique that beautifully combines texture and color. Each corner and stitch is thoughtfully arranged, creating a design that is both elegant and functional. With endless possibilities to experiment with color combinations, this towel gives you the freedom to match any aesthetic. It's a perfect balance of simplicity and artistry, designed to inspire anyone who loves creative home touches.
Credit Diy crochet-crosia
Required Materials:
- Yarn: Light wool in two colors (3-ply yarn is used in the video, but you can use any suitable yarn for the project).
- Hook Size: Recommended crochet hook that matches the yarn weight (size not specified in the video but typically 2.5 mm to 3.5 mm for 3-ply wool).
- Scissors: For trimming yarn ends.
- Tapestry Needle: For weaving in the yarn ends.
Important Notes:
- Chain 1 Does Not Count as a Stitch: At the start of each row, "chain 1" is worked but not counted as a stitch.
- Change Color in Each Row: Change colors at the beginning of each row to create the mosaic granny square design.
- Corners Are Always Highlighted: For each corner, work a sequence of double crochet, chain, and double crochet for a smooth transition.
- Edging & Size: The video demonstrates an 8-row pattern resulting in a towel with an approximate size of 5.5 inches corner-to-corner. To make a larger or smaller towel, repeat or scale down the pattern rows.
Step-by-Step Detailed Crochet Instructions:
Main Towel Pattern
- Foundation Chain and Round 1:
- Make a foundation chain of 4 chains.
- Join the chain with a slip stitch to form a ring.
- Work in the ring:
- Crochet 3 chains (counts as 1 double crochet).
- Work 2 more double crochets, chain 3.
- Repeat the sequence of 3 double crochets and chain 3 four times to form the corner groupings.
- Join with a slip stitch to the third chain of the starting double crochet.
- You now have 4 corner groupings.
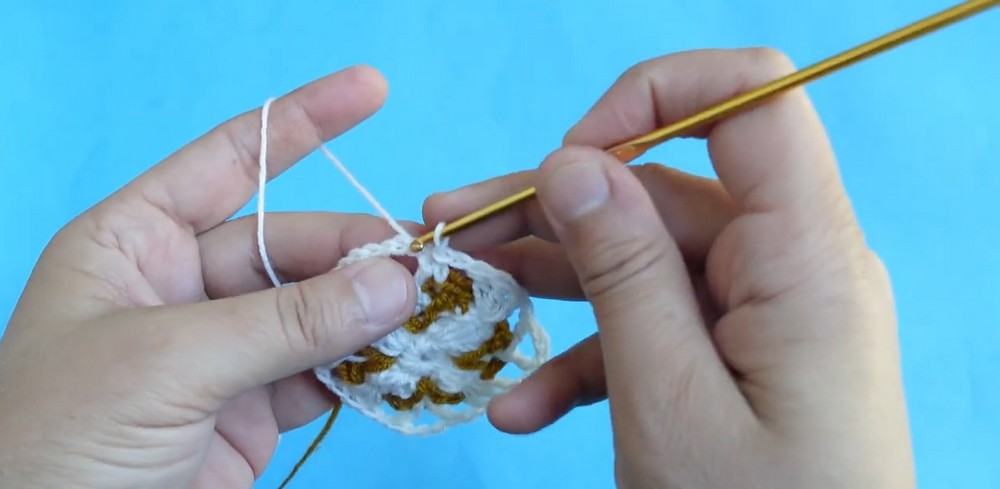
- Round 2:
- Start with the corner group; make a slip stitch to the corner and change color.
- Chain 1 (this does not count as a stitch).
- In the corner space, work:
- 1 double crochet, chain 3, 1 double crochet (corner group).
- Chain 3.
- Skip the next group of 3 stitches, and work a single crochet one step down into the middle skipped stitch of the previous round.
- Chain 3.
- In the corner space, work:
- Repeat this sequence around all 4 corners.
- At the end of the round, slip stitch into the double crochet to join.
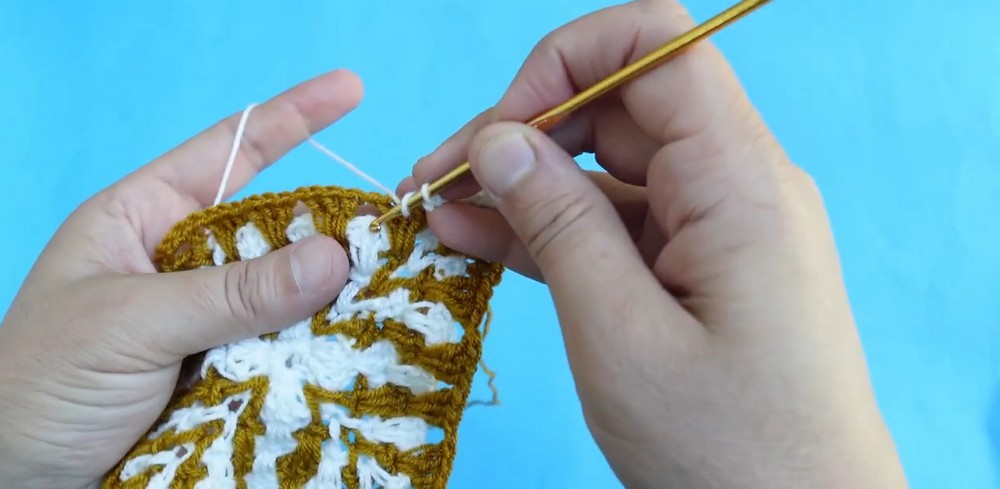
- Round 3–8 (Increasing Rounds):
- Begin in the corner and change the color.
- For each round:
- Chain 1, then in the corner:
- Work 1 double crochet, chain 3, 1 double crochet.
- In each segment between corners:
- Chain 3, skip 3 double crochets, then work a single crochet one step down into the skipped stitch from two rounds prior.
- Continue this step until you reach the next corner.
- Chain 1, then in the corner:
- Repeat incrementally for each round, increasing the number of stitches between corners.
- At the end of all rounds, join with a slip stitch into the nearest double crochet.
Note: After completing 8 rows, the piece should measure 5.5 inches corner-to-corner. Repeat rounds for a larger size.
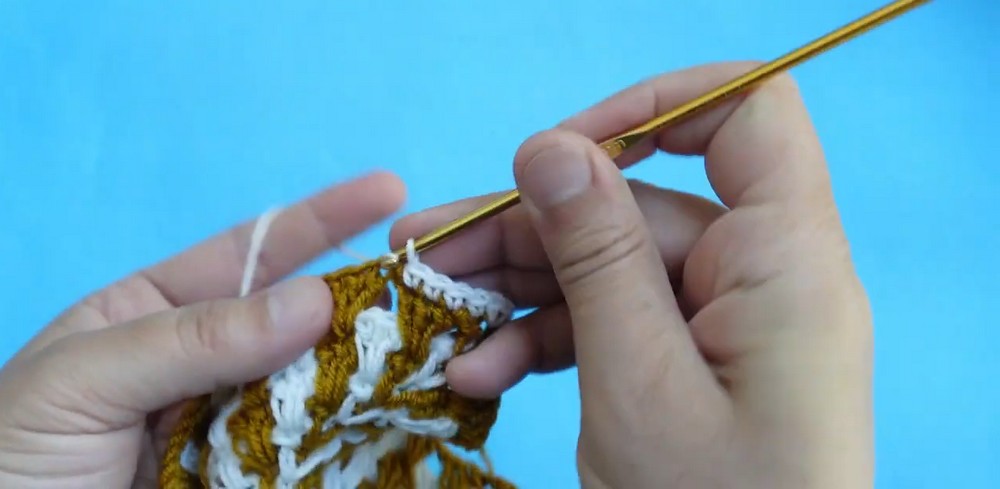
Edging:
- Begin by working a border around your square to smooth the edges:
- In the corner, crochet 1 single crochet, chain 1, and 1 single crochet.
- Work 1 single crochet into each stitch across the edge.
- At the next corner: Repeat 1 single crochet, chain 1, and 1 single crochet into the corner space.
- Continue all the way around. At the end of the round, join with a slip stitch.
- Add a Holding Base:
- In the final corner, after completing the single crochet edge, crochet:
- 8 chains, then slip stitch into the same corner space. This creates a loop for hanging your kitchen towel.
- In the final corner, after completing the single crochet edge, crochet:
- For the second row of the border:
- Chain 1, then work 1 single crochet into each stitch from the previous border row.
- For the corner, again make 1 single crochet, chain 1, and 1 single crochet.
- At the chain loop you created:
- Work 1 single crochet into each chain.
- Slip stitch at the end to finish the round.
- Finishing:
- Cut the yarn, leaving a tail.
- Use a tapestry needle to weave in all yarn ends neatly.
Final Notes:
- The completed kitchen towel includes a mosaic granny square centerpiece and smooth edging with a hanging loop.
- To create a larger towel, continue the pattern of increasing rows (past Row 8) before completing the edging.
Enjoy your handmade crochet kitchen towel! 😊