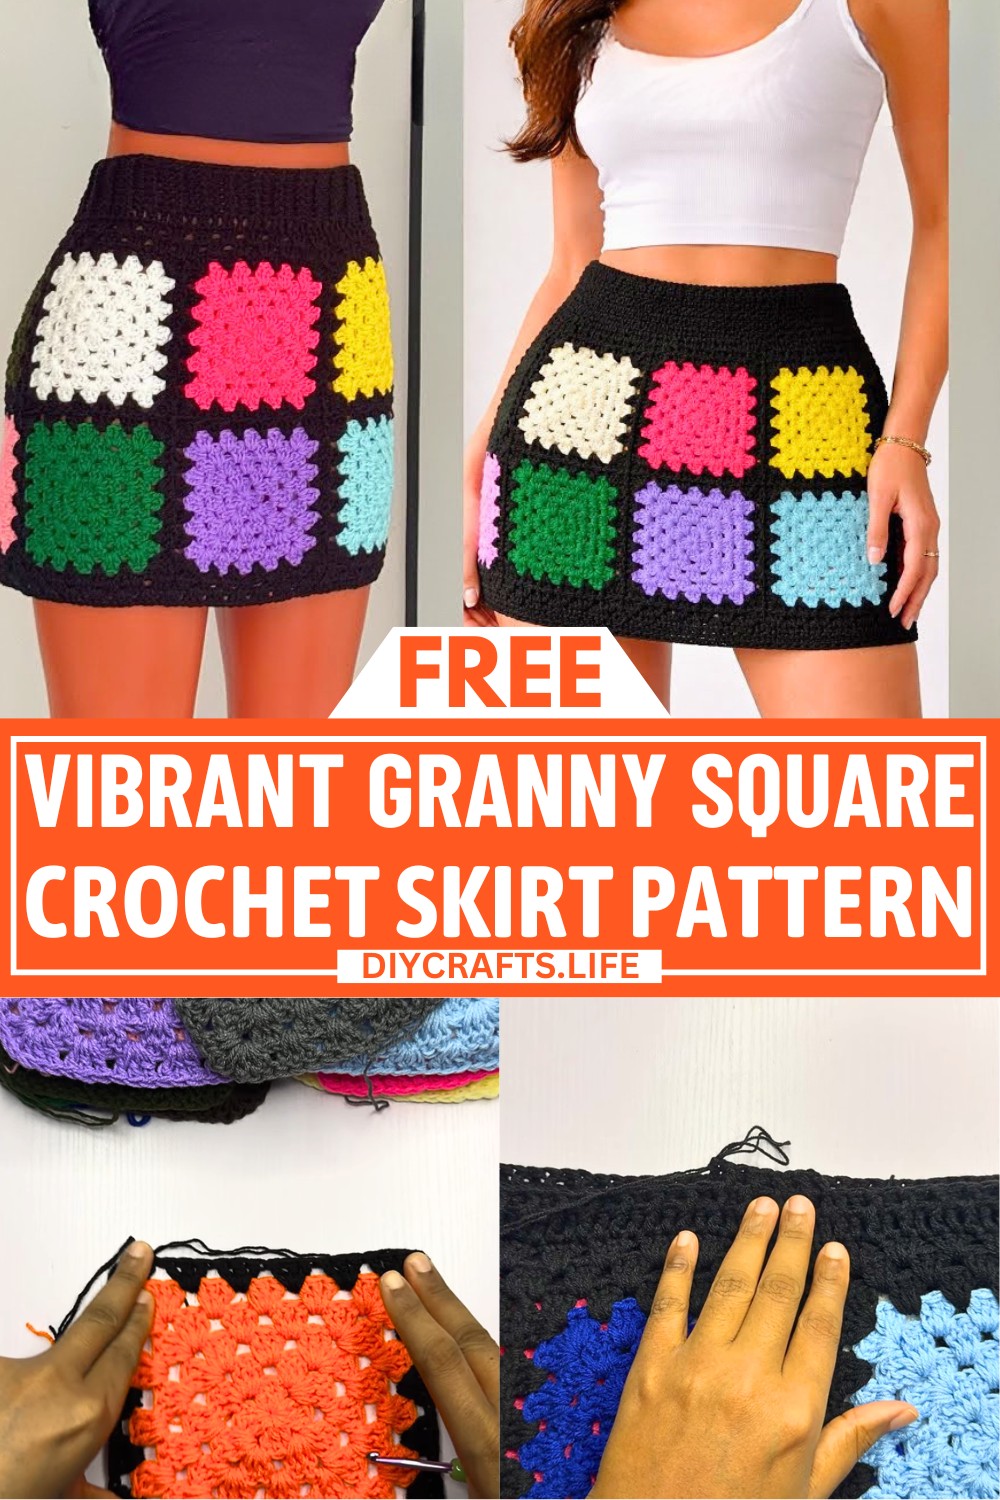
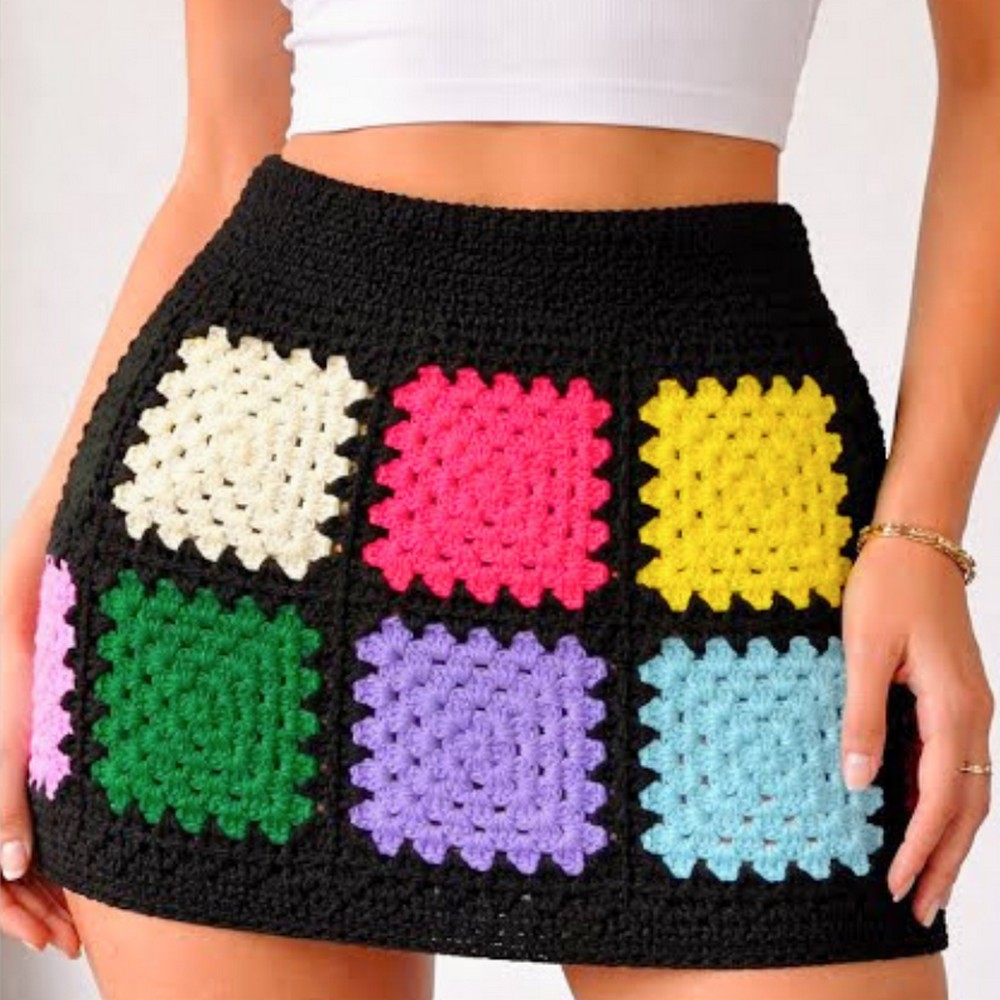
Elevate your style with a crochet piece that radiates beauty and creativity. This elegant granny square skirt brings together timeless design and rich bursts of color, making it a true standout. With its intricate textures and striking patterns, this skirt transforms basic materials into a fashionable and artistic masterpiece.
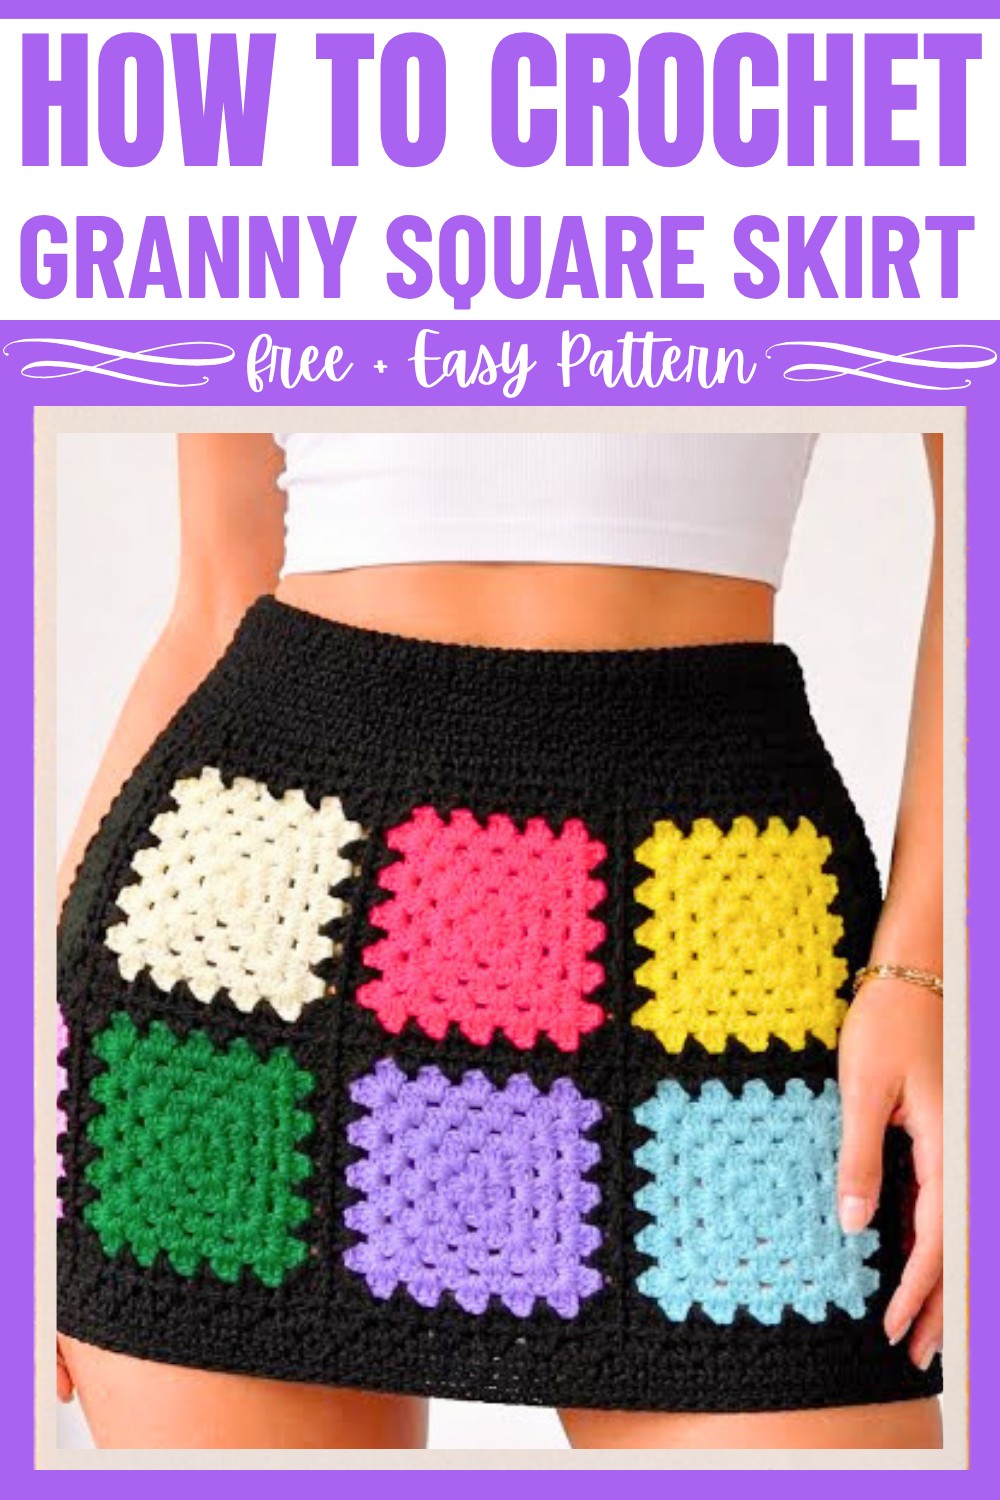
Granny Square Crochet Skirt Pattern
Featuring individual granny squares joined to create a seamless and elegant look, this pattern celebrates personalization, making it special for every wearer. From selecting scrap yarn colors to tailoring the perfect fit with precise measurements, this crochet skirt offers infinite customization possibilities. The alternating hues and geometric structure make it an ideal fusion of handmade design and modern style, ensuring wearers feel both fashionable and unique.
Credit FTK Crochet
Materials & Tools
You will need the following items:
- Yarn:
- Scrap acrylic yarn, four-ply weight.
- You can combine two strands of two-ply yarn to achieve a four-ply thickness.
- Base color: Black (used for joining granny squares and the band).
- Mixed yarn colors for the granny squares.
- Hook Size: 4.5 mm.
- Other Tools:
- Stitch markers.
- Scissors.
- Measuring tape (essential for a custom fit!).
- Tapestry needle (used for sewing the panels together).
Finished Size
- The skirt is guided by your hip measurement and the desired skirt length. Use the following points for customization:
- For a size 44-inch hip, subtract 2 inches (due to stretchiness). Example: Final hip measurement = 42 inches.
- Granny squares should be created based on individual measurements.
- Each square consists of 5 rows for regular sizes. Smaller sizes can use 4 rows, while larger sizes may require 6 rows.
- Total number of squares will depend on the length you desire. For the tutorial, 14 squares were used for a knee-length skirt.
Pattern Abbreviations & Terminology
Here’s an overview of terminology used:
- CH: Chain.
- DC: Double Crochet.
- ST: Stitch.
- Cluster: A group of 3 double crochet stitches worked in the same space.
- Magic Circle: Used to start granny squares.
- Slip Stitch (SL ST): Used to join stitches or rounds.
- Front Post Double Crochet (FPDC): A double crochet worked around the front post of the stitch below.
- Back Post Double Crochet (BPDC): A double crochet worked around the back post of the stitch below.
Step-by-Step Instructions
Granny Squares
- Start with a Magic Circle:
- Make a magic circle and CH 3.
- The CH 3 counts as 1 DC.
- Row 1 - Create Four Clusters:
- Make 2 DCs into the center of the magic circle (this forms the 1st cluster).
- CH 1, then make another cluster (3 DC). Repeat until you have 4 clusters, separated by CH 1 spaces.
- Pull the center yarn to tighten the circle.
- Make a SL ST to the top of the beginning CH 3 to join.
- Row 2 - Expand and Create Corners:
- CH 3 (counts as 1 DC), then turn your work.
- In the space directly below, make 2 DC + CH 1 + 3 DC (this forms the first corner).
- Move to the next space and repeat: (3 DC + CH 1 + 3 DC) to form corners on each chain space.
- SL ST to the CH 3 at the beginning to close the row.
- Rows 3-5 (or adjust to size):
- Repeat the same process, ensuring that corners have (3 DC + CH 1 + 3 DC), while the sides have clusters of 3 DC without chains between spaces.
- End each row with a SL ST at the top of the CH 3.
- Finish the Square:
- CH 1 and cut the yarn. Weave in ends with a tapestry needle.
- Make Additional Squares:
- Make the required number of squares based on your size and skirt length. For the tutorial, 14 squares were created.

Joining Granny Squares
- Prepare Squares for Joining:
- Add one row of black (base color) yarn to each square before joining. Use the same granny square technique for this edge row.
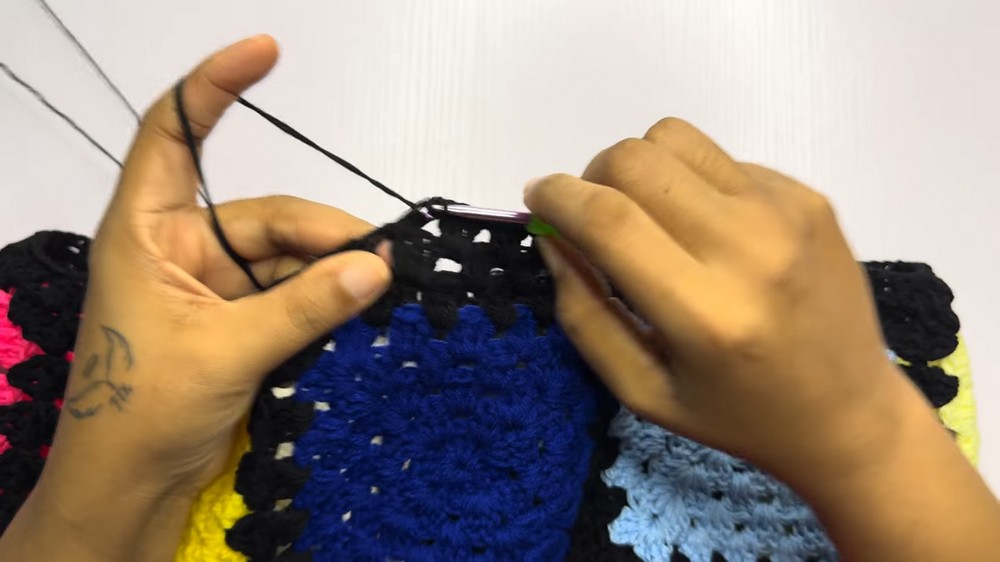
- Join Squares Using the Slip Method:
- Work on one square, stopping halfway through the edge row.
- Remove the hook from the active loop and insert it into the corresponding corner space of the square you want to join.
- Pull the loop through the corner, CH 1, and return to complete the cluster.
- Repeat the process for each square, connecting corners and edges one at a time.
- Continue Joining:
- Repeat the slip-method join for all squares based on your design.
- For side-by-side joining, match spaces and join them consistently.

Constructing the Skirt Tube
- Arrange Panels:
- Once all the squares are joined into a long rectangle, fold the ends to create a tube (skirt shape).
- Sew the Edges Together:
- Use a tapestry needle to sew one edge to the other by picking stitches from both panels.
- Alternatively, use single crochet or slip stitch for joining.
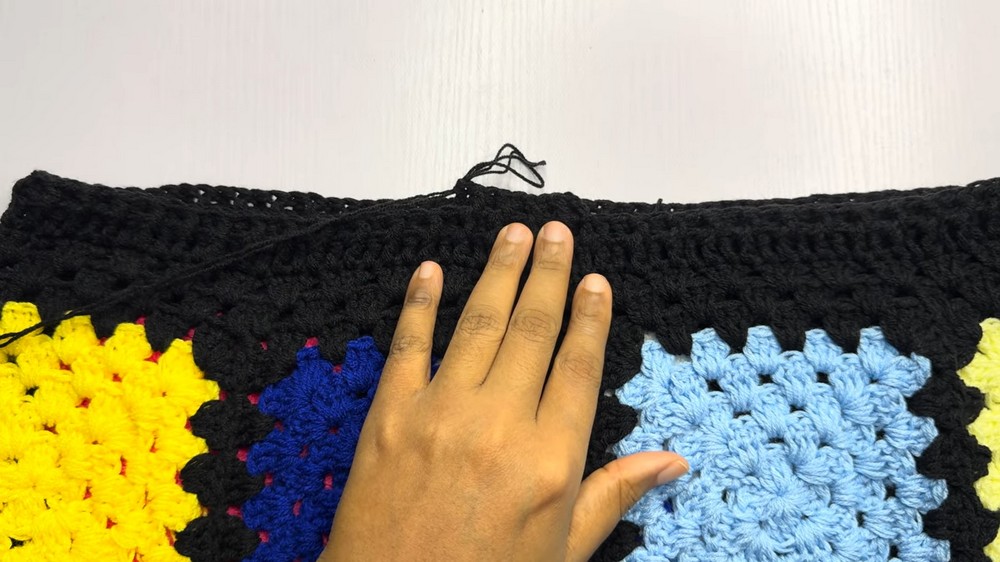
Adding the Band (Top Edge)
- Row 1:
- Begin with a black yarn at the top edge of the skirt.
- CH 3, and make granny stitch clusters (3 DC in each space).
- Where squares meet, combine the spaces with decreases (refer to slip stitch method in the tutorial).
- Row 2:
- Repeat granny stitch clusters, making adjustments for fit using decreases if needed.
- Rows 3-10:
- Switch to front post and back post double crochet (FPDC, BPDC) to create a textured elastic band.
- Alternate FPDC and BPDC stitches in each row until your band reaches your desired height (the tutorial achieved 2.5 inches with 8 rows).
Adding the Border (Hem)
- Row 1:
- Reattach black yarn to the bottom edge of the skirt.
- CH 3, and work granny stitch clusters (3 DC per space) around.
- Row 2:
- Repeat the granny stitch technique.
- Customize the Length:
- If you want a longer skirt, continue adding rows to the hem.
Finishing Touches
- Weave in all yarn ends using a tapestry needle.
- Check the seams for uniformity.
- Block the skirt if necessary to shape it properly.
Customization Ideas
- Colors: Use contrasting or complementary colors for the granny squares.
- Length: Increase the number of granny squares vertically for a maxi or floor-length skirt.
- Band Variations: Add an elastic band or a drawstring for extra support at the waist.
- Border Detail: Experiment with scalloped or shell stitch edging for a decorative hem.