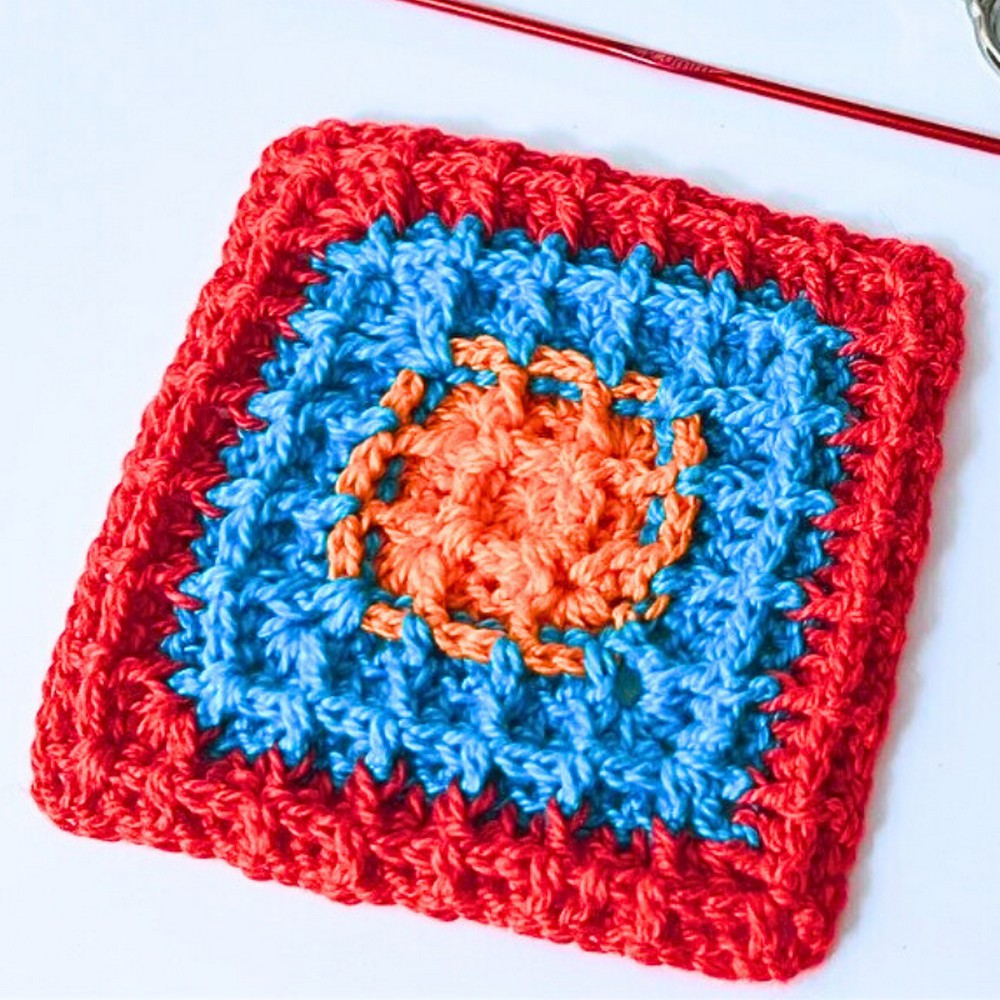
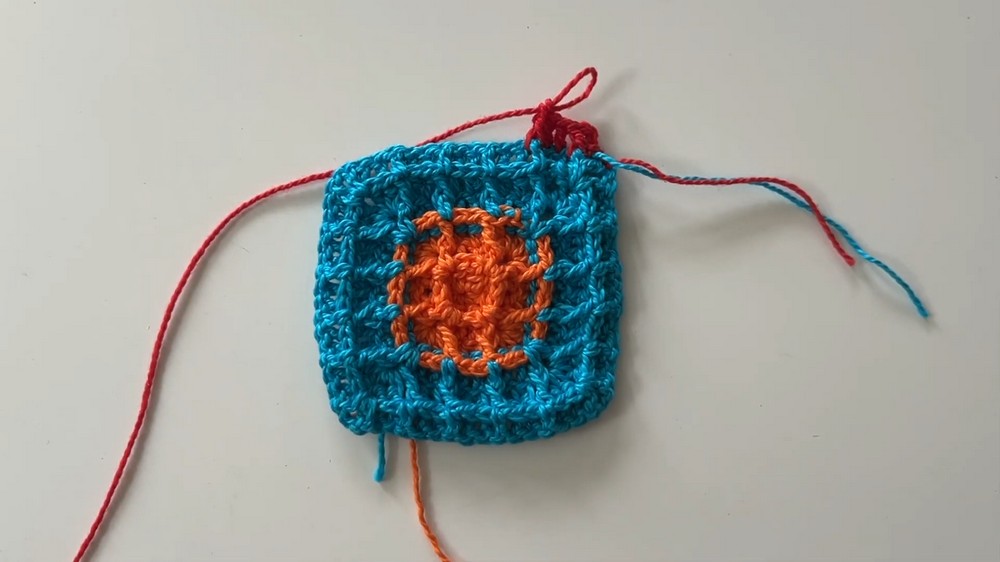
Bring depth and texture to your crochet work with the Thick & Textured Waffle Stitch Granny Square! Perfectly combining boldness and simplicity, this design boasts a rich, dimensional look that instantly catches the eye. Whether worked in bold tones or soft hues, this crochet square is both modern and visually striking, making it a stylish choice for any crochet enthusiast.
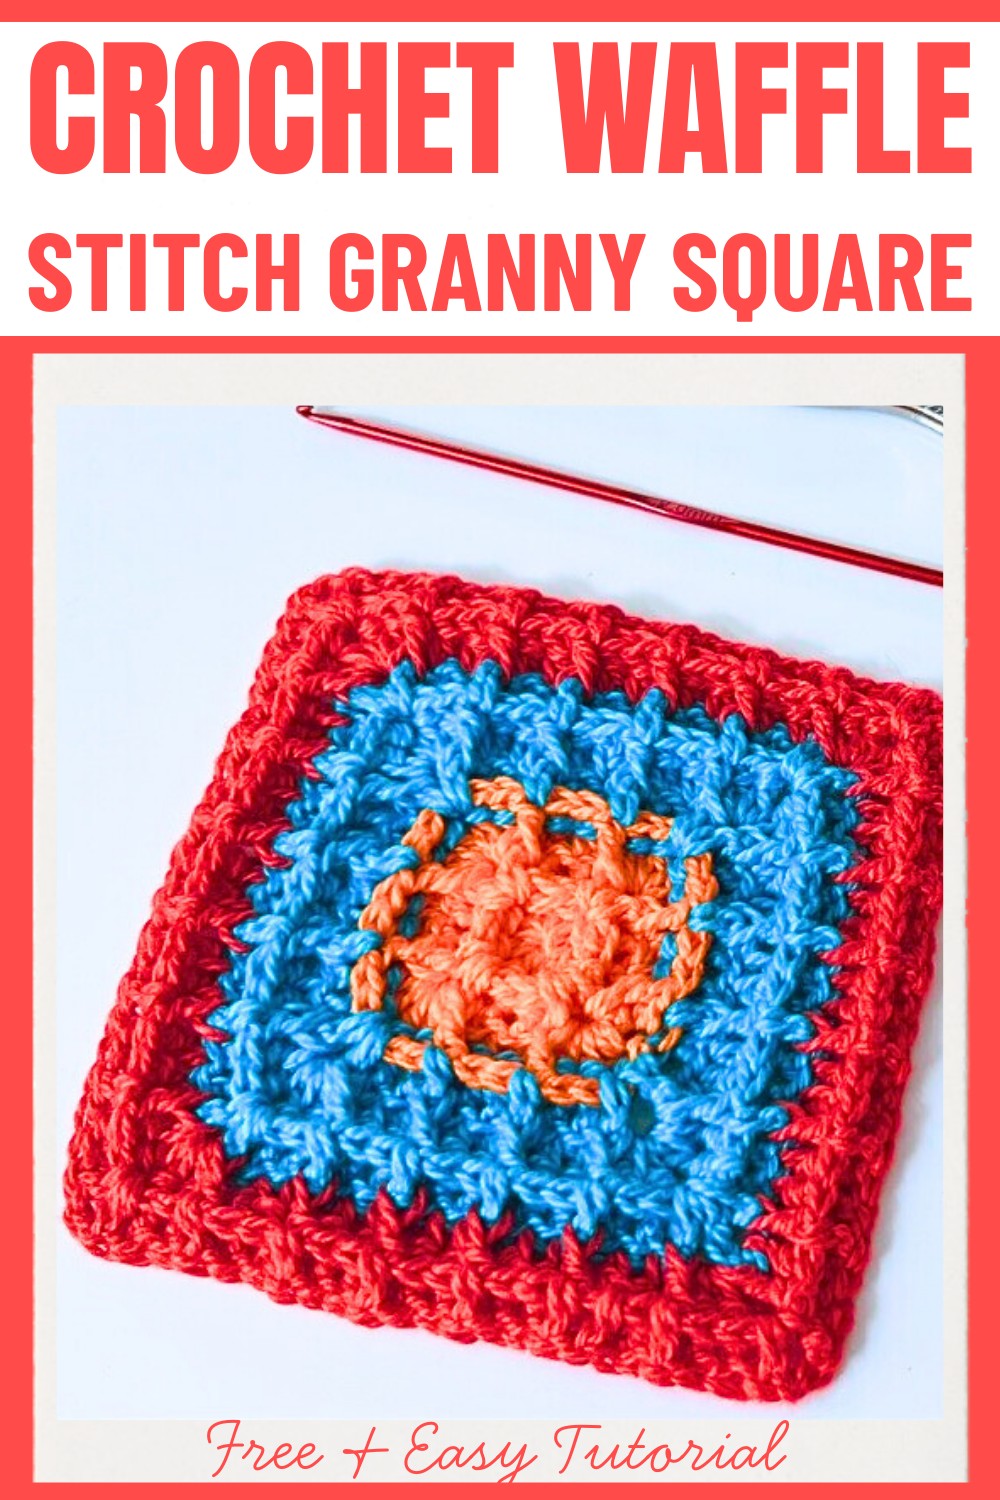
What makes this granny square truly stand out is the intricate waffle-like design, achieved using front post double crochet stitches and clean transitions. Its thick texture adds a cozy yet sophisticated touch, making it a fantastic option for blankets, home decor, or personalized gifts. With its repetitive yet engaging pattern, it’s easy to customize, allowing you to turn simple squares into something extraordinary.
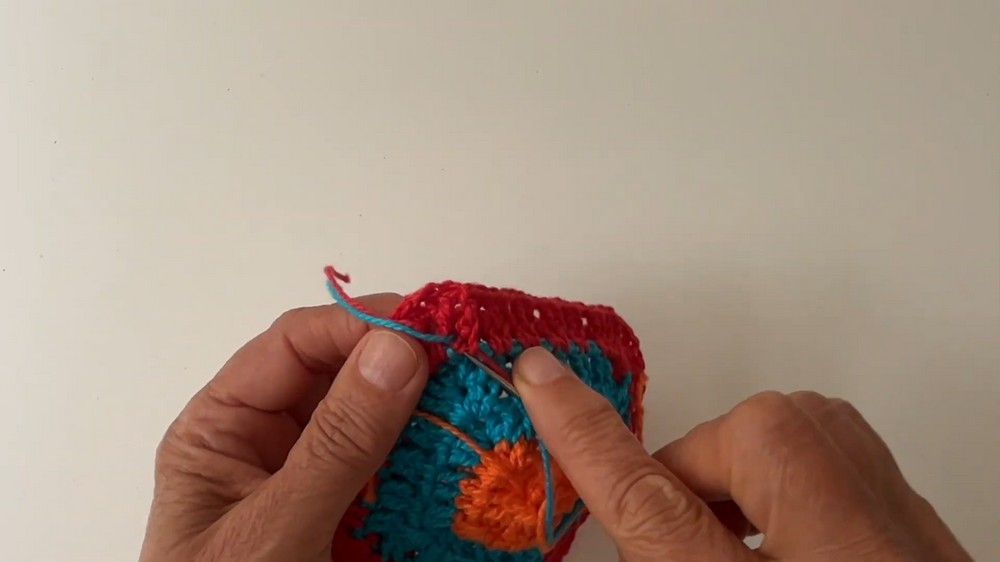
Credit Hook & Loop Crochet Tutorials
Required Materials
- Yarn: 100% cotton yarn (in 3 colors for color variation; adjust depending on your design).
- Crochet Hook: 2 mm crochet hook.
- Scissors: For trimming yarn ends.
- Tapestry Needle: To weave in ends seamlessly.
Important Notes
- Stitch Abbreviations:
- ch: chain
- sl st: slip stitch
- dc: double crochet
- FPdc: Front post double crochet
- Turning: At the end of each round, turn your work to create the textured waffle pattern.
- Color Changes: You can change colors at the start of each round, using a slip stitch to join the new color.
- Expanding the Square: You can continue alternating Round 3 and Round 4 to make the square larger as desired.
- Texture: The FPdc stitches create the signature "waffle" textured design. Pay attention to placement for consistency.
Step-by-Step Detailed Crochet Instructions
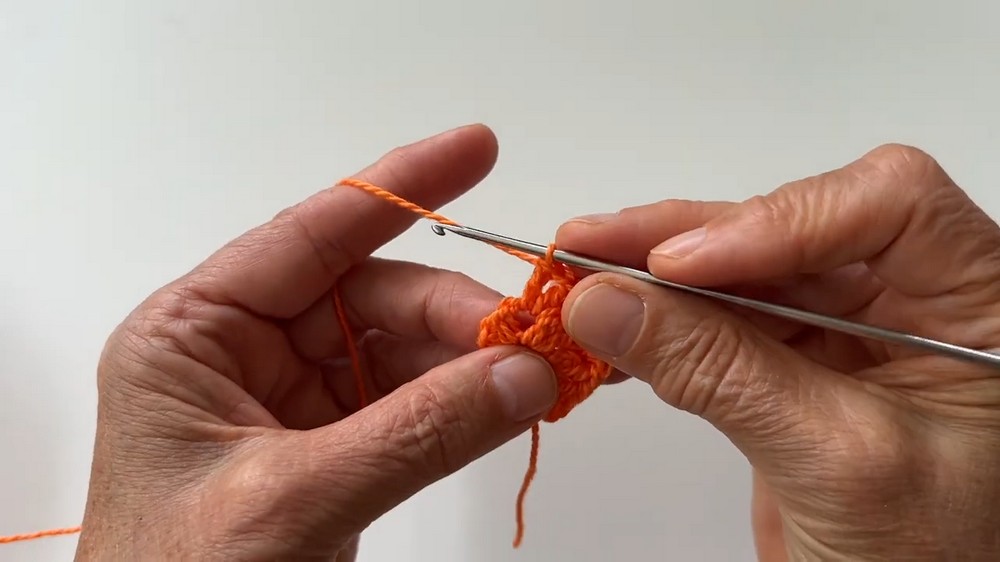
Round 1: Foundation
- Create a magic ring.
- ch 3 (counts as 1 dc).
- Inside the magic ring:
- 1 dc, ch 1,
- 2 dc, ch 1
- Repeat twice for a total of 4 groups inside the ring.
- Join using a sl st into the top of the beginning ch 3.
Round 2: Start of Texture
- Turn your work for the waffle stitch texture.
- Slip stitch into the ch-1 space from the previous round.
- ch 4 (counts as 1 dc + ch 1).
- Into the same space:
- 1 dc,
- 1 FPdc around the next 2 dc stitches from Round 1.
- Corner: Into the next ch-1 space:
- 1 dc, ch 1, 1 dc.
- Repeat:
- 1 FPdc around the next 2 stitches, then work another corner (1 dc + ch 1 + 1 dc).
- Repeat this pattern around.
- Join with a sl st into the 3rd chain of the ch-4.
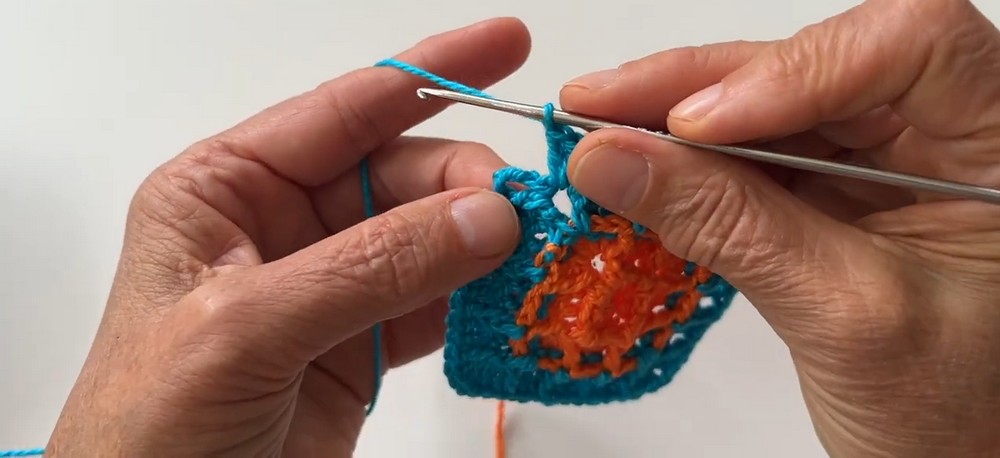
Round 3: Expanding Square
- Turn your work.
- ch 3 (counts as 1 dc).
- Into the first stitch:
- 1 FPdc around it,
- 1 dc in the next 2 stitches,
- 1 FPdc.
- Work the Corner into the next ch-1 space:
- 2 dc + ch 1 + 2 dc.
- Continue: Repeat the sequence between the corners:
- 1 FPdc, 1 dc in next 2 stitches, 1 FPdc, work the corners.
- To finish:
- If continuing with the same color, join using a sl st.
- If switching colors, join using a sl st with the new color.
Round 4: Enhanced Texture
- Turn your work.
- Slip stitch into the corner space.
- ch 4 (counts as 1 dc + ch 1).
- Into the same corner space:
- 1 dc,
- 1 FPdc around the next 2 stitches,
- 1 dc, 2 FPdc, 1 dc, 2 FPdc.
- Corners: Into the next corner space:
- 1 dc + ch 1 + 1 dc.
- Repeat the texture sequence between the corners. Work the corners as described above.
- To finish:
- Join using a sl st into the 3rd chain of the ch-4.
- Slip stitch into the corner space and turn your work.
Round 5: Repeat Round 3
- Turn your work.
- ch 3 (counts as 1 dc).
- Into the first stitch:
- 1 FPdc,
- 1 dc in the next 2 stitches,
- 1 FPdc,
- 2 dc,
- 1 FPdc,
- 2 dc,
- 1 FPdc.
- Corners: Work 2 dc + ch 1 + 2 dc into the corner spaces.
- Continue the sequence all around the square.
- To finish:
- Slip stitch to close the round.
- Or switch colors using a slip stitch.
Round 6: Repeat Round 4
- Turn your work.
- Work the same texture pattern and corners as Round 4.
Round 7: Repeat Round 3
- Work the same pattern as Round 3.
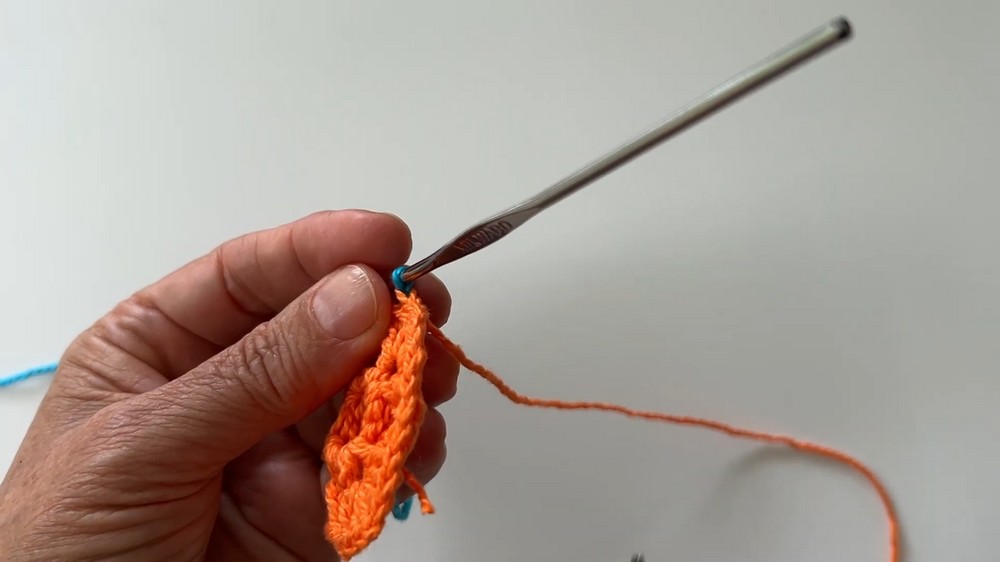
- Finish your square or continue alternating Round 3 and Round 4 for additional rounds to make the square larger.
Finishing Techniques
- To finish off the square:
- Pull up a loop at the end of the final round.
- Cut yarn and secure with a seamless stitch.
- Weave in all loose tails using a tapestry needle for a polished look.
How to Use the Squares
- These thick and textured waffle stitch squares can be joined together to make blankets, bags, cushions, or other projects! Use slip stitch or whip stitch techniques to join squares seamlessly.