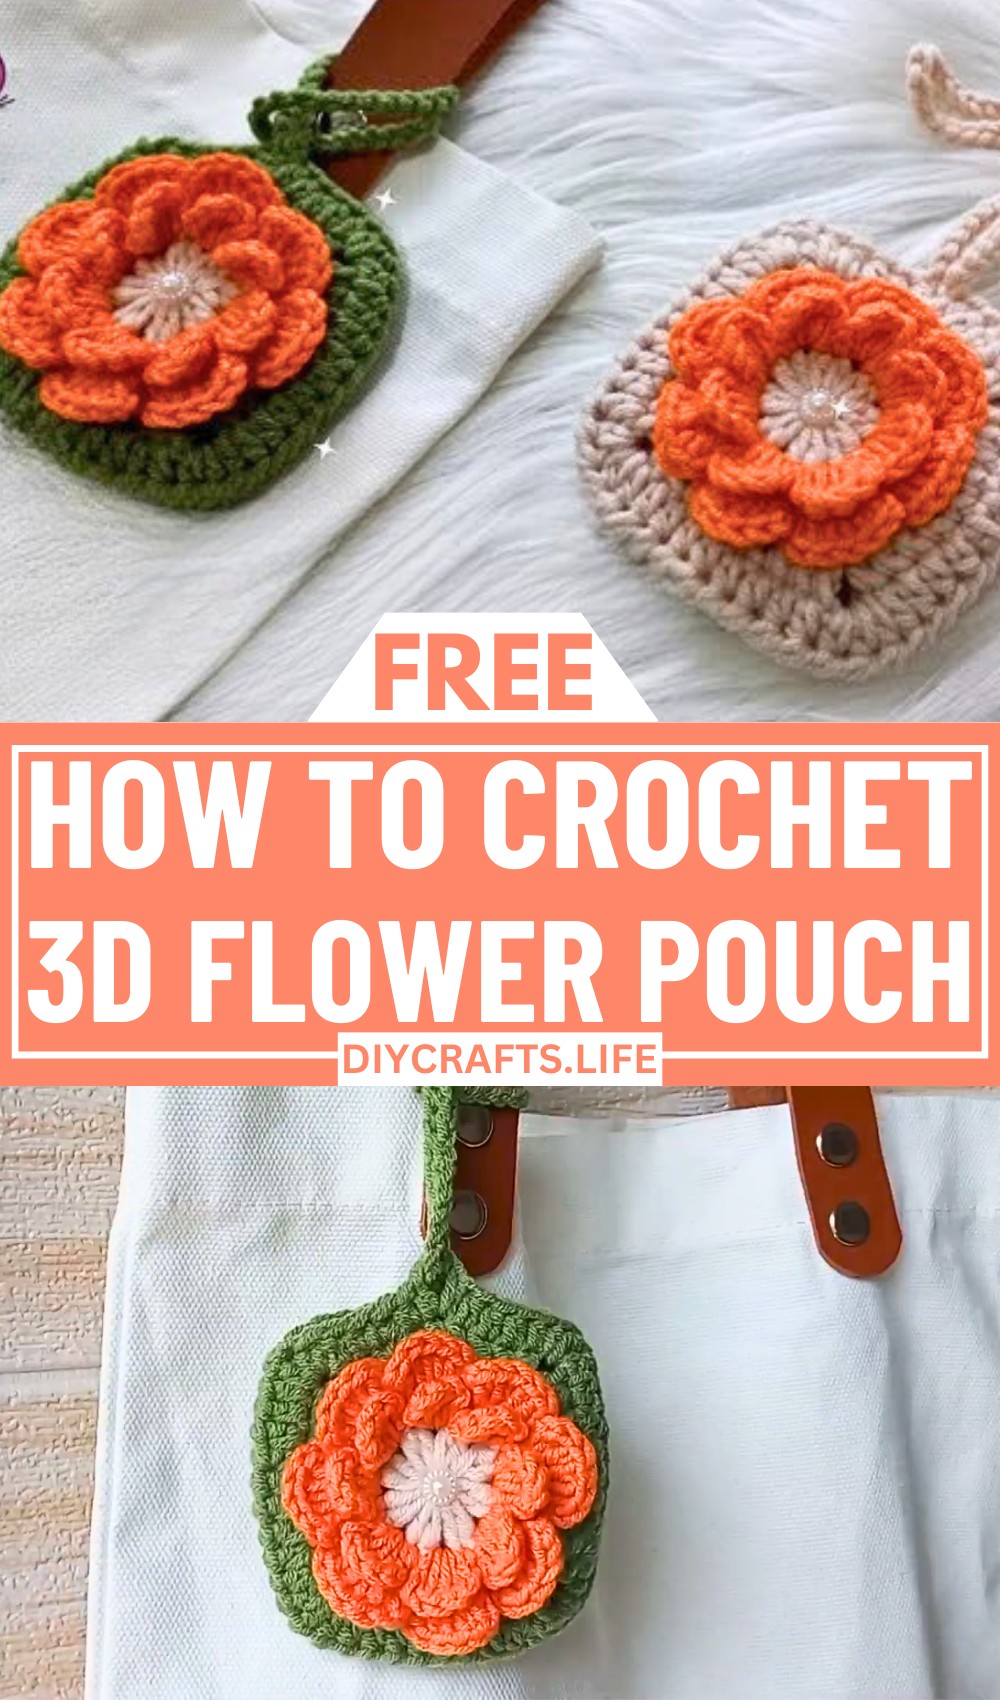
Transform your everyday accessories into something truly special with this Crochet 3D Flower Pouch! Compact yet intricately detailed, this design blends practicality with elegance, making it the ultimate handmade statement piece. With its vibrant floral details and charming structure, this pouch is the perfect blend of art and functionality.
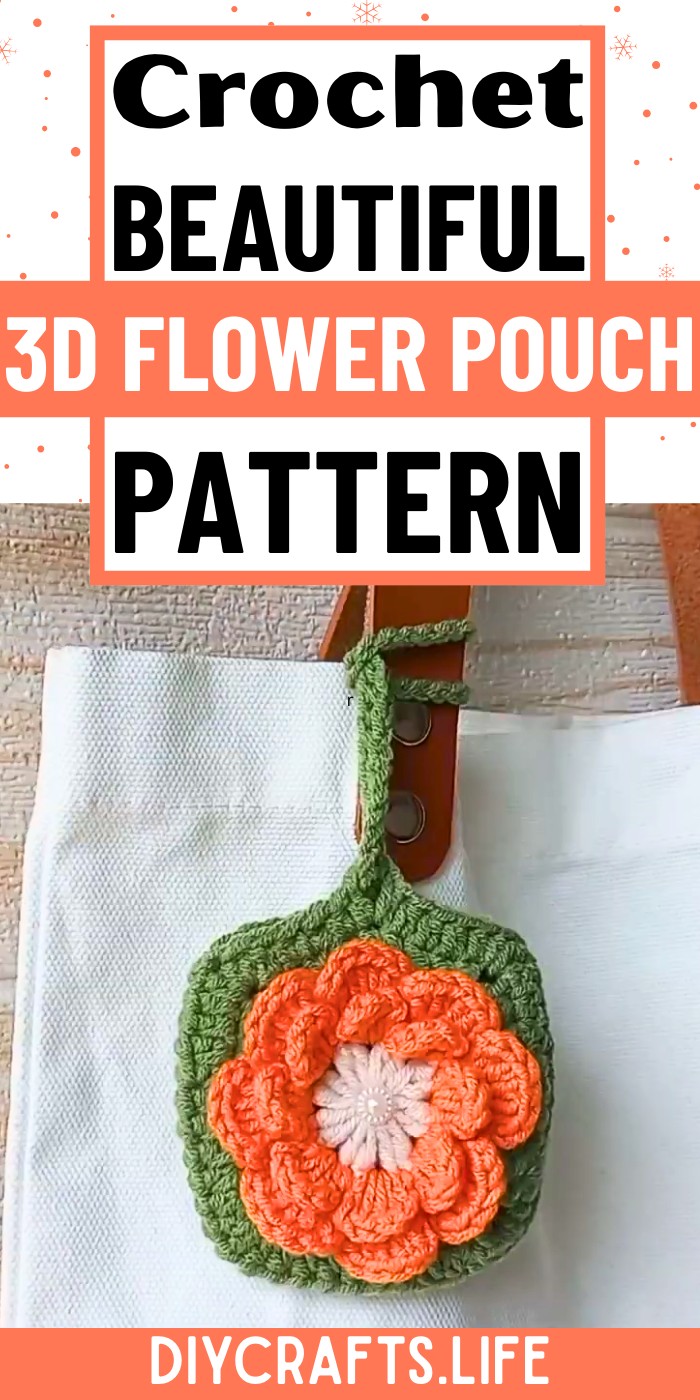
Crochet 3D Flower Pouch
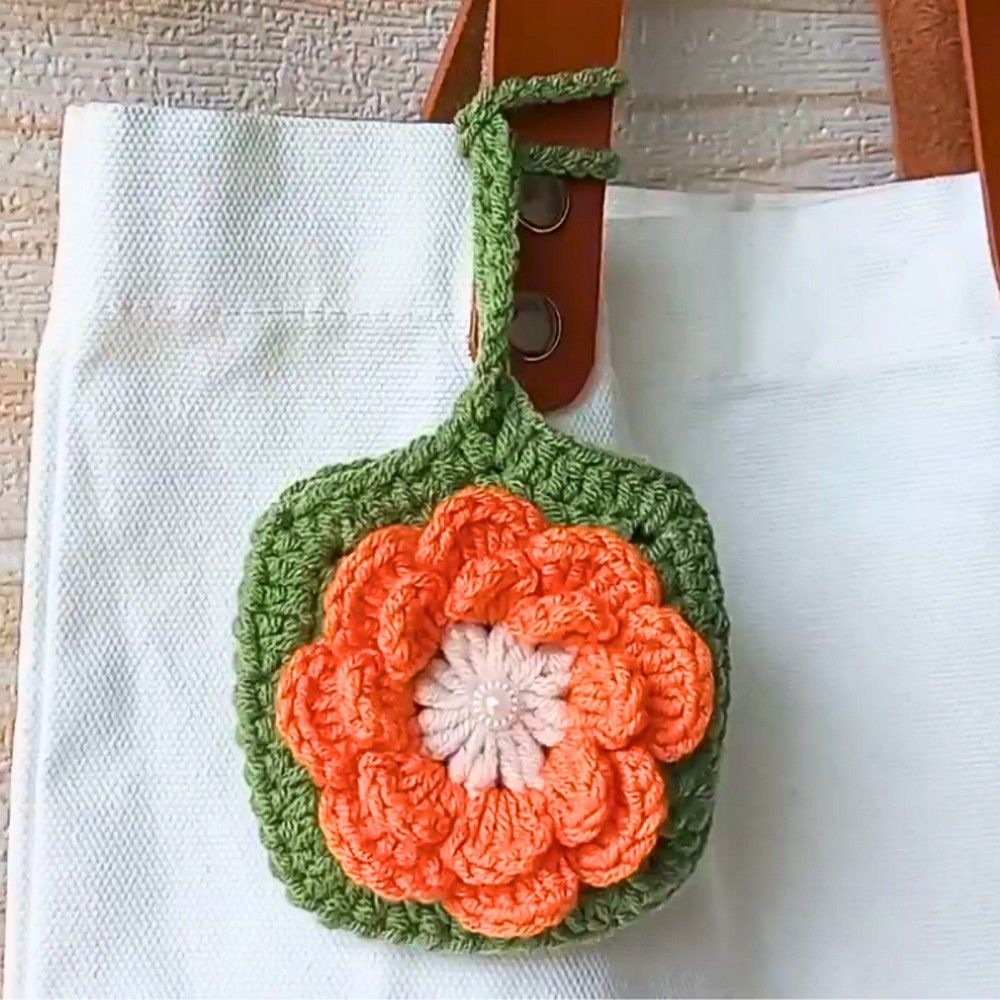
The Crochet 3D Flower Pouch Bag Charm is more than just a pouch—it's a versatile piece that can double as an earphone holder, makeup bag, or even a mini keepsake envelope. Highlighted by its stunning flower centerpiece and delicate layered petals, this design captures depth and texture with its three-dimensional appeal. Its unique combination of colors and patterns, paired with a sleek pouch closure, transforms a functional accessory into a work of art you’ll love to use and show off.
Credit Delilla Craft
Required Materials
- Yarn in different colors (e.g., orange, green, etc.)
- Crochet hook (suitable for the yarn you're using)
- Scissors
- Needle for sewing/hiding threads
- Optional: Beads for embellishing the middle of the flower
Important Notes
- The project starts with creating a Magic Ring and uses various crochet stitches like chain stitch (CH), half double crochet (HDC), double crochet (DC), and slip stitch (SLST).
- Switching thread colors adds dimension to the flowers and pouch. You can customize with colors of your choice.
- Follow each step carefully to ensure the correct number of petals, spaces, and rows are created.
- The pouch consists of two parts: the front flower pattern and the back pouch piece, which are joined together to complete the charm.
- The video tutorial provides visual demonstration if you need extra guidance.
Step-By-Step Instructions
Part 1: Creating the Front Flower
- Start with a Magic Ring.
- Make 2 chains, which count as 1 HDC.
- Inside the Magic Ring:
- Make 1 HDC (total = 2 HDC in the ring).
- Chain 1 for space.
- Repeat this pattern (2 HDC, CH 1) 8 times in total.
- End the first round with a slip stitch in the second chain at the start. Tighten the Magic Ring, cut the thread, and hide the remaining thread.
- Next, attach a new color (e.g., orange) into a chain space:
- CH 2, make 3 DC, CH 2, then SLST into the same space to form one petal.
- Slip Stitch into the next space and repeat the petal pattern until you create 8 petals.
- To continue:
- Flip the flower to work on the back.
- Make 3 chains between two adjacent petals (repeat around). Finish the round with slip stitches.
Part 2: Continuing the Flower Design
- Add another layer of petals:
- Work from the front again by making slip stitch, 2 chains, 5 DCs, 2 chains in each space. Repeat until you create 8 petals.
- Repeat the back and forth flower-back pattern for more layers.
- Change thread color (e.g., green):
- Insert thread into a space and begin the corner pattern (3 DC, CH 2, 3 DC). Alternate with 3 DC in the next holes until the round is complete.
Part 3: Creating the Back Pouch
- Start by making a Magic Ring:
- CH 3 (counts as DC), make 1 DC and 1 chain space inside the ring.
- Repeat this pattern (2 DC, CH 1) 8 times in total. Finish with a slip stitch.
- Continue to:
- Add rows with alternating corner patterns and 3 DCs in spaces until the back piece matches the size of the front flower.
Part 4: Creating the Pouch Opening
- Define the pouch’s opening by:
- Making a row of 1 HDC in the next 9 holes.
- At the opening edge, CH 3 as a lock, then HDC in the same hole.
- Continue HDC for the next few holes to even out the join.
- Create the handle:
- At the pouch opening, make 50 chains for the handle. Secure with SLST at the edge.
Part 5: Assembling the Pouch
- Lay the front flower and back pouch with their right sides facing outward.
- Position the handle in place, leaving the top part open for the pouch opening.
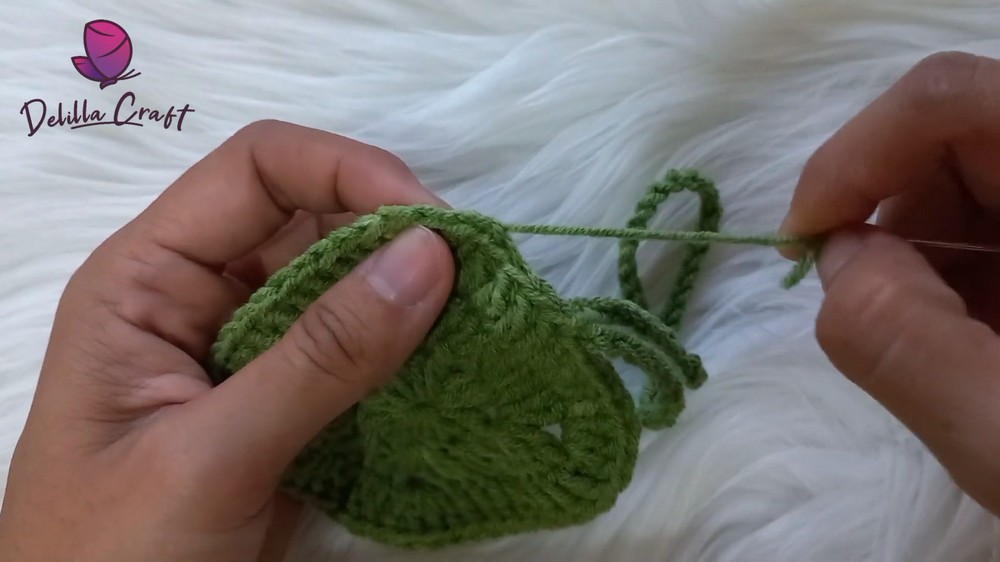
- Sew around the edges, starting from the corners.
- Secure the stitch with a knot and hide the remaining threads.
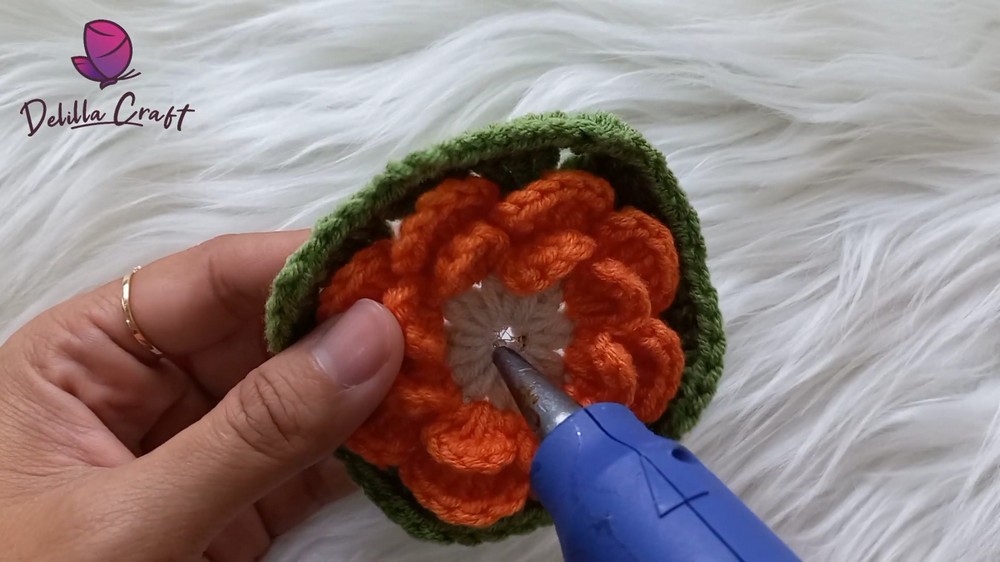
Part 6: Adding Final Touches
- Embellish the center of the flower with beads for added beauty (optional).
- Check all stitches, ensure the pouch is secure, and your 3D Flower Mini Pouch is complete!