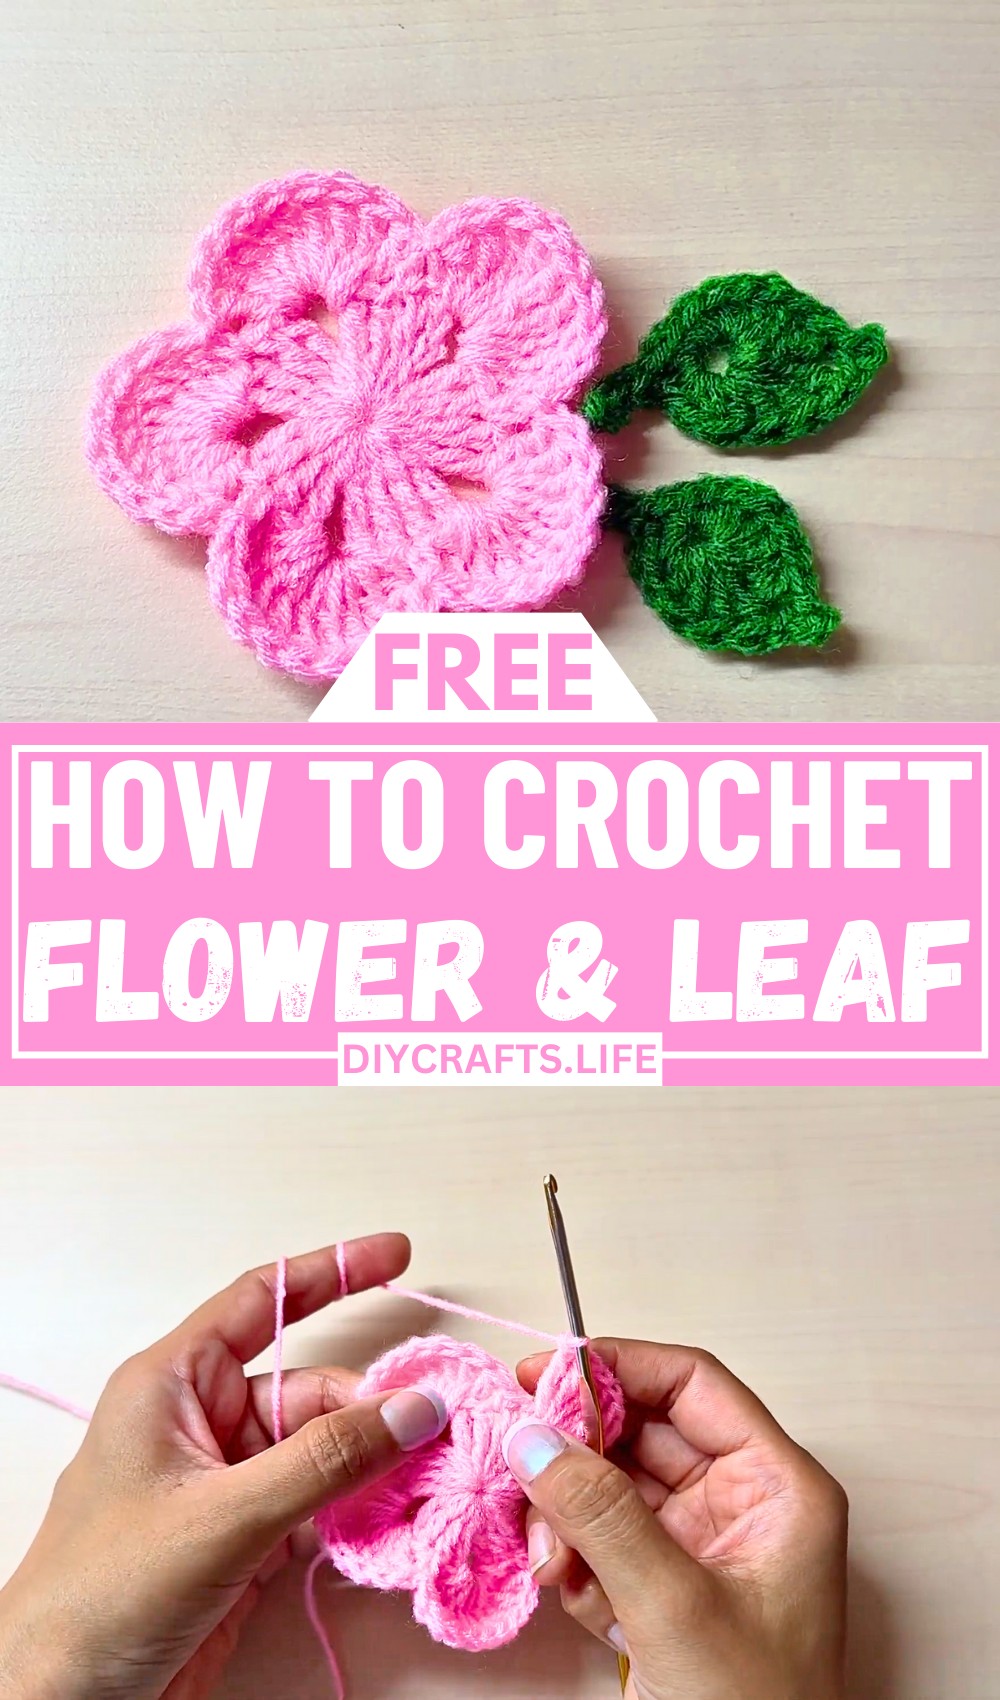
Brighten your day with the beauty of handmade crochet flowers and leaves! This pattern brings nature-inspired elegance to your crochet projects, combining soft textures and bold shapes. Whether you're decorating your home, enhancing clothing, or personalizing a gift, these stunning designs will add a touch of creativity and charm.
Crochet Flower & Leaf Pattern
The crochet flower is a masterpiece of layered triple crochet stitches, creating a full and intricate blossom with petal-like detailing. Paired with a delicate leaf featuring smooth curves and a lovely picot point, this combination stands out for its balance between simplicity and sophistication. The pattern encourages endless customization, making it perfect for every skill level and allowing you to craft something uniquely yours.
Credit Handmade by Appy
Required Materials:
- Yarn:
- Flower: Pink acrylic yarn
- Leaf: Green yarn
- Crochet Hook: 3.5 mm
- Scissors (to cut yarn)
- Tapestry needle (for weaving in ends)
Important Notes:
- Begin both the flower and leaf with a magic circle.
- For this project, familiarity with basic crochet stitches is essential, including single crochet, half double crochet, double crochet, and triple crochet stitches.
- Carefully count stitches during each step to ensure the correct pattern is formed.
- Weaving in the ends neatly will create a polished, finished look.
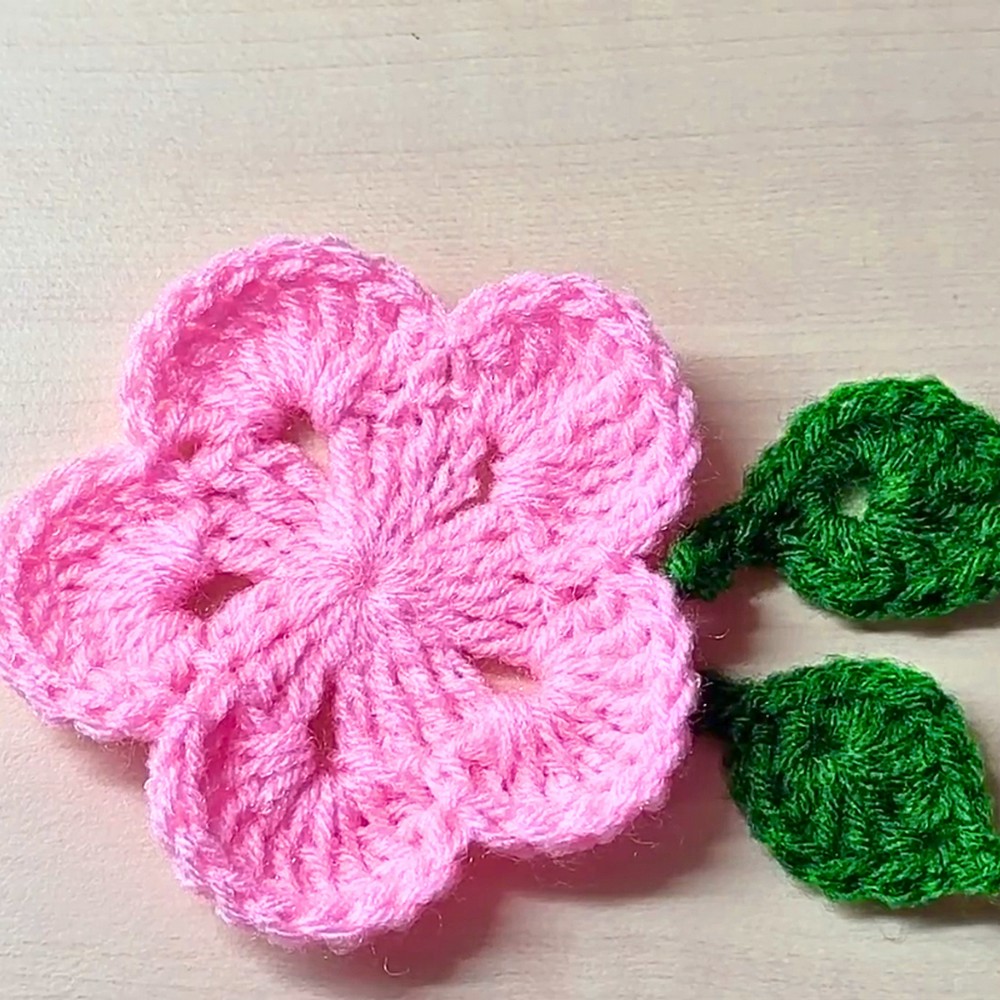
Detailed Step-by-Step Instructions:
Part 1: Flower
- Start:
- Begin with a magic circle.
- Chain 4 (this counts as the first triple crochet).
- First Round:
- Make three triple crochets into the magic circle:
- Yarn over twice, insert the hook into the circle, yarn over, pull through 2 loops, yarn over, pull through 2 loops, yarn over, pull through the final 2 loops.
- Repeat the process two more times for a total of 4 triple crochets (including the chain 4).
- Chain 2.
- Repeat this process (4 triple crochets followed by chain 2) five sets in total around the magic circle.
- Make three triple crochets into the magic circle:
- Close the Magic Circle:
- After completing 5 sets, pull on the tail of the magic circle to close it securely.
- Make a slip stitch into the top of the initial Chain 4 to join the round.
- Second Round:
- Make a slip stitch into the next triple crochet and into the space between the sets of 4 triple crochets.
- Between the sets of 4 triple crochets, make single crochet.
- In each Chain 2 space, make 9 triple crochets.
- Repeat the pattern (9 triple crochets in each Chain 2 space, 1 single crochet between the sets of 4 triple crochets) all around.
- Once you complete the last set of 9 triple crochets, make a slip stitch into the first single crochet from the previous round.
- Finishing:
- Cut your working yarn and weave in the ends neatly.
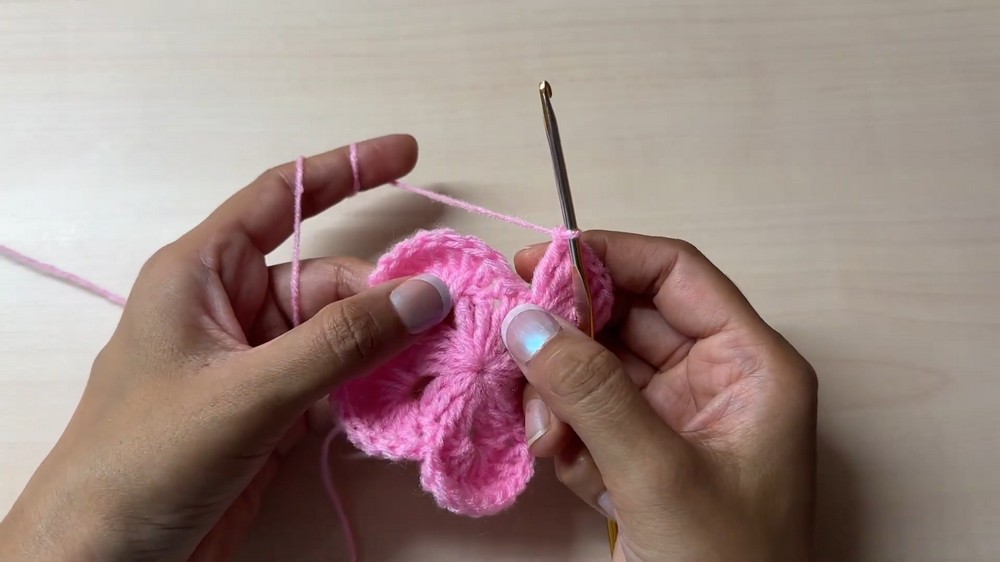
Part 2: Leaf
- Start:
- Begin with a magic circle.
- Chain 1.
- First Round:
- Into the magic circle:
- Make 2 single crochets.
- Make 2 half double crochets.
- Make 2 double crochets.
- Make 1 triple crochet.
- Into the magic circle:
- Create Picot Stitch:
- Chain 3.
- Make a slip stitch into the first chain created to complete a picot stitch.
- Continue:
- Make another triple crochet.
- Make 2 double crochets.
- Make 2 half double crochets.
- Make 2 single crochets to finish the round.
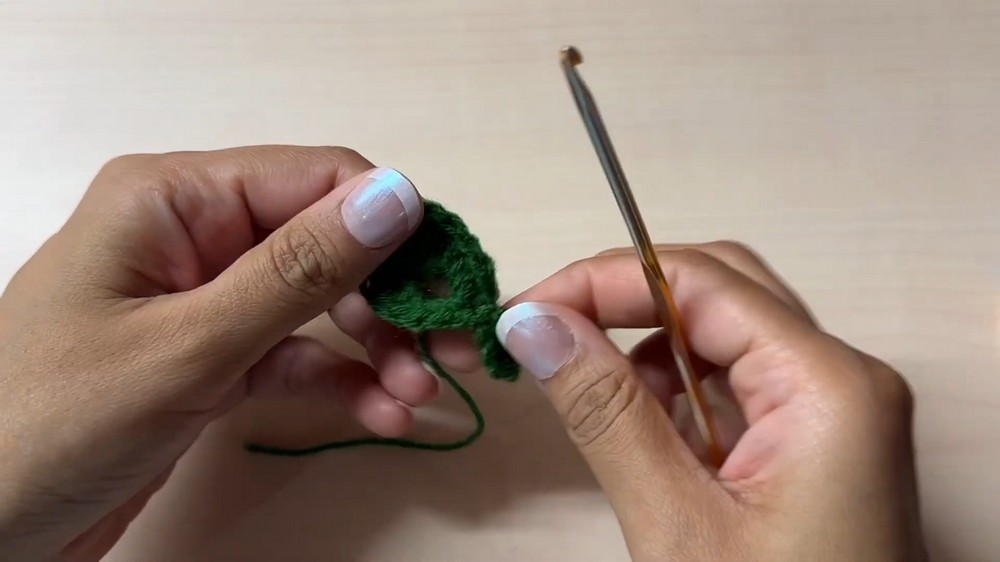
- Close the Magic Circle:
- Pull the tail of the magic circle securely to close.
- Make a slip stitch into the first single crochet.
- Optional Stem:
- Chain 5.
- Skip the first chain and make a slip stitch into each chain (total of 4 slip stitches).
- Make the final slip stitch into the single crochet.
- Finishing:
- Cut your working yarn and weave in the ends neatly.
These instructions will help you create a beautiful crochet flower and leaf. The combination can be used for decorating hats, bags, scarves, or other craft projects!