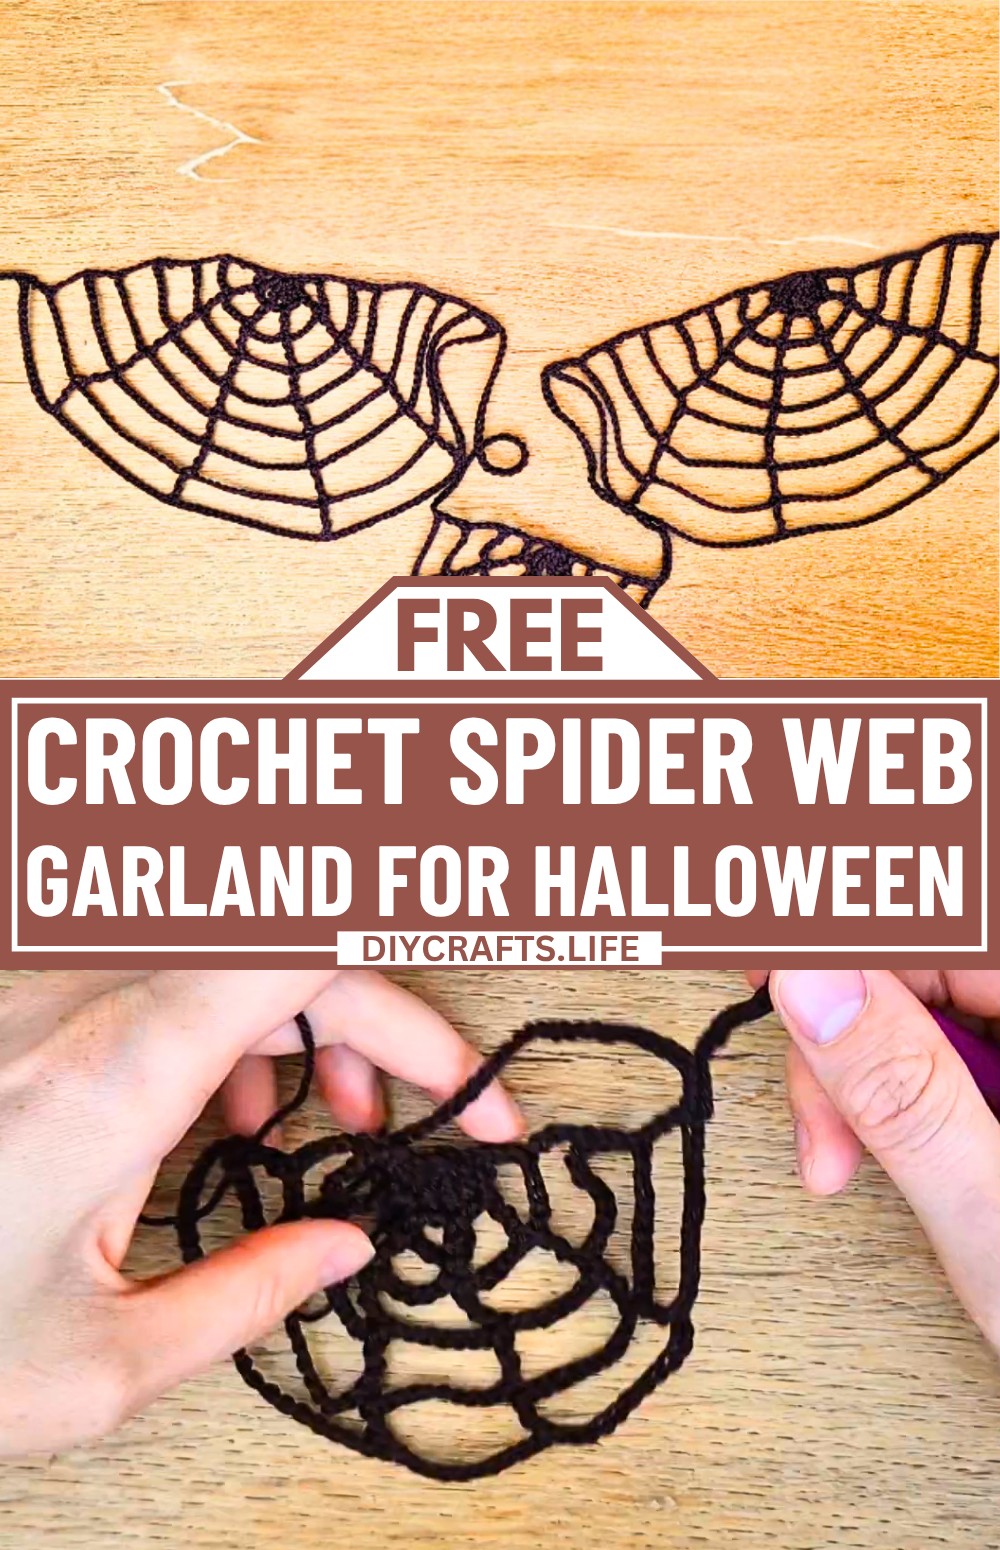
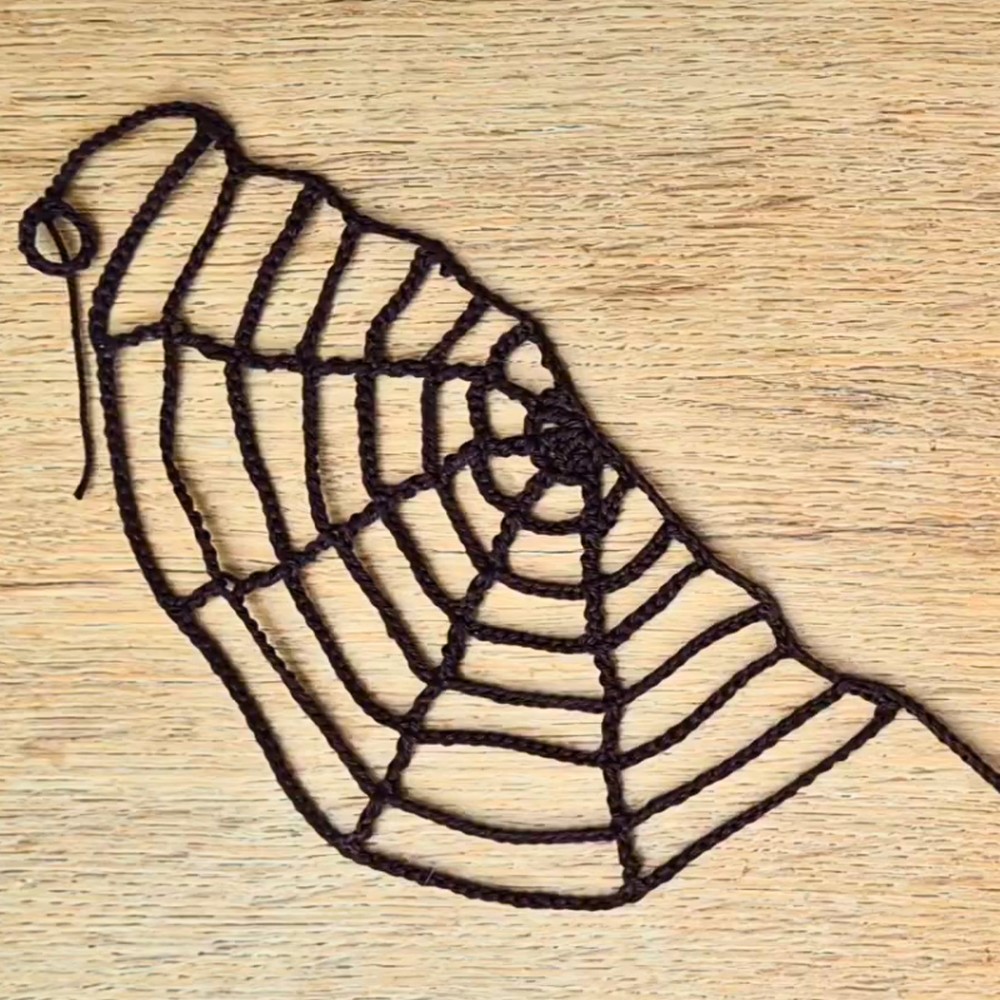
Few handmade decorations capture the spirit of Halloween as creatively as a crocheted spider web garland. This playful piece adds a spooky touch to parties, seasonal displays, or everyday autumn decor while bringing a unique charm to any setting. Its intricate web-inspired design is lightweight, reusable, and easy to hang across walls, windows, or other cozy spaces. What makes this festive accent even more delightful is how a few simple crochet steps create such an eye-catching result.
Easy Crochet Spider Web Garland Pattern

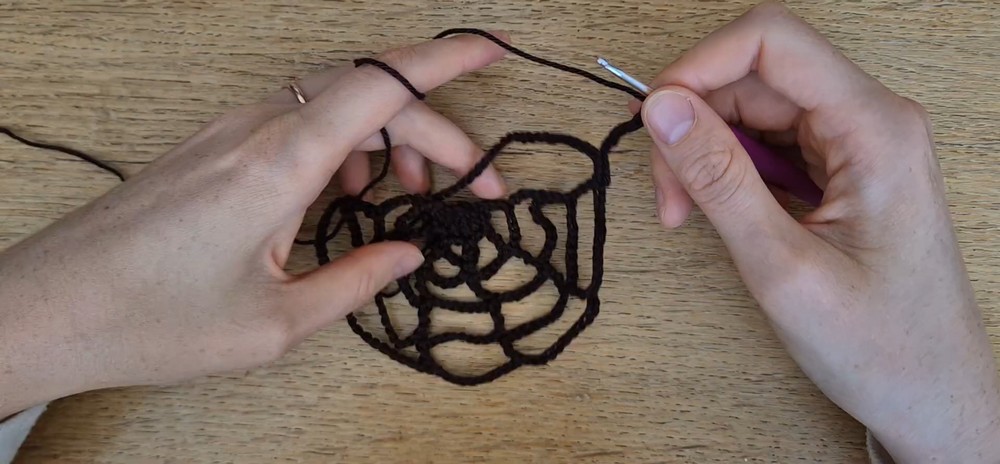
The crochet process is straightforward, enjoyable, and suitable for a variety of skill levels. By repeating a few easy techniques, each web motif gradually comes together and can be adjusted to the length that best fits your space. The finished garland offers a creative, handmade touch while giving you plenty of flexibility in how it is arranged and displayed. The step-by-step crochet pattern below reveals just how effortlessly these delicate webs connect into one festive display.
Credit White Leaf
Materials & Tools Needed
- Crochet hook suitable for your chosen yarn (such as size G/4.0 mm)
- Yarn in your choice of color (a medium-weight yarn recommended)
- Scissors
- Tapestry needle for weaving in ends
Finished Size & Customization Ideas
- The finished size can be customized by adding more rounds to increase the size of each web piece or by altering the length of the chains in between webs.
- You can use different yarn colors to create a variety of looks for your garland.
- Consider using black, white, or even bright colors for a fun twist.
Pattern Abbreviations & Terminology
- ch: chain
- sl st: slip stitch
- tr: triple crochet
Step-by-Step Detailed Crochet Instructions
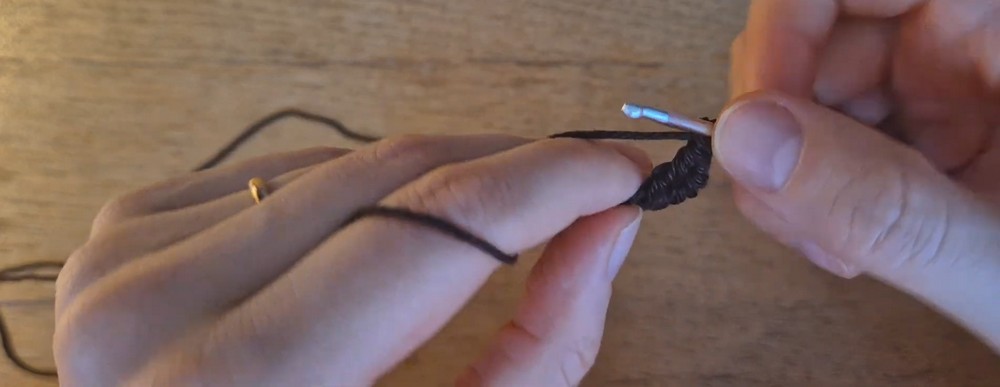
- Starting the Garland:
- Make a slip knot.
- Chain 10 (this will be part of the first ring).
- Slip stitch into the first chain to form a ring.
- Creating the Base Chain:
- Chain 45 for the main string of the garland.
- Beginning the First Web Section:
- Triple crochet into the sixth chain from the hook.
- Chain 1, and triple crochet into the same chain.
- Repeat this process to have a total of four triple crochets in the same chain space, with each tr separated by a ch 1.
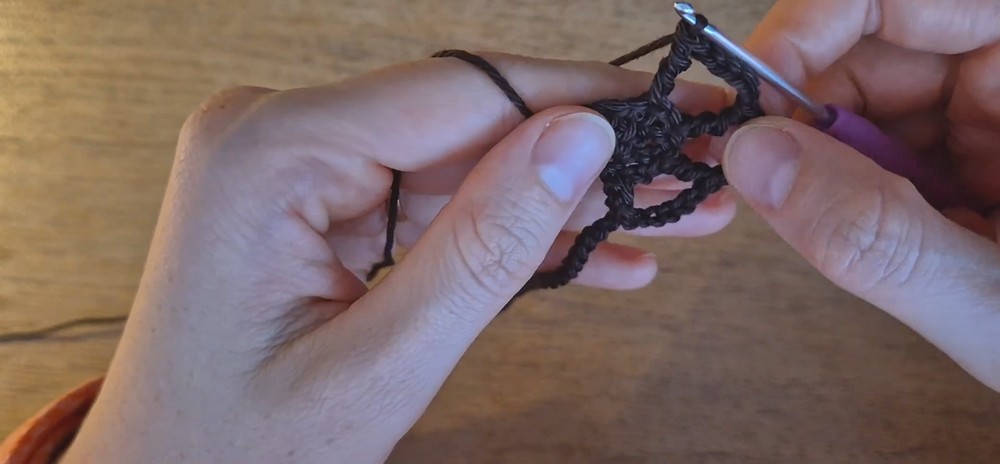
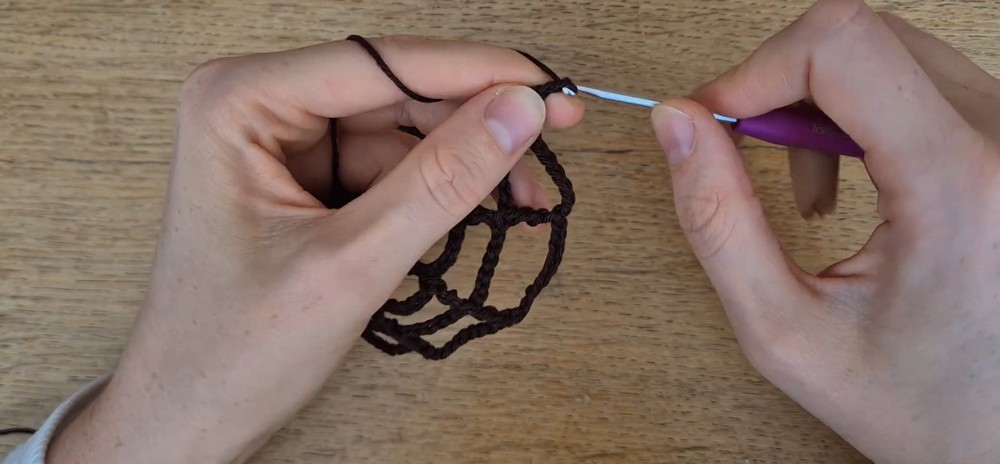
- Creating the Web Rounds:
- Round 1: Slip stitch across the next four chains.
- Chain 5, flip the work, then triple crochet into the top of each triple crochet "web string," with chain 5 in between each.
- Continue Expanding the Web:
- Round 2: Triple crochet into each triple crochet, with chain 7 in between.
- Skip three chains from the base chain, and triple crochet into the next chain.
- Round 3: Chain 10, flip the work, triple crochet into each triple crochet with chain 9 in between.
- Skip three chains, triple crochet into the fourth chain.
- Round 4: Chain 14, flip the work, triple crochet into each triple crochet with chain 11 in between.
- Skip three chains, slip stitch into the next chain. Slip stitch into the next three chains.
- Customizing the Web:
- Add two extra chains in each round until you reach the desired size.
- The example continues with increasing chains up to 17 chains in between each triple crochet.
- Repeating and finishing up the Garland:
- Repeat the process (starting from the chain 45) until your garland reaches the length you desire.
- To finish: After the final web and chain section, slip stitch to the 10th chain from the previous web section to form another ring for hanging.
Finishing Techniques
- Weave in all loose ends with a tapestry needle.
- Block the web sections to shape if necessary, depending on the yarn used.