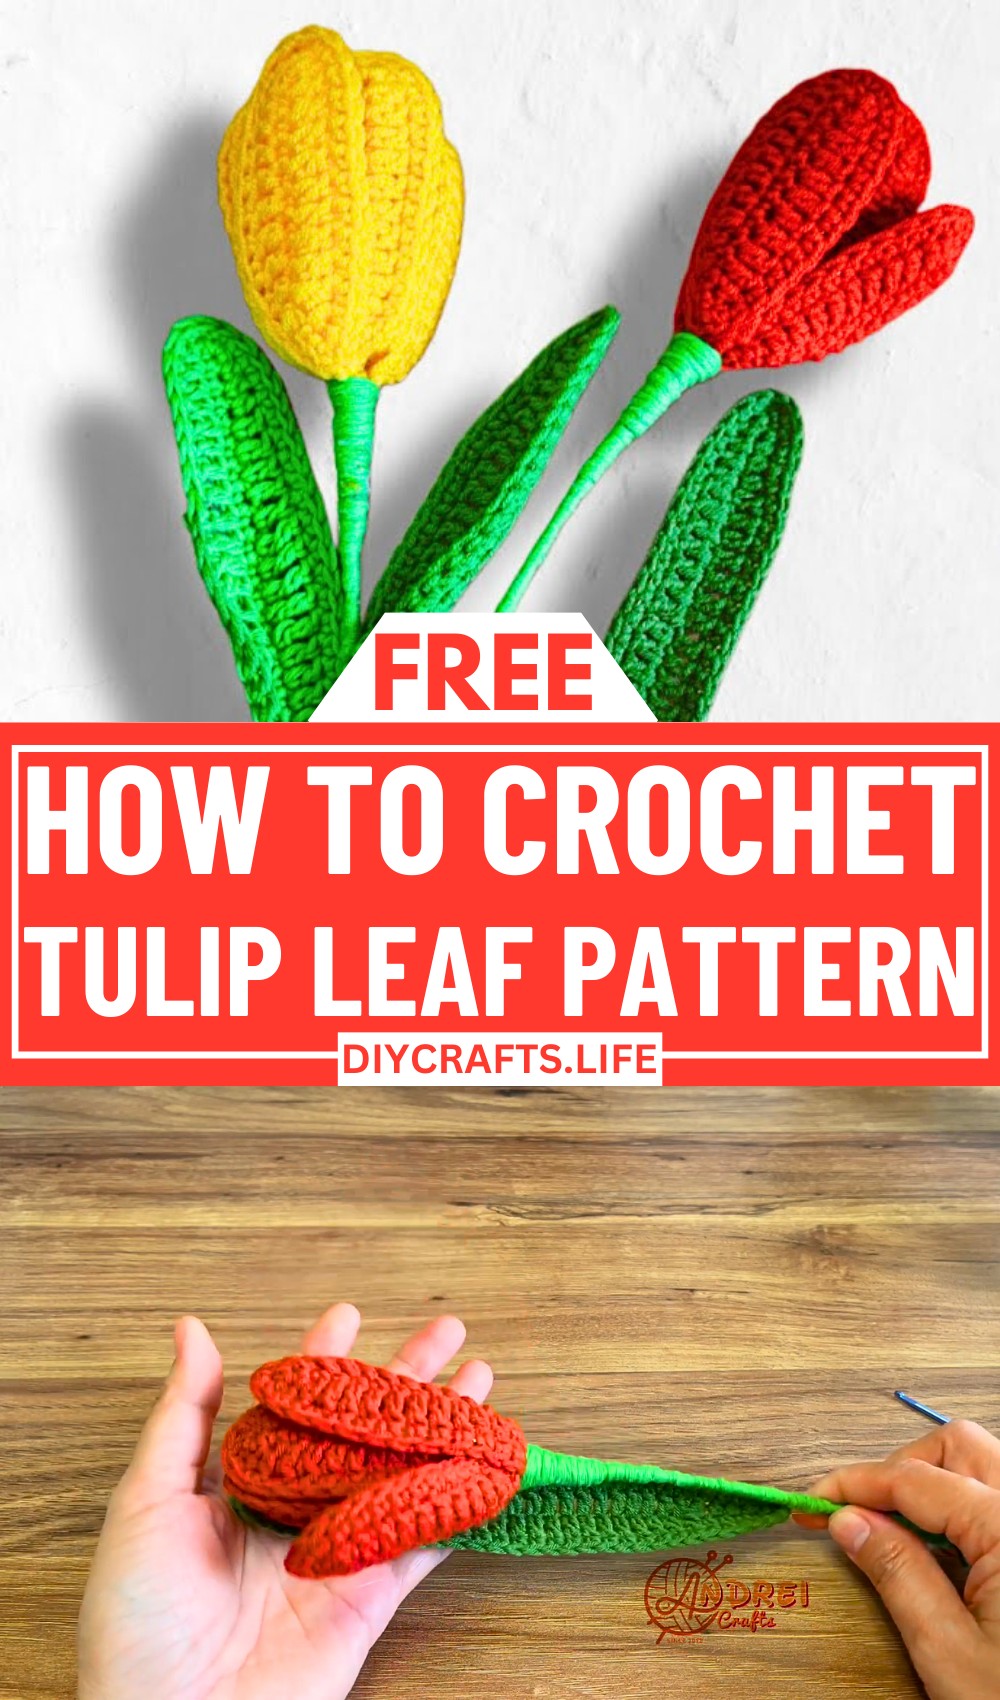
Bring a touch of spring into your projects with this beautiful Crochet Tulip Leaf pattern. Imagine the elegance of freshly blossomed tulips, captured perfectly in yarn. This design offers a fresh, nature-inspired addition to your collection, adding a flourish of green to any handmade creation.
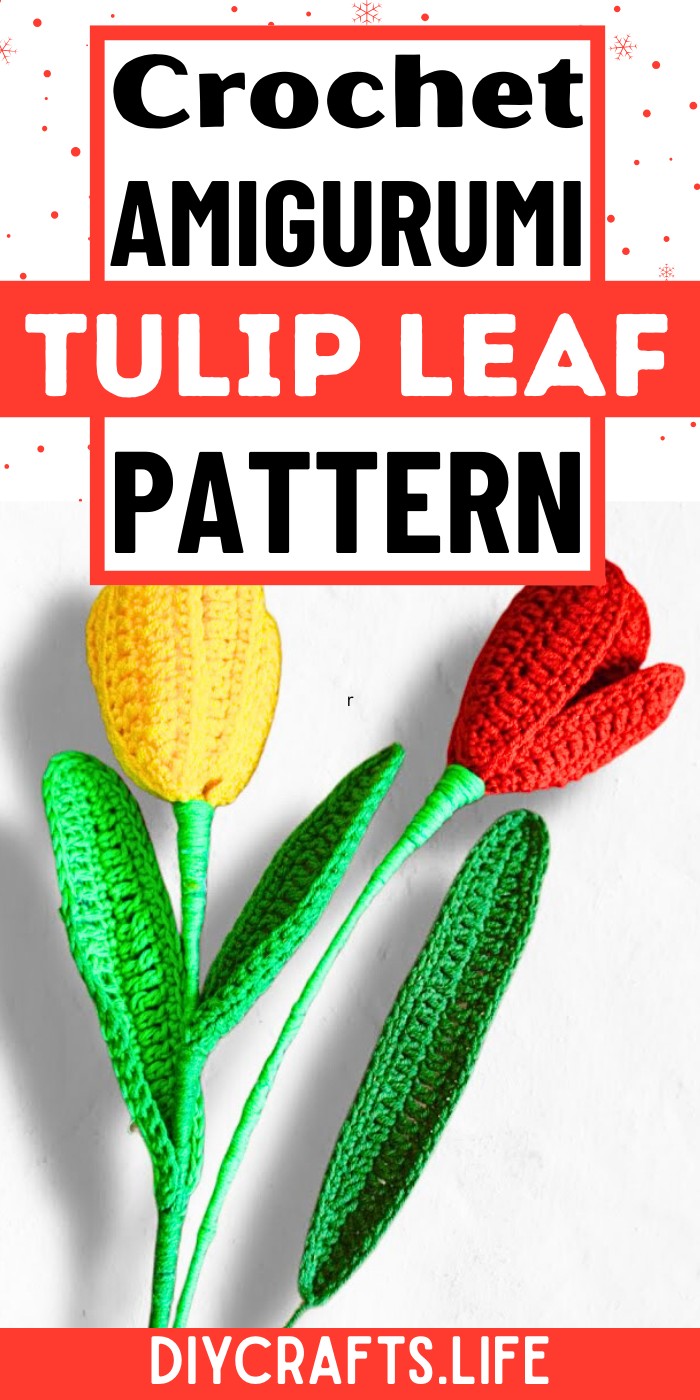
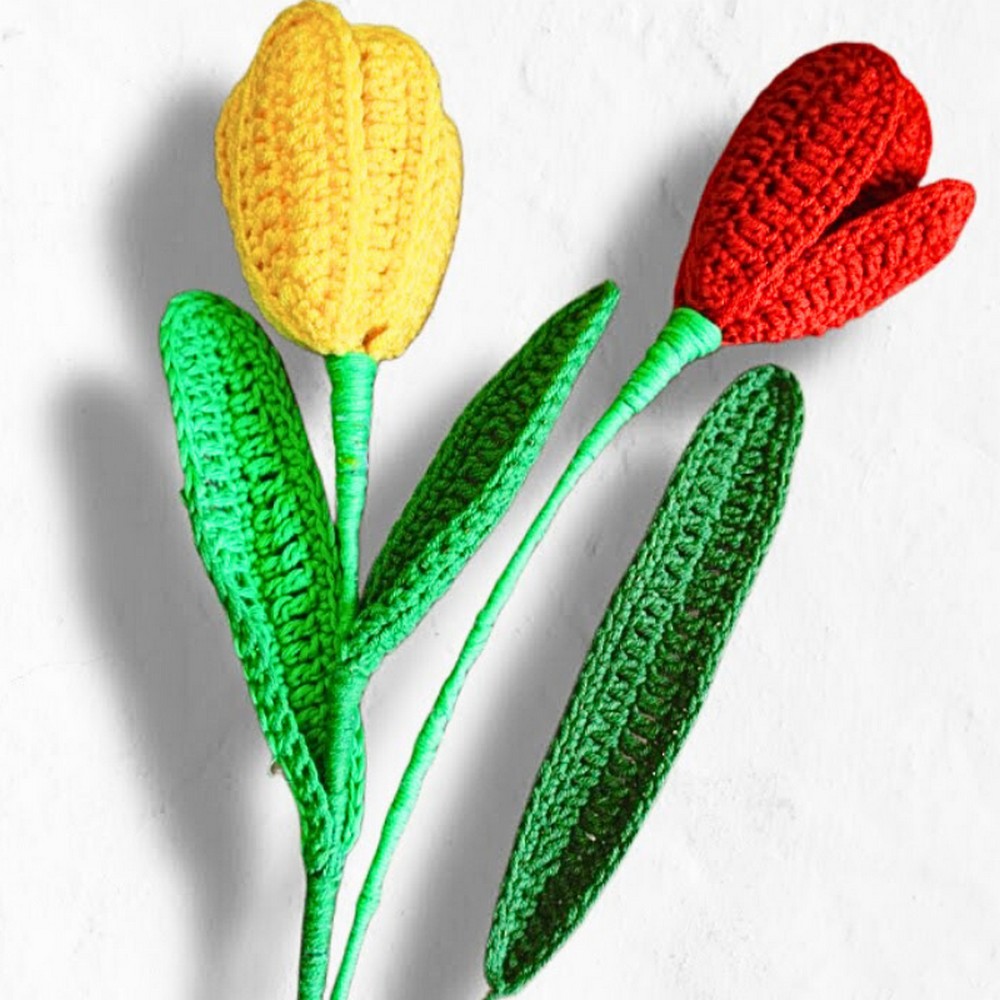
The Crochet Tulip Leaf pattern is special for its realistic design and intricate details. Each leaf is crafted to mimic the delicate curves and lines of a tulip, making it a standout piece. The pattern allows for versatility in color and size, letting you tailor each leaf to your specific needs. Whether used as embellishments on clothing, accessories, or home décor, this leaf adds a touch of nature's beauty and a hint of spring.
Credit ANDREI Crafts Show
Materials & Tools Needed
- Yarn:
- Green yarn in cotton or acrylic (select a weight suitable for leaves; typically DK or worsted).
- You can experiment with different shades of green for variety or match your tulip petals' colors.
- Crochet Hook:
- Recommended size based on yarn weight (e.g., a 3.5 mm hook for DK yarn).
- Additional Tools:
- Scissors: To cut the yarn cleanly.
- Tapestry Needle: For weaving in loose ends.
Finished Size & Customization Ideas
Approximate Finished Size:
- The tulip leaf's finished size is typically around 4-6 inches long and 2 inches wide, depending on the yarn weight and hook size.
Customization Ideas:
- Size Adjustments:
- To make smaller or larger leaves, use different weights of yarn (e.g., lightweight yarn for mini leaves or chunky yarn for oversized leaves).
- Adjust the number of foundation chains and rows to make the leaf longer or wider.
- Style Adjustments:
- Change the leaf color, such as adding variegated yarn for textured leaves.
- Incorporate lacy or decorative stitches along the edges.
- Use and Arrangement:
- Pair the crochet leaf with a tulip flower pattern for bouquets or garlands.
- Use multiple leaves to surround flowers or add to other projects, such as blankets, hats, or wall hangings.
Pattern Abbreviations & Terminology
- ch = chain
- sc = single crochet
- dc = double crochet
- sl st = slip stitch
- hdc = half double crochet
Note: The tutorial uses U.S. crochet terminology.
Step-by-Step Crochet Instructions
Below is a general overview based on crochet leaf patterns for flowers like tulips:
Step 1: Foundation Chain
- Start with a slip knot and then chain 16 (ch 16) to form the length of the leaf. (This foundation chain may be adjusted depending on your desired leaf size.)
Step 2: First Row (Shape the Leaf)
- Work into the second chain from the hook:
- Crochet 1 single crochet (sc) into the next chain stitch.
- [Create a gradual slope.] Continue by working half double crochet (hdc) in the next stitch, then move to double crochet (dc) into the next few stitches.
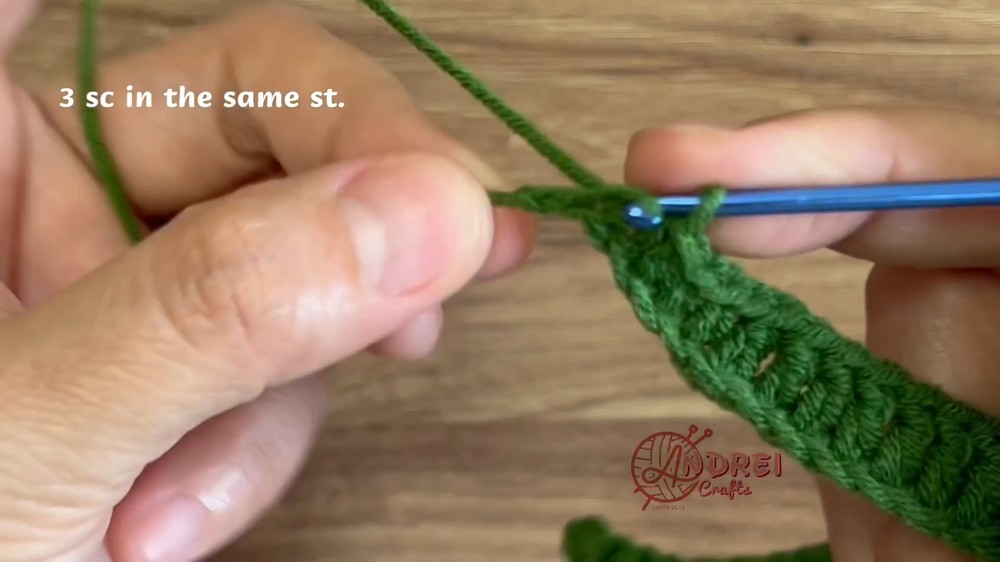
- Form the leaf curve at the tip:
- Once you reach the middle of the chain, make 3 double crochets (dc) into one stitch to create a rounded point for the leaf.
- Mirror the stitch pattern on the other side:
- Work downward using double crochet, half double crochet, and single crochet to match the slope of the first side.
- Finish at the base of the chain:
- Add a slip stitch (sl st) to secure the end.
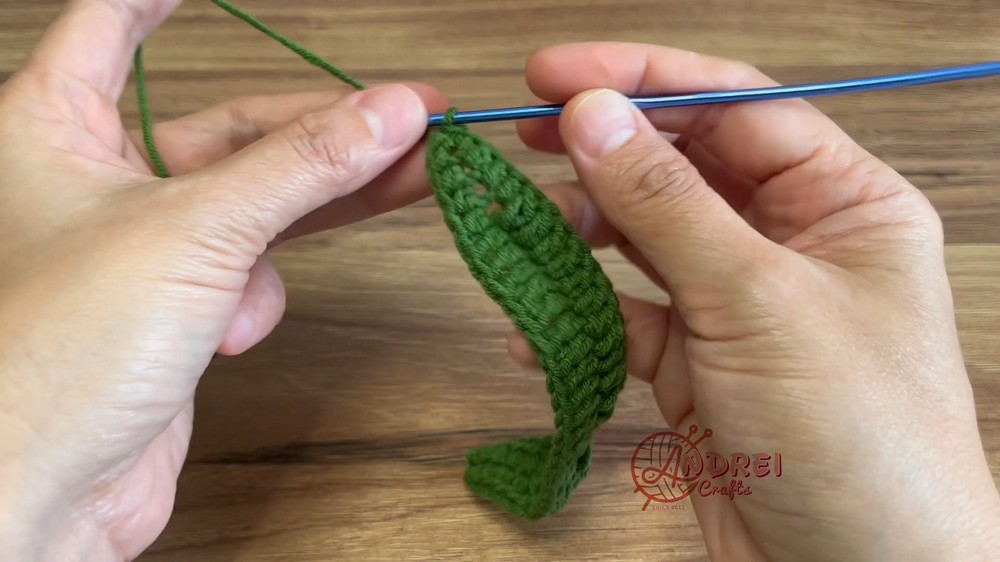
Step 3: Second Row (Make the Leaf Edge More Defined)
- Turn the work and begin working on the other side of the foundation chain.
- Repeat the same stitch pattern from row one.
- Make 3 double crochets at the rounded tip again to emphasize the curve.
- Customize the edges if desired:
- Use slip stitches or picots around to make the edges decorative.
Step 4: Finishing
- Make one final slip stitch at the last stitch to secure the leaf.
- Fasten off: Pull the yarn through the final loop and cut it.
- Use a tapestry needle to weave in all the loose ends.
Tips for Perfect Leaves
- Blocking: Lightly block the leaf by misting it with water and pinning it to a foam board to dry into shape.
- Combining with Flowers: Attach tulip leaves with a flower stem using slip stitches or a tapestry needle.
Enjoy creating your Crochet Tulip Leaf, and feel free to add your own creativity to the design! 🌱