This adorable crochet owl is a small, charming creation that’s both fun to make and lovely to display. It’s perfect for adding a cute touch to your home, gifting to a loved one, or using as a comforting toy. Its delightful design and unique texture make it stand out, and you can choose your favorite colors to personalize it even more.
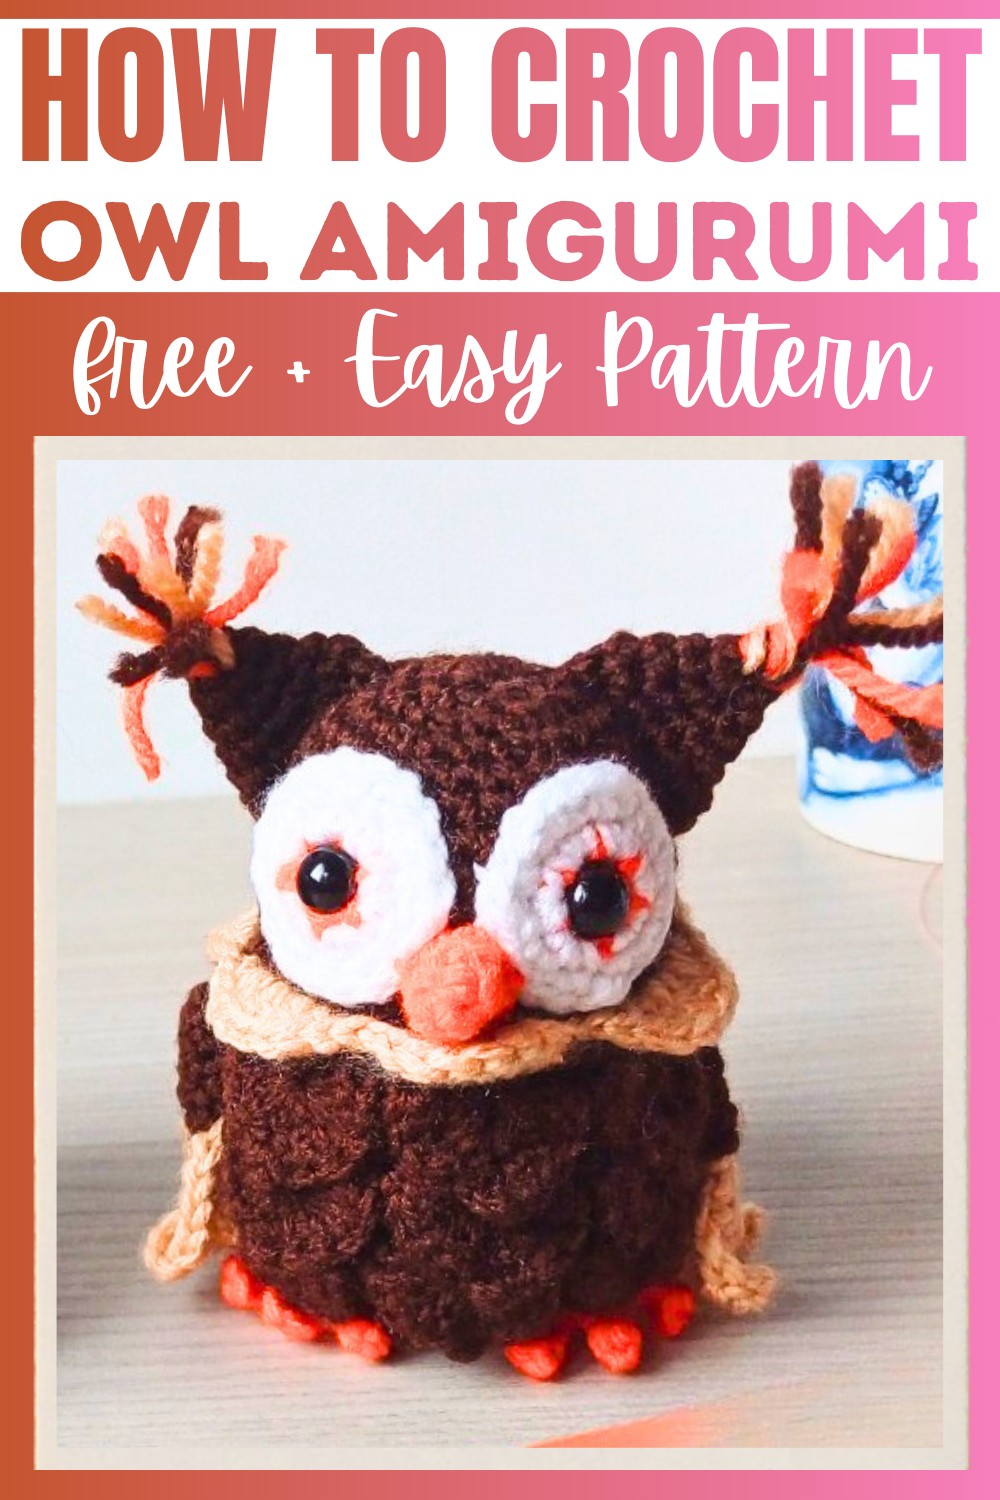
Creating this owl is an enjoyable process, especially with its detailed features like the round eyes, soft wings, and playful crocodile stitch body. While it includes a few advanced techniques, a little patience and guidance will help you successfully design your owl masterpiece. Tools like yarn, a crochet hook, toy stuffing, and other basic supplies bring the owl to life.
Credit Ambros Crochet
Materials & Tools Needed
- Yarn: 4 different colors (colors of your choice). The tutorial suggests orange for the iris, white for the eye, and coordinating colors for the body, wings, and details.
- Crochet Hook: 3 mm (or a size to match your yarn).
- 10 mm Safety Eyes
- Toy Stuffing
- Scissors
- Tapestry Needle
- Pins
Finished Size & Customization Ideas
- Finished Size: The final size depends on the yarn used and tension, but the tutorial does not specify exact dimensions.
- Customization Ideas:
- Experiment with yarn colors to create unique owl designs.
- Use variegated yarn or add embellishments like sparkly thread for accents.
- Adjust eye placement or scale spacing for a different look.
Pattern Abbreviations & Terminology
- US Terminology
- MR: Magic Ring
- SC: Single Crochet
- HDC: Half Double Crochet
- DC: Double Crochet
- INC: Increase (2 SC in the same stitch)
- DEC: Decrease (SC 2 stitches together)
- CH: Chain
- SS: Slip Stitch
- RS: Right Side
- FO: Fasten Off
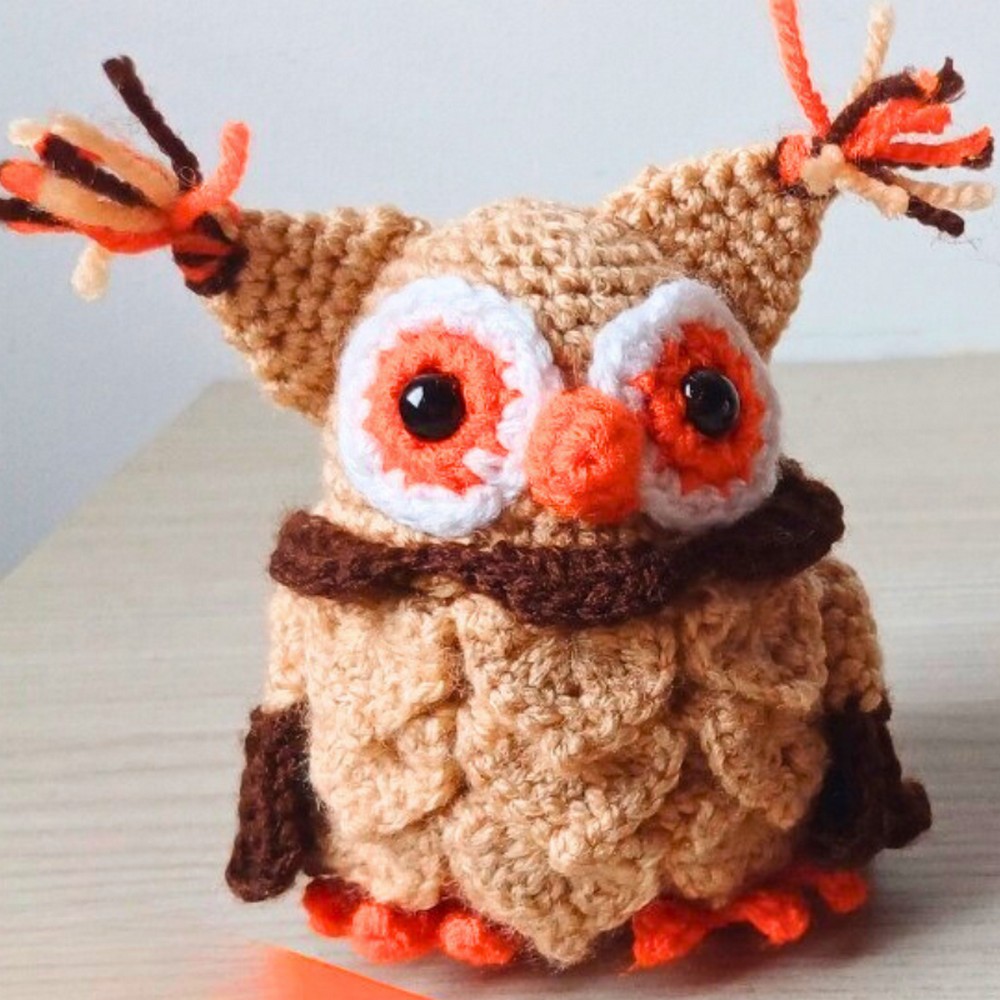
Step-by-Step Instructions
Part 1: The Owl Eyes
- Step 1: Using the iris color (e.g., orange), create a magic ring and crochet 6 SC into the ring. Pull tight to close the ring. (6 stitches total)
- Step 2: Optionally, change to the white yarn on Round 2. Work 1 INC into each stitch around (6 increases). (12 stitches total)
- Step 3: For Round 3, change to white yarn (if not already done). Work: (1 SC, 1 INC) × 6. (18 stitches total)
- Step 4: SS to finish and leave a long tail for sewing. Make two eyes.

Part 2: The Beak
- Step 1: With orange yarn, make a magic ring and crochet 4 SC into the ring.
- Step 2: For Round 2, work (1 SC, 1 INC) × 2. (6 stitches total)
- Step 3: For Round 3, work (2 SC, 1 INC) × 2. (8 stitches total)
- Step 4: SS to finish and leave a tail for sewing.
Part 3: The Ears
- Step 1: With the body color, create a magic ring and crochet 6 SC into the ring.
- Step 2: For Round 2, work (1 SC, 1 INC) × 3. (9 stitches total)
- Step 3: For Round 3, work 1 SC in each stitch. (9 stitches total)
- Step 4: For Round 4, work (2 SC, 1 INC) × 3. (12 stitches total)
- Step 5: For Round 5, work (3 SC, 1 INC) × 3. (15 stitches total)
- Step 6: SS to finish and leave tails for sewing. Make two ears.
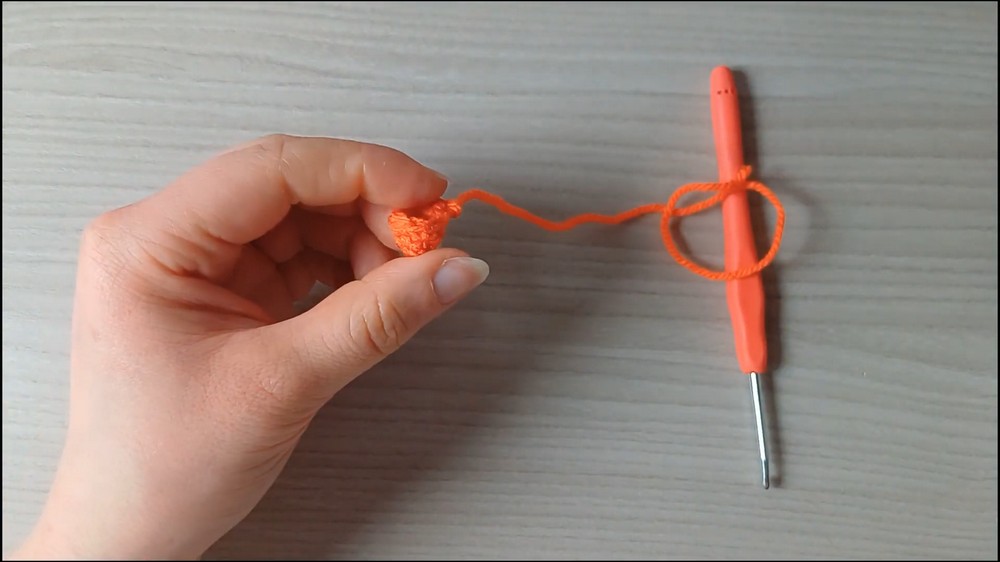
Part 4: The Body (Including Crocodile Stitch Details)
- Rounds 1–8: Building the Base
- Create a magic ring with the body color.
- Round 1: SC 6 into the ring. (6 stitches)
- Round 2: Work 1 INC into each stitch (6 INC). (12 stitches)
- Round 3: Work (1 SC, 1 INC) × 6. (18 stitches)
- Round 4: Work (2 SC, 1 INC) × 6. (24 stitches)
- Round 5: Work (3 SC, 1 INC) × 6. (30 stitches)
- Round 6: Work (4 SC, 1 INC) × 6. (36 stitches)
- Round 7: Work (5 SC, 1 INC) × 6. (42 stitches)
- Round 8: Work 1 SC in each stitch around. (42 stitches)
- Rounds 9–16: Crocodile Stitch Section
- Follow the process in the tutorial to create the alternating foundation and crocodile stitches. Here's the general process:
- Build the foundation with pairs of 2 SC and CH spaces.
- Create the crocodile stitches using 6 DC per scale, split between each base.
- Follow the process in the tutorial to create the alternating foundation and crocodile stitches. Here's the general process:
- Rounds 17–22: Continue reducing stitch counts gradually every few rounds:
- Example Reduction: Work 4 SC, 1 DEC, then reduce further in successive rounds to shape the body.
- Final Rounds (23–30): Decrease further to close the top of the owl.
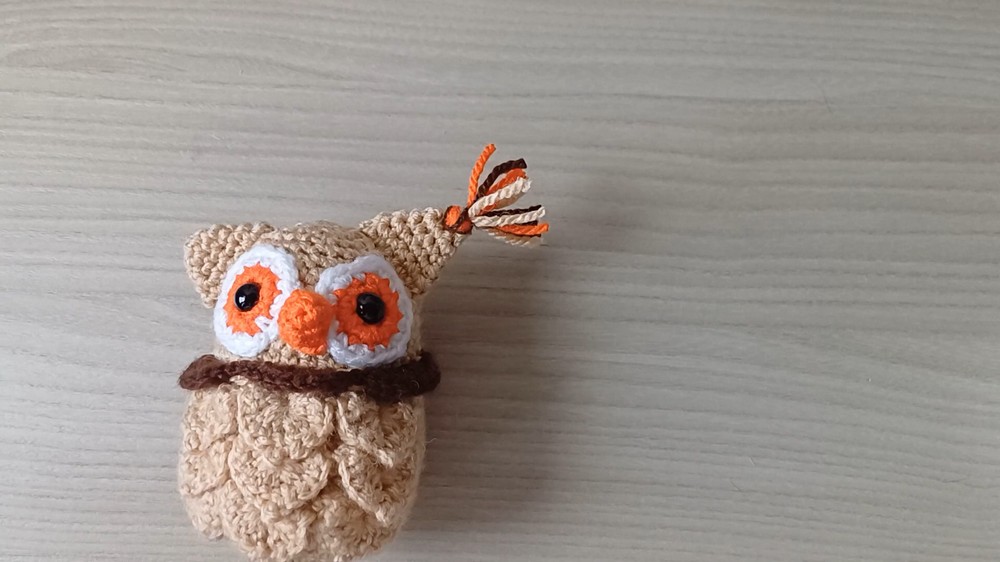
Part 5: Details (Eyes, Beak, Wings, and Feet)
- Eyes and Beak: Sew the eyes and beak onto the owl, centered and between rounds 22 and 23.
- Wings:
- Follow wing instructions to create the wing base with additional decorative "plumes."
- Make two and attach to the sides of the body symmetrically.
- Feet:
- Create two feet as instructed in the tutorial.
- Sew to the bottom of the body.
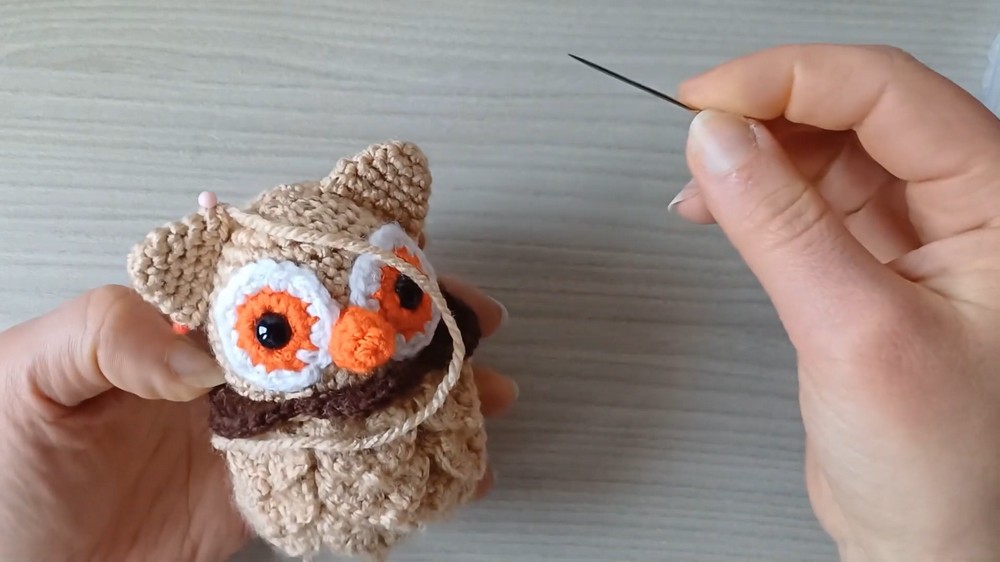
Final Assembly
- Before closing the head (after Round 28 or 29), add stuffing.
- Adjust and arrange the eyes, beak, ears, wings, and feet to your preferred look and sew them securely onto the body.
- Weave in any remaining yarn tails.