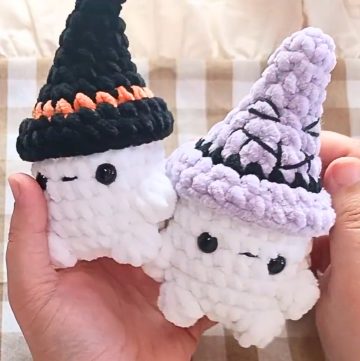
Bring a bold pirate touch to your costume with this classic crochet pirate hat. Designed to capture the iconic look of old sea adventures. Its structured shape helps it hold its form, while the three-cornered silhouette creates the instantly recognizable pirate style. From the wide brim to the raised sides, every detail gives this handmade accessory a character of its own. The most interesting part is watching a simple crochet piece of yarn transform into a hat with such a distinctive shape.
Crochet Pirate Hat Pattern

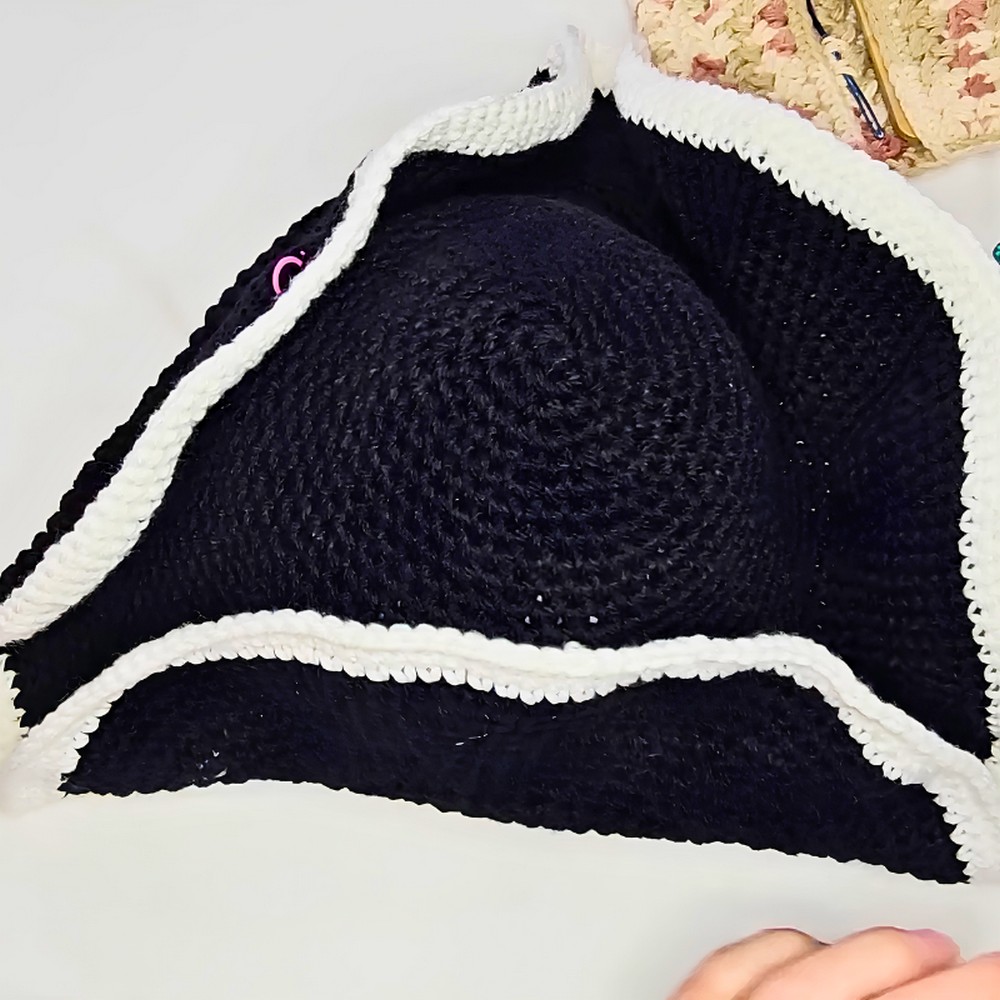
The crochet hat begins with a large circular base that creates the foundation of the design. The structure is then gradually expanded to build the wide brim, giving the hat its classic appearance. After the main form is finished, the sides are folded upward and carefully secured to create the traditional pirate shape. With simple crochet techniques and thoughtful shaping, this piece turns basic materials into a unique accessory for costumes, themed events, or creative dress-up moments.
Credit Enchanted Yarn Works
Materials & Tools Needed
- Yarn:
- Black (Mainstays Anti-Pill Yarn or any firm acrylic yarn; substitutes like Red Heart or Hobby Lobby’s "I Love This Yarn" will work)
- White for edging (optional)
- Crochet Hook: 4.5 mm
- Scissors
- Yarn Needle
- Stitch Markers
- Optional: A sturdy object (e.g., a yarn cake or mannequin head) to shape the hat during the finishing phase.
Finished Size & Customization Ideas
- Hat Finished Size: Adult-sized pirate hat, with a carefully shaped brim to create the tricorn effect.
- Customization Ideas:
- Change edging color for a fun or unique look.
- Use softer yarn for a gentler drape or stiffer yarn for a firmer structure.
- Add accessories like buttons, skull-and-crossbones appliqués, or feathers for extra flair.
Pattern Abbreviations & Terminology
(Note: This pattern uses US Crochet Terminology.)
- sc: Single crochet
- inc: Increase (2 single crochets in the same stitch)
- st(s): Stitch(es)
- sl st: Slip stitch
- ch: Chain
- Magic Ring: A loop used to start projects worked in the round
- FO: Fasten off
Important Notes
- This pattern is worked in the round without joining rows. Use stitch markers to mark the beginning of each round.
- The hat’s shape depends on controlled increases and alternating rounds of even stitches to maintain a curve.
Step-by-Step Detailed Crochet Instructions
Crown/Base of the Hat
- Start with a Magic Ring
- Work 6 single crochets (sc) into the magic ring. Pull the ring tight. (6 sts)
- Round 2:
- Increase (inc) in each stitch around. (12 sts)
- Round 3:
- (Inc, sc) around. (18 sts)
- Round 4:
- (Sc, inc, sc) around. (24 sts)
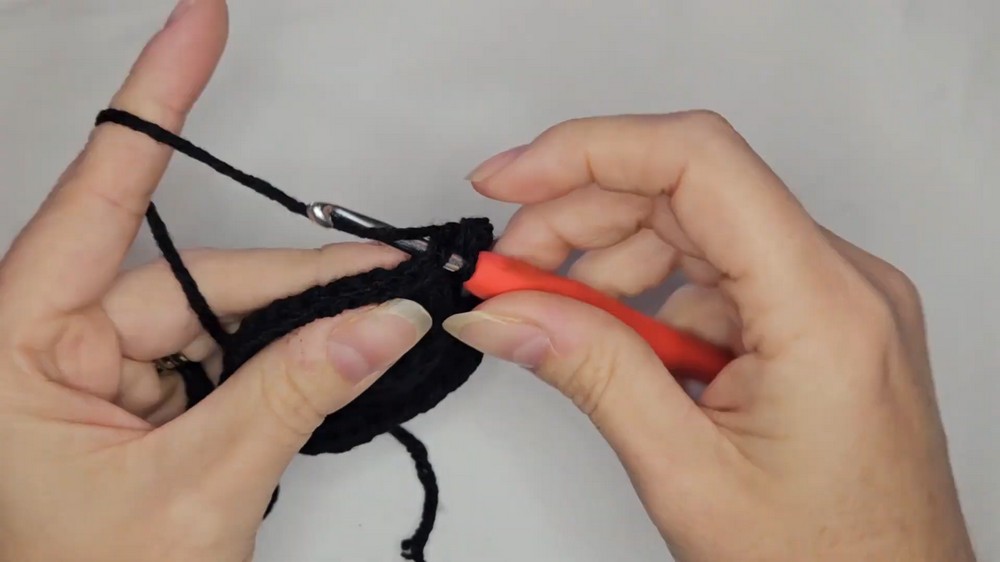
- Round 5:
- (Inc, sc in 3) around. (30 sts)
- Round 6:
- (Sc in 2, inc, sc in 2) around. (36 sts)
- Round 7:
- Sc in each stitch around (no increases). (36 sts)
- Round 8:
- (Inc, sc in 5) around. (42 sts)
- Round 9:
- Sc in each stitch around. (42 sts)
- Round 10:
- (Sc in 3, inc, sc in 3) around. (48 sts)
- Round 11:
- Sc in each stitch around. (48 sts)
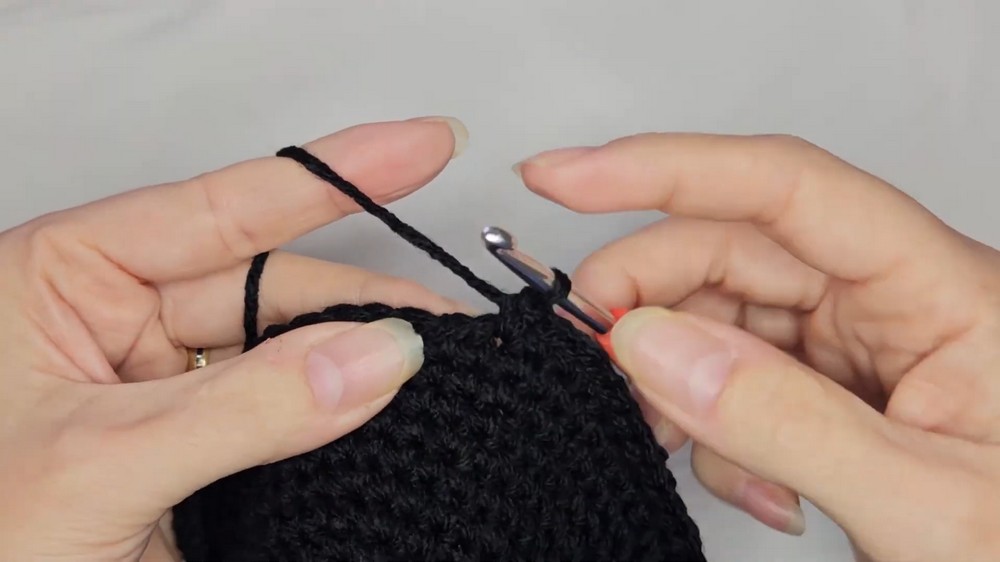
- Round 12:
- (Inc, sc in 7) around. (54 sts)
- Round 13:
- Sc in each stitch around. (54 sts)
- Round 14:
- (Sc in 4, inc, sc in 4) around. (60 sts)
- Round 15:
- Sc in each stitch around. (60 sts)
- Round 16:
- (Inc, sc in 9) around. (66 sts)
- Round 17:
- Sc in each stitch around. (66 sts)
- Round 18:
- (Sc in 5, inc, sc in 5) around. (72 sts)
- Rounds 19–20:
- Sc in each stitch around. (72 sts)
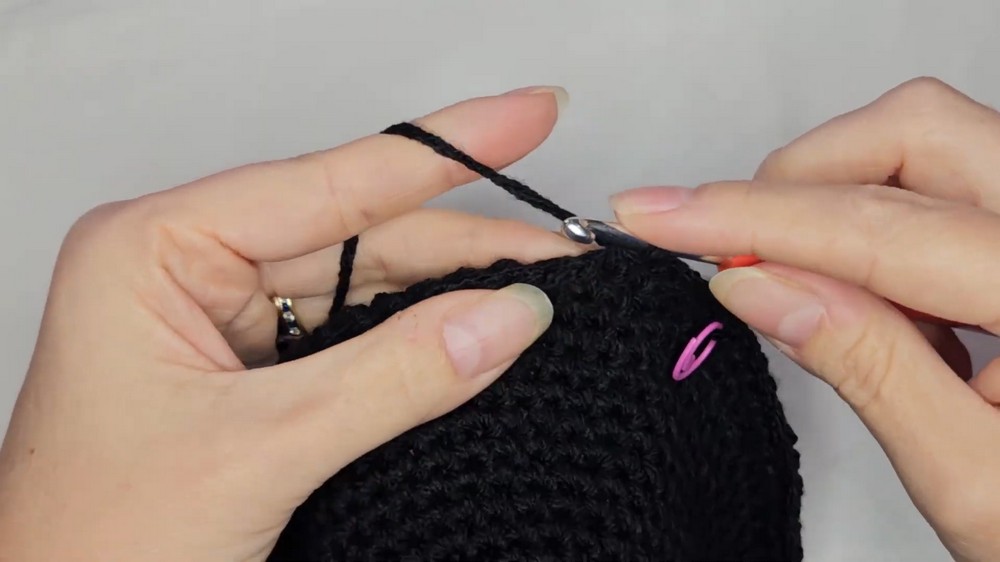
- Round 21:
- (Inc, sc in 11) around. (78 sts)
- Round 22:
- Sc in each stitch around. (78 sts)
- Round 23:
- (Sc in 6, inc, sc in 6) around. (84 sts)
- Rounds 24–25:
- Sc in each stitch around. (84 sts)
- Round 26:
- (Inc, sc in 13) around. (90 sts)
- Rounds 27–31:
- Sc in each stitch around. (90 sts)
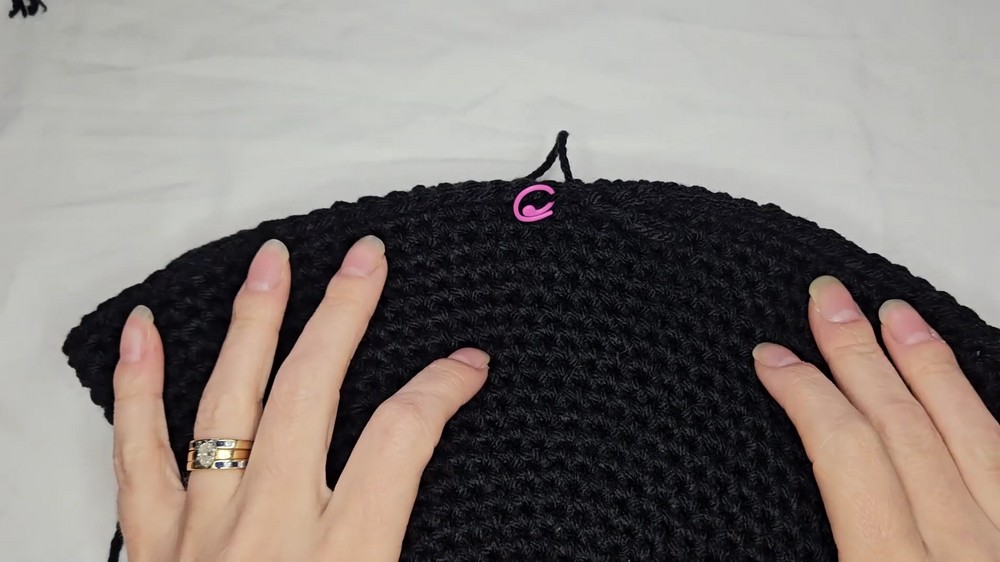
Brim
- Preparation for the Brim:
- After completing the bucket part of the hat, turn your work so the right side faces outward (this ensures correct shaping).
- Brim Round 1:
- (Sc in 3, inc, sc in 3) around. (102 sts)
- Brim Round 2:
- (Inc, sc in 7) around. (114 sts)
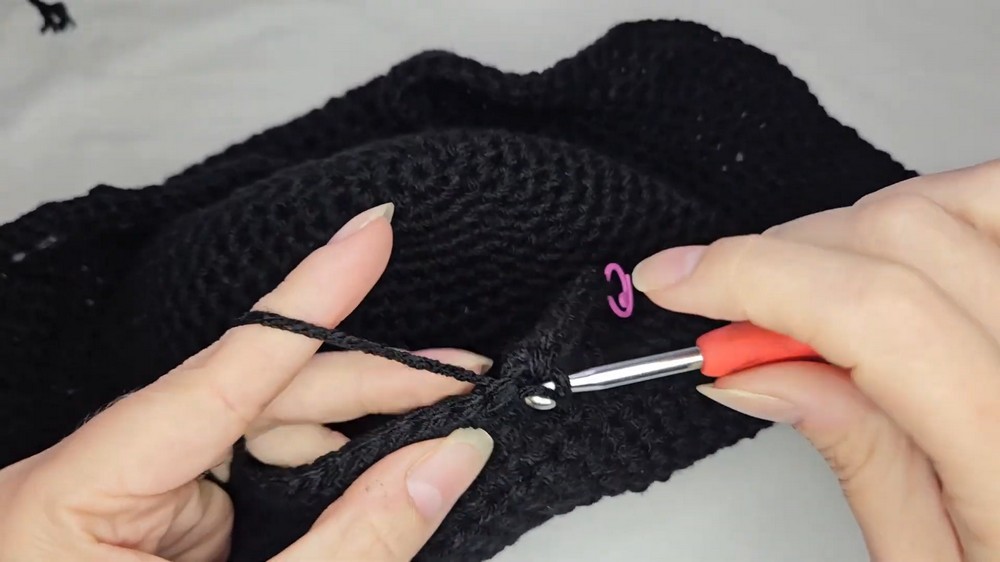
- Brim Round 3:
- (Sc in 4, inc, sc in 4) around. (126 sts)
- Brim Round 4:
- (Inc, sc in 9) around. (138 sts)
- Brim Round 5:
- (Sc in 5, inc, sc in 5) around. (150 sts)
- Brim Round 6:
- (Inc, sc in 11) around. (162 sts)
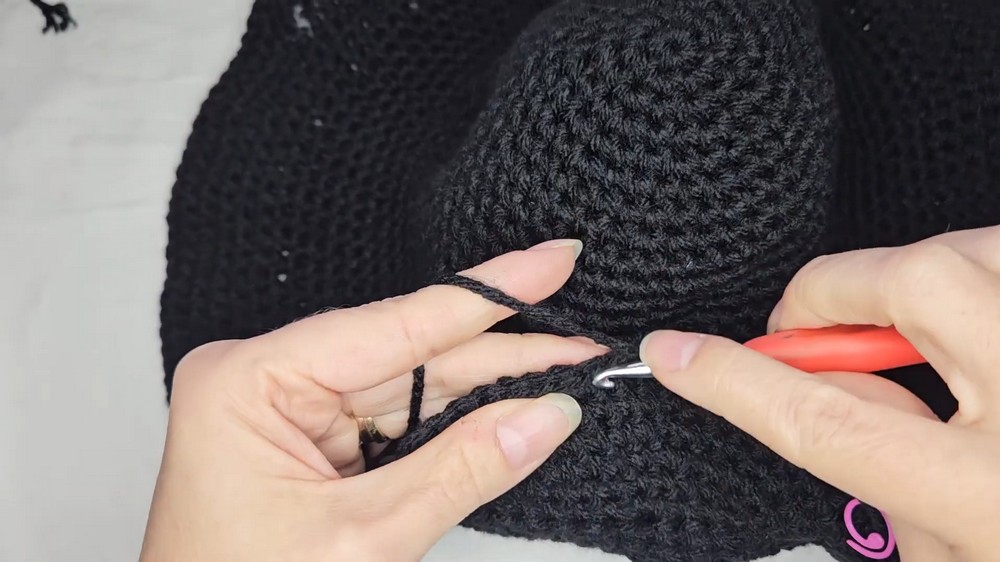
- Brim Round 7:
- (Sc in 6, inc, sc in 6) around. (174 sts)
- Brim Round 8 (Final Increase):
- (Inc, sc in 13) around. (186 sts)
- Brim Round 9:
- Sc in each stitch around. (186 sts)
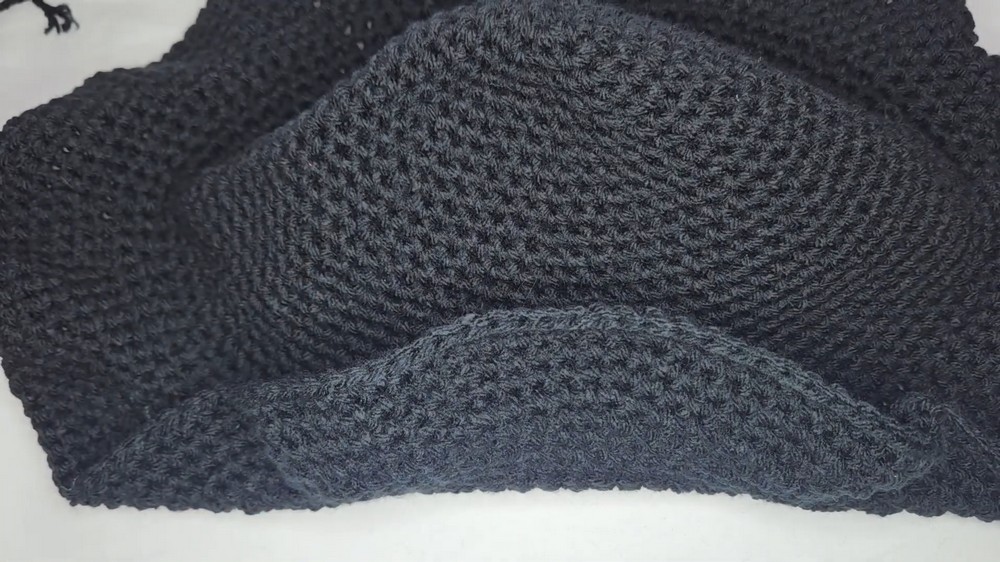
Edging (Optional, in White or Preferred Color)
- Attach white yarn to the last stitch of the brim using a slip knot.
- Increase to 198:
- (Sc in 7, inc) around. (198 sts)
- Row 2 of Edging (Final Increase):
- (Sc in 15, inc) around. (210 sts)
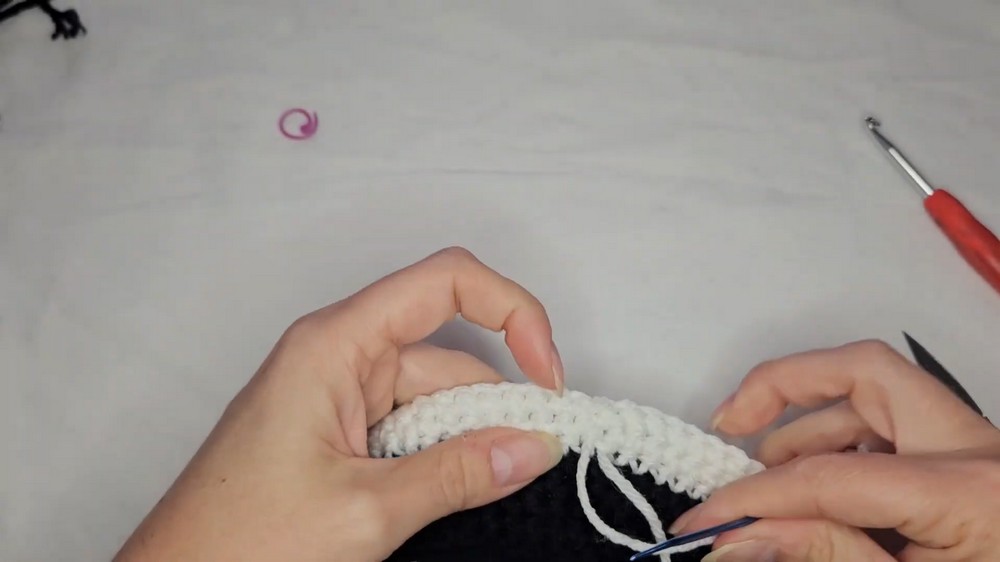
- Final Edging Row:
- Sc in each stitch around. (210 sts)
- Finishing Edging: (Invisible Join)
- Cut the yarn, leaving a long tail. Use a yarn needle to create an invisible join by mimicking the structure of the stitches. Weave in all remaining ends.
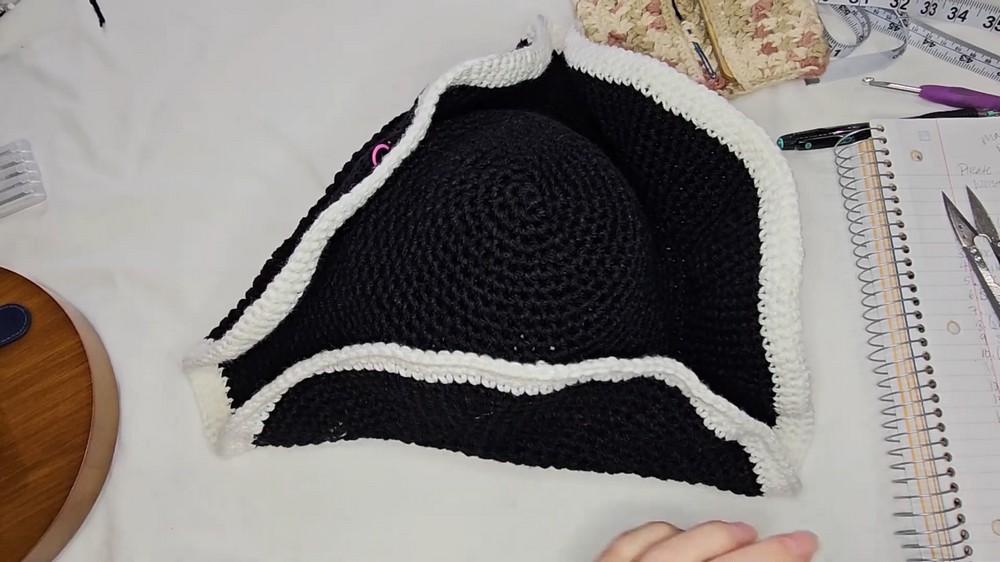
Shaping into Tricorn
- Lay the hat flat on a stable surface. Fold up three sides to create the iconic 3-cornered appearance of a tricorn hat.
- Pin the folds into position with stitch markers or safety pins.
- Using black yarn and a yarn needle, stitch each fold into place from the inside. Secure the folds firmly for stability, hiding all stitches neatly.
- Weave in all remaining yarn tails. Make final adjustments to the shape.