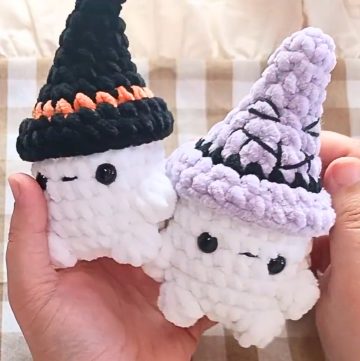
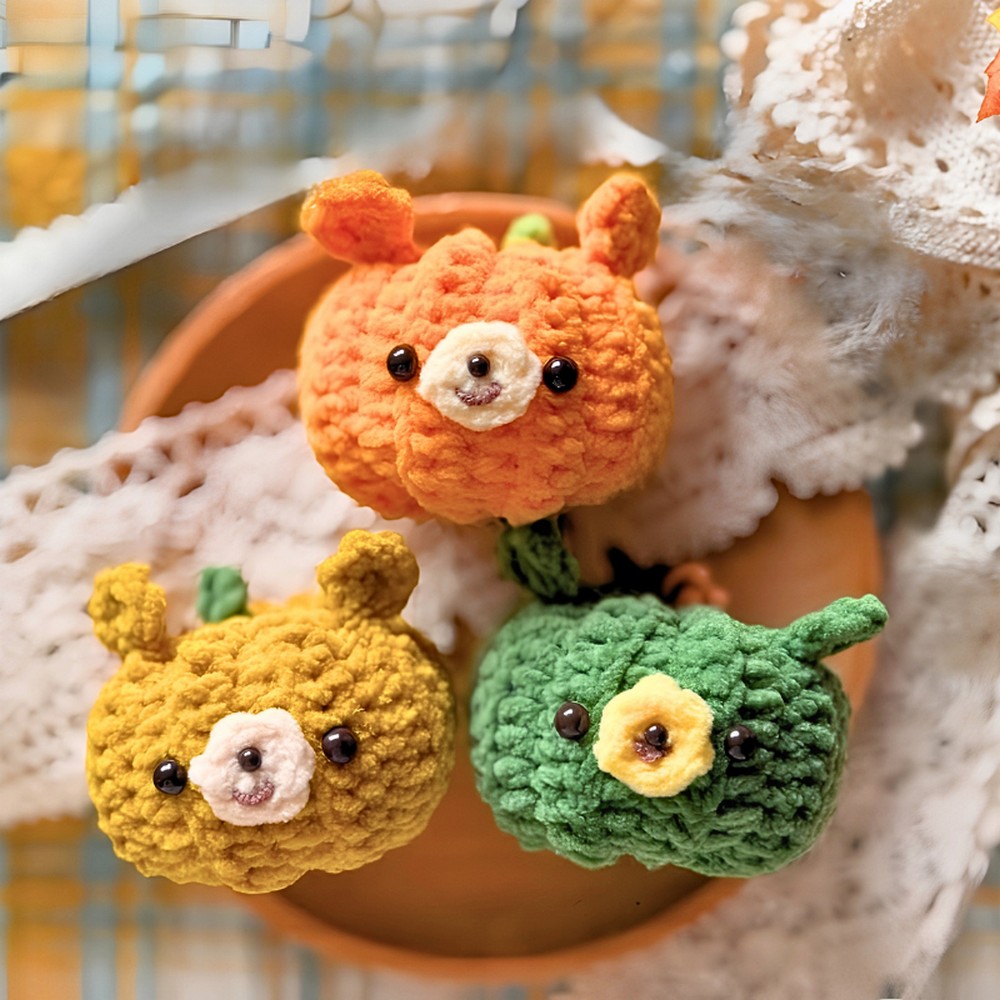
This charming Pumpkin Cub combines the look of a cuddly bear with the warm feel of a classic autumn pumpkin. Its rounded body, tiny ears, and simple stitched details give it a handmade personality that looks lovely on a desk, bookshelf, or seasonal display. Whether displayed on its own or alongside other crochet creations, it adds a cheerful touch to any fall-themed collection. The next steps reveal how each carefully crafted crochet piece comes together to create its finished look.
Crochet Pumpkin Cubs Pattern

It comes together by crocheting the pumpkin-shaped body first, then attaching the small ears and finishing it with a neatly shaped stem. Each piece is assembled to create a soft, well-balanced plush that is enjoyable to make from start to finish. The finished Pumpkin Cub is a delightful handmade keepsake and a thoughtful gift for anyone who loves crochet or autumn-inspired decor.
Credit mikimeloco
Materials & Tools Needed
-
Yarn: Chenille/velvet plush yarn (Orange for the pumpkin body, Brown/Khaki for the bear details, and Green for the stem)
-
Crochet Hook: Size matching your yarn (typically 4.0mm to 5.0mm for plush yarn)
-
Darning/Yarn Needle
-
Scissors
-
Polyester Fiberfill (Stuffing)
-
Safety Eyes (or black felt/thread for face details)
-
Stitch Marker
-
Optional: Hot glue gun (if gluing ears/nose instead of sewing)
Finished Size & Customization Ideas
-
Finished Size: A small, palm-sized kawaii plushy perfect as a fall accessory or keychain.
-
Customization Ideas:
-
Change the main body color to white for a "ghost bear pumpkin" or green for a decorative gourd cub.
-
Use a smaller weight yarn (like milk cotton) to turn it into a tiny desk companion or bag charm.
-
Embroider different facial expressions (sleeping eyes, a little smile) to give it a unique personality.
-
Pattern Abbreviations & Terminology
This pattern is written using standard US crochet terminology:
-
CH: Chain
-
ST: Stitch
-
SC: Single Crochet
-
HDC: Half Double Crochet
-
MR: Magic Ring
-
SL ST: Slip Stitch
- FO: Fasten Off
Step-by-Step Detailed Crochet Instructions
1. Pumpkin Body (Orange Yarn)
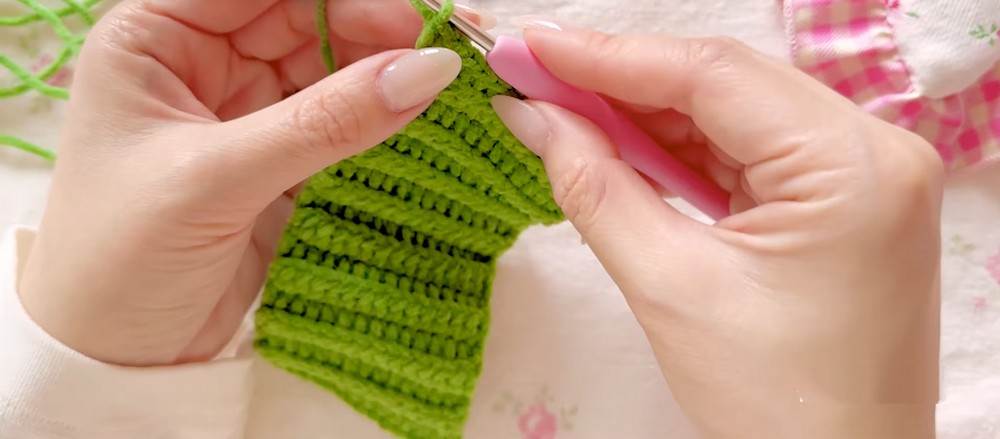
The body is worked flat as a ribbed rectangle and then cinched into a ball.
-
Row 1: CH 16. Insert hook into the 3rd CH from the hook and work 1 HDC. Work 1 HDC into each remaining chain across to the end.
-
Row 2: CH 2 (counts as standing/turning chain), turn your work. Work 1 HDC into the first stitch and into every stitch across the row.
-
Rows 3–17: Repeat Row 2 until you have completed exactly 17 rows of HDC.
-
Finishing the Body: CH 1 and pull the yarn out, leaving a long tail for sewing.
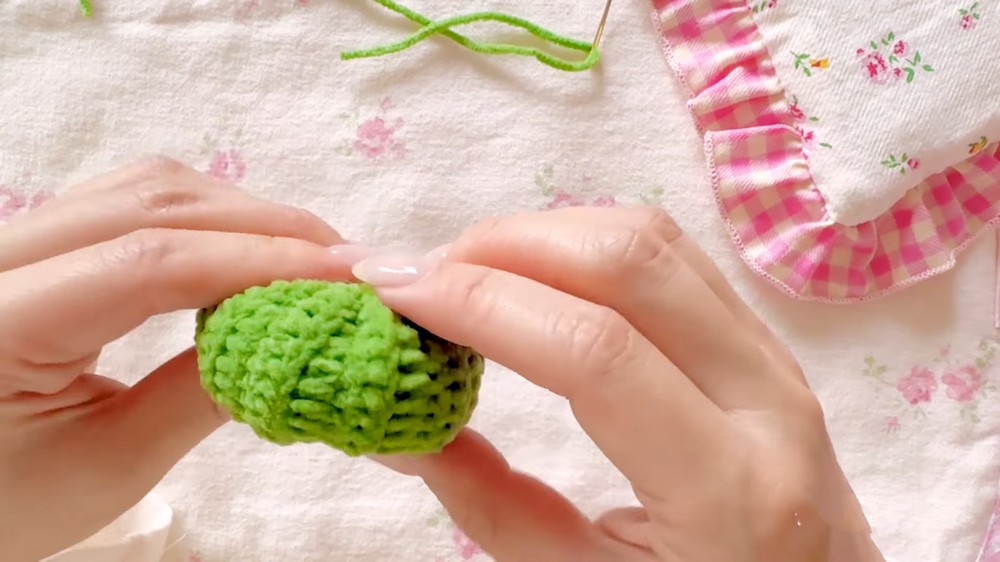
Assembly of the Body:
-
Fold the rectangle so the short edges meet, and sew or slip stitch the sides together to form a tube.
-
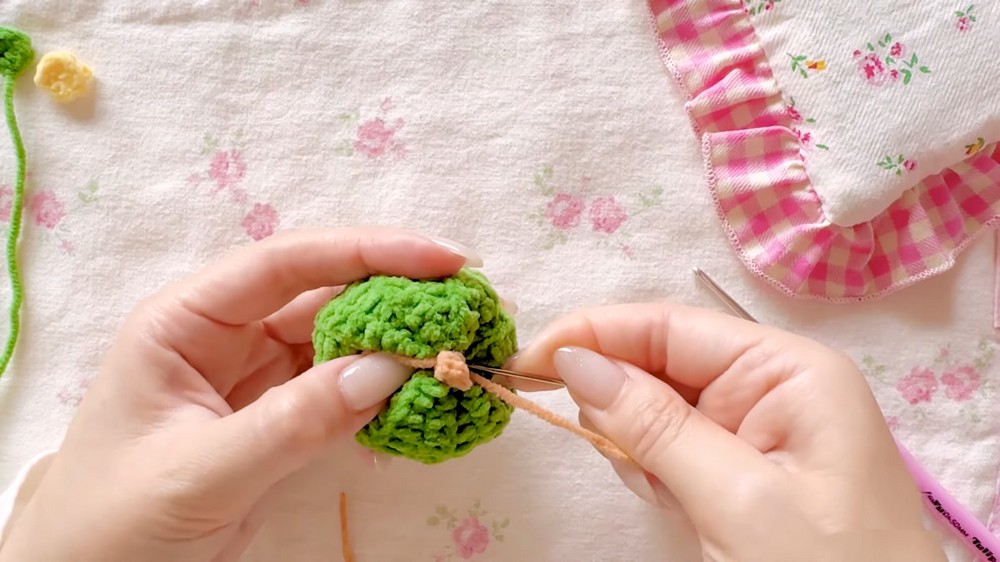
Weave your needle up and down around the bottom opening of the tube, pull tight to cinch it closed, and pass the needle through to secure it.
-
Stuff the body firmly with polyfill.
-
Repeat the up-and-down weaving method around the top opening, pull tightly to cinch it closed, secure with a knot, and hide the yarn tail.
-
Tip: Wrap the yarn around the outside sections vertically from top to bottom to create the defined pumpkin ridges before tying off.
2. Bear Ears (Make 2 - Brown Yarn)
-
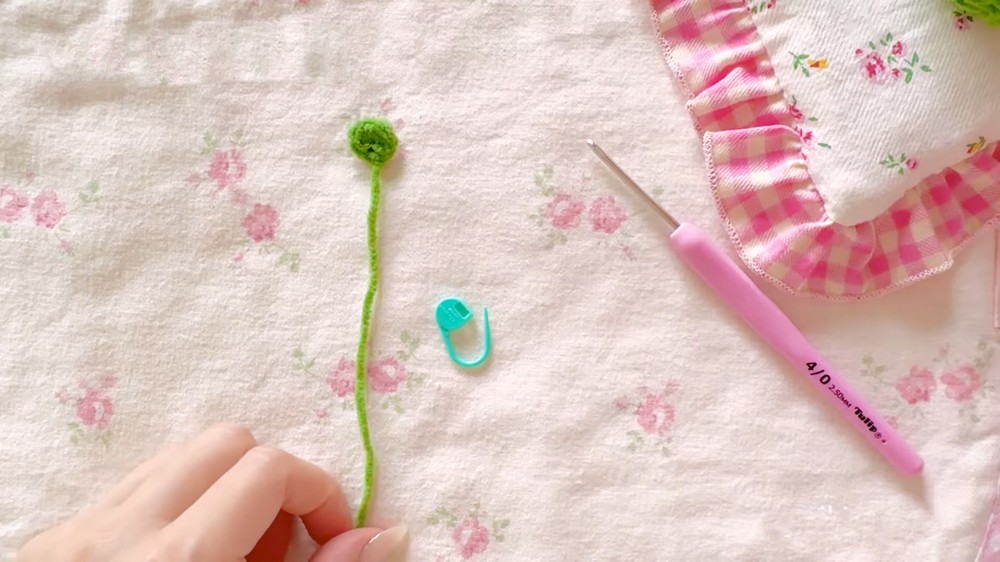
Round 1: Start with a Magic Ring (MR). Work 6 SC into the ring. Pull the yarn tail to close the ring tightly.
-
Finishing: Remove your stitch marker, insert the hook into the first SC made, and work a SL ST to join. Cut the yarn, leaving a long tail if you prefer to sew them onto the head, or cut short if you plan to use hot glue. Secure the starting tail and snip it short.
3. Snout/Nose (Make 1 - Brown Yarn)
-
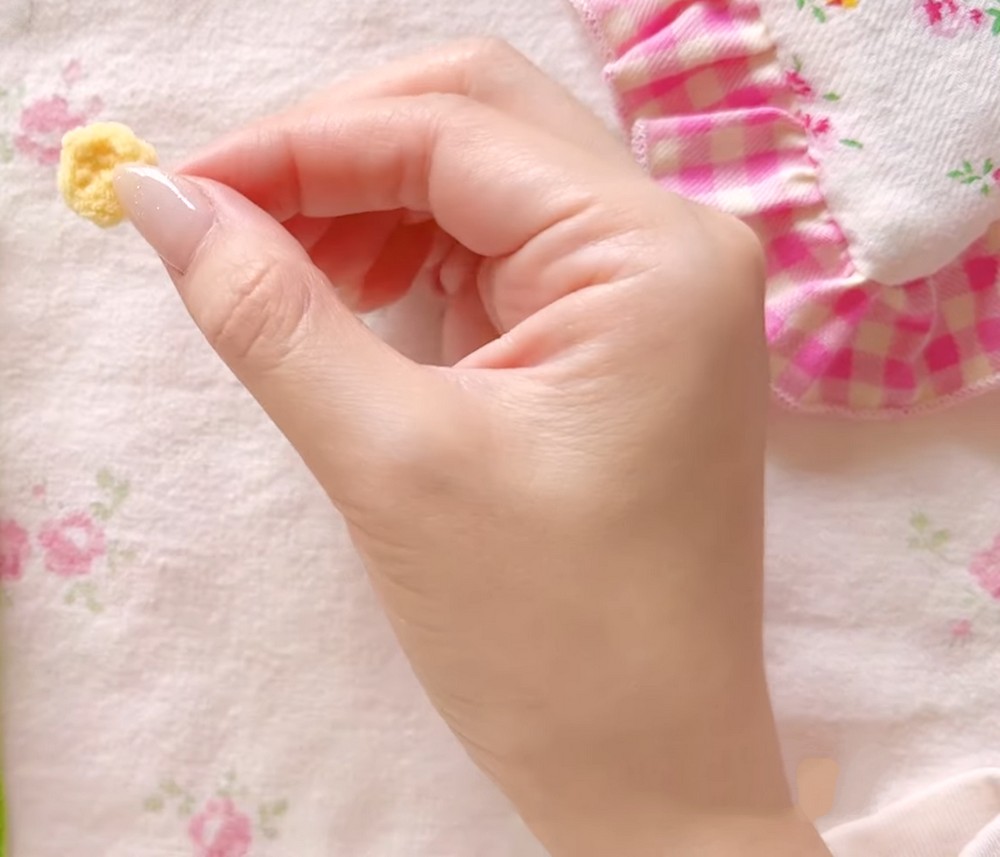
Follow the exact same instructions as the Bear Ears: Work 6 SC into a Magic Ring, join with a SL ST, and fasten off.
4. Pumpkin Stem (Green Yarn)
-
Row 1: CH 6. Start a slip knot, chain 6, and fasten off to create a small textured stem.
Final Assembly
-
Attach the Stem securely to the top center of the pumpkin body.
-
Attach the Ears symmetrically on either side of the top surface.
-
Secure the Snout to the front center of the pumpkin, then add safety eyes or embroider eyes right above it to finish your Kawaii Pumpkin Cub.