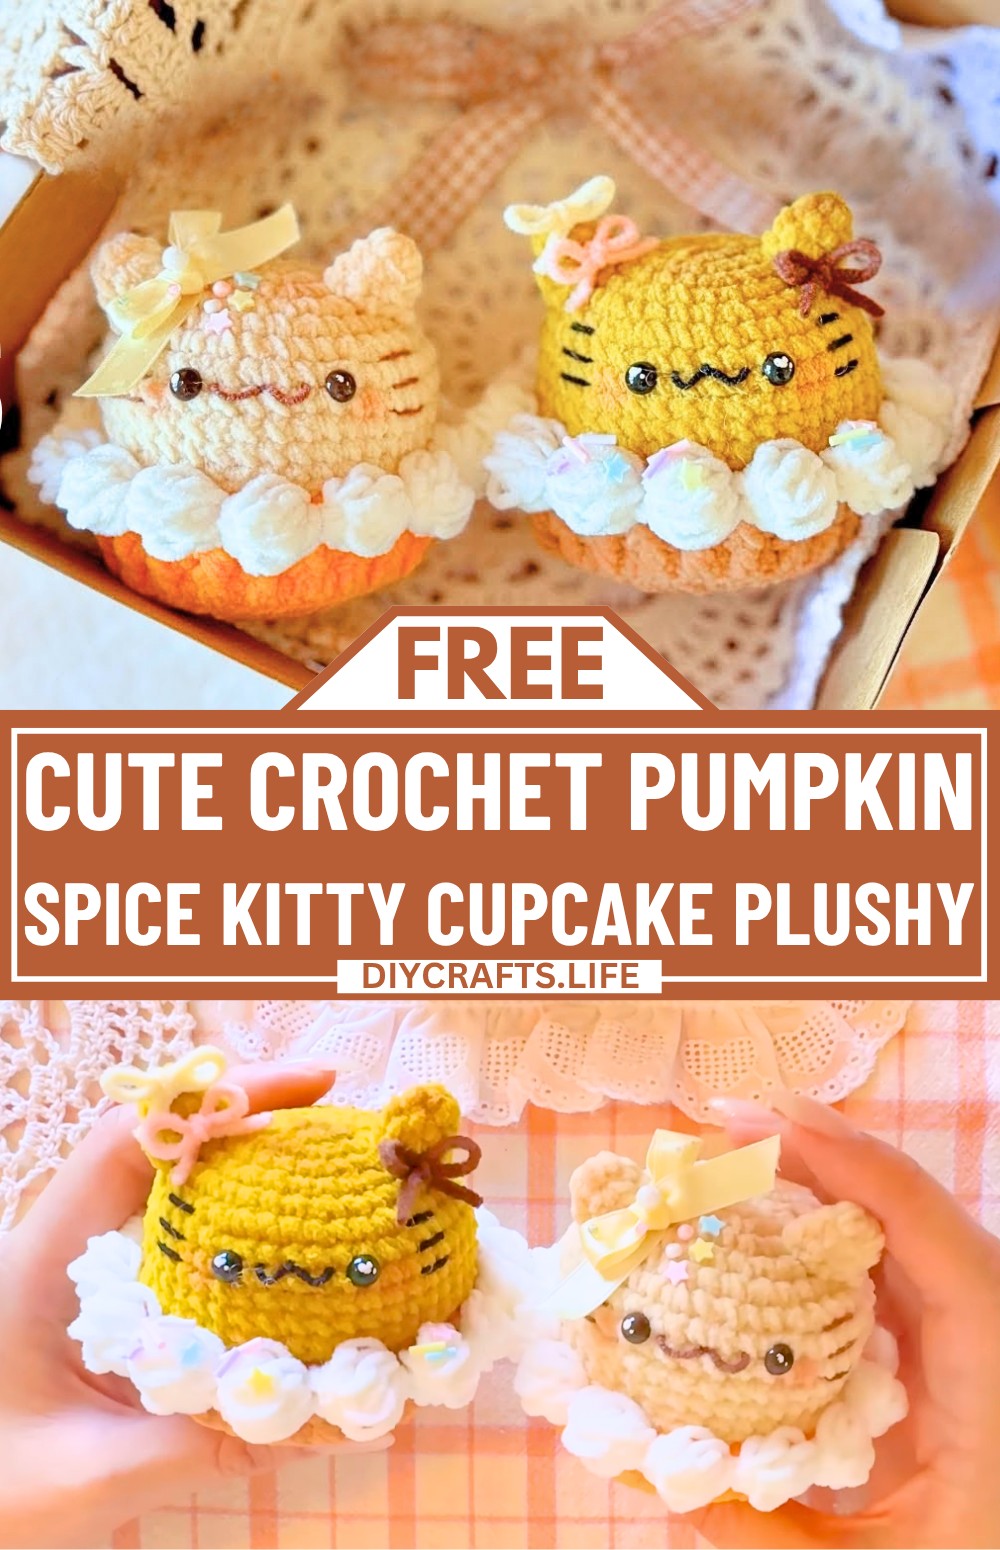
This adorable Pumpkin Spice Kitty brings a playful twist to fall vibes, blending cute cat-inspired features with seasonal pumpkin spice charm. It’s a soft and cheerful plushy, perfect as playful décor, a cozy gift for someone special, or a sweet companion for little hands. Not only is it cute to look at, but it’s a great way to celebrate the warmth of autumn in a fun and unique style.
Crochet Pumpkin Spice Kitty Cupcake Plushy Tutorial
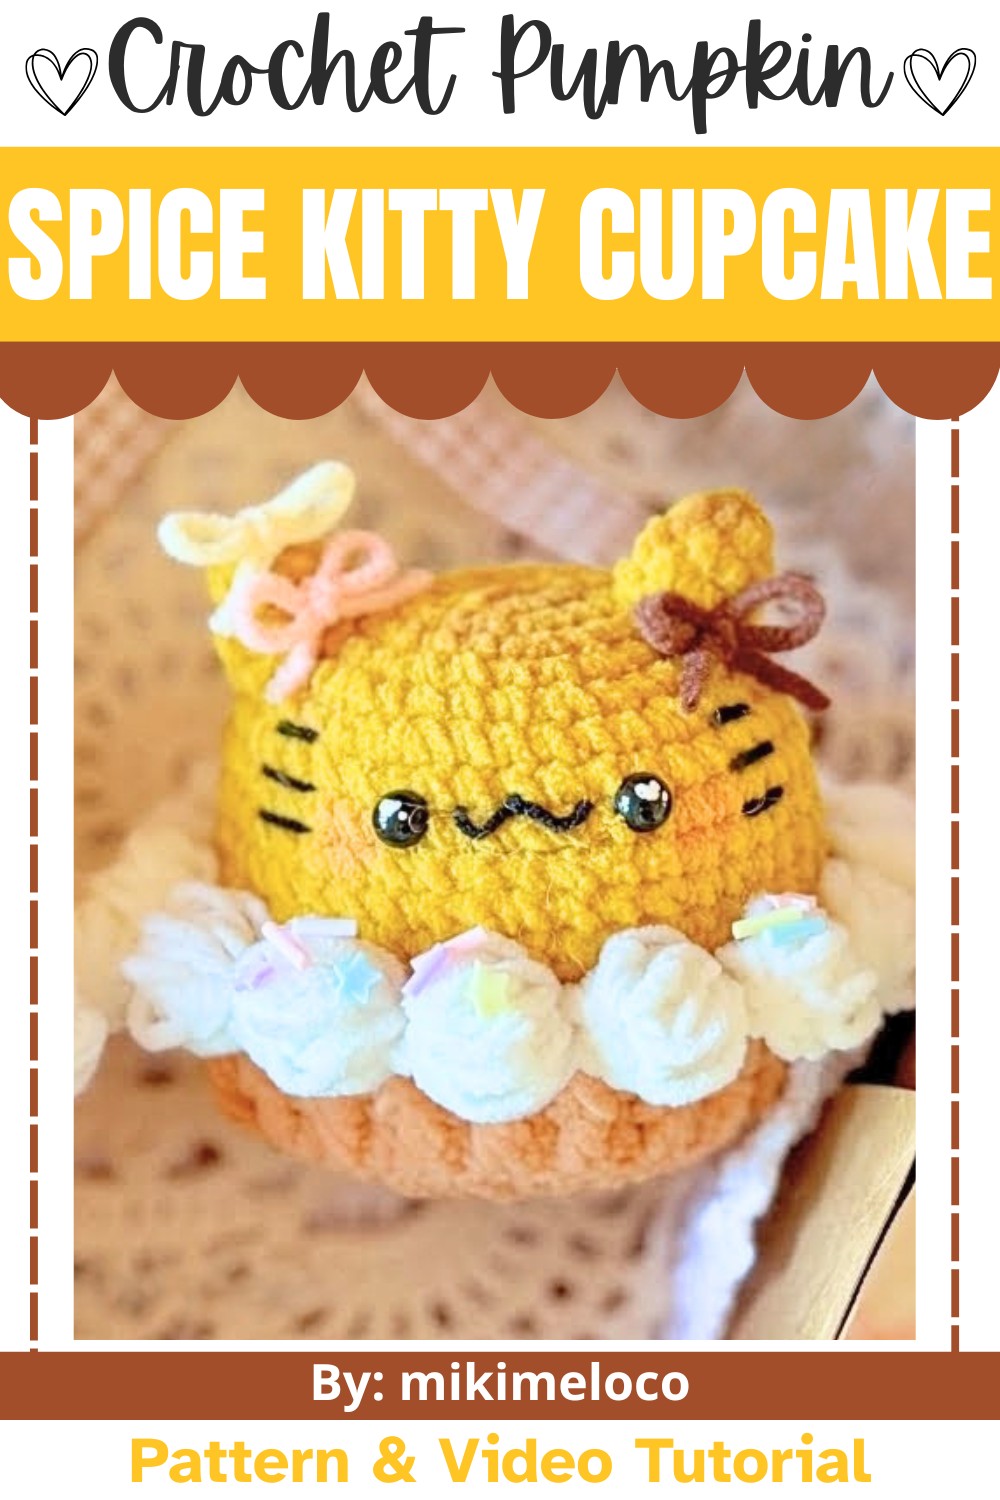
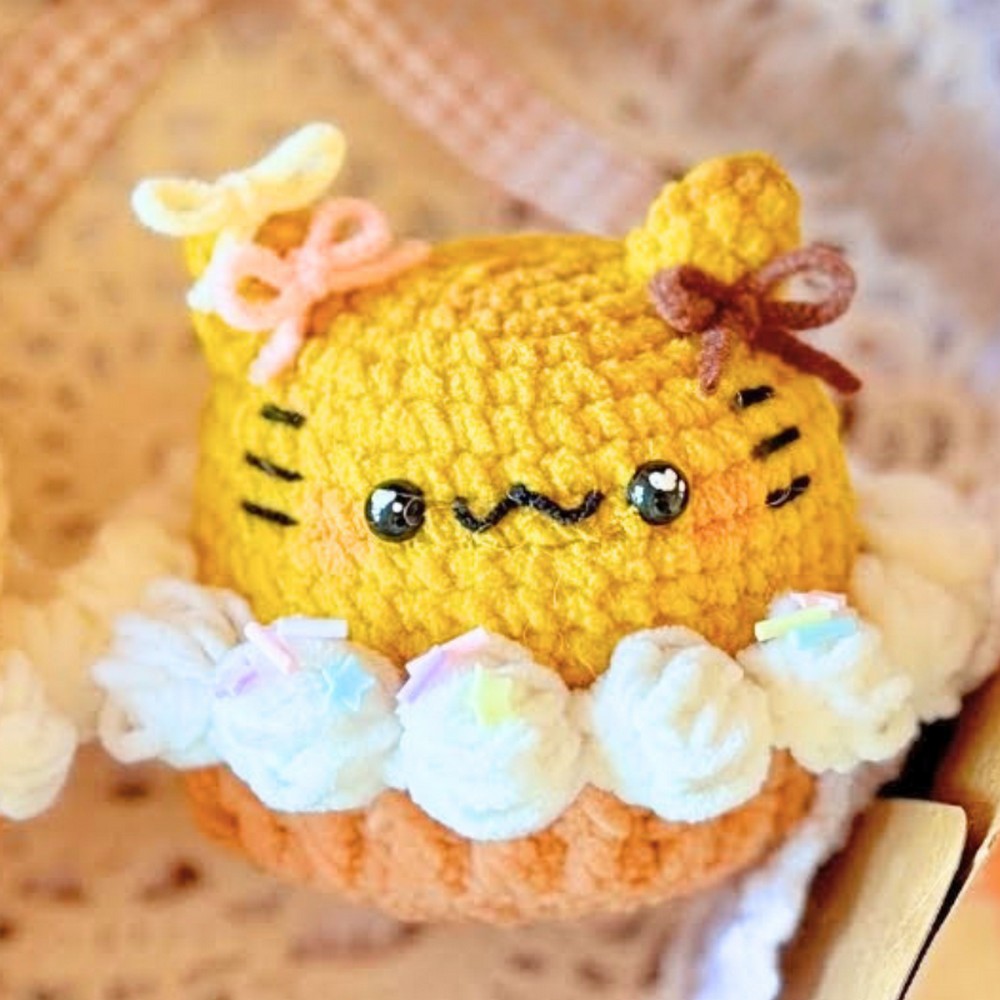
This crochet piece combines autumn vibes with a fun, cat-inspired twist. From shaping the kitty's adorable face to creating the cupcake base with textural details, every part is colorful and charming. The soft pumpkin hues and small details, like the swirl of whipped cream, make this creation stand out. Even beginners can create it by following step-by-step instructions.
Credit mikimeloco
Materials and Tools Needed
- Yarn: Acrylic or cotton yarn in four colors:
- Pumpkin Orange (for the kitty head)
- White (for whipped cream)
- Cupcake Base Color (such as tan or brown)
- Accent Colors (for decoration like sprinkles or face details, optional)
- Hook: Crochet hook size appropriate for selected yarn (e.g., 2.5mm or 3.5mm)
- Yarn Needle: For sewing components and weaving in ends
- Polyfill Stuffing: To fill the plush
- Stitch Markers: For marking the beginning of rounds
- Safety Eyes or Embroidery Thread: For the kitty's facial features
- Optional: Hot glue gun (if preferred for assembly)
Finished Size
- The finished Pumpkin Spice Kitty Cupcake plush measures approximately 6 to 8 inches tall (depending on yarn thickness and hook size).
- Customization Ideas:
- Change the yarn colors to make different seasonal themes (e.g., pastel for spring, red/green for Christmas).
- Add tiny sprinkles to the whipped cream with colorful embroidery stitches.
- Add a scarf or bow for extra cuteness!
Pattern Abbreviations and Terminology
Standard US Terminology:
- MR: Magic Ring
- ch: Chain
- sc: Single Crochet
- dc: Double Crochet
- inc: Increase (2 sc in one stitch)
- sl st: Slip Stitch
- BLO: Back Loop Only
- FLO: Front Loop Only
Step-by-Step Detailed Crochet Instructions
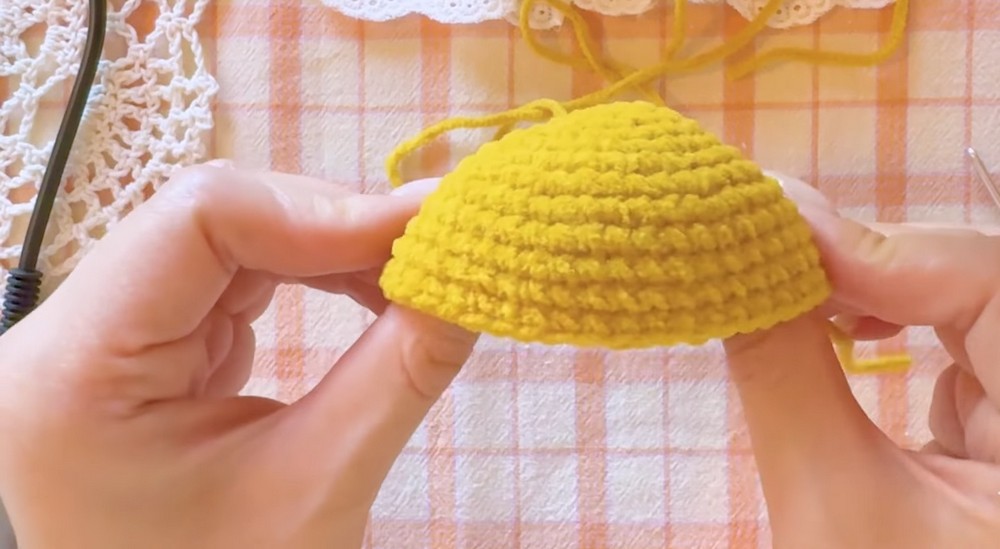
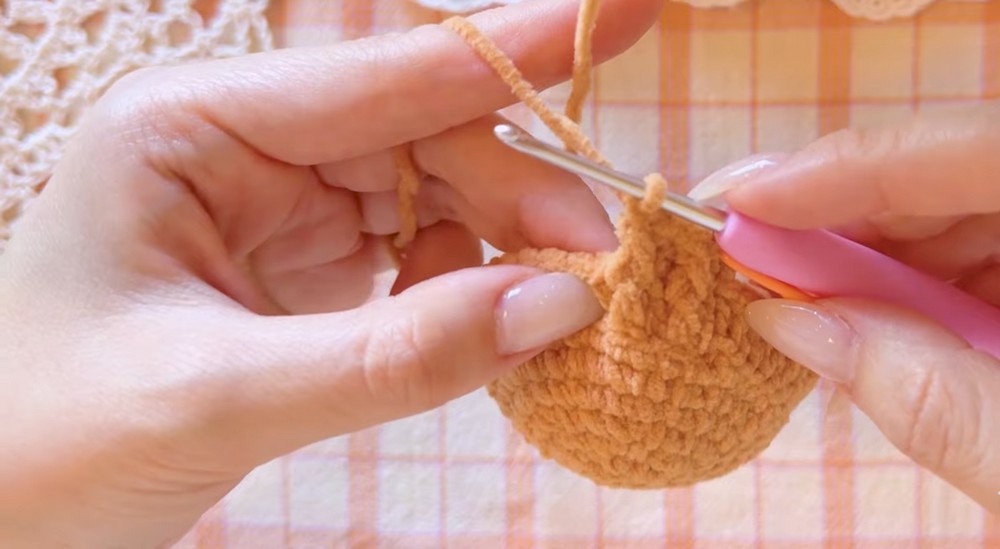
Head (Kitty's Round Face)
- Round 1: Begin with a magic ring. Work 6 sc into the ring. Pull the tail tight to close the ring. Place stitch marker on the first sc. (6 stitches)
- Round 2: Work 6 inc (2 sc in each stitch). (12 stitches total)
- Round 3: [1 sc, 1 inc] repeat around. (18 stitches)
- Round 4: [2 sc, 1 inc] repeat around. (24 stitches)
- Round 5: [3 sc, 1 inc] repeat around. (30 stitches)
- Round 6: [4 sc, 1 inc] repeat around. (36 stitches)
- Round 7: [5 sc, 1 inc] repeat around. (42 stitches)
- Rounds 8-12: Work 1 sc in each stitch. (42 stitches per round)
- Note: When starting each round, make sure you insert your hook into the standing stitching from the previous round.
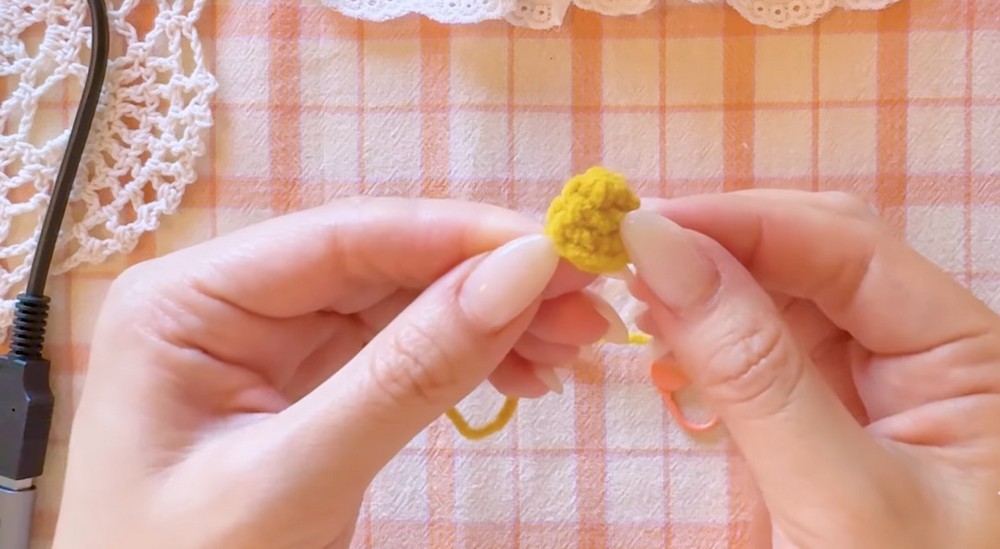
Ears (Make 2)
- Round 1: Start with a magic ring. Work 4 sc into the ring.
- Round 2: [1 sc, 1 inc] repeat around. (6 stitches total)
- Round 3: [2 sc, 1 inc] repeat around. (8 stitches total)
- Finish and leave a long tail for sewing.
Sew the ears symmetrically on top of the head once stuffed and shaped.Cupcake Base
- Rounds 1-7: These rounds follow the same pattern as the kitty's head (rounds 1–7). (42 stitches after Round 7)
- Round 8: Work 42 dc BLO around. (Back loop only double crochets create the ribbed texture).
- Rounds 9–10: Alternate between regular double crochet (dc) and front post double crochet.
- For Round 9: Start with ch 2 as a standing stitch.
- For each stitch: Work one standard dc, then one front post dc. Repeat this pattern around.
- Finish off and leave a tail for sewing or hot-gluing the cupcake base to the kitty head.
Whipped Cream
- Attach white yarn to the top edge of the cupcake (or wherever whipped cream is desired).
- Work as follows for each whipped cream "bump":
- [ch 2, 4 incomplete dc in same stitch, ch 1, sl st]. Skip one stitch and repeat.
- Continue this pattern all the way around for a fluffy whipped cream effect.
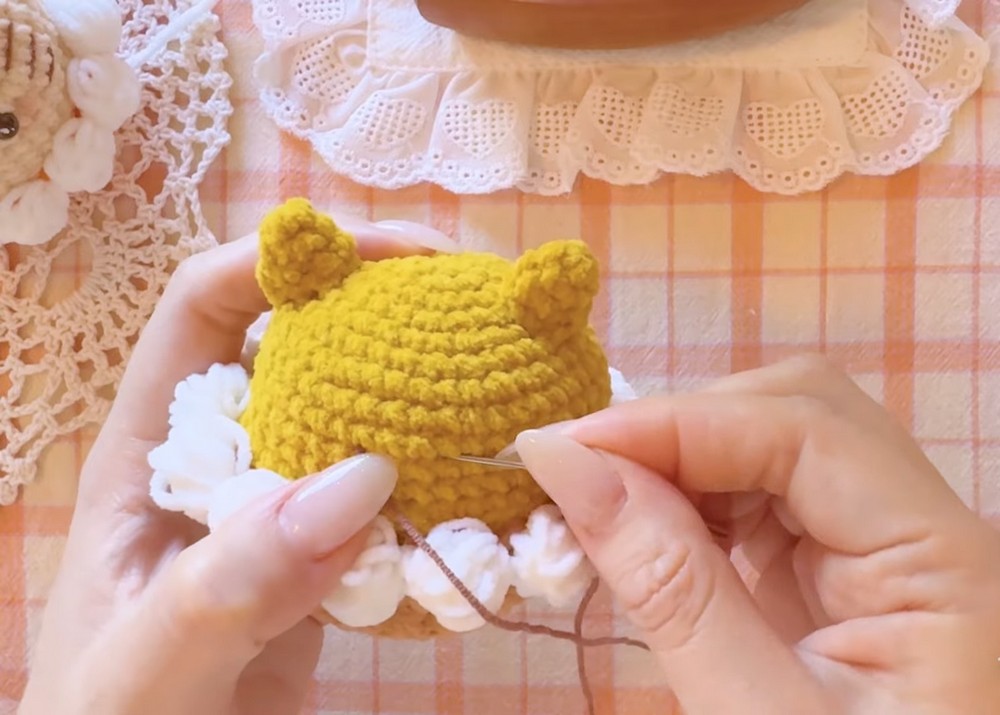
Assembly and Finishing
- Stuff the kitty head and the cupcake base with polyfill.
- Use either hot glue or sewing to attach the cupcake base to the bottom of the kitty head.
- Sew on the ears at equal distances on top of the head.
- Add facial features:
- Use safety eyes or embroider the eyes and nose in the center of the head.
- Add blush using pink embroidery thread or fabric paint (if desired).
- If adding sprinkles: sew tiny French knots or embroider colorful dots randomly onto the whipped cream.