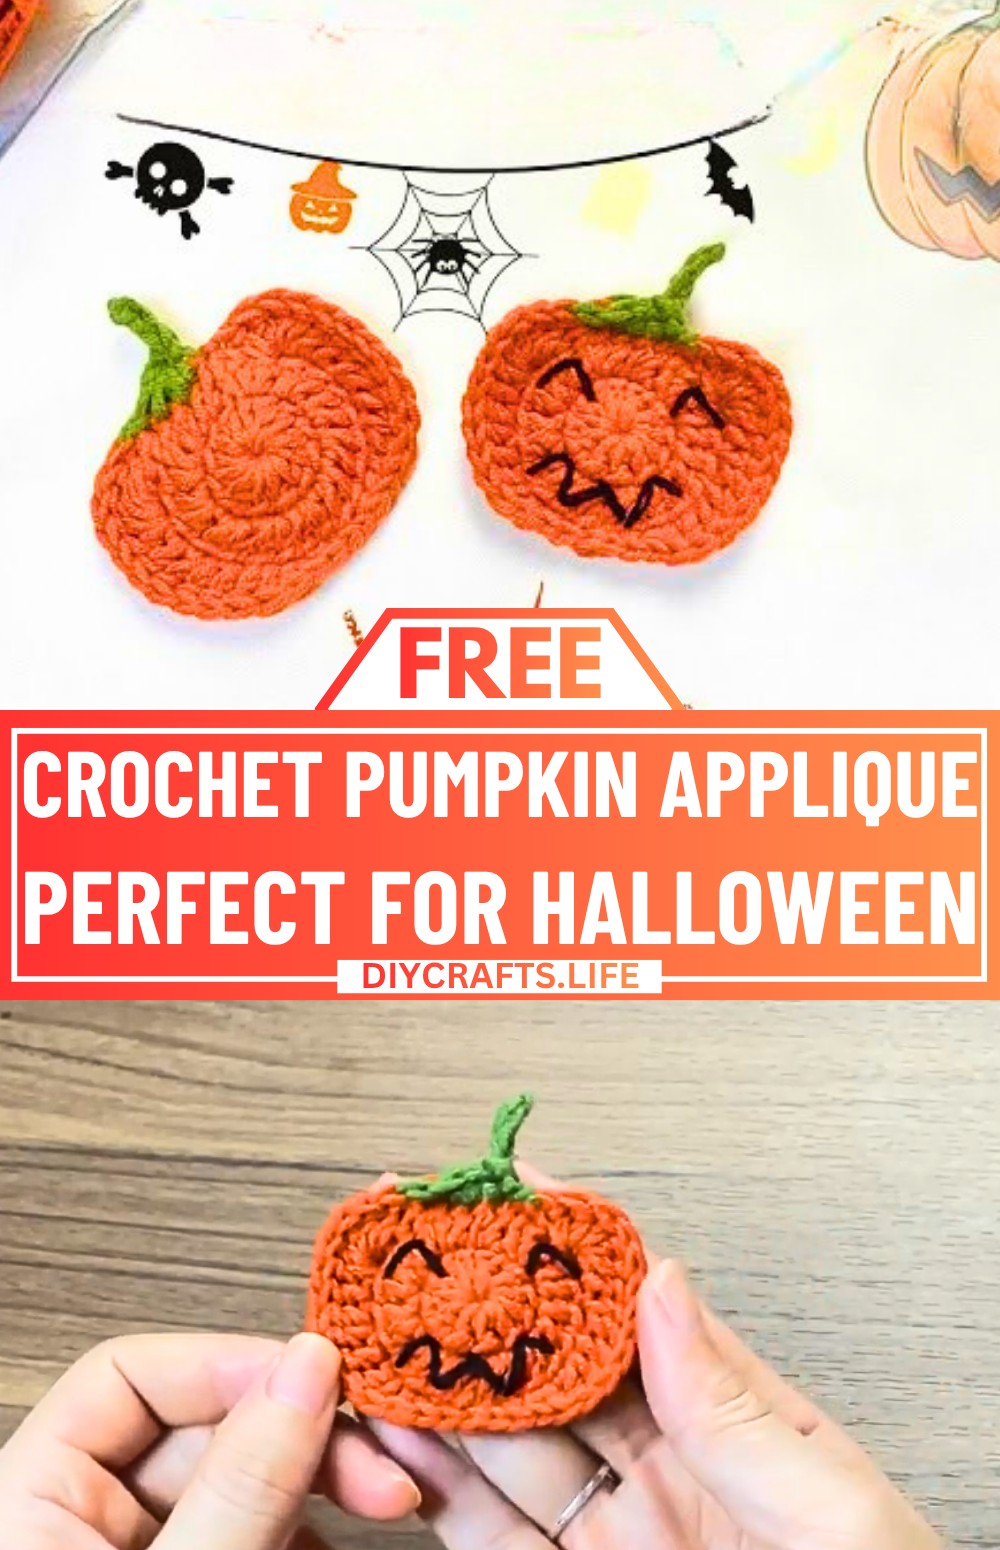
The Crochet Pumpkin Applique is a delightful little design perfect for Halloween and autumn fun. Create a cute pumpkin face that can be used in many ways, like a hair clip, brooch, or even a keychain. It’s small yet eye-catching, making it great for adding a touch of seasonal charm to your outfits or home decorations.
Crochet Pumpkin Applique Tutorial
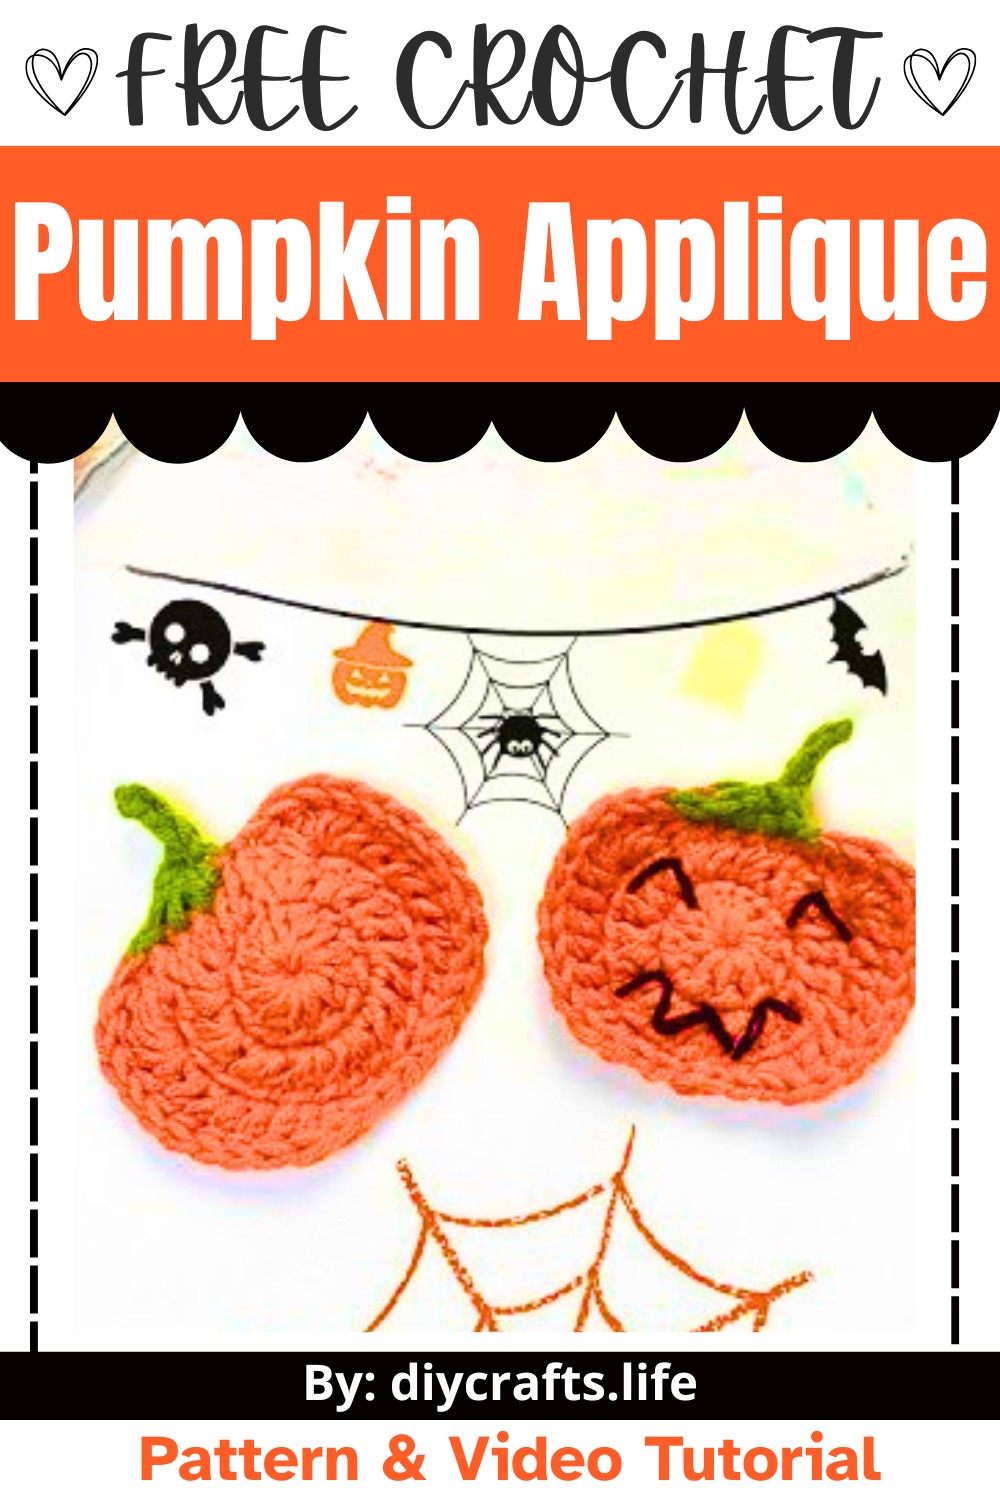
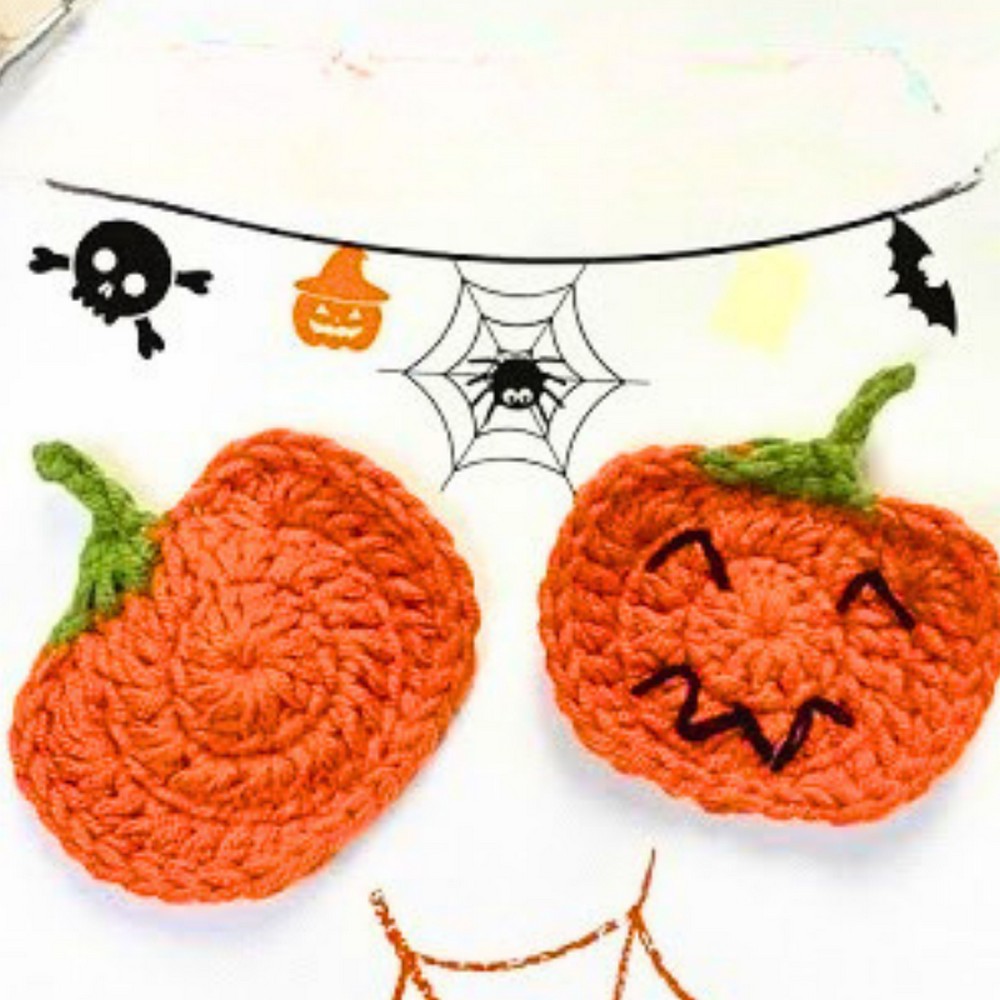
Creating this crochet pumpkin applique is easy for beginners, making it a great choice for anyone who wants to practice simple stitches. You'll work with soft orange yarn, a crochet hook, and add finishing touches like eyes and a mouth using black thread or felt. The pumpkin’s unique shape and cheerful design stand out beautifully, especially when paired with a pop of color for added contrast. Loose stitching helps the pattern look smooth and well-shaped.
Credit San.crochet
Materials and Tools Needed
- Yarn: Susan 5 yarn (or any comparable medium-weight yarn)
- Hook: 3mm crochet hook
- Additional Tools:
- Yarn needle (for weaving in ends)
- Scissors
- Black thread or felt for decorating the pumpkin’s eyes and mouth (optional)
Finished Size
- The finished size depends on individual tension and the thickness of the yarn used. With medium-weight yarn and a 3mm hook, the applique typically measures approximately 3 inches across.
Customization Ideas
- Attach the applique to a hair clip, brooch, keychain, or a decorative Halloween garland.
- Use variegated yarns for a fun color change in the pumpkin.
- Add a face using black felt or embroidery with black thread for Halloween decoration.
Pattern Abbreviations & Terminology
- ch: chain
- sl st: slip stitch
- dc: double crochet
- hdc: half double crochet
- sc: single crochet
- inc: increase (work multiple stitches into the same stitch for shaping)
Note: Pattern uses US crochet terminology.
Step-by-Step Instructions
Pumpkin Base
Round 1:
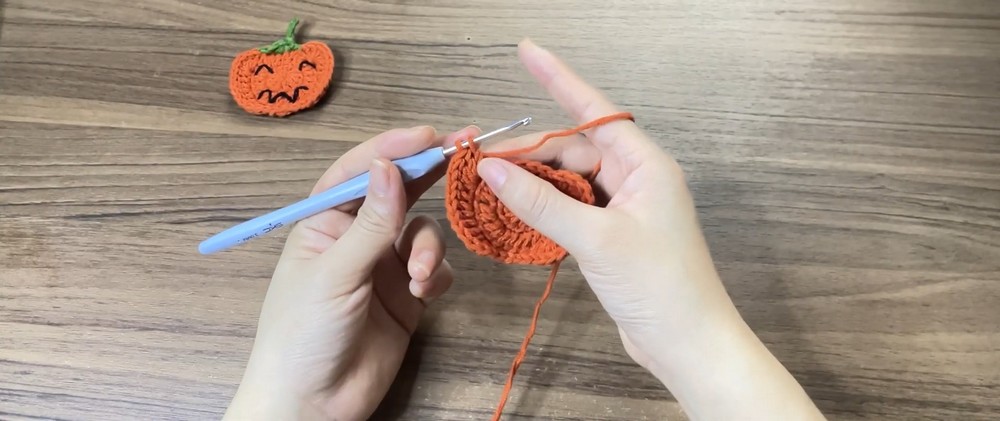
- Create a slip knot and chain 3.
- Form a circle by working a slip stitch into the first chain to form a loop.
- Chain 2 (counts as the first dc).
- Work 12 double crochets (dc) into the circle.
- Slip stitch into the top of the starting chain to close the round. (12 stitches)
Round 2:
- Chain 2.
- Work 2 dc into each stitch around the circle (increase in every stitch).
- Slip stitch into the top of the starting chain to close the round. (24 stitches)
Round 3 (Shaping the Pumpkin):
- Skip 2 stitches, and in the next stitch:
- Work 5 dc (this creates a bulge for the pumpkin curve).
- Work 5 dc together into the same stitch (pull the loops tightly together).
- In the next stitch:
- Work 1 dc inc (2 dc into the same stitch).
- Next stitch: Work 1 dc.
- Next stitch: Work 2 dc together.
- Work 1 dc into the following stitch.
Stem and Curve Details
- Continue shaping by working 1 dc inc in the next stitch.
- In the next stitch:
- Work 1 hdc, followed by 1 sc in the same stitch.
- In the following stitch:
- Work 1 sc.
- Slip stitch into each of the next 2 stitches.
Round 4 (Stem):
- In the next stitch:
- Work 1 sc.
- Next stitch: Work 1 sc, followed by 1 hdc in the same stitch.
- In the next stitch:
- Work 1 dc inc.
- Next stitch: Work 1 dc.
- Next stitch: Work 1 dc inc.
- Next stitch: Work 1 dc.
- Next 2 stitches: Skip 2 stitches, then work 5 dc into the third stitch.
- On the last dc, change to blue yarn (optional for stem detail).
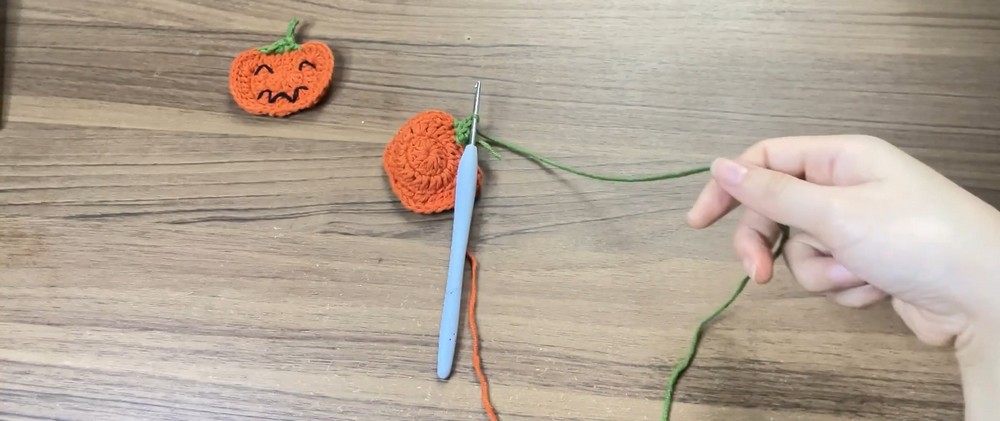
Stem Closing:
- Skip 2 stitches, then:
- Work sl st into the third stitch.
- Work 3 hdc, gathering the loops together and pulling through all loops on the hook.
Final Round:
- Skip 1 stitch, work sl st into the next stitch.
- Work 3 sl sts into the following stitches.
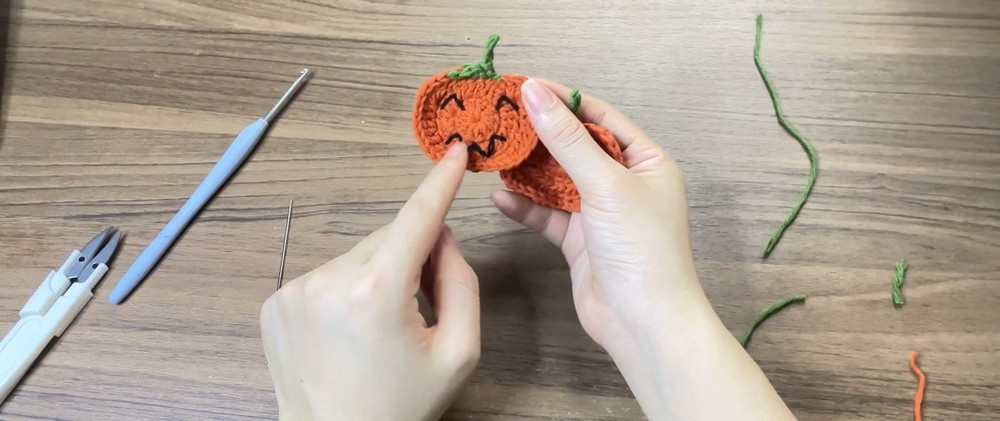
- Cut the yarn, and use a needle to sew in the ends neatly.
Pumpkin Finishing
- Decorate the pumpkin by adding eyes and a mouth with black felt or by embroidering the details using black thread.
- Position the applique on your desired accessory (clip, garland, etc.) and secure it if necessary.
Notes to Keep in Mind
- When crocheting the pumpkin, keep a loose tension to prevent the appliqué from becoming stiff or bent.
- Follow the stitch counts closely to achieve accurate pumpkin shaping.