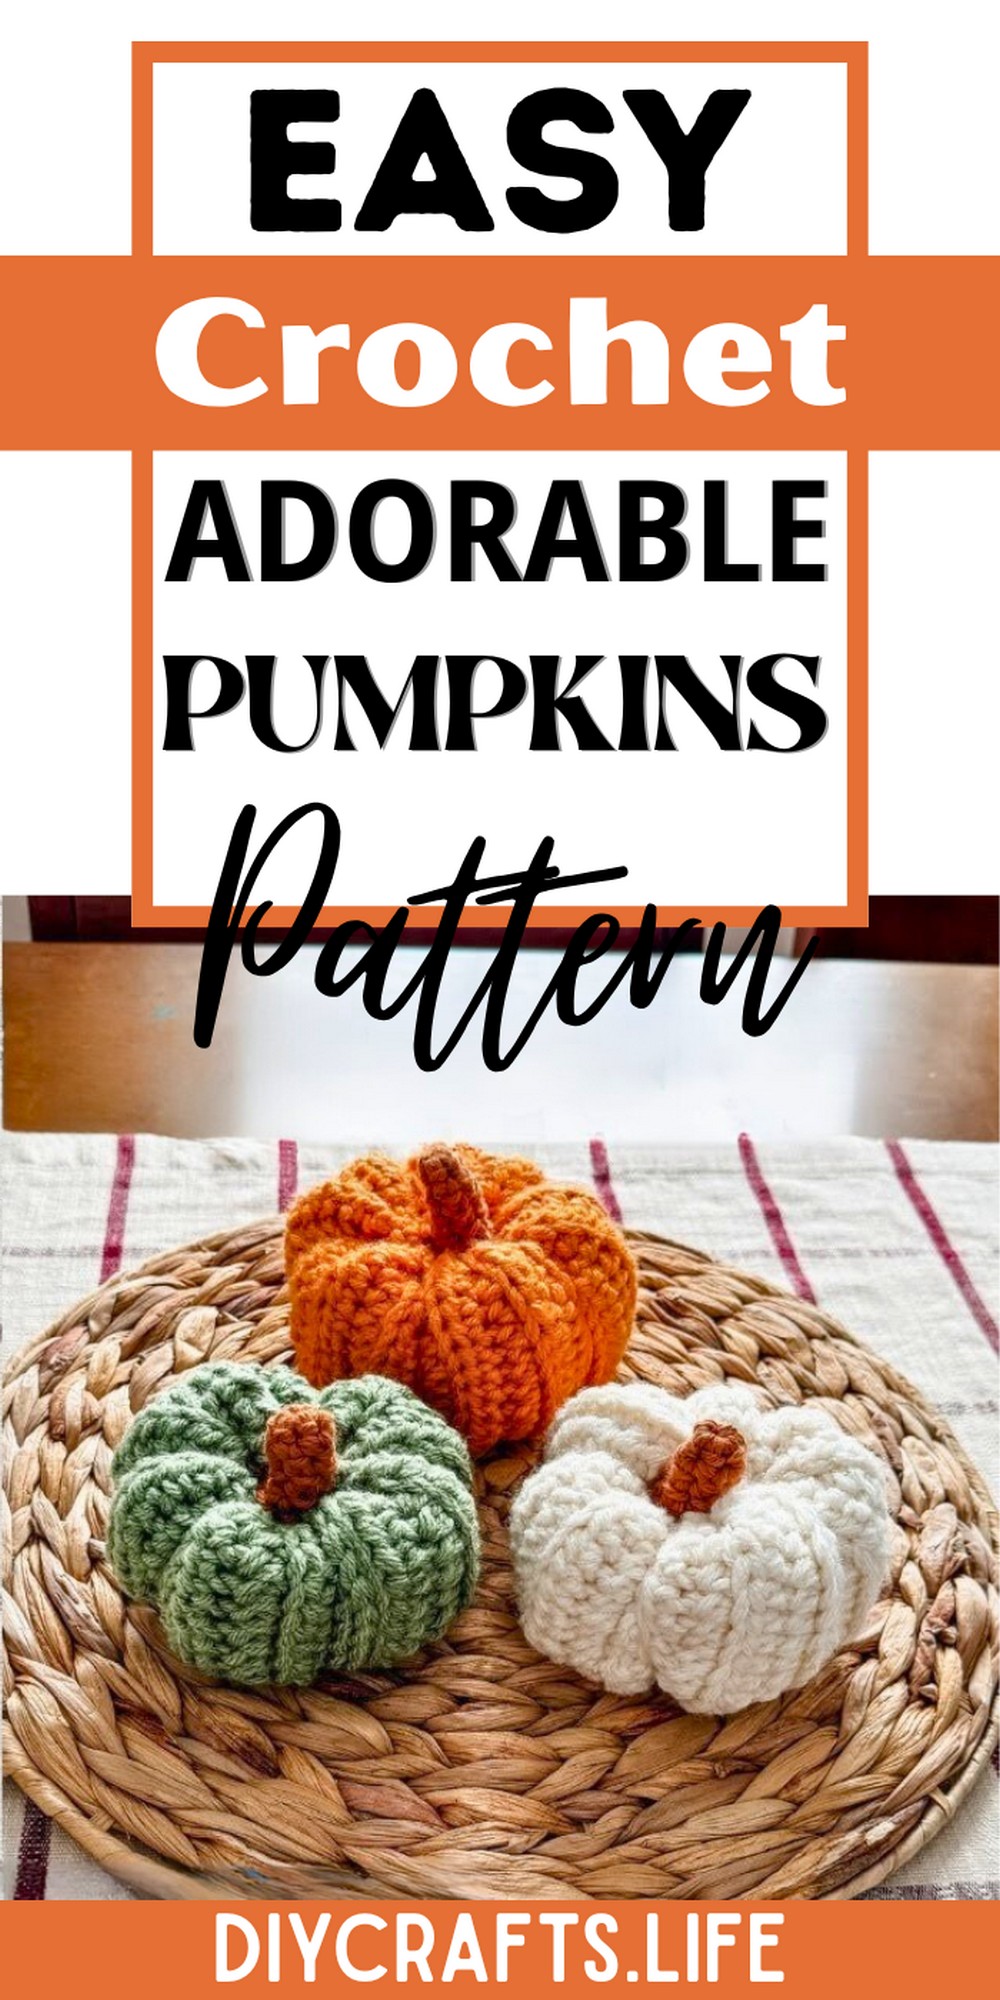
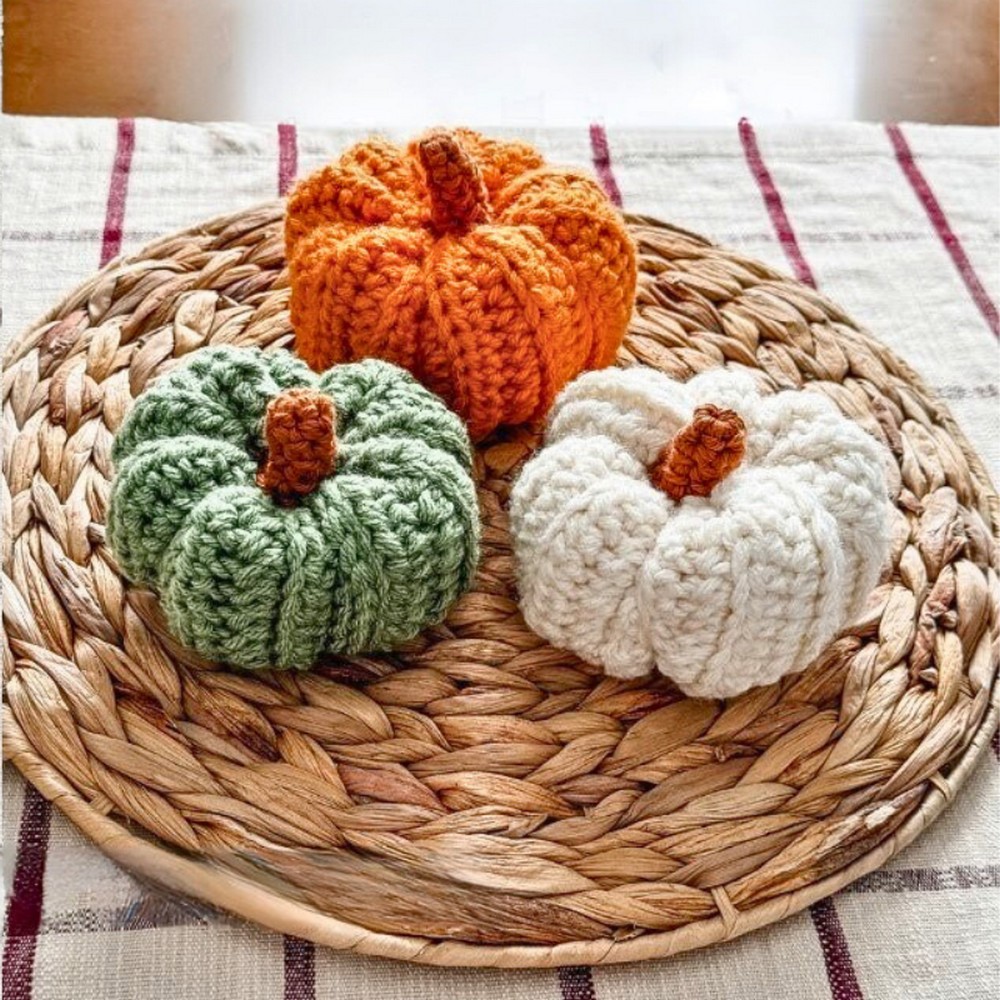
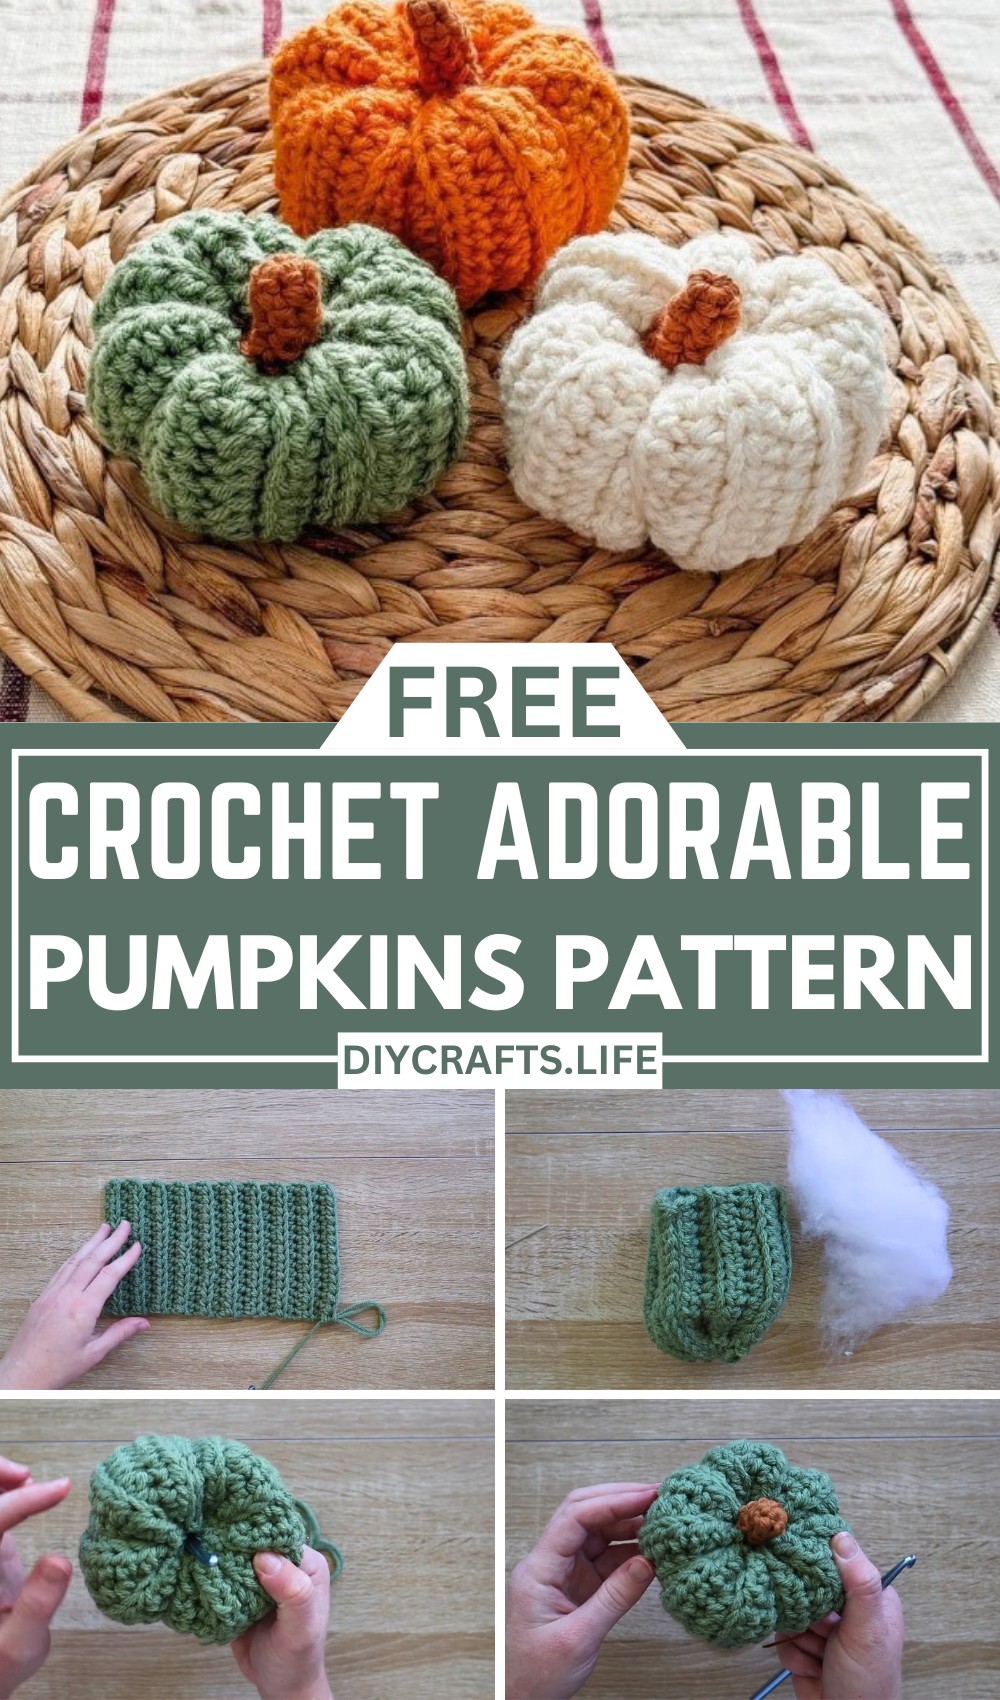
Create cozy, festive vibes this fall with handmade crochet pumpkins! These adorable, chunky decorations come in three slight size variations, perfect for home accents, desk decor, or gifts. Easy, quick, and customizable, this project adds charming warmth to any space.
These crochet pumpkins stand out with their textured ridges and snug stuffing, making them durable and visually appealing. Perfect as fall decorations for table settings, shelves, or workspaces, they’re simple yet functional pieces that can be made in any color to match your seasonal style.
Crochet Adorable Pumpkins
Crafting these pumpkins is both fun and beginner-friendly! With simple stitches and basic tools, they’re quick to assemble and easy to customize. Size them up or down, mix colors, and enjoy the satisfaction of creating festive accents to match your unique space.
Materials and Preparation
To create a cute crochet pumpkin, you'll need the following materials:
- Yarn:
- Four medium-weight yarn strands (can be acrylic or cotton yarn). Choose your favorite colors! You'll be doubling up the strands.
- Hook:
- 6.5 mm crochet hook
- Tools:
- Tapestry needle
- Fiber fill stuffing
- Extras:
- Green yarn for the pumpkin top
- Brown yarn for the stump
Abbreviations and Notes
Abbreviations:
- CH: Chain
- HDC: Half Double Crochet
- SC: Single Crochet
- SL ST: Slip Stitch
Notes:
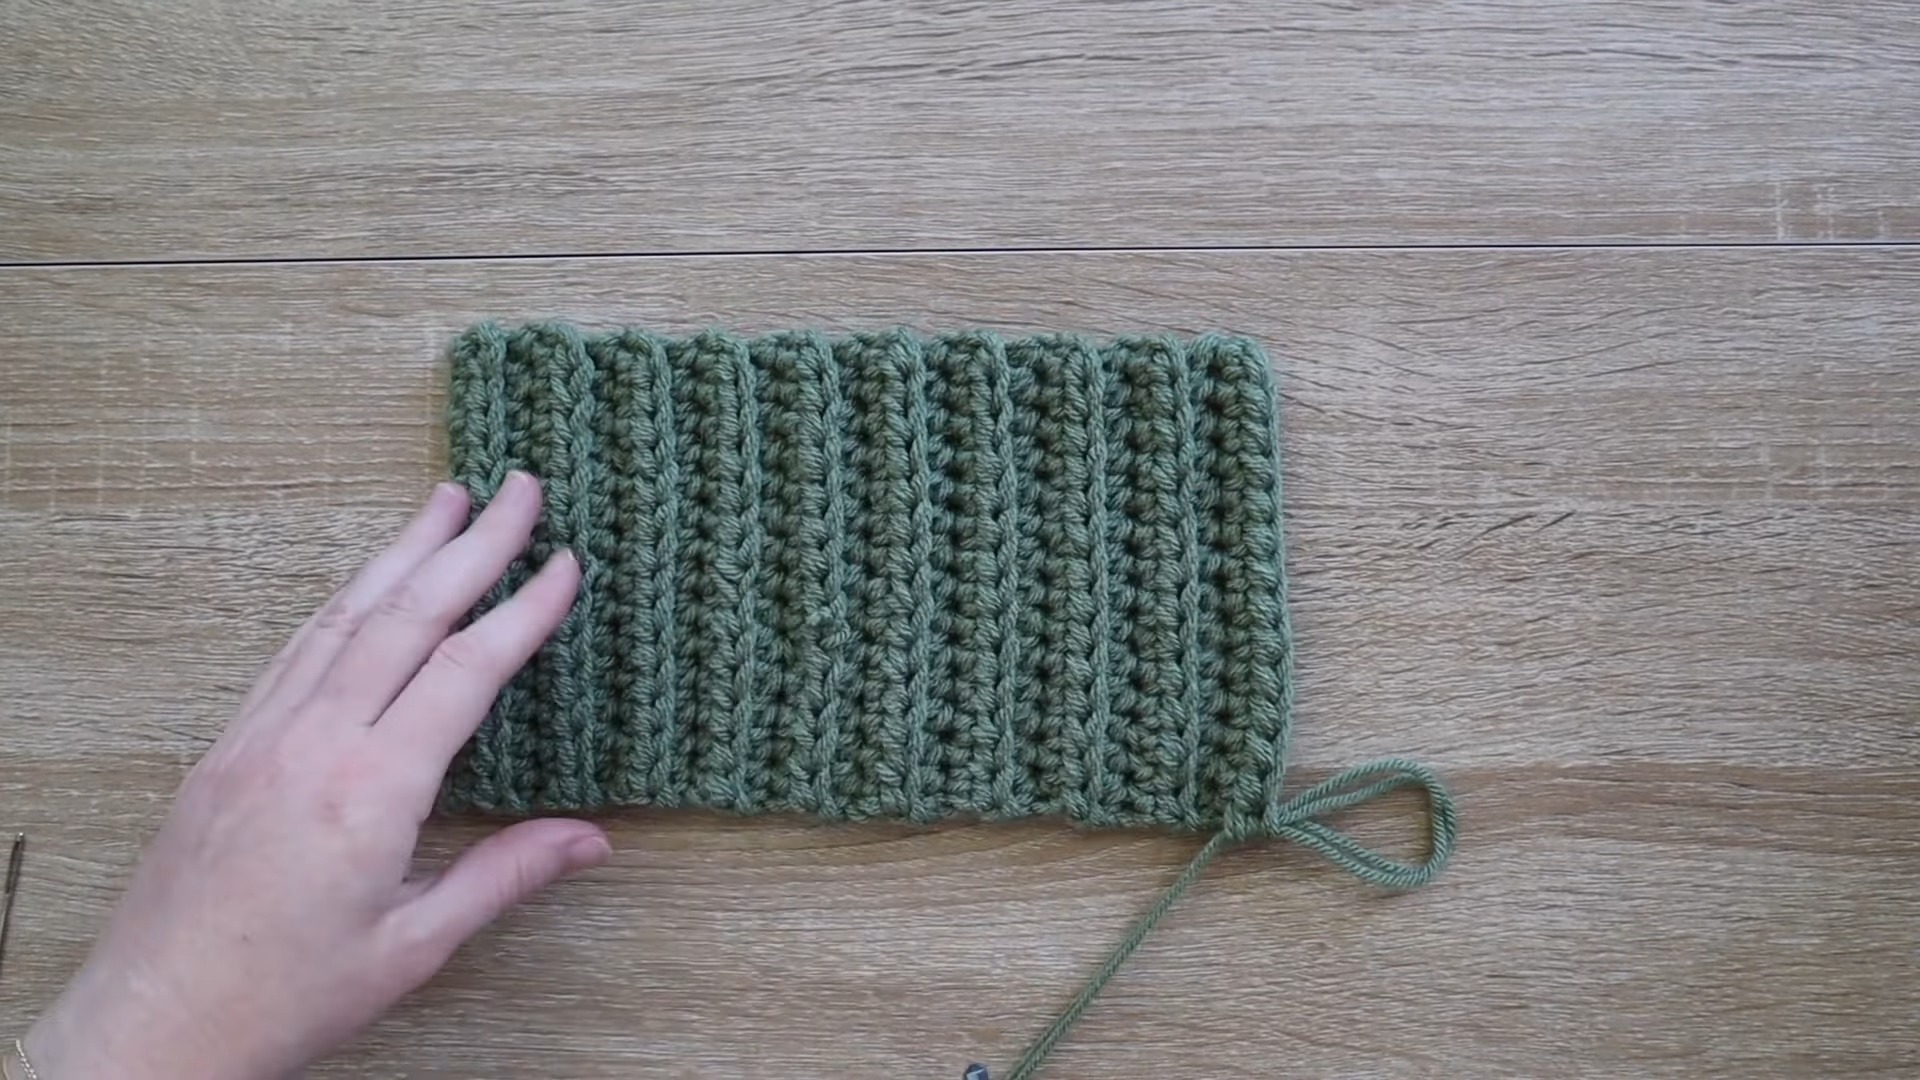
- All rows are worked in the back loops only to give a ridged texture to the pumpkin.
- The pumpkin is made in rows, which are later joined to form a tube.
- This tutorial focuses on the smallest pumpkin size but can easily be adjusted by increasing the number of chains and rows for larger pumpkins (details at the end).
Gauge, Approximate Size, and Pattern Notes
Gauge:
For this project, no specific gauge swatch is needed. However, it’s helpful to know that 19 rows and 14 half-double crochets per row measure approximately 9 x 1½ inches for the smallest pumpkin size.
Finished Dimensions:
The smallest pumpkin will be approximately 3-4 inches in diameter once stuffed.
Special Techniques and Pattern Notes:
- Back Loop Only: Creates texture resembling ridges.
- Magic Ring: Used to create the stump effortlessly.
Step-by-Step Pattern
Pumpkin Body:
-
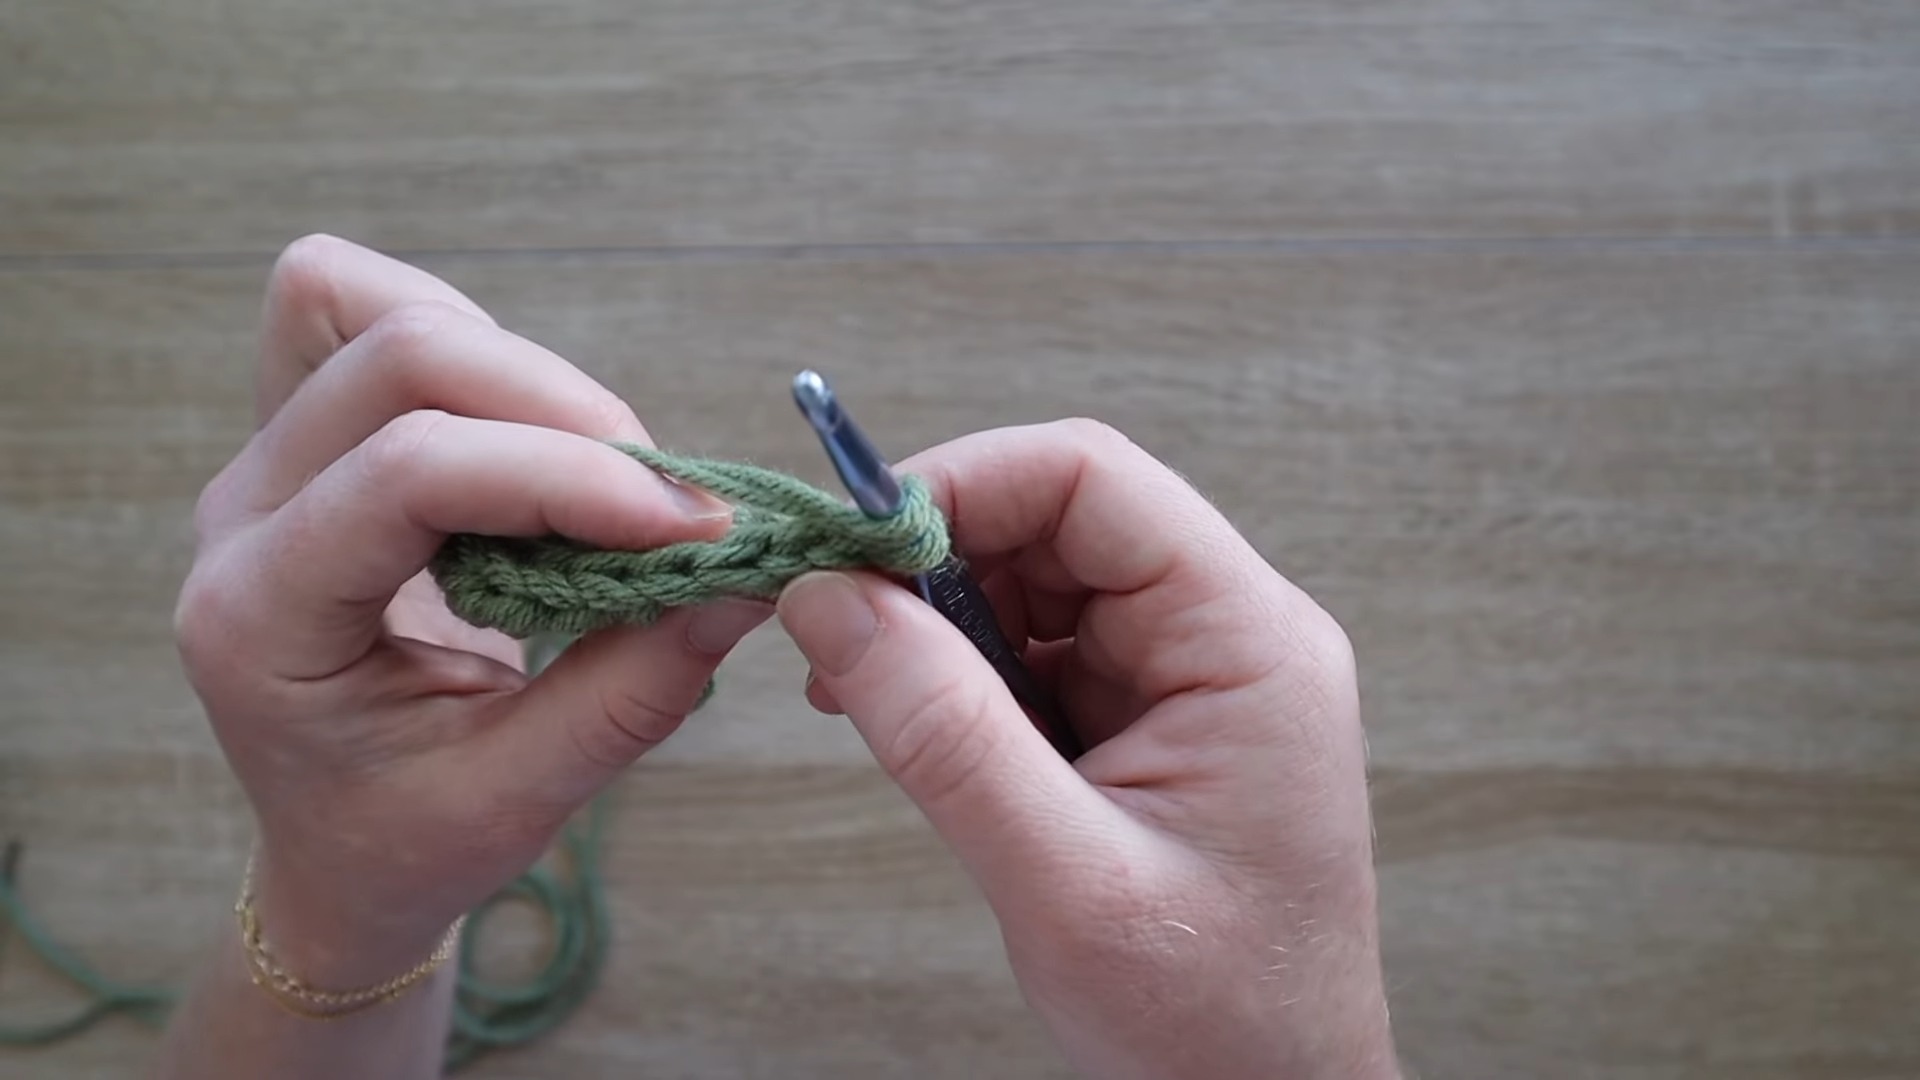
Foundation Row:
- Hold two strands of medium-weight yarn and make a slip knot with a 6.5 mm hook.
- Chain 16.
-
Row 1:
- Make a HDC in the third chain from the hook. Continue making HDCs in each stitch across the row (14 total stitches).
- Chain 2, turn work.
-
Rows 2-19:
- Work HDC into the back loop only of each stitch across the row (14 HDCs per row).
- At the end of each row, chain 2, turn work.
-
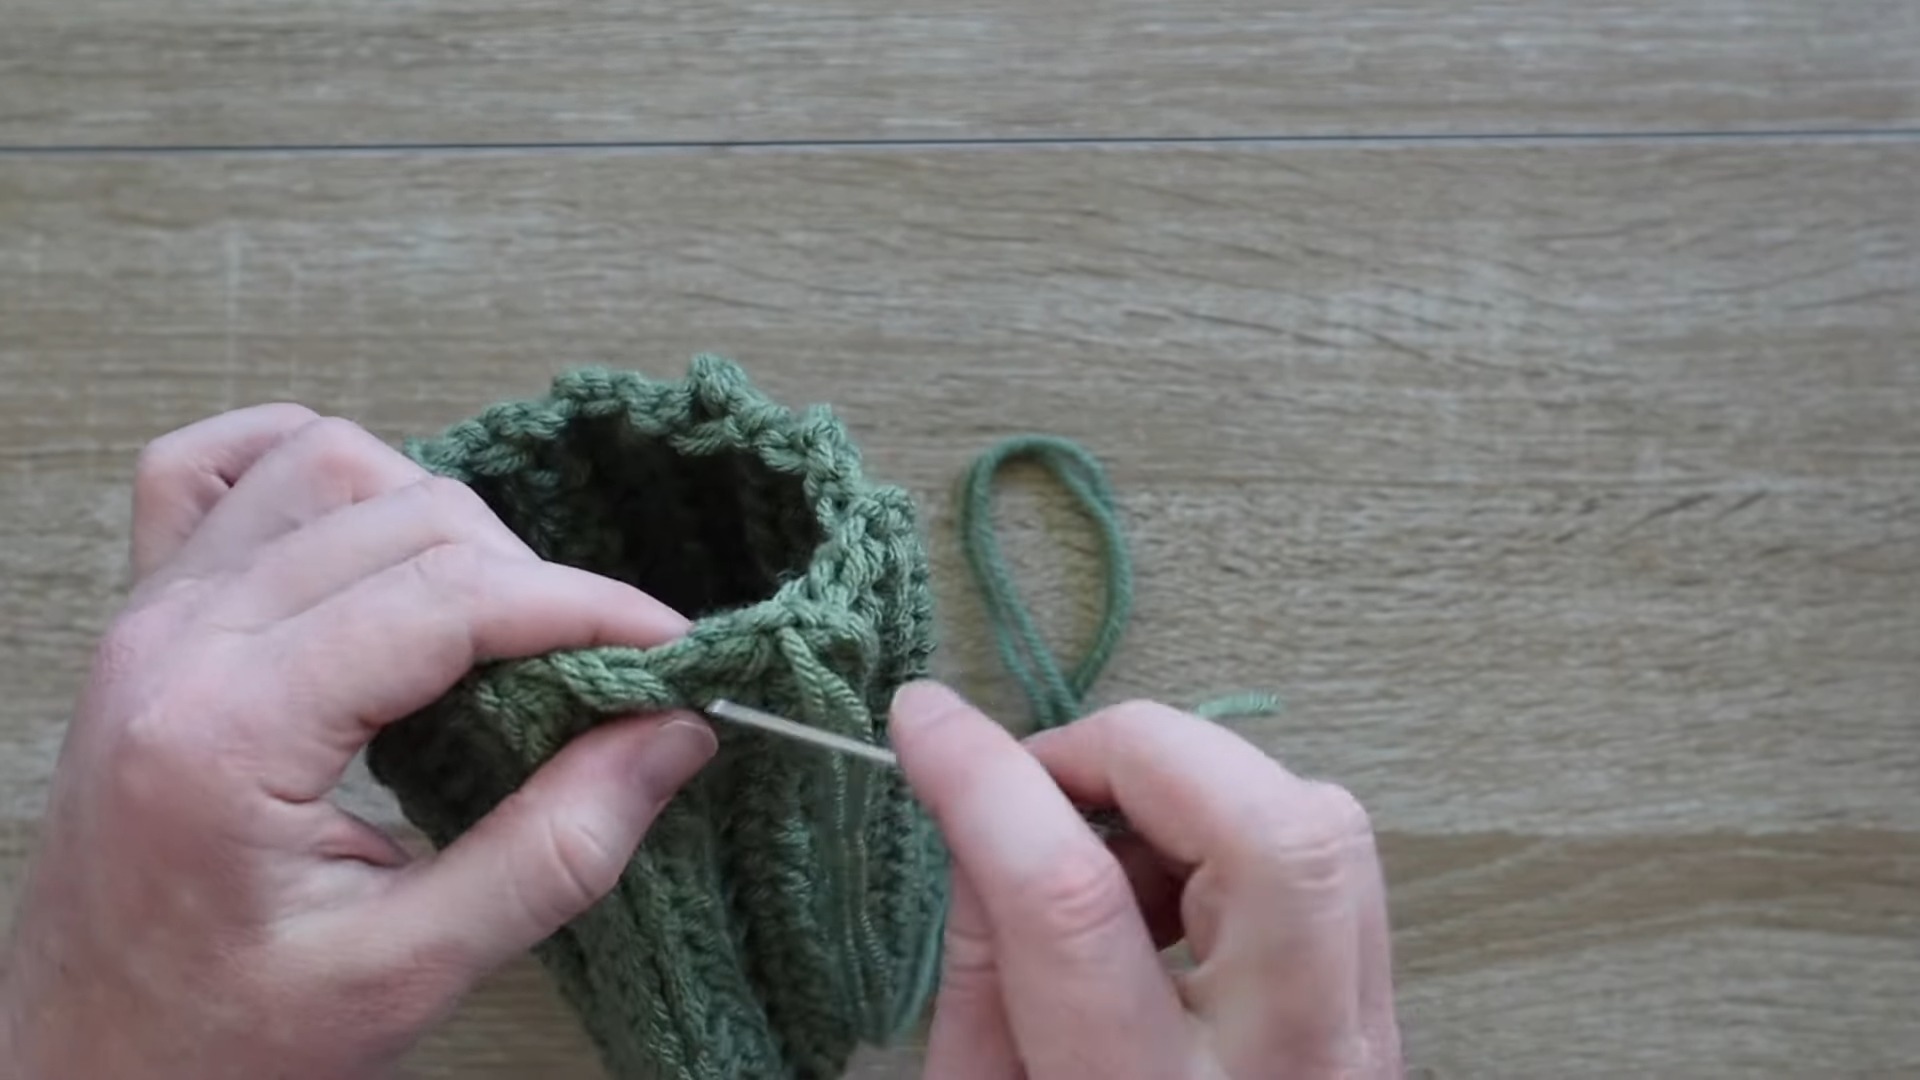
Joining:
- After completing 19 rows, align the work so the first chain row meets the final row.
- Join the ends by making SL ST through the back loops only of each stitch.
-
Gathering the Bottom:
- Cut yarn, leaving a long tail.
- Thread the tapestry needle with the long tail and stitch in-and-out along the bottom edge of the tube.
- Pull tightly to cinch the bottom closed and knot securely.
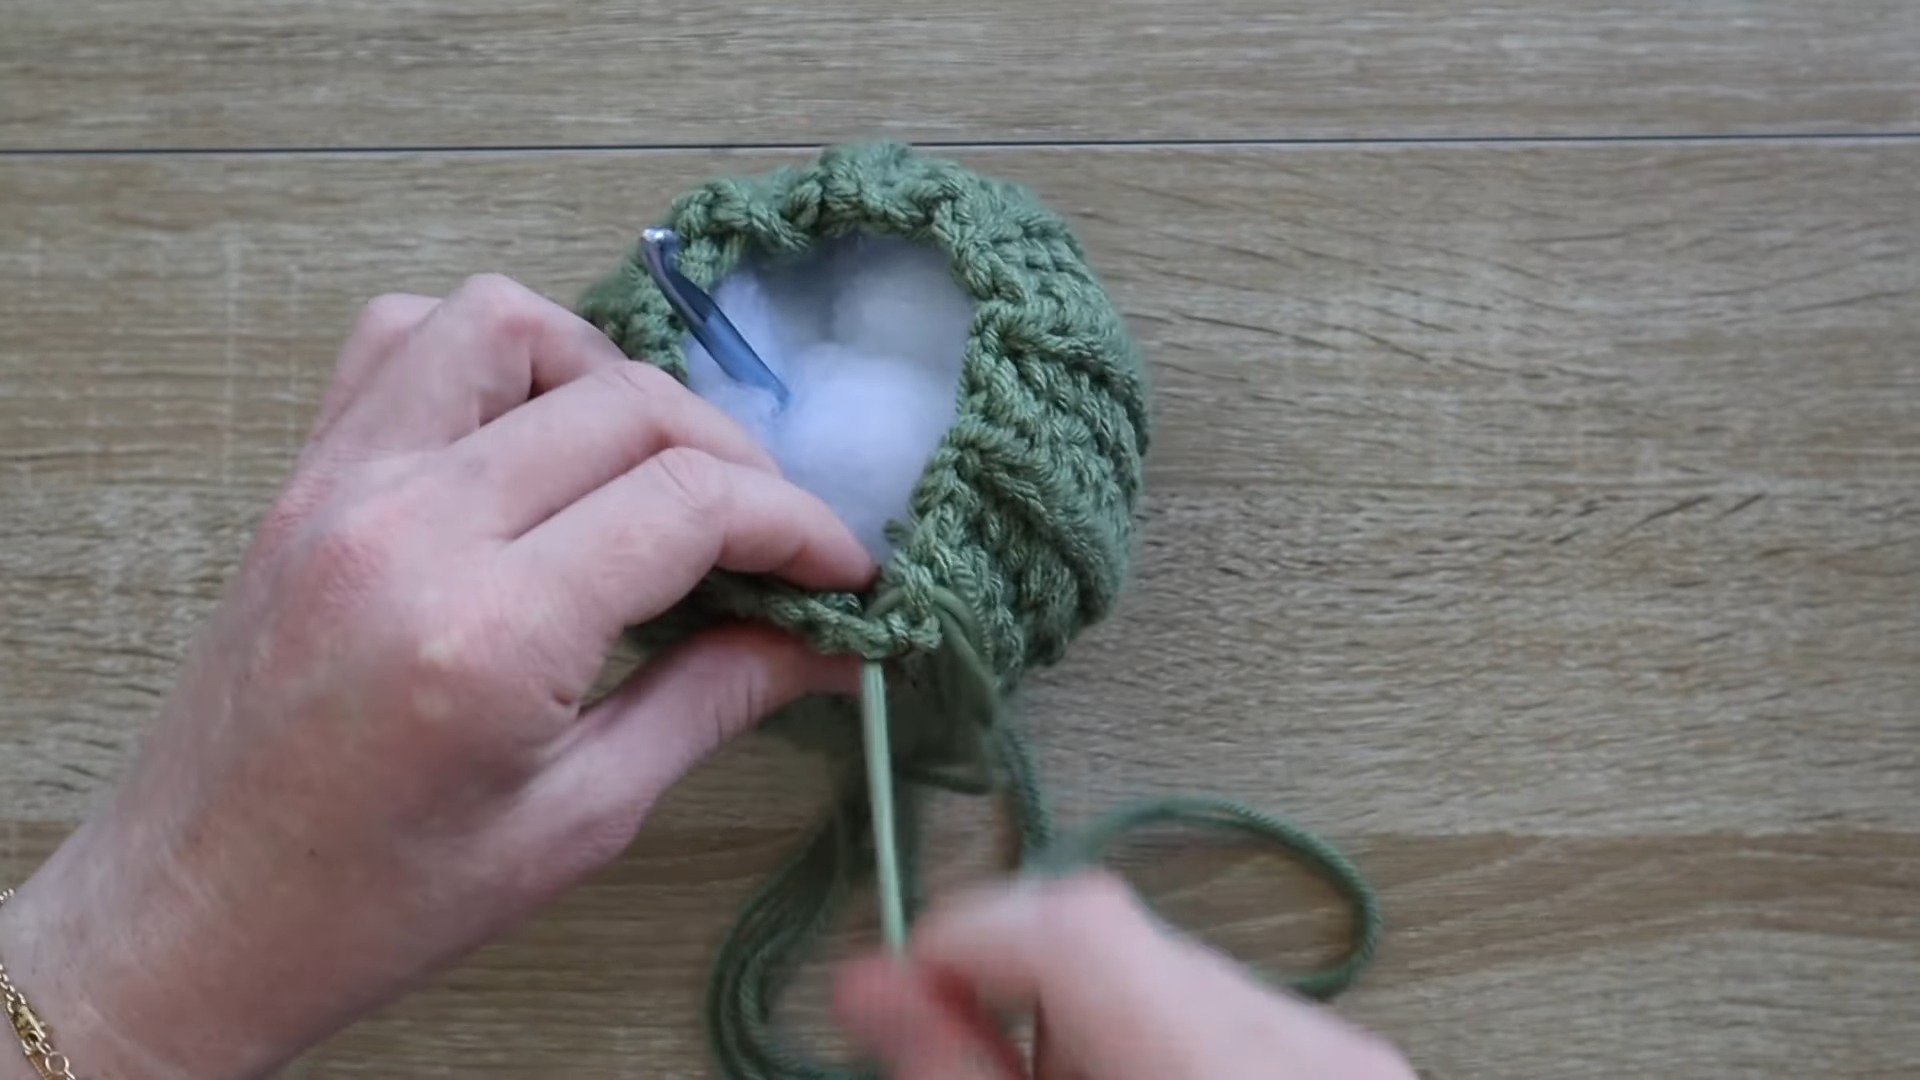
Stuffing the Pumpkin:
-
Add Fiber Fill:
- Begin filling the pumpkin with fiber stuffing, breaking it into small pieces.
- Leave a hollow space in the center for later steps (use a crochet hook to create this).
-
Close the Top:
- Repeat the process used for cinching the bottom: stitch around the top edge and pull tight to close it.
- Knot securely.
Creating the Stump:
-
Magic Ring:
- Hold two strands of brown medium-weight yarn and create a magic ring.
- Chain 1, then work 5 SC into the ring. Pull the tail tight to close the ring.
-
Building the Stump:
- Work SC stitches around the stump without increasing. Continue until you have 25 single crochets (or adjust for desired stump height).
- Slip stitch to finish. Cut yarn, leaving a long tail.
-
Attach the Stump:
- Position the stump on the center of the pumpkin’s top.
- Use the tapestry needle to sew it securely by stitching between the stump and pumpkin.
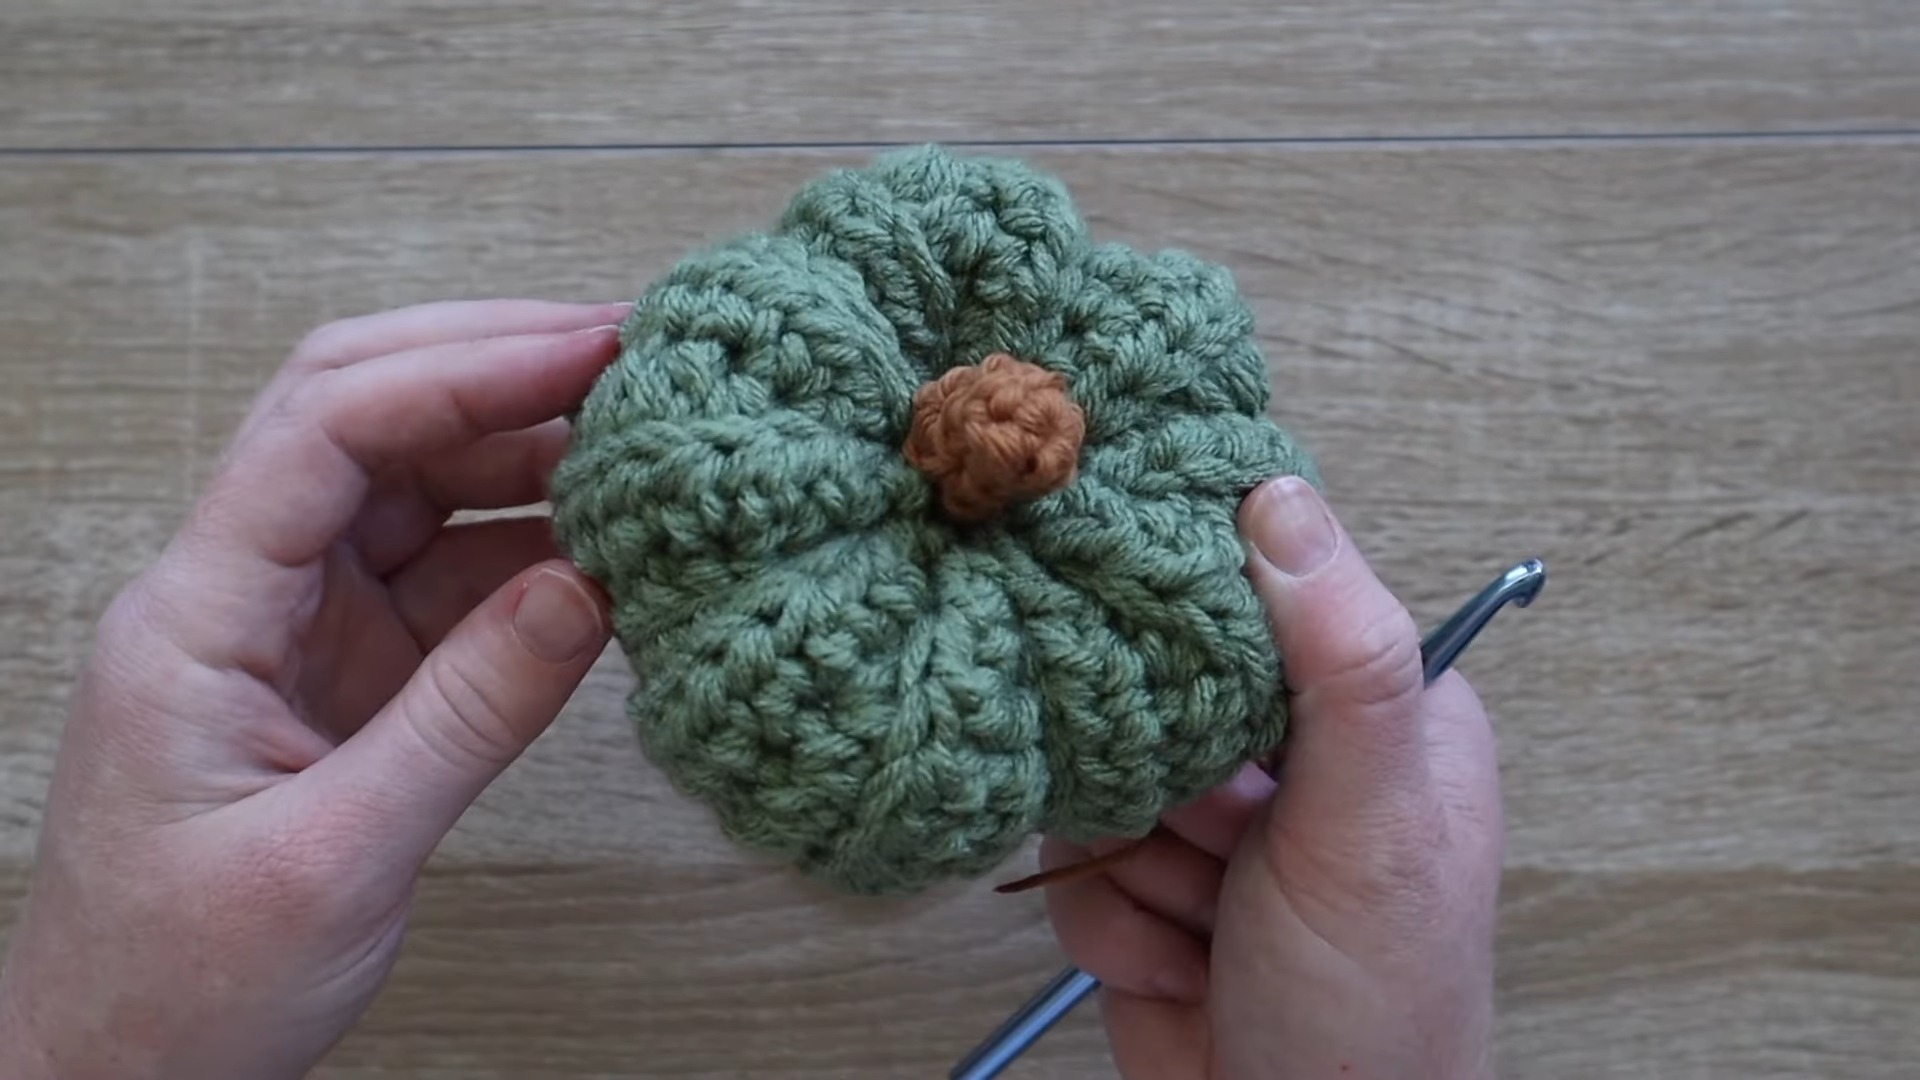
Shaping the Pumpkin:
- Form Pumpkin Ridges:
- Take green yarn and thread it through the tapestry needle. Insert the needle from the top of the pumpkin to the bottom, pulling tightly.
- Wrap the yarn around and repeat several times, spacing the wraps evenly to create a “lumpy ridge” effect.
- Knot the yarn at the base once finished.

Pattern Adjustments for Larger Sizes
-
Medium Pumpkin:
- Start with 20 chains, complete 23 rows.
-
Large Pumpkin:
- Start with 24 chains, complete 27 rows.
Pattern Question
Question: How can I adjust the pattern to make larger pumpkins?
Answer: To make larger pumpkins, increase the number of chains in the initial foundation row and add more rows to the piece before cinching and forming the shape.
Conclusion
Crochet pumpkins are a delightful way to celebrate the season while flexing your creativity. They're easy to make, fun to customize, and versatile in use, offering warmth and charm to any part of your home. This project is hands-down worth trying for fall crafting!


