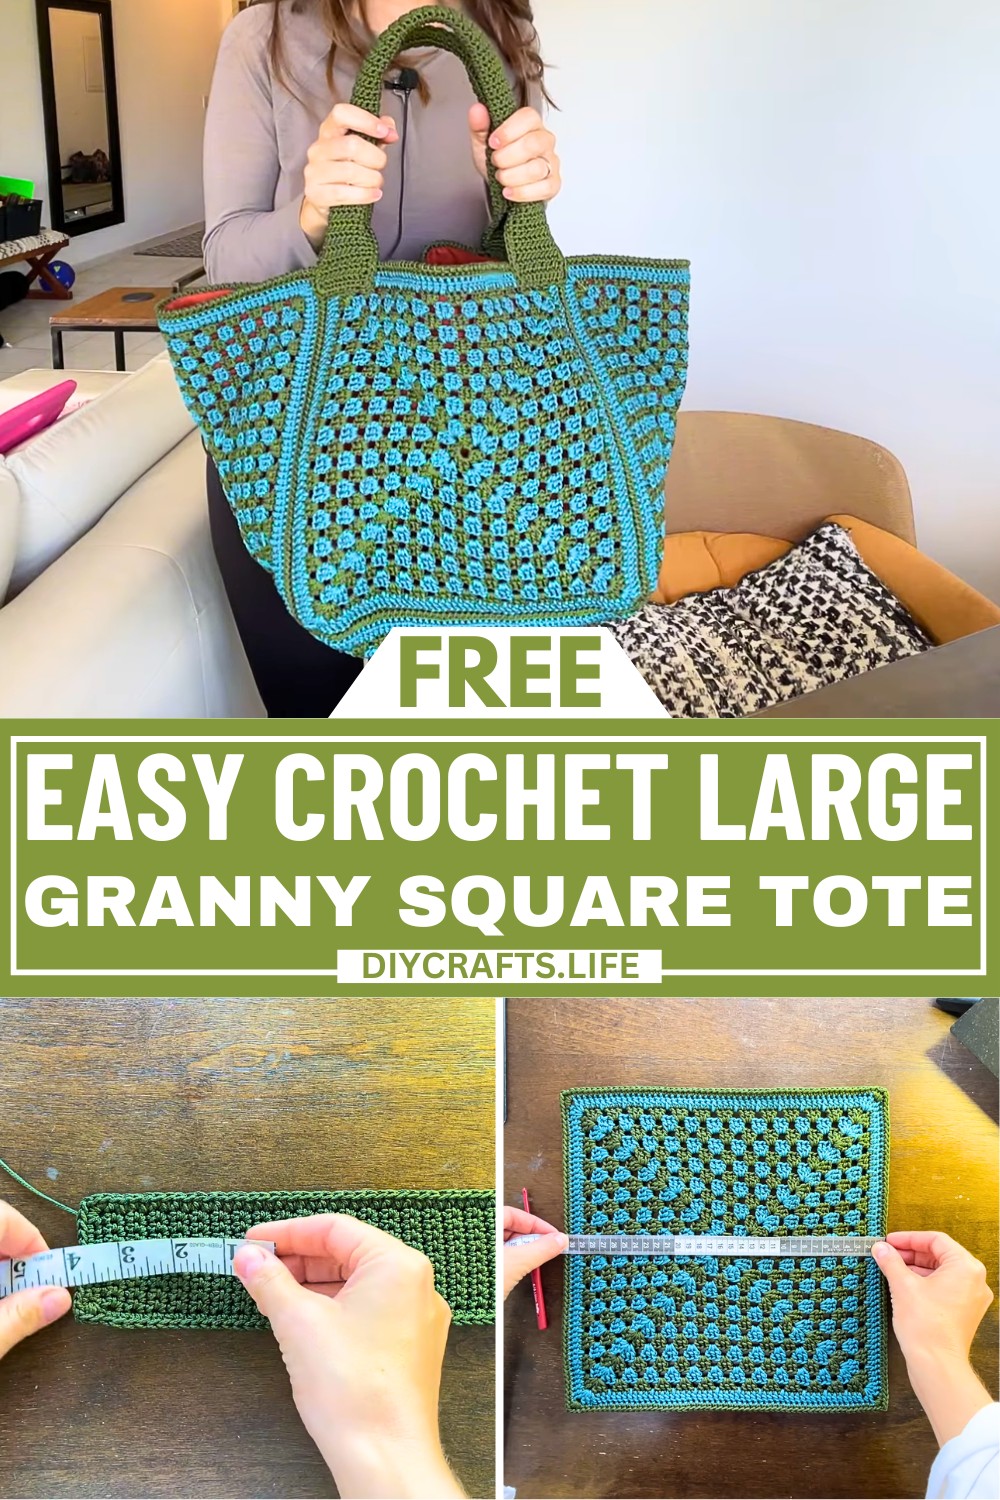
The Crochet Large Granny Square Tote is a beautiful and practical accessory perfect for carrying your things in style. Its special charm comes from the vibrant granny squares that make it unique and eye-catching. This tote is not only a handy helper for shopping trips or beach days, but also a lovely addition to your outfit that shows off a creative flair.
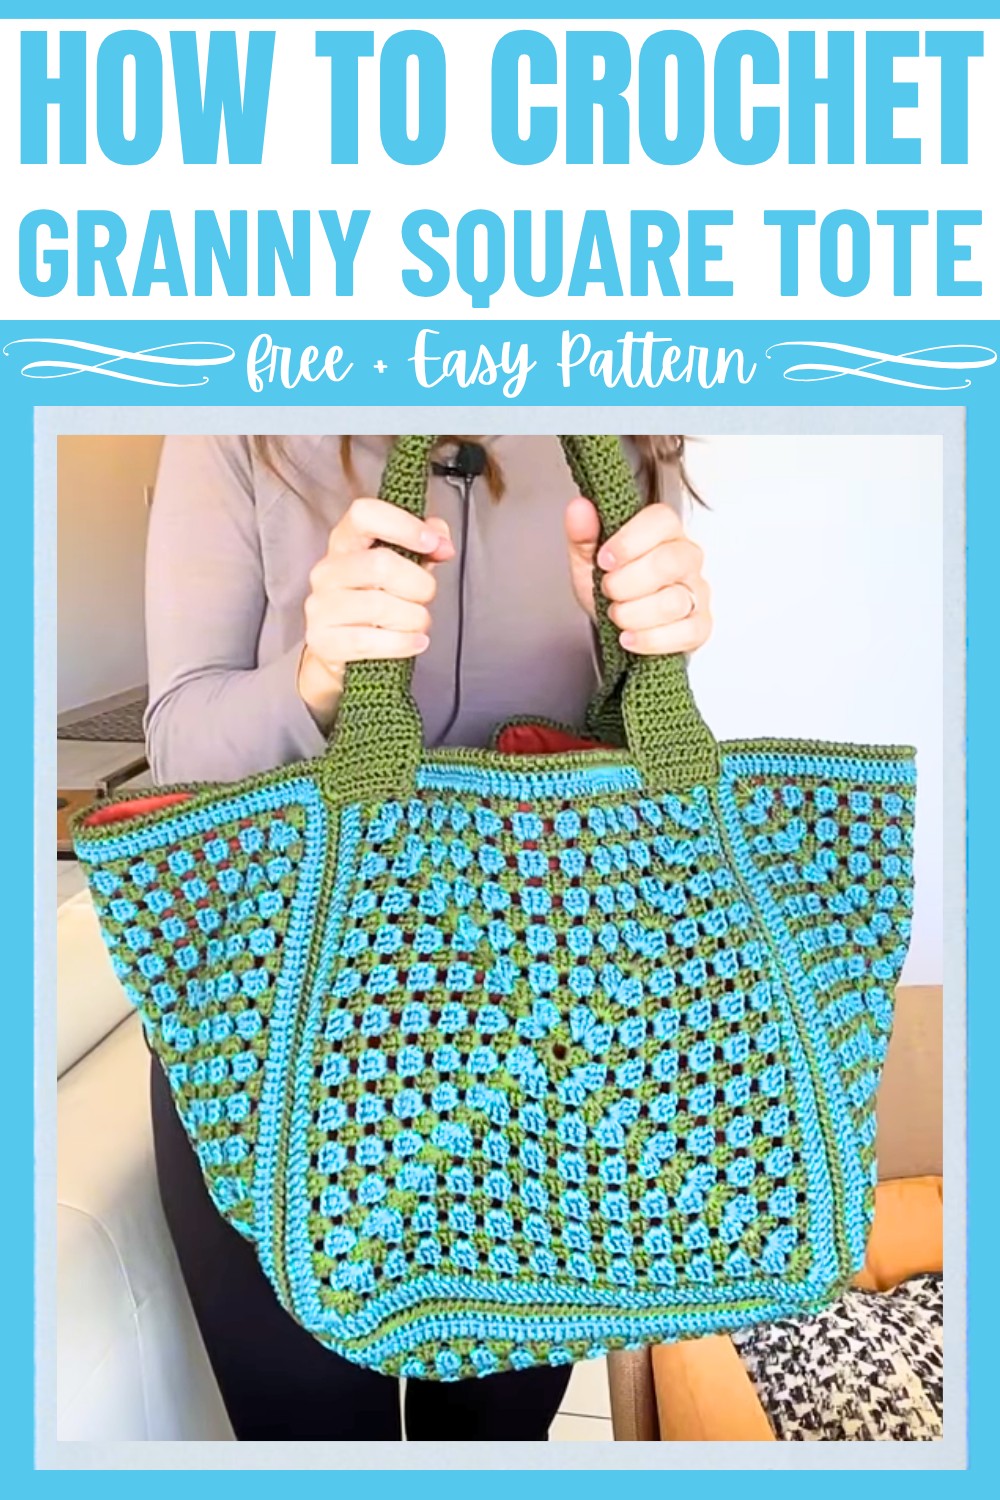
Crochet A Large Granny Square Tote
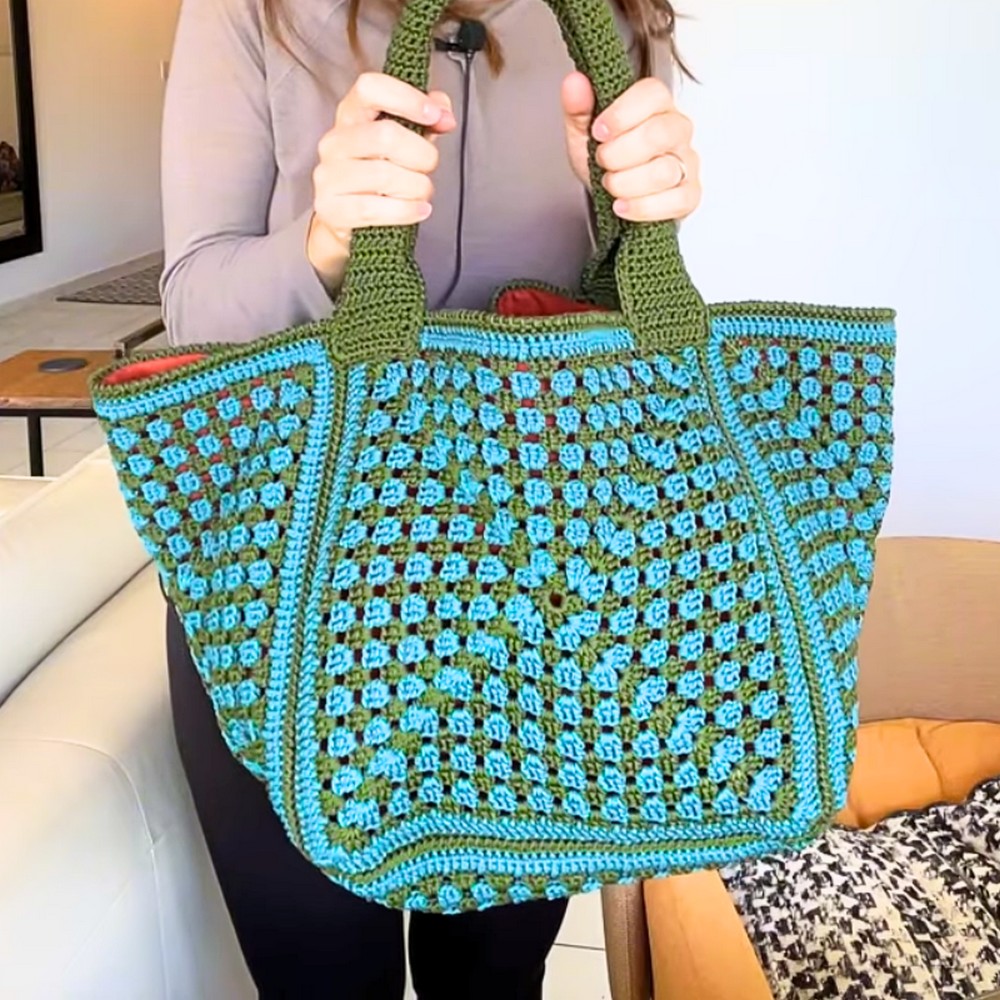
Creating this tote is a joyful experience. Start by crocheting the colorful granny squares, which are the building blocks of the bag. These squares can be as colorful as a rainbow, using any colors you like. Once you have enough squares, you join them together, and soon, you have a stunning bag ready to brighten your day. For those who like a neat finish, adding a lining keeps everything in place and makes the bag even sturdier. The finished tote is a testament to your effort and style.
Credit Sasha and Crochet
Materials & Tools Needed
- Yarn: Polyester yarn in your preferred colors (approximately 5 colors recommended for customization).
- Crochet Hook: Size suitable for your yarn (typically 4.5mm to 5mm for polyester yarn).
- Weaving Needle: For securing loose ends and assembling the bag.
- Scissors
- Optional: Lining fabric for the tote, pins/clips to secure it during sewing.
- Iron: For blocking/smoothing your squares (set to “Wool” for polyester yarn).
Finished Size & Customization Ideas
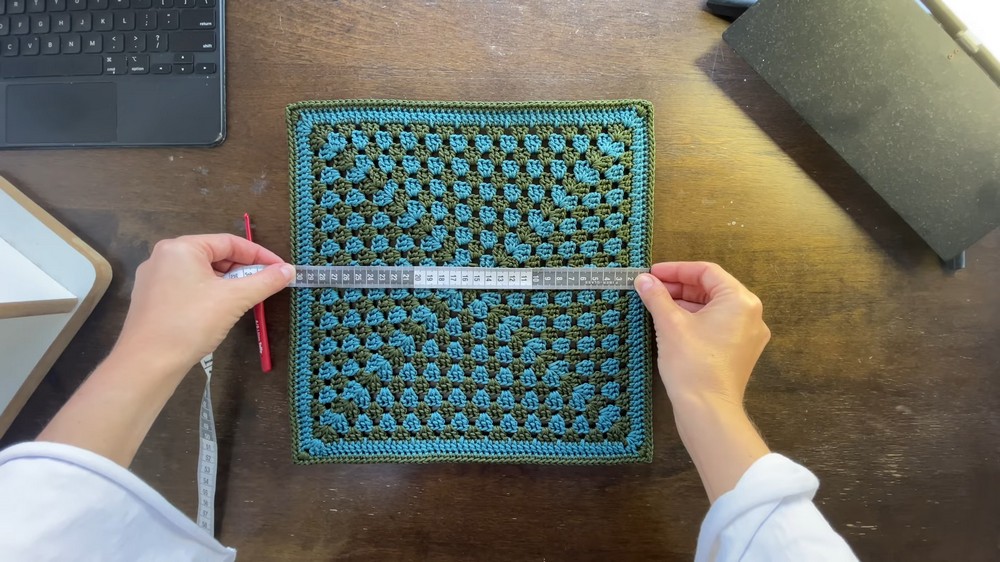
- Bag Size: Approximately 12 inches (30 cm) wide granny squares. The completed bag includes 5 squares.
- Customization: You can personalize the bag with color choices for each row. You can alternate colors per row, use gradient yarn, or solid blocks.
Pattern Abbreviations & Terminology
- ch: Chain
- dc: Double Crochet
- sc: Single Crochet
- hdc: Half Double Crochet
- sl st: Slip Stitch
- magic ring: A way to start crochet in a circle.
- YO: Yarn Over
- terminology: US crochet terms used throughout.
Step-by-Step Detailed Crochet Instructions
Granny Squares
You will need 5 granny squares for this tote.
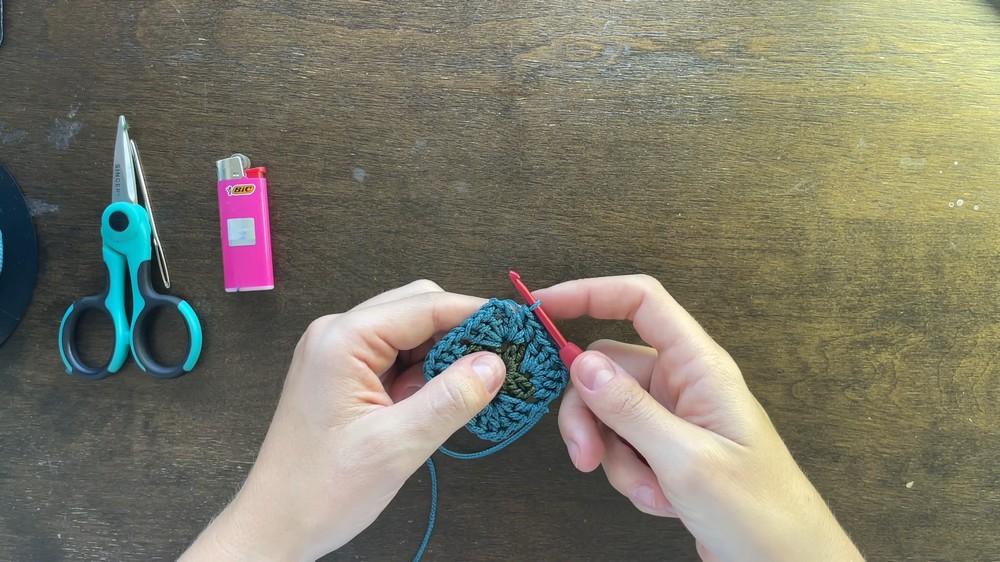
Round 1: Starting the Magic Ring
- Create a magic ring: Wrap the yarn around your fingers, creating an “X” and ensuring the working yarn crosses over the loose end.
- Insert your hook under the yarn, pull the loop through, and ch 1 to begin securing the ring.
- Ch 4:
- First 3 chains count as a dc, and the 4th chain counts as a space for the corner.
- Dc 3 times into the magic ring.
- Ch 1, and then dc 3 more times into the ring.
- Repeat steps until you have 4 corners (3 dc clusters with spaces between each).
- Finish the round by pulling the ring tight and slip stitching into the third chain of the first ch 4.
- Slip stitch into the corner space before fastening off. Cut yarn.
- Weave ends and secure.
Round 2: Color Change
- Start with a new color: Make a slip knot on the secondary color.
- Insert your hook into any corner space (except the one started previously). Pull through your loop.
- Ch 4 (counts as 1 dc + corner space), then dc 3 more times into the same corner.
- Move to the next corner.
- Dc 3, ch 1, and dc 3 into the next 3 corner spaces.
- For the final corner: Dc 2, slip stitch into the 3rd chain of the first ch-4.
- Slip stitch into the corner space, fasten off, and weave in ends.
Round 3 and Beyond: Expanding the Granny Square
- Start each new row with a new color:
- Insert into any corner space.
- Ch 4, dc 3 in the same space.
- For each side:
- Dc 3 into the middle spaces (single middle spaces created from previous rows).
- Ch 1 between each group of dc.
- In corners: Dc 3, ch 1, dc 3.
- Repeat this process for 13 rows total.
Border for Granny Squares
Once you finish your 13 rows, create a solid border:
- Insert new color into a corner space.
- Work 1 row of dc across all sides:
- In corners: 2 dc, ch 2, 2 dc to prevent dips.
- Dc into every space along the square edges.
- Follow this with a row of sc all around:
- In corners: 2 sc, ch 1, 2 sc.
Bag Assembly
Create the Bag Body
- You’ll need 5 squares:
- 4 squares for the sides.
- 1 square for the bottom.
- Align the squares:
- Place squares in a cross formation where one square sits in the center (bottom) and the other 4 squares form the walls.
- Use the primary color yarn (green) to assemble.
- Using front loops only, begin connecting squares:
- Insert your weaving hook into the top loop of each square’s edge.
- Work tightly to create a neat seam between squares.
- Once complete, the bag will form a hollow box shape.
Handles
- Base Straps:
- Ch 10 for width.
- Start with sc rows (turn at the end of each row) until the strap measures 55 cm (21.5 inches).
- Single Crochet Border:
- Sc evenly across all sides to create a solid, tubular edge.
- Attach Handles:
- Place handles on the sides of the bag where desired.
- Sew using front loops on both the bag and the strap for secure attachment.
- Create a rectangle of stitches at the base of the straps for extra durability.
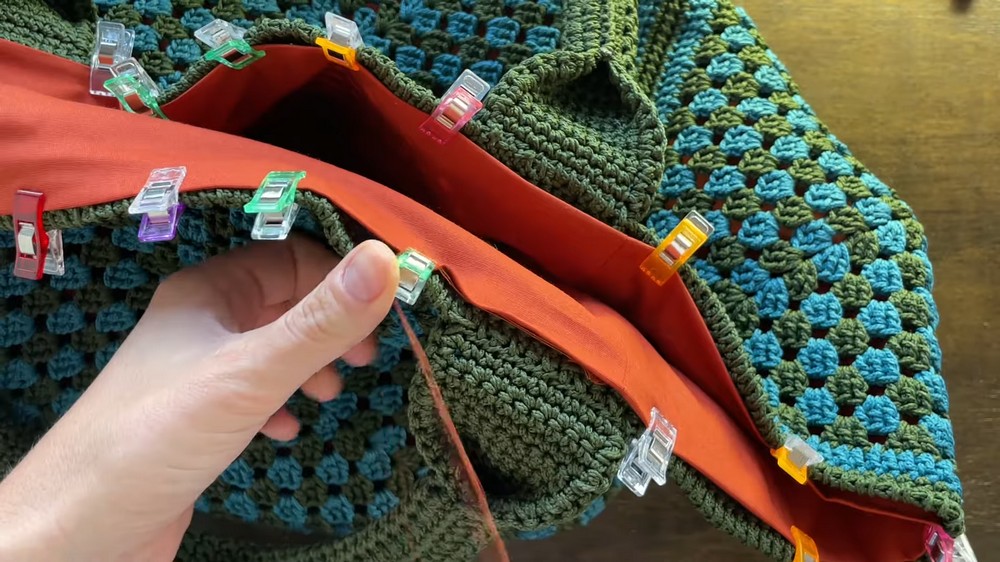
Optional: Adding Lining
- Create 5 fabric squares matching the measurements of your granny squares (12 x 12 in).
- Pin the fabric squares to the inner walls of the bag and secure them into place.
- Use an invisible stitch to sew the lining into the bag neatly, aligning edges carefully.
Finishing
- Weave in loose ends of yarn.
- Steam block (light ironing with wool setting) any uneven edges.
Congratulations!
Your Large Granny Square Tote is now complete! Use it as a stylish accessory, functional tote, or thoughtful gift.