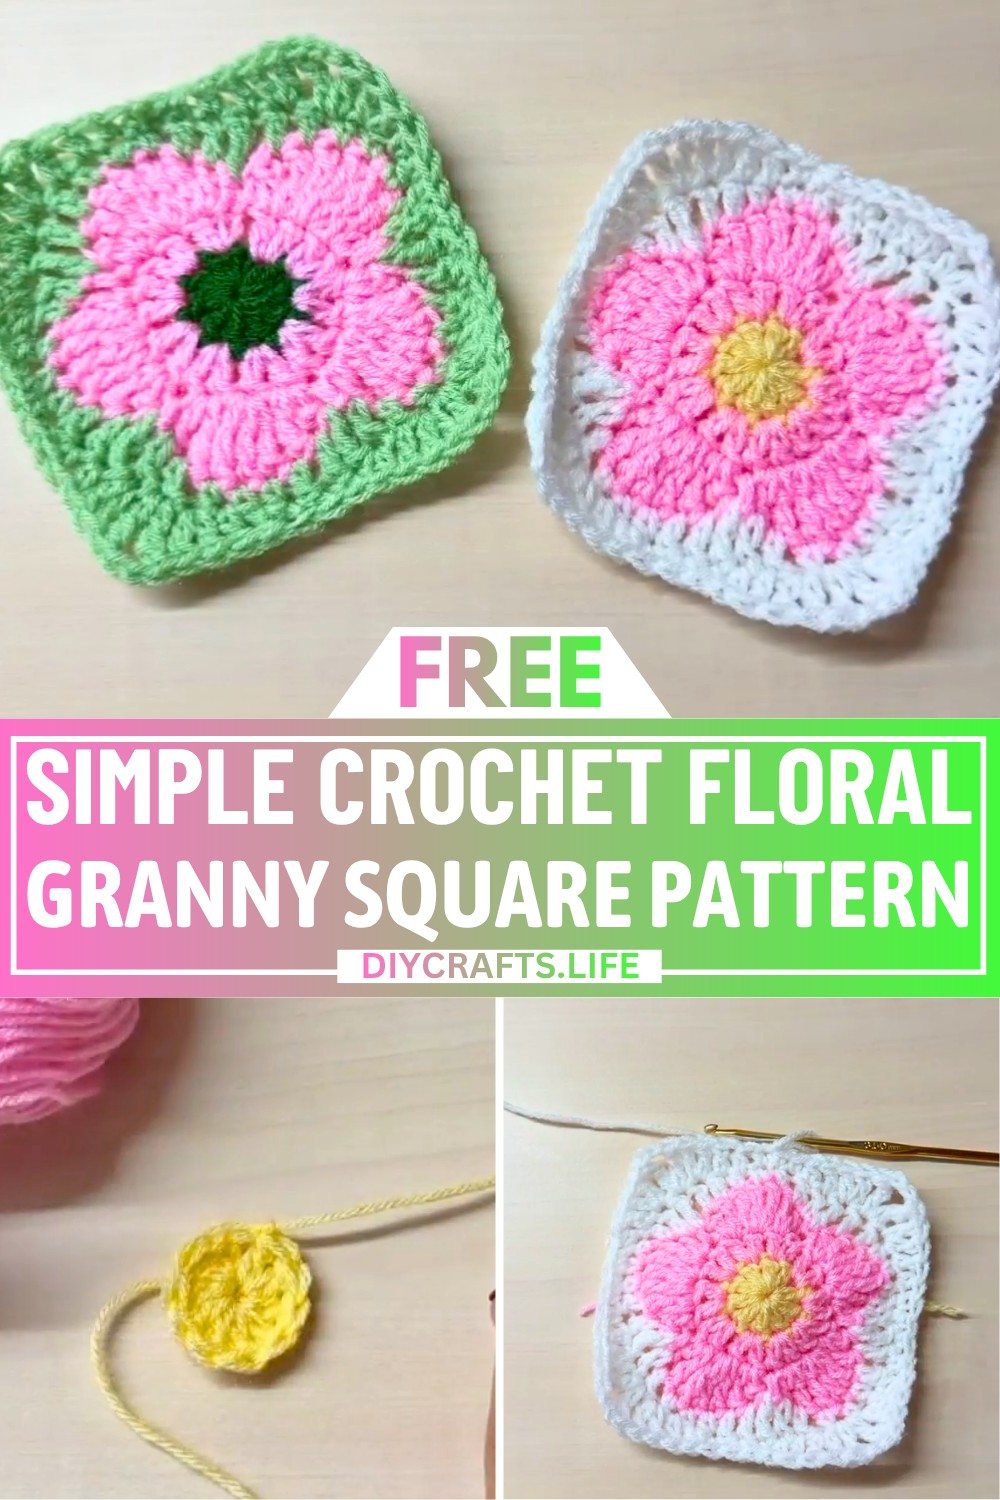
A square crochet bag is not just a trendy accessory but also a highly functional piece to carry your essentials in style. Its clean and simple design makes it easy to pair with any outfit, whether you’re heading out to the market, going to school, or meeting friends. It's lightweight, eco-friendly, and, best of all, handmade by you!
Creating a bag like this offers a perfect balance of creativity and utility. The process involves working with square shapes, which keep things simple yet results in a beautifully structured, sturdy bag. Whether you're new to crochet or looking for an enjoyable way to make something practical, this crochet bag is a great choice. You can customize it by choosing colors you love, adding decorative elements, or even turning it into a thoughtful gift for someone special.
Credit Handmade by Appy
Materials & Tools Needed:
- Yarn: Acrylic yarn in three shades (as shown in the tutorial: yellow for the flower center, another color for the petals, and a third one for the background).
- Hook: A 3.5 mm crochet hook.
- Accessories:
- Stitch markers.
- Scissors.
- Yarn needle for weaving in ends.
Finished Size & Customization Ideas:
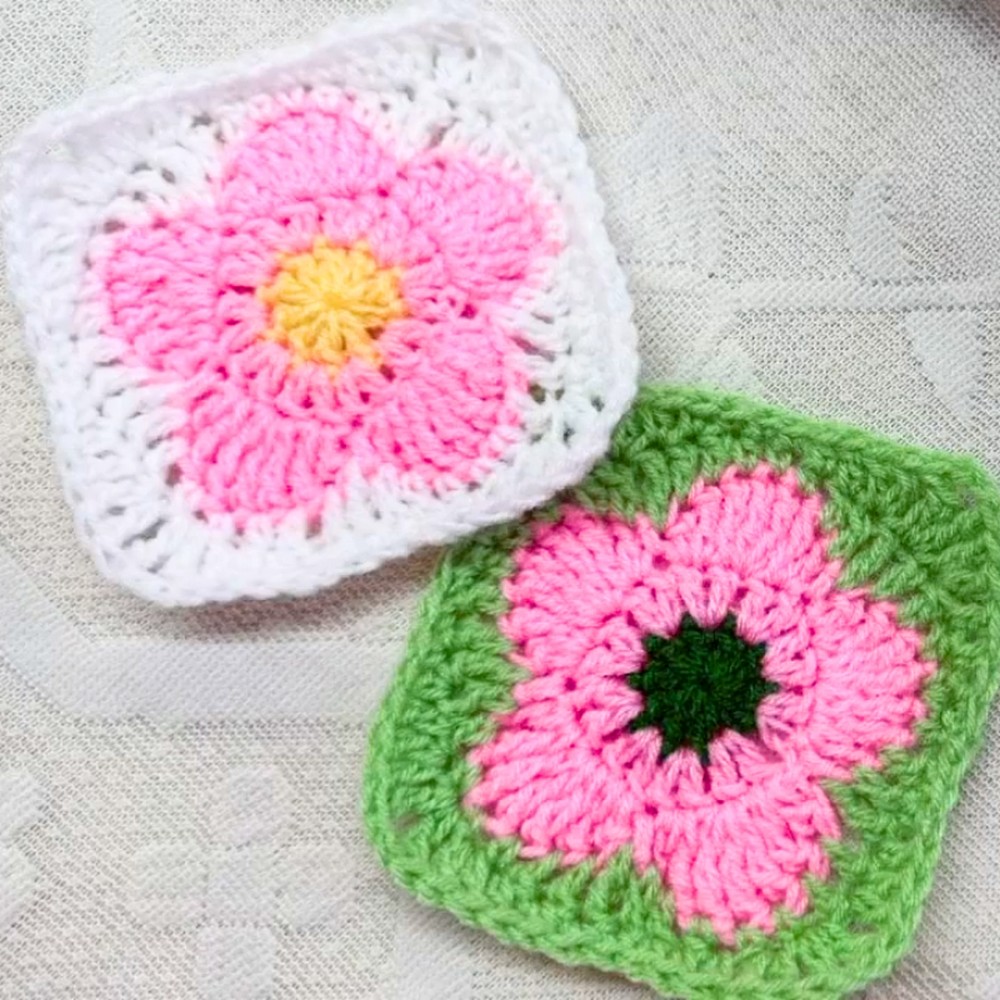
- The finished size will depend on the thickness of the yarn and the hook you're using. For a 3.5 mm hook and standard acrylic yarn, each granny square will be approximately 4-5 inches across.
- Customization Ideas:
- Experiment with different color combinations to match your project.
- Adjust the number of rounds or switch yarn weights for larger or smaller squares.
- Use metallic or textured yarns for additional flair.
Pattern Abbreviations & Terminology:
- ch: chain
- dc: double crochet
- hdc: half double crochet
- sc: single crochet
- sl st: slip stitch
- tr: treble (or triple) crochet
- st(s): stitch(es)
- RS: right side
- US terminology is used.
Step-by-Step Detailed Crochet Instructions:
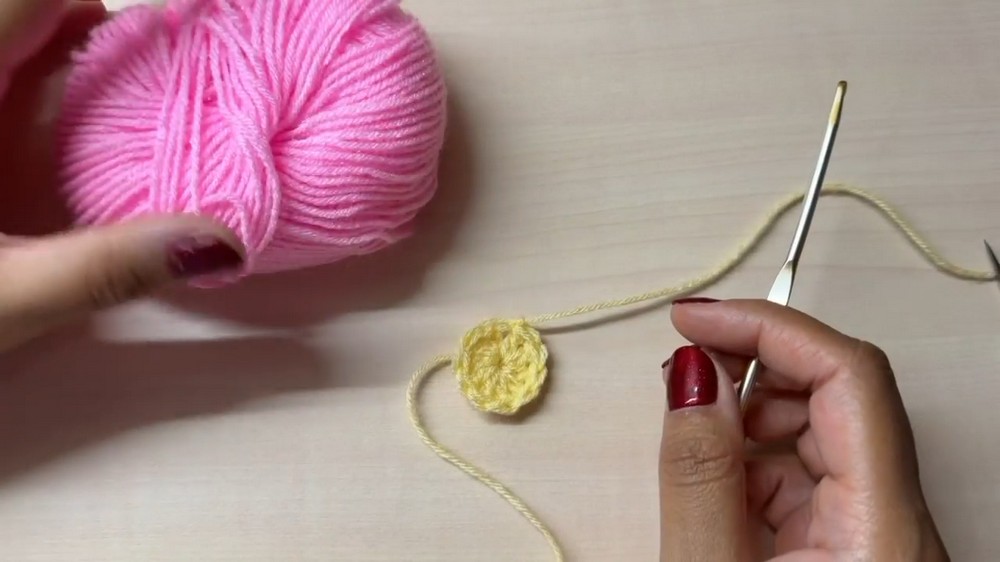
Center of the Flower (Round 1):
- Start: Use yellow yarn (or your chosen color for the center) to make a magic circle.
- Chain 3 (counts as the first double crochet).
- Make 9 more dc into the magic circle. (Total: 10 dc, including the initial ch-3.)
- Pull the magic circle tight to close the center hole.
- Join with a sl st to the top of the starting ch-3.
- Cut the yarn and secure it. The center is complete.
Petals (Round 2):
- Attach your second color yarn to any stitch by drawing up a loop and chaining 3. (This counts as the first dc.)
- In the same stitch, make another dc.
- Work 2 dc into each stitch around. (Total: 20 dc by the end of the round.)
- Join with a sl st to the top of the starting ch-3.
- Do not fasten off. Continue to the next step.
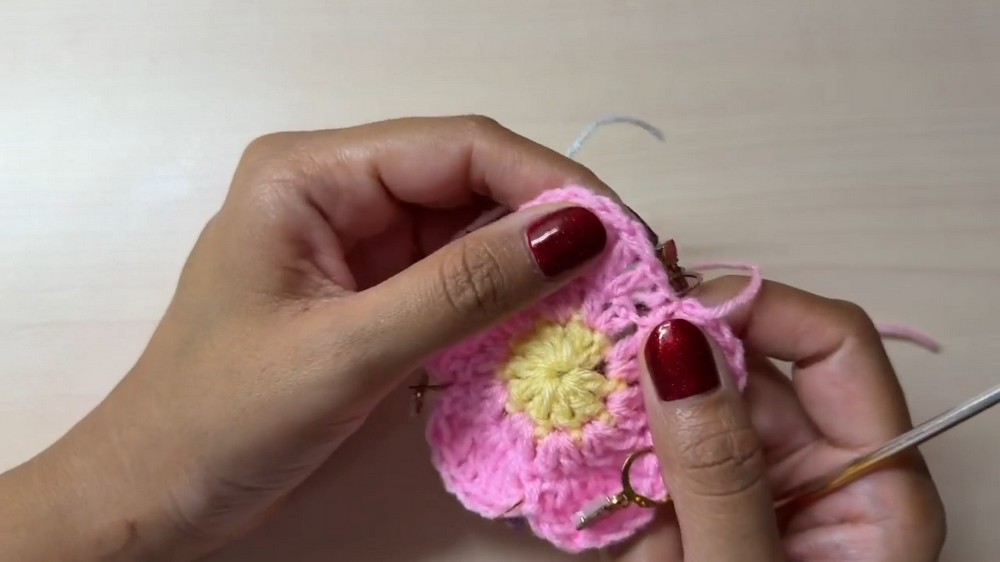
Forming the Petals (Round 3):
- Start: Chain 1.
- In the first stitch, make a sl st (not too tight).
- Place a stitch marker on this sl st as a reference point.
- In the following stitches, follow this pattern:
- Next stitch: 1 dc, 1 tr.
- Next stitch: 3 tr.
- Next stitch: 1 tr, 1 dc.
- Next stitch: sl st (not tight). Add a stitch marker to this sl st.
- Repeat the above steps (Steps 4 and 5) for each petal until all 5 petals are formed.
- Joining: Finish the round with a sl st to the starting stitch.
- Cut the yarn and secure it.
Background Setup (Round 4):
- Using your third color, locate the stitches on the petals:
- Each petal has 7 stitches (count these from base to tip).
- Insert your hook into the 4th/middle stitch of a petal and attach the yarn with a single crochet (sc).
- Begin forming the background by working the following pattern along each petal:
- Middle stitch: 1 sc.
- Next stitch: 1 hdc.
- Next two stitches: 1 dc, 1 dc.
- Remove the stitch marker and make 1 tr in the marked stitch.
- Continue down the other side:
- Next two stitches: 1 dc, 1 dc.
- Next stitch: 1 hdc.
- Next stitch: 1 sc.
- Repeat for all 5 petals.
- After completing the round, join with a sl st to the first sc and continue.
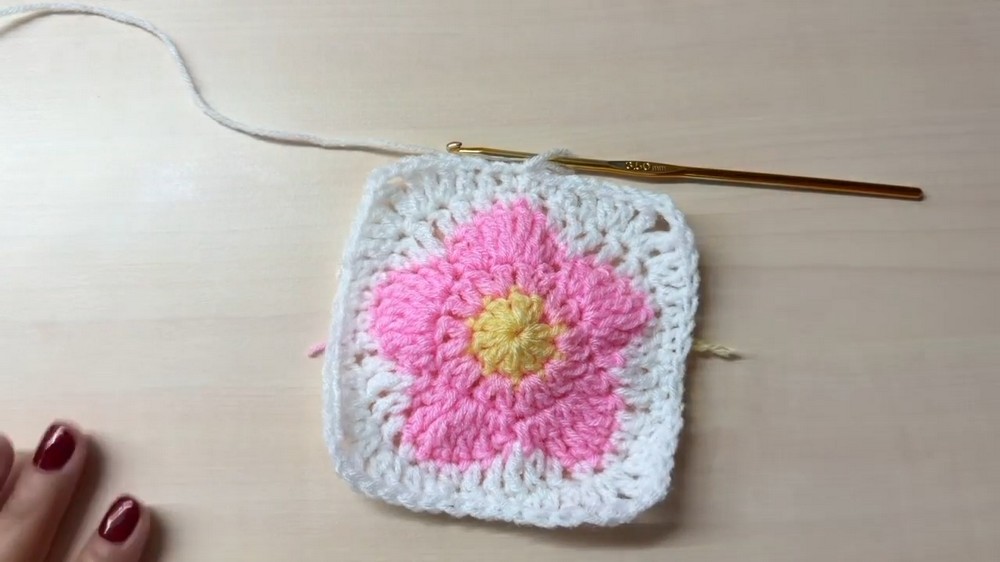
Creating the Square Shape (Round 5 - Final Round):
- Start: Chain 1.
- Work the following pattern:
- First stitch: 1 sc.
- Next stitch: 1 hdc.
- Next stitch: 1 dc.
- Next stitch: 2 dc in the same stitch.
- Next stitch (corner): 1 tr, ch 2, 1 tr.
- Next stitch: 2 dc in the same stitch.
- Next stitch: 1 dc.
- Next stitch: 1 hdc.
- Next three stitches: 3 sc.
- Repeat this pattern to form three more corners, ensuring you work the tr, ch 2, tr combination at the designated corners.
- After completing all sides and corners, join with a sl st to the first stitch.
- Cut the yarn, weave in all the ends, and block the granny square if necessary to keep it flat.
Finishing Techniques:
- Block the granny square if the edges curl or the square is uneven.
- Weave in all loose ends securely with a yarn needle.
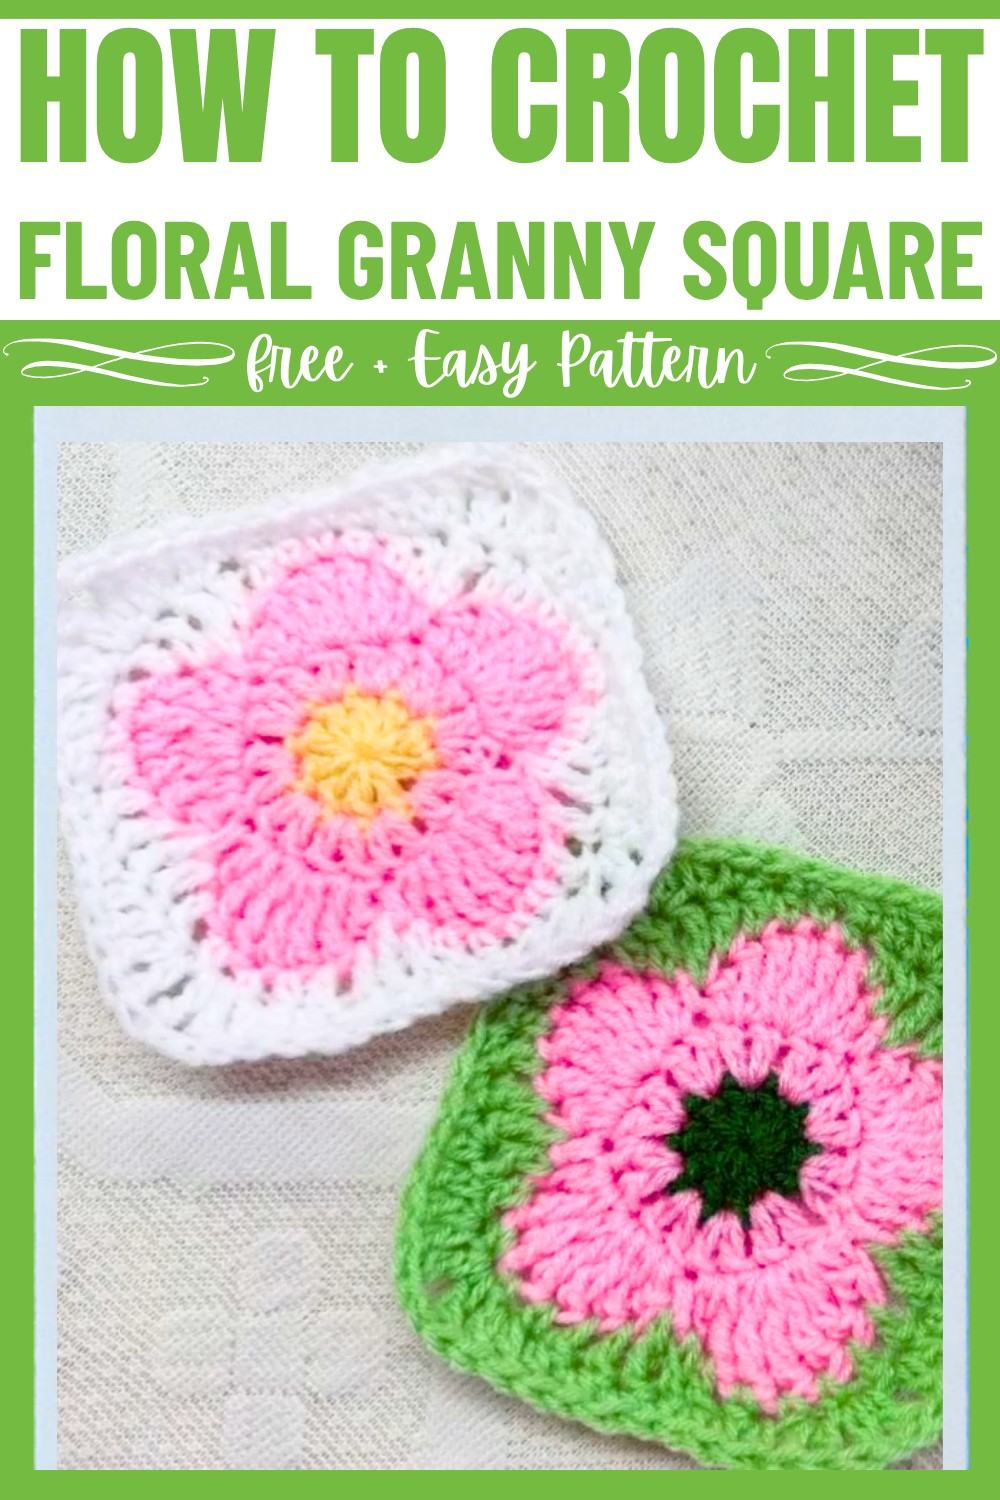
- Use the completed floral granny squares to create items like blankets, pillowcases, tote bags, or garments.